
Are you tired of manually checking your security camera’s footage? With the Blink Camera motion sensor, you can receive real-time notifications whenever movement is detected in the designated area. This feature not only saves you time but also ensures that you don’t miss any important events.
Activating the motion sensor on your Blink camera is essential for enhancing your home security system. The motion sensor feature lets the camera detect any movement within its field of view and send alerts directly to your smartphone or other devices. This functionality ensures you are promptly informed of any activity, whether you’re at home or away.
In this guide, we will walk you through the simple steps required on how to activate motion sensor on blink camera, ensuring optimal performance and peace of mind.
What Will You Need?
Before you begin, ensure that you have the following items ready:
- Your Blink camera
- A smartphone or tablet with the Blink app installed
- A stable internet connection
Once you have these items ready, follow the steps below to activate the motion sensor on your Blink camera.
10 Easy Steps on How to Activate Motion Sensor on Blink Camera
Step 1: Launch the Blink App
First, unlock your smartphone or tablet and locate the Blink app icon. Tap on the icon to open the app. Make sure you are logged in with your Blink account credentials. If you haven’t created an account yet, you must sign up by providing your email address, creating a password, and following the instructions to verify your account.
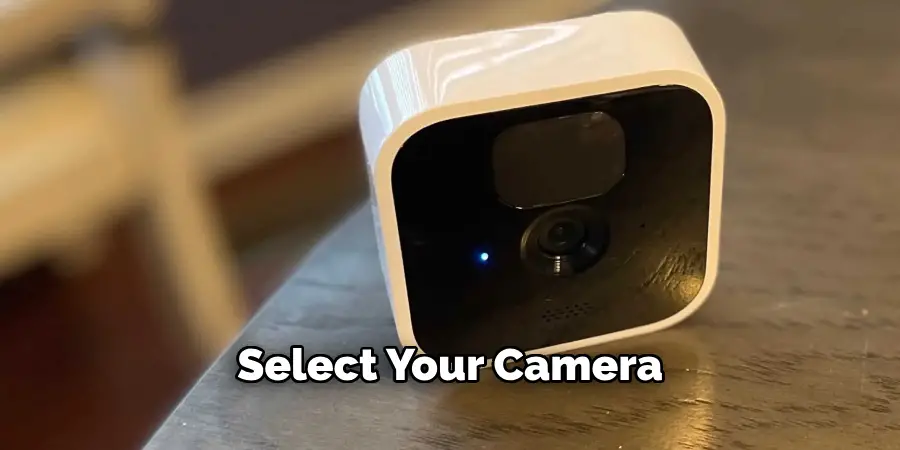
Step 2: Select Your Camera
Once inside the Blink app, you will see the dashboard displaying all the Blink devices connected to your account. Navigate through the list and select the specific camera for which you want to activate the motion sensor. Tap on the camera’s name or icon to access its settings.
Step 3: Access Camera Settings
After selecting your camera, you will be directed to its live view or control panel. Look for the settings icon, which typically appears as a gear or cogwheel symbol, and tap on it. This will open the camera settings menu, where you can customize various features and functionalities of your Blink camera.
Step 4: Enable Motion Detection
You should see an option labeled “Motion Detection” or something similar in the camera settings menu. This option controls whether the camera will monitor for movement and send alerts. Tap on this option to enter the motion detection settings. Usually, you will find a toggle switch or checkbox to activate the motion sensor. Switch the toggle to the “On” position or check the checkbox to enable motion detection.
You may also see additional settings under this section, such as sensitivity and activity zones; these allow you to fine-tune how the motion detection behaves. Adjust these settings according to your preference to ensure the camera responds appropriately to movement in your environment.
Remember that higher sensitivity might result in more frequent notifications, including those triggered by smaller motions like pets or tree branches swaying in the wind. Conversely, lower sensitivity might reduce the number of notifications and cause the camera to miss some activities. Experiment with these settings to find the optimal balance for your specific needs.
Step 5: Set Up Activity Zones
After enabling motion detection, the next step involves configuring activity zones if your Blink camera supports this feature. Activity zones allow you to define specific areas within the camera’s field of view where you want to focus the motion detection. This can be particularly useful for excluding areas with high traffic, such as roads or walkways, which might otherwise trigger false alerts.
Locate the “Activity Zones” option in the motion detection settings to set up activity zones. You will typically see a grid overlay on the camera’s live view or a static image. Tap on the grid sections you wish to deactivate, usually by shading or unmarking them. These deactivated areas will no longer trigger a motion alert, helping you to focus only on the zones of interest. Once you’ve configured the activity zones to your satisfaction, save your settings by tapping on the “Save” or “Apply” button.

Step 6: Adjust Motion Sensitivity
The next step is to adjust the motion sensitivity of your Blink camera to suit your specific requirements. Navigate to the motion sensitivity settings within the motion detection menu. Here, you will find a slider or scale that you can adjust to increase or decrease the camera’s sensitivity to motion. If you live in a high-traffic area or have pets, you may want to lower the sensitivity to reduce the number of notifications you receive. Conversely, if your camera monitors a quiet area, you might increase the sensitivity to ensure you capture all relevant activities. Adjust incrementally and test the camera’s response to find the optimal setting.
Step 7: Configuring Motion Alert Notifications
Once the motion detection is enabled and sensitivity adjusted, the next important step is to configure how you receive motion alert notifications. Go to the notifications settings within the Blink app. Here, you can choose to receive alerts through push notifications, email, or both. Ensure the notification settings align with your preferences so that you are promptly informed of any detected motion. Test the notification system by creating some motion in the camera’s view to ensure you receive the alerts correctly.
Step 8: Save Your Settings
After configuring all the motion detection settings, it is crucial to save your changes. Look for the “Save” or “Apply” button, which is usually located at the bottom or top corner of the settings menu. Tap on it to confirm and save your customized settings. Failing to save your changes might result in losing all the adjustments you’ve made, so double-check to ensure all your preferences are correctly stored.
Step 9: Perform a Test Walk
To ensure everything works correctly, perform a test walk in the camera’s field of view. Move around in the motion detection zones you configured earlier and verify that you receive notifications. This step helps confirm that the motion detection, sensitivity, activity zones, and notification settings are all functioning as expected. If you notice any issues, return to the settings and make the necessary adjustments.
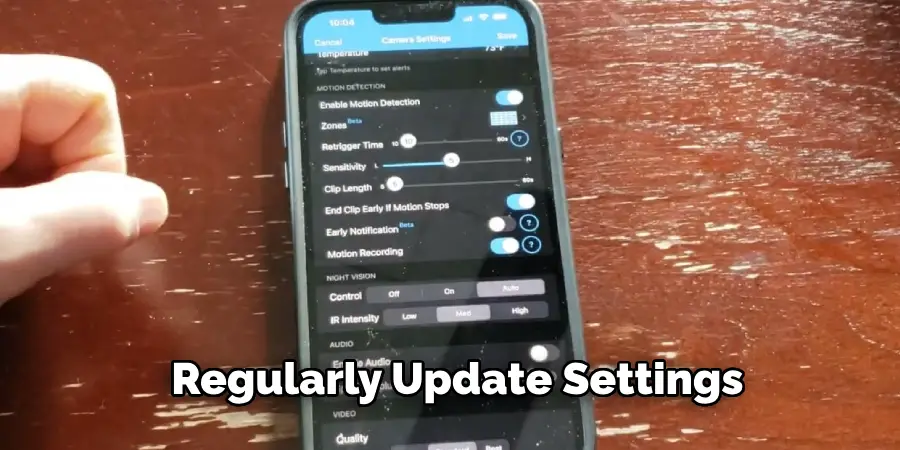
Step 10: Regularly Update Settings
Lastly, regularly reviewing and updating your motion detection settings is a good practice. Environmental changes, such as new furniture or changing seasons, can affect how well the motion detection works. Periodically check the Blink app to ensure your camera settings are still optimal and make any necessary adjustments. Regular updates and tests will ensure your Blink camera continues to provide effective and reliable security monitoring.
By following these steps and customizing your Blink camera’s motion detection settings, you can ensure that it efficiently monitors your home and alerts you to any relevant activities.
5 Additional Tips and Tricks
- Adjust Sensitivity Settings: Fine-tune the motion sensitivity settings in the Blink app to ensure the camera triggers at the desired level of motion. Higher sensitivity can detect smaller movements while lower sensitivity may reduce false alerts from minor motions.
- Customize Activity Zones: Use the activity zone feature to specify which areas within the camera’s view should trigger motion alerts. This can help prevent unnecessary notifications from high-traffic areas like streets or sidewalks.
- Optimal Camera Placement: Position the camera at an angle that can effectively monitor the intended area. Ensure the camera is not obstructed by objects, and consider placing it higher to avoid tampering or theft.
- Utilize Scheduling: Use the scheduling feature to turn the camera on and off at specific times, conserving battery life and preventing unnecessary recordings during quiet hours.
- Share Access with Family and Friends: Invite family members or trusted friends to access your Blink system through the app. This can be especially helpful for monitoring the home while away on vacation or providing a spare key to a house sitter.
These additional tips and tricks can help you get the most out of your Blink security camera system.
5 Things You Should Avoid
- Ignoring Sensitivity Settings: Do not overlook the importance of fine-tuning the motion sensitivity. Leaving it at default may result in either too many false alerts or missed detections.
- Placing Cameras in High-Traffic Areas: Avoid positioning cameras in areas with constant movement, such as near busy streets or playgrounds. This can lead to excessive alerts and burning through battery life and memory.
- Neglecting to Set Activity Zones: Failing to customize activity zones can result in the camera recording and alerting you to irrelevant motions. Be sure to mark only the areas you actually want to monitor.
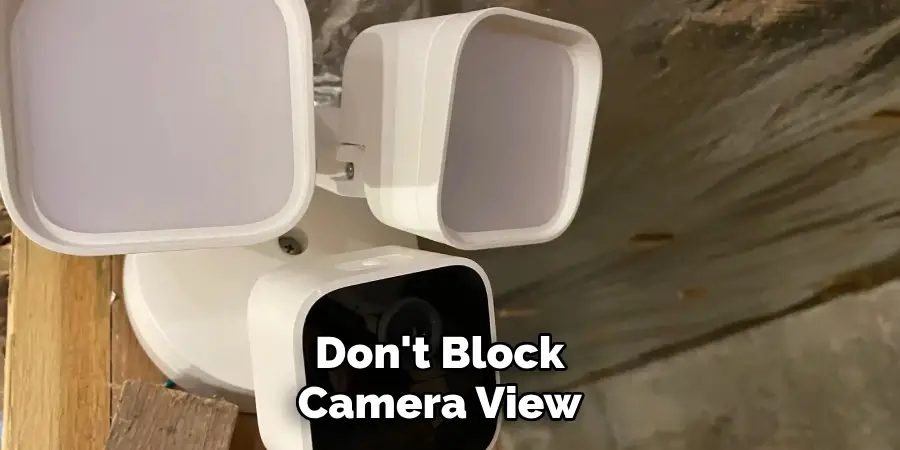
- Blocking Camera View: Ensure that the camera’s view is not obstructed by furniture, foliage, or other objects. An obstructed view can prevent the motion sensor from functioning correctly and reduce the camera’s effectiveness.
- Overlooking Firmware Updates: It is crucial to keep your Blink camera firmware up-to-date. Avoid skipping updates, as they often contain important fixes and enhancements for the motion sensor and overall system performance.
By avoiding these common pitfalls, you can ensure that your Blink camera’s motion sensor operates efficiently and provides you with reliable security monitoring.
Conclusion
How to activate motion sensor on Blink camera is a straightforward process that involves a few simple steps. Start by opening the Blink app and selecting the camera you want to configure.
Navigate to the settings for that camera, where you will find the option to enable motion detection. Once motion detection is enabled, you can adjust the sensitivity settings and customize activity zones to suit your specific needs. Properly setting up the motion sensor ensures that your camera only captures relevant movements, providing efficient and reliable security monitoring for your home or property.
With these easy steps, you can maximize the effectiveness of your Blink camera’s motion sensor and enhance your overall security setup.