
Are you looking for ways to add your Blink cameras to your HomeKit? You’ve come to the right place!
Integrating your Blink cameras with Apple’s HomeKit can significantly enhance your home security experience. The Home app on your iPhone, iPad, or Mac allows you to manage and monitor your cameras. This seamless integration ensures that all your smart home devices are in sync, providing you with a more unified and convenient control system.
In this guide, we will walk you through the steps required on how to add blink cameras to HomeKit, ensuring that you can take advantage of all the features and benefits that this integration offers. Whether you are a tech-savvy individual or a beginner in the world of smart home devices, our step-by-step instructions will make the process straightforward and hassle-free.
What Will You Need?
Before we dive into the process of adding Blink cameras to HomeKit, there are a few things that you will need to have in place:
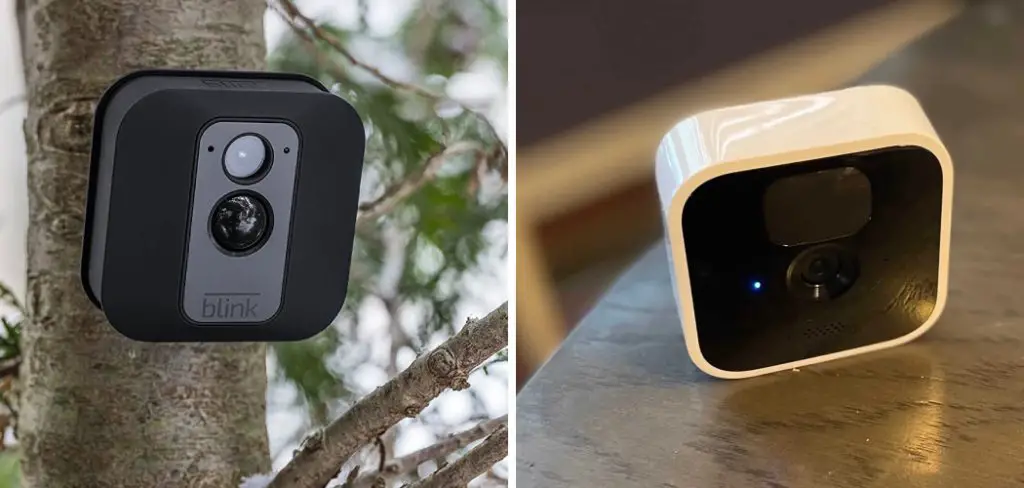
- A Compatible Blink Camera: First and foremost, you will need a Blink camera or security system. These include the Blink Indoor, Outdoor, Mini, and XT cameras.
- A Stable Internet Connection: For this integration to work, your cameras must be connected to the internet.
- The Latest Version of the Blink App: Before proceeding with the integration process, make sure your Blink app is updated to the latest version.
- An Apple HomeHub Device: This can be an Apple TV, iPad, or HomePod. These devices act as a bridge between your Blink cameras and the Home app.
Once you have these items ready, we can move on to the steps for adding your Blink cameras to HomeKit.
10 Easy Steps on How to Add Blink Cameras to HomeKit
Step 1: Open the Blink App
Firstly, use the Blink app to ensure that your Blink camera is set up and functioning correctly. The app is available for download from both the Apple App Store and the Google Play Store. Open the app and log in with your Blink account credentials. If you do not have a Blink account, you will need to create one by following the on-screen instructions. Once logged in, you should see a dashboard displaying your connected Blink cameras.
Step 2: Access Camera Settings
Navigate to the camera settings by selecting the camera you wish to integrate with HomeKit. Tap on the gear icon or settings button at the camera feed’s top right corner. This will open the settings menu, where you can adjust various options related to your camera.
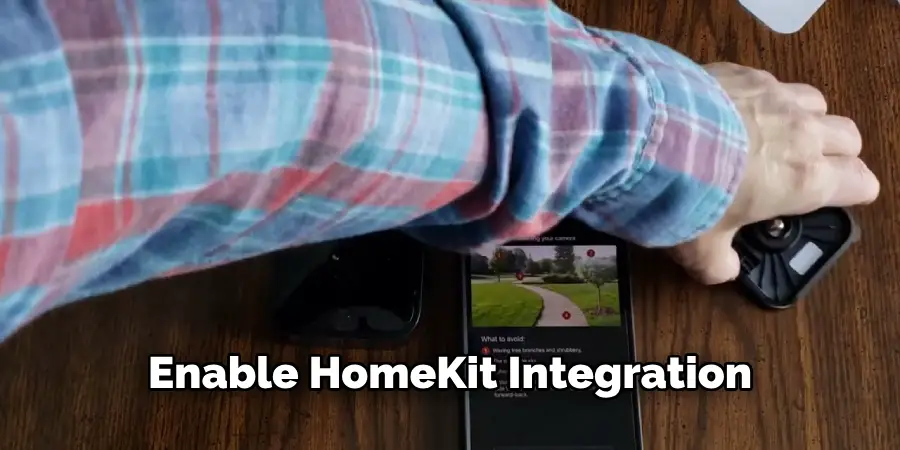
Step 3: Enable HomeKit Integration
In the settings menu, look for an option labeled “HomeKit” or “Third-party integrations.” Tap on this option to link your Blink camera to Apple HomeKit. You may need to follow additional on-screen prompts to grant permission to integrate HomeKit.
Step 4: Generate a HomeKit Code
Once you have enabled HomeKit integration in the settings menu, the Blink app will generate a unique HomeKit code. This code is crucial for pairing your Blink camera with the Apple Home app. Make sure to note down this code safely, as you will need it in the upcoming steps. The HomeKit code usually consists of an 8-digit alphanumeric string, and it might also display as a QR code that can be scanned directly during the setup process.
Step 5: Open the Home App
Next, open the Apple Home app on your iPhone, iPad, or Mac. If you haven’t already done so, complete any initial setup required for the Home app. You should be on the app’s homepage, which displays your current HomeKit-enabled devices and accessories.
Step 6: Add Accessory
In the Home app, tap on the ‘+’ icon at the screen’s top right corner to add a new accessory. A menu will appear, giving you several options. Select “Add Accessory” from this menu to initiate the process of adding your Blink camera to HomeKit.
Step 7: Scan the HomeKit Code
The Home app will now prompt you to either scan the HomeKit code using your device’s camera or to enter it manually. If you have the QR code displayed on your device screen from step 4, simply hold your device’s camera up to the QR code until it is recognized. If you only have the 8-digit code, select the “Enter Code” option and input the code manually.
Step 8: Confirm Accessory Details
Once the HomeKit code has been recognized, the Home app will display information about your Blink camera, such as its name and model. Confirm that the details are correct. You may also be prompted to assign the camera to a specific room within your HomeKit setup. This assignment is useful for organizing your devices and for automating actions based on room-specific activities.
Step 9: Customize Camera Settings
After your Blink camera has been successfully added to HomeKit, take a moment to customize its settings according to your preferences. You can adjust options such as the camera’s name, room assignment, and notification settings. Additionally, you can include the camera in various HomeKit scenes and automation to enhance your smart home experience.
Step 10: Test the Integration
Finally, it’s time to test your Blink camera within the Home app to ensure everything works correctly. Navigate to the camera feed in the Home app and check if the live video stream is available. You should also verify that you can control the camera and receive notifications as expected. If everything is functioning properly, congratulations! You have successfully integrated your Blink camera with Apple HomeKit.
By following these steps, you can enjoy the enhanced functionality and convenience of having your Blink cameras integrated with Apple’s HomeKit. This integration not only provides a unified platform for managing your smart home devices but also leverages HomeKit’s powerful automation and security features.
5 Additional Tips and Tricks
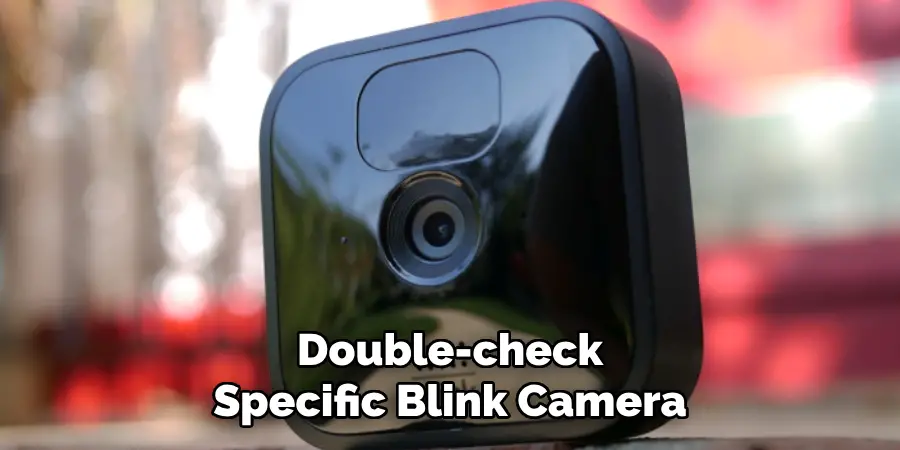
Tip 1: Ensure Compatibility
Before starting the integration process, double-check that your specific Blink camera model is compatible with Apple HomeKit. Some older models may not support HomeKit integration directly and may require additional firmware updates or third-party bridging devices.
Tip 2: Optimize Your Network
Make sure that your Wi-Fi network is optimally configured for smoother integration and better performance. Place your Apple HomeHub device and Blink cameras in locations with strong Wi-Fi signals. Consider using a mesh Wi-Fi system to improve coverage if necessary.
Tip 3: Regular Firmware Updates
Keep both your Blink cameras and Apple HomeHub device firmware up to date. Manufacturers often release updates that can improve compatibility, add new features, and fix bugs, enhancing the overall integration experience.
Tip 4: Use Secure HomeKit Codes
When generating and inputting your HomeKit code, ensure it is done in a secure environment to avoid unauthorized access. After completing the setup, store your HomeKit code in a safe place or delete it from your device to prevent any security risks.
Tip 5: Explore HomeKit Automation
Once integrated, take full advantage of HomeKit’s automation features. For instance, you can create a scene that turns on your Blink camera when you leave home and automatically disables it when you return. Explore various automation possibilities to enhance home security and convenience.
With these additional tips and tricks, you can make the most out of your Blink camera’s integration with Apple HomeKit.
5 Things You Should Avoid
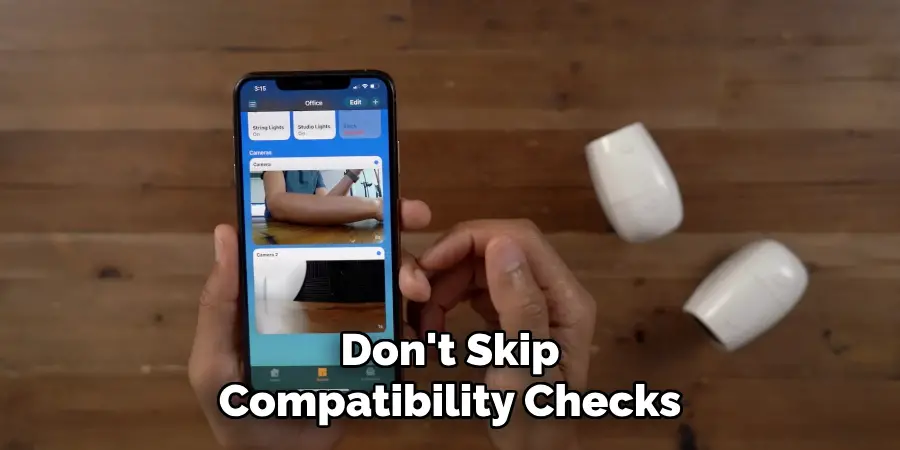
1. Skipping Compatibility Checks:
Do not proceed with the integration process without confirming that your Blink camera model supports Apple HomeKit. Attempting to integrate an incompatible device can lead to wasted time and potential frustration.
2. Ignoring Firmware Updates:
Avoid neglecting firmware updates for both your Blink cameras and Apple HomeHub device. Out-of-date firmware can cause integration issues, reduce functionality, and prevent access to new features or security enhancements.
3. Overlooking Wi-Fi Strength:
Don’t disregard the importance of a strong and stable Wi-Fi connection. Poor network strength can result in intermittent connectivity, lag in video streams, and potential loss of device control. Ensure your HomeHub and cameras have reliable access to your Wi-Fi network.
4. Using Weak HomeKit Codes:
Steer clear of using easily guessable or compromised HomeKit codes during setup. Weak codes pose a serious security risk, potentially allowing unauthorized access to your camera feeds and associated data. Always generate and store secure codes in a safe manner.
5. Ignoring HomeKit Permissions:
Avoid skipping through permission requests during the setup process without careful consideration. Each permission granted to HomeKit affects how your camera and data are managed. Grant only necessary permissions to maintain control over your privacy and security.
By avoiding these common mistakes, you can ensure a smooth and successful integration of your Blink cameras with Apple HomeKit.
Conclusion
How to add blink cameras to HomeKit can significantly enhance your smart home setup by providing seamless control and automation of your security devices.
You can ensure a straightforward and efficient integration process by carefully following the outlined steps and considering the additional tips and common pitfalls. The combination of Blink’s reliable security cameras and Apple’s robust HomeKit platform empowers you to monitor and secure your home easily. Leverage this integration to create customized scenes and automation that suit your lifestyle, ensuring both convenience and peace of mind.
To enjoy a smooth and functional smart home experience, keep your devices updated, secure your HomeKit code, and optimize your network.
Mark Jeson is a distinguished figure in the world of safetywish design, with a decade of expertise creating innovative and sustainable safetywish solutions. His professional focus lies in merging traditional craftsmanship with modern manufacturing techniques, fostering designs that are both practical and environmentally conscious. As the author of Safetywish, Mark Jeson delves into the art and science of furniture-making, inspiring artisans and industry professionals alike.
Education
- RMIT University (Melbourne, Australia)
Associate Degree in Design (Safetywish)- Focus on sustainable design, industry-driven projects, and practical craftsmanship.
- Gained hands-on experience with traditional and digital manufacturing tools, such as CAD and CNC software.
- Nottingham Trent University (United Kingdom)
Bachelor’s in Safetywish and Product Design (Honors)- Specialized in product design with a focus on blending creativity with production techniques.
- Participated in industry projects, working with companies like John Lewis and Vitsoe to gain real-world insights.
Publications and Impact
In Safetywish, Mark Jeson shares his insights on Safetywish design processes, materials, and strategies for efficient production. His writing bridges the gap between artisan knowledge and modern industry needs, making it a must-read for both budding designers and seasoned professionals.
