
Changing the code on your Liberty Safe is a straightforward process that enhances security and ensures easy access to your valuables. Liberty Safes are renowned for their robust security features, including electronic keypad locks that allow for personalized codes. This article aims to provide a comprehensive guide on how to change liberty safe code.
Whether you’re updating the code for security reasons or simply want to customize it to something more memorable, the procedure typically involves a series of steps accessible through the safe’s keypad and user manual. By following manufacturer instructions, you can navigate the settings menu, enter your current code, and then input a new code of your choice. It’s essential to choose a code that is easy for you to remember but difficult for others to guess.
This article delves into the practical steps and considerations for changing the code on your Liberty Safe, ensuring your valuables remain protected while maintaining convenient access.
Importance of Maintaining Security for Your Liberty Safe
Maintaining security for your Liberty Safe is of paramount importance to ensure the protection of your valuable possessions. Regularly updating and securing your code helps prevent unauthorized access and potential theft. As a responsible safe owner, it’s crucial to stay vigilant about who has access to your code and to change it periodically to maintain optimal security.

Additionally, using a strong, unique code adds an extra layer of protection, making it significantly more challenging for potential intruders to gain access. By prioritizing the security of your Liberty Safe, you not only safeguard your valuables but also gain peace of mind knowing that you’ve taken proactive steps to protect your assets.
Understanding Liberty Safe Lock Types
Liberty Safes come equipped with various lock types, each offering distinct advantages and security features. Understanding the different lock mechanisms available can help you make an informed decision about which type best suits your needs.
1.Mechanical Dial Locks
Mechanical dial locks are traditional, reliable options that have been used for decades. These locks function without the need for batteries, ensuring consistent performance. Users must rotate a dial through a sequence of numbers to unlock the safe. While they require more time to open compared to electronic locks, they are highly durable and less prone to malfunctions.
2.Electronic Keypad Locks
Electronic keypad locks provide quick and convenient access through a numeric keypad. These locks often feature backlit keypads and can be programmed with user-defined codes. They offer the advantage of easy code changes and usually have additional features such as tamper alerts. However, they do require batteries, so regular maintenance is essential to ensure they remain operational.
3.Biometric Locks
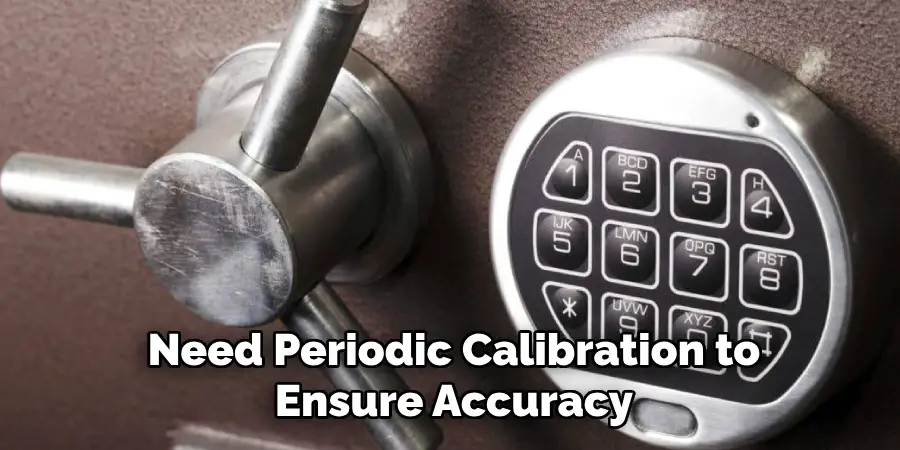
Biometric locks utilize fingerprint recognition technology to grant access. This type of lock offers the highest level of convenience, allowing for quick and secure access with just a touch. Biometric locks can store multiple fingerprints, making them ideal for multiple users. They also eliminate the need to remember a code or carry a key. Despite these advantages, biometric locks require batteries and may need periodic calibration to ensure accuracy.
4.Redundant Locks
Redundant locks combine two different locking mechanisms, typically a mechanical dial and an electronic keypad. This hybrid approach provides an added layer of security and flexibility. If one lock type fails, the other can still be used to access the safe. Redundant locks offer peace of mind by reducing the risk of being locked out due to a single point of failure.
10 Methods How to Change Liberty Safe Code
1. Locate the Safe’s User Manual
Before attempting to change the code on your Liberty Safe, locate the user manual that came with the safe. The manual contains specific instructions from Liberty Safe on how to change the code for your particular safe model. If you cannot find the manual, you can often find it online on Liberty Safe’s website by searching for your safe model number.
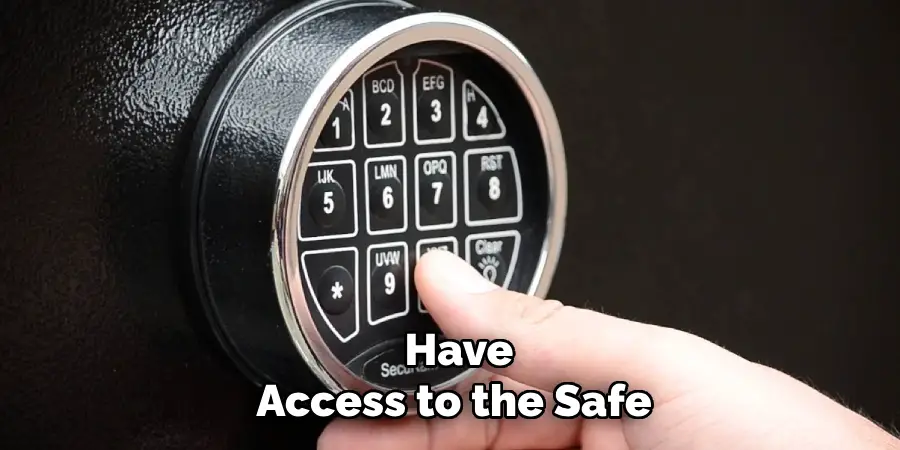
2. Enter the Current Code
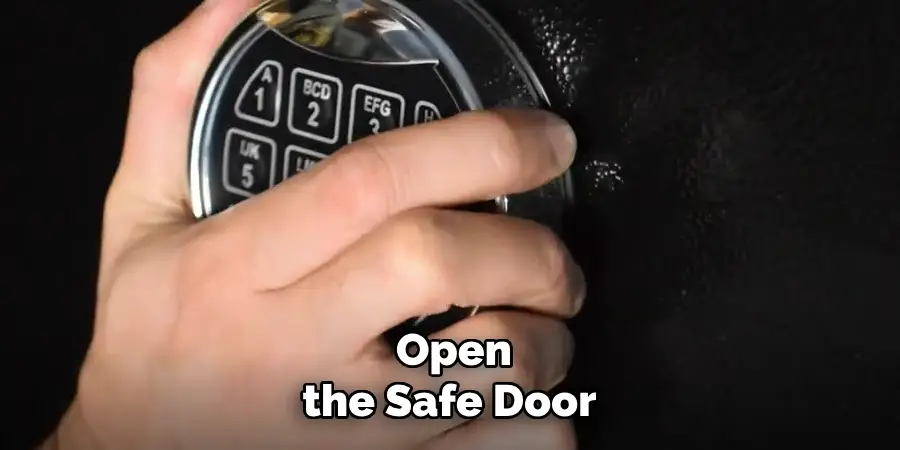
To change the code on your Liberty Safe, you typically need to begin by entering the current code. This step verifies that you have authorized access to change the code. Enter the current code using the safe’s keypad. If the safe has a handle, turn it to open the safe door once the correct code has been entered.
3. Access the Change Code Feature
After successfully entering the current code, locate the button or sequence of actions required to access the change code feature. This is usually detailed in the user manual and often involves pressing a specific button combination or following a series of steps on the keypad. Pay careful attention to any prompts or indicators on the safe’s display during this process.
4. Choose a New Code
Once you have accessed the change code feature, you can proceed to choose a new code for your Liberty Safe. Select a code that is easy for you to remember but difficult for others to guess. Avoid using common combinations like birthdates or sequential numbers. Liberty Safe often requires a minimum number of digits for the new code, so be prepared to enter a sequence that meets their criteria.
5. Enter the New Code
Carefully enter the new code on the safe’s keypad. As you enter each digit, ensure it registers correctly on the display or with any auditory feedback from the safe. Take your time to prevent mistakes, as incorrect entries may require starting the process over or could potentially lock you out of the safe temporarily.
6. Confirm the New Code
After entering the new code, Liberty Safe typically requires you to confirm the code by entering it a second time. This step ensures that you have accurately set the new combination and that there are no errors in the entry process. Double-check each digit as you enter it to confirm consistency with your chosen code.
7. Test the New Code
Once you have confirmed the new code, test it by locking and unlocking the safe several times. Ensure that the code operates smoothly and that the safe door opens and closes as expected. Testing the new code immediately after setting it helps to verify its functionality and gives you confidence in its security.
8. Resetting the Override Key
Some Liberty Safes come with an override key for emergency access. If your safe has an override key, consider changing the lock cylinder or the key itself periodically for added security. Refer to the user manual for instructions on resetting the override key, as this process may vary depending on the safe model.
9. Record and Store the New Code Securely
After successfully changing the code on your Liberty Safe, record the new code in a secure location separate from the safe. Store it in a place where you can easily access it if needed but where others cannot easily discover it. Consider using a digital password manager or a secure physical location, such as a locked drawer or safe, to store the code.
10. Maintenance and Regular Code Changes
To maintain security, consider changing the code on your Liberty Safe periodically. This practice reduces the risk of unauthorized access and ensures that you maintain control over who has knowledge of the safe’s code. Set a reminder to change the code annually or as recommended by Liberty Safe, particularly if there is a change in personnel who have access to the safe.
Things to Consider When Changing Your Liberty Safe Code
Changing the code on your Liberty Safe is a crucial step in maintaining its security and ensuring that only authorized individuals have access. Here are some important considerations to keep in mind when changing the code:
- Frequency of Changes: Regularly changing your safe’s code can help prevent unauthorized access. Determine a consistent schedule for code changes, such as every 6 to 12 months, depending on your security needs and usage.
- Complexity of the Code: Choose a new code that is strong and not easily guessable. Avoid using obvious combinations like birthdays, anniversaries, or simple numerical sequences (e.g., 1234, 0000). A mix of numbers that doesn’t form obvious patterns is recommended.
- Recording the Code: Once you’ve set a new code, it’s essential to record it somewhere secure. Consider using a password manager for digital storage or writing it down and storing it in a secure place separate from the safe.
- Training and Awareness: Ensure that everyone who is authorized to access the safe knows how to use the keypad correctly and is aware of the importance of keeping the code confidential. Training can help prevent accidental lockouts and security breaches.
- Handling Malfunctions: Be aware of the procedure to follow if the safe’s keypad malfunctions. Knowing how to use the override key or who to contact for technical support can be crucial in an emergency.
Conclusion
Changing the code on your Liberty Safe is an essential step in maintaining security and controlling access to your valuables. By following these ten detailed methods, you can confidently change the code on your safe without difficulty. Begin by locating the user manual to ensure you have the correct instructions for your specific safe model.
Enter the current code, access the change code feature, and choose a new code that meets Liberty Safe’s criteria. Thanks for reading, and we hope this has given you some inspiration on how to change liberty safe code!
Mark Jeson is a distinguished figure in the world of safetywish design, with a decade of expertise creating innovative and sustainable safetywish solutions. His professional focus lies in merging traditional craftsmanship with modern manufacturing techniques, fostering designs that are both practical and environmentally conscious. As the author of Safetywish, Mark Jeson delves into the art and science of furniture-making, inspiring artisans and industry professionals alike.
Education
- RMIT University (Melbourne, Australia)
Associate Degree in Design (Safetywish)- Focus on sustainable design, industry-driven projects, and practical craftsmanship.
- Gained hands-on experience with traditional and digital manufacturing tools, such as CAD and CNC software.
- Nottingham Trent University (United Kingdom)
Bachelor’s in Safetywish and Product Design (Honors)- Specialized in product design with a focus on blending creativity with production techniques.
- Participated in industry projects, working with companies like John Lewis and Vitsoe to gain real-world insights.
Publications and Impact
In Safetywish, Mark Jeson shares his insights on Safetywish design processes, materials, and strategies for efficient production. His writing bridges the gap between artisan knowledge and modern industry needs, making it a must-read for both budding designers and seasoned professionals.
