
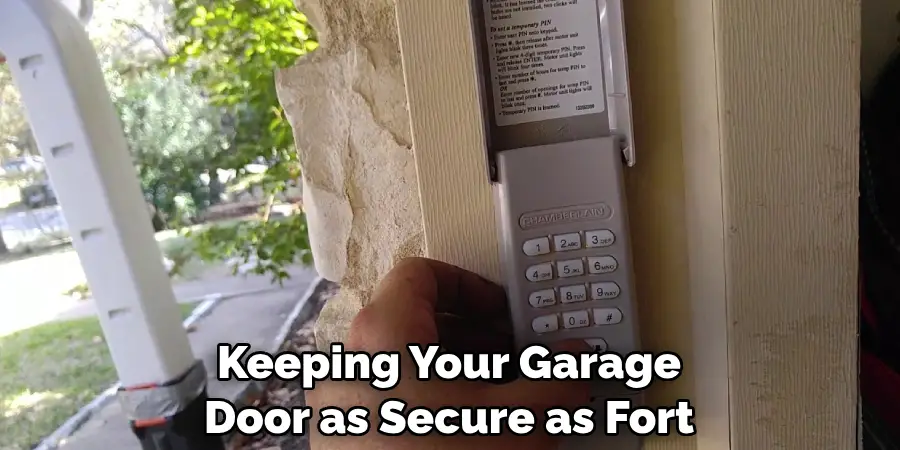
Ever worried about that neighbor who’s a bit too interested in your comings and goings? Changing the code on your LiftMaster Keypad can give you peace of mind not even the best cup of coffee can match. It’s all about keeping things tighter than Fort Knox—or at least making sure your garage isn’t the easiest pick on the block!
These keypads are like the loyal guardians of your garage. Equipped with rolling code technology, every time you hit enter, it’s like the keypad rolls a dice to pick a new code. Pretty neat, huh? It’s techy stuff made simple to keep the baddies guessing.
You might wonder how to change the code on a LiftMaster keypad, thinking it’s like cracking the Da Vinci code. Fear not, my friend! We’re about to walk you through a step-by-step process so simple your grandma could do it blindfolded. Get ready to transform your keypad security from a sitting duck to a stealthy ninja with a few easy button presses.
Locate the Keypad and Enter Programming Mode
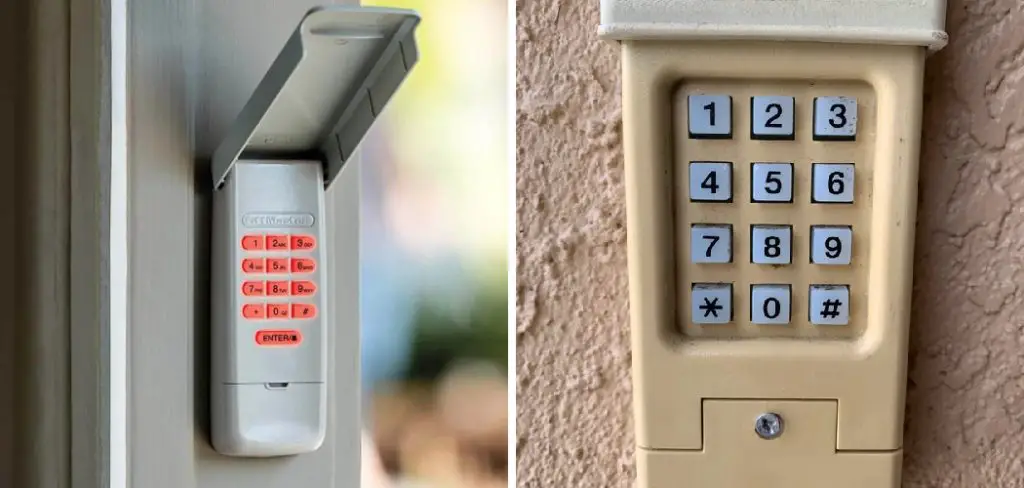
A. Identify the LiftMaster Keypad Model Number
First things first, you have to play detective and figure out what model of LiftMaster keypad you’re dealing with. It’s like knowing whether you’re flying a plane or driving a car before you try to start it. This crucial piece of intel usually hangs out on the back of your keypad, shy and unnoticed. Give it a gentle flip, and voilà, there’s the model number!
B. Locate the “Learn” or “Program” Button on the Garage Door Opener
The next step in our keypad caper is finding the elusive “Learn” or “Program” button on your garage door opener. Given how important it is, this button might as well be the Holy Grail. It’s usually chilling on the side or back of the opener, sometimes under a light cover that you’ll need to sweet talk (or firmly remove) to access. Each opener has its own idea of where it wants its buttons to be, so a little exploration is necessary.
C. Press the “Program” Button on the Keypad to Enter Programming Mode
Okay, now for the moment of truth. You and the “Program” button on the keypad are about to get very acquainted. Press this magical button, and you’ll enter the wondrous world of programming mode. This is where the keypad bows down and says, “Your wish is my command.” You’ll know you’ve done it right when the keypad lights up like a Christmas tree or beeps back at you like an electronic pet. Welcome to the control room; you’re officially in the driver’s seat!
How to Change the Code on A Liftmaster Keypad: Enter the Existing Code
A. Use the Numeric Keypad to Enter the Existing Access Code
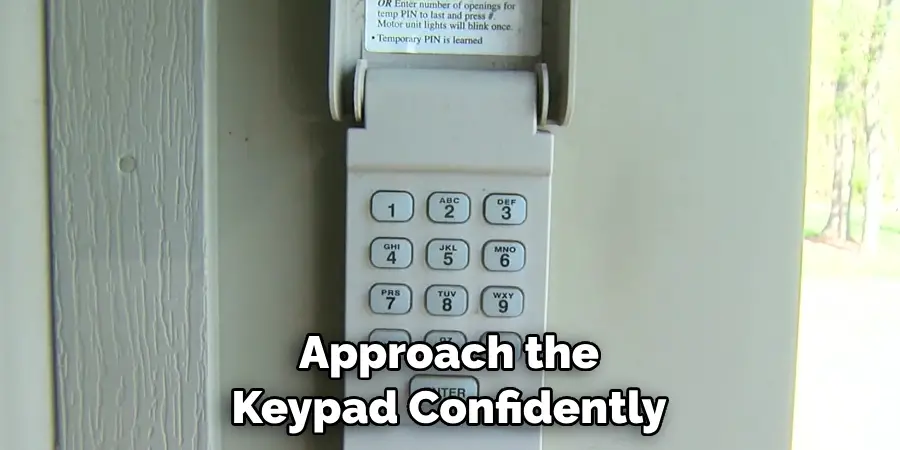
It’s time to channel your inner secret agent and punch in the existing code. This is the moment if you’ve been hitting the gym or the buttons on your game controller, those finger flexes will finally pay off. Approach the keypad confidently and gently, yet firmly press those digits. Each beep is like a nod from the keypad, acknowledging your efforts. You’ve got this!
B. Press the “Enter” or “OK” Button to Confirm the Code
After expertly navigating the numerical labyrinth, hunt down that “Enter” or “OK” button. This button is the gatekeeper, who decides if you pass or are sent back to square one. Give it a good press that says, “I mean business.” It’s a small step for a finger but a giant leap toward changing your code.
C. Wait for the Keypad Lights to Flash or Signal Confirmation
Now comes the magic – the lights. If you’ve done everything right, your trusty keypad will throw a mini light show or emit a series of beeps, kind of like it’s congratulating you on your success. It’s the keypad’s way of saying, “Well played, human, well played.” These lights or sounds are the secret handshake between you and your keypad, a sign that you’re on the same wavelength. If you see the lights flash or hear the beep, take a moment to do a victory dance; you’ve earned it!
How to Change the Code on A Liftmaster Keypad: Enter the New Access Code
A. Enter the New Access Code Using the Numeric Keypad
Now that you’re on a roll, it’s time to whip up a shiny new access code. Think of it as choosing the perfect password for your diary, only cooler. Get creative, but remember, your cat’s birthday might not be the most secure choice. Once you’ve brainstormed the code that screams “top secret,” march over to your keypad. With the grace of a pianist, enter your new code one digit at a time. Each beep is a step closer to your very own Fort Knox.
B. Press the “Enter” or “OK” Button to Confirm the New Code
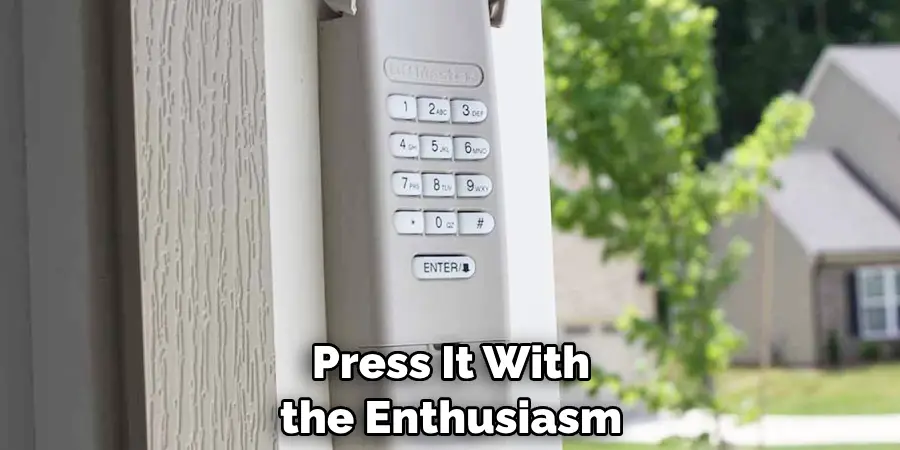
With your new code in place, you’re just one button press away from sealing the deal. Find that “Enter” or “OK” button again; it’s now your best friend in this whole endeavor. Press it with the enthusiasm of hitting the snooze button on a Monday morning. This is the moment of truth, where your new code gets its wings. Make it count!
C. Wait for the Keypad Lights to Flash or Signal Confirmation
And now, for the grand finale, we’ve all been waiting for the moment. The lights! If your keypad lights up like a disco floor or beeps like it’s singing to you, congratulations, you’ve just leveled up in home security. This light show or serenade is your keypad’s way of throwing a mini-celebration in your honor. You’ve successfully changed your code and outwitted imaginary garage bandits. Stand back, admire your handiwork, and maybe even throw in a little celebratory dance. You, my friend, are a keypad wizard.
Test the New Access Code
A. Press the “Enter” or “OK” Button to Test the New Code
Alright, whiz kids, it’s showtime! Now that you’ve bestowed upon your garage door a new secret handshake, it’s time to see if it recognizes its new buddy. Stride over to your keypad with the swagger of a superhero and punch in that brand-spanking new code. Hit the “Enter” or “OK” button with the finesse of a game show contestant hitting the buzzer. This is your moment!
B. Ensure the Garage Door Opens or Closes as Expected
Hold your breath… and voila! The door should start moving, transforming your silent hope into victorious joy. If the garage door swings or slides open like a curtain on Broadway, congratulations, you’ve nailed it! But, if it stubbornly stays put, pretending to be a wall, don’t fret. Just double-check the steps. Remember, even the best of us sometimes miss a beat.
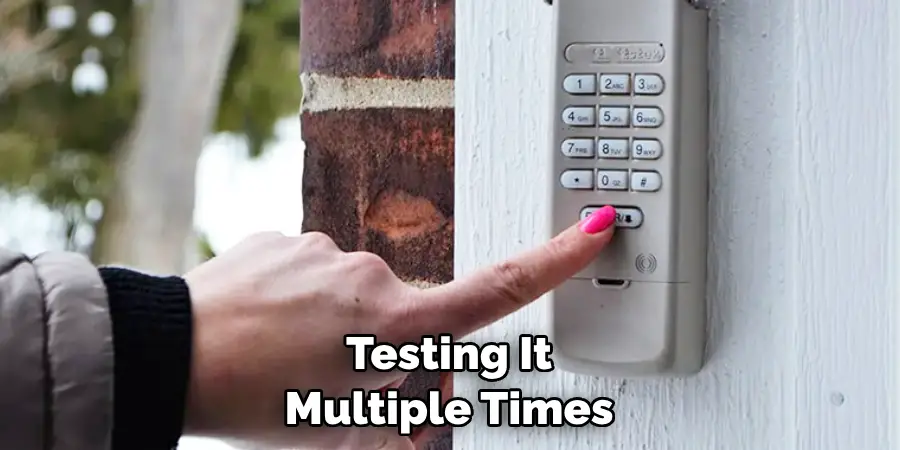
C. Test the Code Multiple Times to Confirm Functionality
Don’t just settle for a one-hit wonder. You want your new code to be the chart-topping hit of garage door security. Hit that code a few more times, ensuring it works consistently. Think of it like double-checking your zipper is up before a big presentation. Testing it multiple times confirms that your garage door isn’t just being polite on the first go. If it opens and closes each time without a hitch, then take a bow. You’re officially a keypad maestro!
Exit Programming Mode
Alrighty, folks, you’ve nailed the main act, but every good show needs a grand finale. It’s time to gracefully exit the stage left from programming mode.
A. Press the “Learn” or “Program” Button on the Garage Door Opener Again
Take a deep breath because you and that “Learn” or “Program” button are about to have your second meaningful interaction. Go ahead and press it like you’re hitting the buzzer on a game show for the final question. This magic press is your curtain call on the programming mode.
B. Wait for Confirmation Signals from the Keypad and Garage Door Opener
This part is a bit like waiting for applause—it’s your cue that you did everything right. Keep your ears open and your eyes peeled for beeps, boops, or some snazzy lights from both the keypad and the garage door opener. These are your standing ovation, confirming that you’re about to make your grand exit from programming mode.
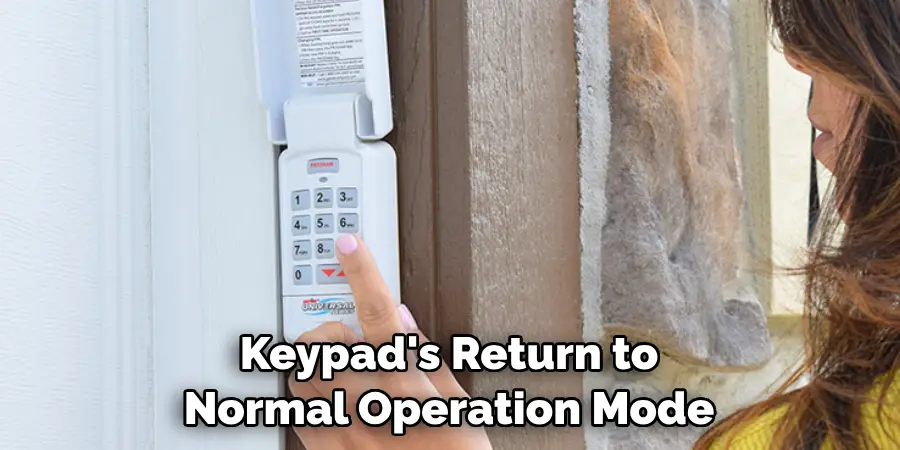
C. Verify That the Keypad Is Now in Normal Operation Mode
Now, for the final act! Make sure your keypad has returned to its every day, less thrilling life of just being a regular keypad. No flashing lights, no beeping feedback—just good, old-fashioned normalcy. It should be as ready to go about its day as you are after downing your morning coffee.
Once you’ve confirmed that your keypad isn’t trying to put on any more performances, take a moment to bask in your success. You’ve officially closed the show by changing your garage door code; my friend, you’ve done it with style.
There might have been a misunderstanding with the task details provided, as it requests a continuation of the document but then specifies content already included in the existing document. The instructions seem to replicate section VI of the document verbatim, which covers exiting programming mode, including pressing the “Learn” or “Program” button again, waiting for confirmation signals, and verifying the keypad’s return to normal operation mode.
Security Considerations
Alright, folks, buckle up! Now that you’ve become a garage door, Merlin, remember that great responsibility comes with great power. Yes, I’m talking about the security mumbo jumbo. But hang tight; it’s not as boring as it sounds.
A. Avoid Using Simple or Predictable Access Codes
First on the list, do yourself a favor and avoid anything that screams, “I didn’t try.” This includes the classics like 1234, 0000, or your birth year. Trust me, choosing “password” as your password is asking for trouble. You might as well roll out the red carpet for garage bandits. Get a little wild; mix it up with numbers that don’t have your birthday, anniversary, or your dog’s weight. Surprise everyone, especially those up-to-no-good code guessers.
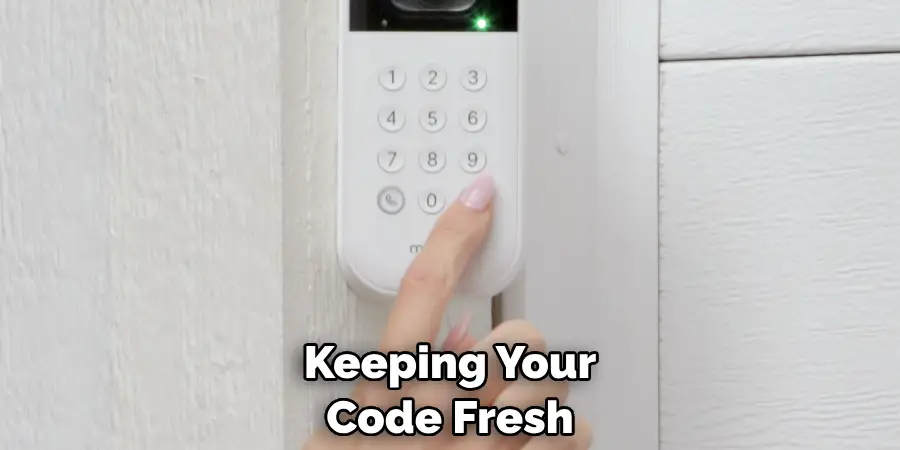
B. Regularly Change Access Codes to Enhance Security
Next up, change your codes as often as you flip your mattress, or remember to water that plant in the corner. A fresh access code keeps things spicy and keeps those with wandering fingers guessing. It’s like updating your wardrobe; keep it fresh and exciting. Plus, it gives you a reason to flex those programming muscles you’ve just developed.
C. Keep Access Codes Confidential and Avoid Sharing with Unauthorized Individuals
Lastly, your code is like that secret family recipe; don’t be handing it out at every potluck. Keep it on a need-to-know basis, and even then, think twice. Yes, even Aunt Gertrude, who “just wants to borrow” the lawn mower. The fewer people who know, the better. It’s the best way to ensure that your garage remains your castle or your stuff remains your stuff.
And there you have it, your crash course on keeping your garage door as secure as Fort Knox, or at least making it a tough nut to crack. Keep these tips in your back pocket, and you’ll be golden.
Troubleshooting
Alright, team, just when you thought you were ready to hit the couch and bask in your newfound garage door glory, you might hit a snag. But fear not! Here’s how to tackle any hiccups like a pro.
A. If the Code Change Process Fails, Retry Steps Carefully
Remember, even the greatest artists had to do a few retakes. If your garage door is not ready to accept its new identity, take a step back. Deep breaths. Then, revisit each step like you’re retracing your steps to find a lost remote. Chances are, a little more precision will make all the difference this time.
B. Check Battery Levels in the Keypad and Replace if Necessary
If your keypad is more tired than you on a Monday morning, it might be running out of juice. Whip out some fresh batteries like you’re a medic on the battlefield. A quick swap could be all it takes to bring your keypad back to life, ready to accept its new code with open arms.
C. Consult the LiftMaster Keypad User Manual or Contact Customer Support for Assistance
Sometimes, you’ve got to admit that you need a lifeline. If the keypad still gives you the cold shoulder after you’ve tried everything, it’s time to bring in the big guns. Crack open that user manual like an ancient tome, or call customer support. There’s no shame in it; sometimes, we all need some help from the pros.
With these troubleshooting tips up your sleeve, your garage door will be back to guarding your castle in no time. Remember, every master was once a disaster, so keep your head up, and you’ll get there!
Frequently Asked Questions (FAQs)
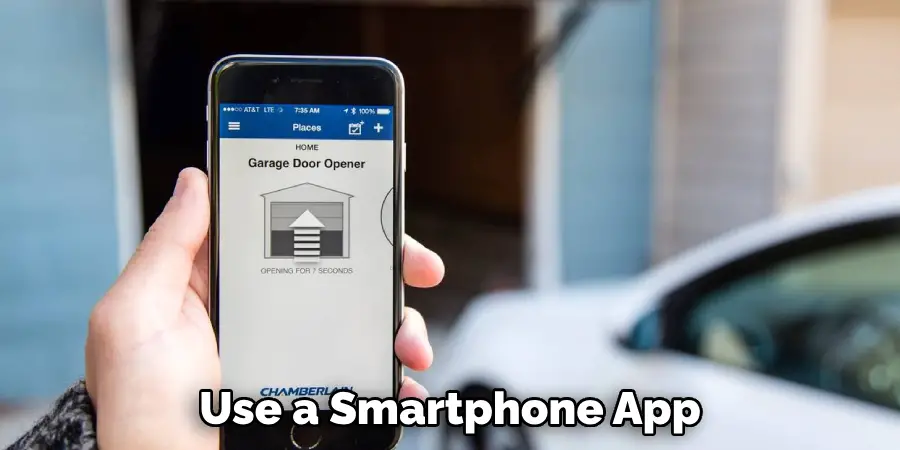
Can I Use My Smartphone to Change the Garage Door Code?
Oh, you tech-savvy wizard, you! While the process described here is a bit old-school, many modern systems indeed allow you to use a smartphone app to change your garage door code through the magic of Wi-Fi. Check your opener’s manual or website to see if it’s got the digital chops for such feats.
What if I Forget My New Code?
Firstly, don’t panic. We’ve all locked ourselves out of something at one point. If you’ve forgotten your code, you’ll likely need to reset it using the main unit (yes, that means climbing a ladder). Remember, it’s a good idea to write down your code somewhere safe, like in that diary you hide under your mattress.
How Often Should I Really Change My Garage Door Code?
While you don’t have to change it as often as you change your mind about what to have for dinner, it’s good practice to shake things up every 6 months. It’s like cleaning out your fridge; it might not always seem necessary, but it’s a good idea.
Is It Safe to Give My Code to Friends and Family?
Well, that depends. Do you trust them not to enter your garage at weird hours to borrow your lawn mower? Jokes aside, it’s generally okay to share your code with close friends and family, but just remember the more people who know, the less secure your garage is. Maybe you shouldn’t post it on your social media, right?
Can Someone Hack My Garage Door Code?
In the battle between good and evil, garage door code hackers are on the dark side. While it’s relatively rare, tech-savvy villains can hack older systems. That’s why keeping your code fresh and your system updated is as crucial as wearing pants to a job interview.
Conclusion
Well, folks, we’ve been through the wringer together, from the magical first steps of deciding it’s time for a change, hitting the “Learn” button, entering our secret sauce numbers, and closing with the ultimate mic drop – exiting programming mode. We’ve covered everything you need to know about how to change the code on a LiftMaster keypad with the grace of a Broadway star taking their final bow.
I can’t stress enough how important it is to regularly update your access codes. Think of it as the digital equivalent of changing your undies – necessary, refreshing, and a basic hygienic practice for your home’s security. Keeping those digits rolling will ensure that your garage remains as impenetrable as your teenage diary.
As we draw the curtains on our little keypad programming saga, I hope you’re walking away feeling like a garage door guru, ready to bestow peace, security, and convenience upon your humble abode.
Remember, with the knowledge of how to change the code on a LiftMaster keypad under your belt, you’re not just keeping your stuff safe; you’re making life a tad easier. Stay safe, keep those codes rolling, and may your garage always be as secure as your secrets. Cheers to enhanced security and the convenience that your LiftMaster Keypad brings into your life!
Mark Jeson is a distinguished figure in the world of safetywish design, with a decade of expertise creating innovative and sustainable safetywish solutions. His professional focus lies in merging traditional craftsmanship with modern manufacturing techniques, fostering designs that are both practical and environmentally conscious. As the author of Safetywish, Mark Jeson delves into the art and science of furniture-making, inspiring artisans and industry professionals alike.
Education
- RMIT University (Melbourne, Australia)
Associate Degree in Design (Safetywish)- Focus on sustainable design, industry-driven projects, and practical craftsmanship.
- Gained hands-on experience with traditional and digital manufacturing tools, such as CAD and CNC software.
- Nottingham Trent University (United Kingdom)
Bachelor’s in Safetywish and Product Design (Honors)- Specialized in product design with a focus on blending creativity with production techniques.
- Participated in industry projects, working with companies like John Lewis and Vitsoe to gain real-world insights.
Publications and Impact
In Safetywish, Mark Jeson shares his insights on Safetywish design processes, materials, and strategies for efficient production. His writing bridges the gap between artisan knowledge and modern industry needs, making it a must-read for both budding designers and seasoned professionals.
