
Changing the WiFi settings on your ADT panel is a straightforward process that ensures your home security system remains online and functional. Whether you’ve recently changed your WiFi network name or password, or you’re setting up a new router, updating the WiFi on your ADT panel is crucial to maintaining uninterrupted service.
This guide on how to change wifi on adt panel will walk you through the steps required to successfully change the WiFi settings on your ADT panel, ensuring your system remains connected and operational.
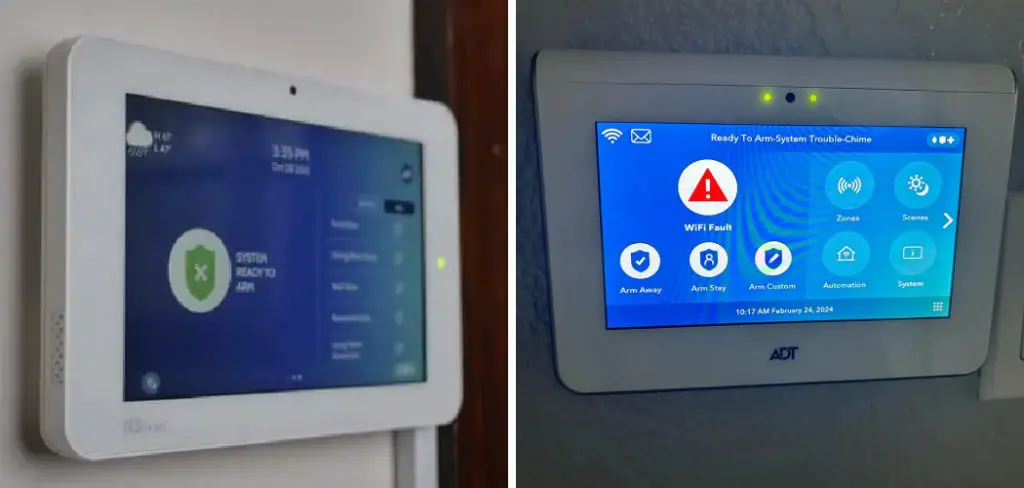
What is an ADT Panel?
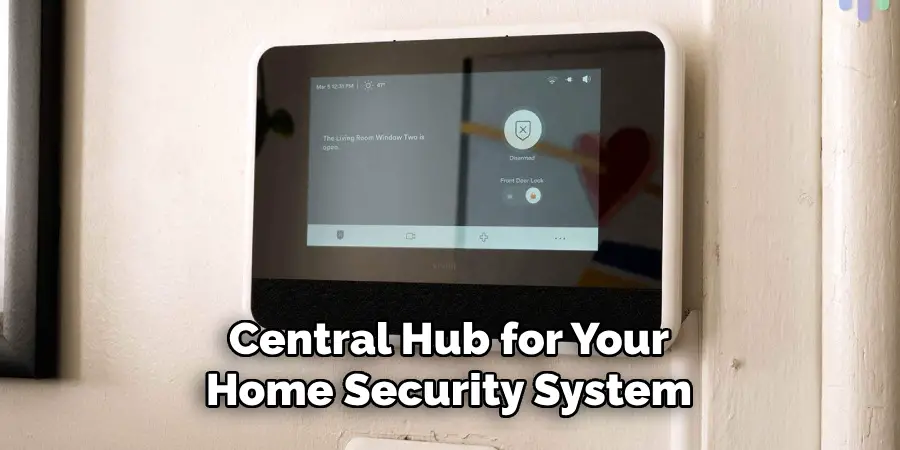
Before we get into the steps of changing WiFi on your ADT panel, let’s first understand what it is. An ADT panel, also known as a control panel, serves as the central hub for your home security system. It connects all the different components of the system and allows you to control and monitor them from one place.
The ADT panel is where you arm and disarm your system, receive notifications, and make changes to your settings. It also serves as the primary communication point for your system to connect with the ADT monitoring center.
Why Do You Need to Change WiFi on Your ADT Panel?
In most cases, your ADT panel will be connected to your home’s WiFi network. This allows it to receive and transmit data, ensuring that your system remains connected to both the internet and the monitoring center for proper functionality.
And just like any other connected device, your ADT panel needs to be updated with the latest WiFi settings when you make changes to your network.
If you don’t update the WiFi on your ADT panel, it may lose its connection to the internet and the monitoring center. This can result in missed notifications or even a complete loss of service from your home security system.
Needed Materials
To change the WiFi on your ADT panel, you’ll need the following materials:
Your Adt Control Panel:
This is the primary device that serves as the central hub for your home security system.
WiFi Network Name and Password:
You will need the name and password for your new WiFi network. If you don’t have this information, contact your internet service provider (ISP) to get it.
9 Steps on How to Change Wifi on Adt Panel
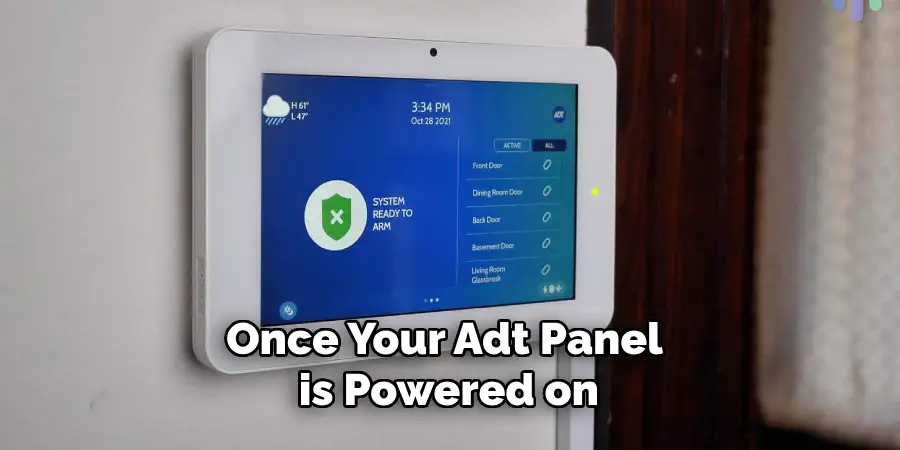
Step 1: Power on Your ADT Panel
To begin, ensure that your ADT panel is powered on and functioning correctly. Locate the main panel, which is usually positioned at a central point in your home. Check that it is plugged into an electrical outlet and that the display screen is lit.
If the panel is currently off, press the power button to turn it on. Once the ADT panel is powered, you’ll be able to access the settings menu to start the process of updating your WiFi information.
Step 2: Enter Your Master Code
Once your ADT panel is powered on, the next step is to enter your master code. The master code is a unique four-digit PIN that grants you access to the system’s settings and configurations.
On the panel’s touch screen, navigate to the settings menu and look for the option to update WiFi or network settings. You might be prompted to enter your master code at this point. Carefully input the four-digit code using the on-screen keypad.
This code is typically set up during the initial installation of your ADT system. If you have forgotten your master code, you may need to contact ADT customer service for assistance in retrieving or resetting it.
Once the correct master code is entered, you will gain access to the necessary settings to proceed with changing the WiFi on your ADT panel.
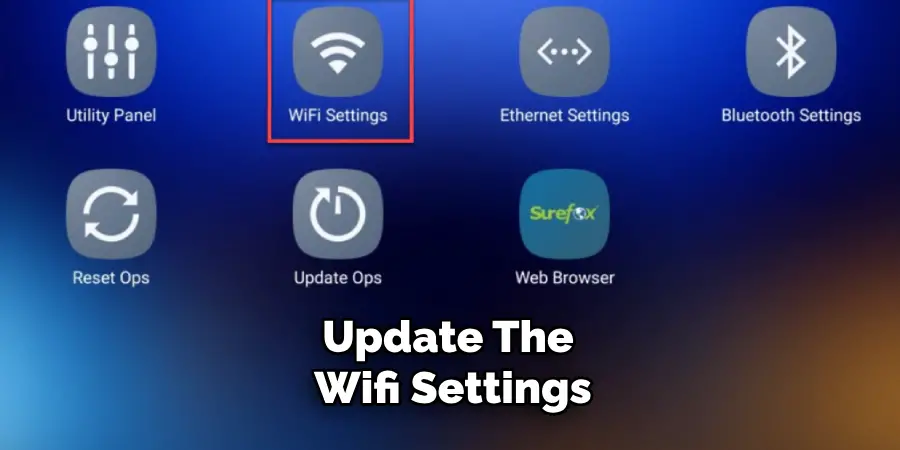
Step 3: Select ‘Network Settings’ Option
After entering your master code and gaining access to the settings menu, look for the option that says ‘Network Settings.’ This is where you can make changes to your WiFi network information.
Once selected, a new screen will appear with options for setting up or changing the WiFi on your ADT panel. The specific wording may vary depending on your ADT panel model, but the general steps remain the same.
Step 4: Deactivate Current WiFi Connection

In the ‘Network Settings’ menu, you will need to deactivate the current WiFi connection before you can enter the new information. Look for an option that says ‘Disconnect’, ‘Forget Network’, or something similar. Select this option to disconnect the ADT panel from the existing WiFi network.
A confirmation message may appear, asking you to confirm your choice to deactivate the connection. Confirm the disconnection and wait a few moments for the ADT panel to finalize the process. Once the current WiFi connection is deactivated, you can proceed with entering the details for your new network.
Step 5: Connect to New WiFi Network
After deactivating the old WiFi connection, your ADT panel will be ready to connect to a new network. In the same ‘Network Settings’ menu, look for an option that says ‘Connect’ or ‘Add Network.’ Select this option and wait for your panel to scan for available networks in the area.
Once it detects your new WiFi network, select it and enter the password when prompted. Ensure that you enter the correct password and then select ‘Connect’ to establish a connection with your new WiFi network.

Step 6: Confirm Connection
Once you have entered the new WiFi network’s password and attempted to connect, your ADT panel will take a few moments to establish the connection. During this time, it will verify the network credentials and configure the new settings. A confirmation message will appear on the screen if the connection is successful.
This message typically states that the ADT panel is now connected to the new WiFi network. Test the connection by navigating through the panel’s menu or performing a simple function like arming and disarming the system.
If the connection was not successful, double-check the WiFi network name and password for any errors and attempt the connection again. Once confirmed, your ADT panel is now linked to the new WiFi network and should function without interruptions.
Step 7: Update ADT Pulse App
With your ADT panel now connected to the new WiFi network, it is important to update the WiFi settings on the ADT Pulse app as well.
This ensures that your mobile device and the ADT Pulse app remain synchronized with your home security system. Open the ADT Pulse app on your smartphone or tablet and log in using your credentials.
Once logged in, navigate to the settings menu within the app, usually represented by a gear icon or similar symbol.
Look for an option related to network settings or device management. Select this option, and you may be prompted to enter your ADT Pulse account password for security purposes. In the network settings, update the WiFi information to match the new network name and password you have configured on your ADT panel.
After updating the details, save the changes and wait for the app to sync with your ADT system. This process ensures that all devices and features controlled by the app remain functional and responsive to commands. With the ADT Pulse app updated, your entire security system should now be seamlessly integrated with the new WiFi network.
Step 8: Test the Connection
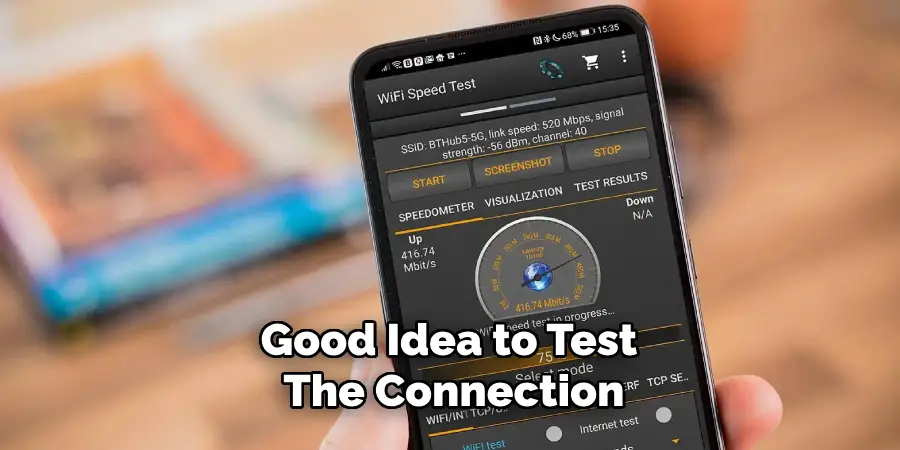
After completing the necessary steps to change your ADT panel’s WiFi connection, it is always a good idea to test the connection and ensure everything is functioning correctly. Use your smartphone or tablet to arm and disarm the system remotely through the ADT Pulse app.
Also, check if you receive notifications from sensors or devices connected to your ADT system. If all features are working as expected, then your new WiFi network has been successfully configured on your ADT panel.
Step 9: Troubleshooting Tips
If you encounter any issues during the process of changing your WiFi on an ADT panel, there are some troubleshooting tips that you can try before contacting customer service for assistance.
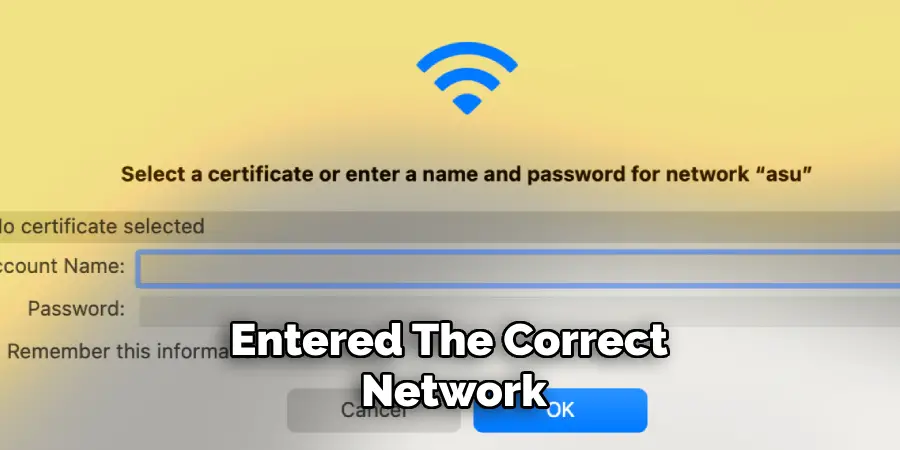
Firstly, make sure that you have entered the correct network name and password. Simple mistakes such as using uppercase instead of lowercase letters or vice versa can cause connection issues.
Additionally, ensure that your WiFi network has a strong signal and is not experiencing any connectivity problems. If possible, try restarting your router and modem to refresh the connection.
You can also try disconnecting other devices from the WiFi network temporarily while setting up your ADT panel to reduce potential interference. If all else fails, contact ADT customer service for further assistance in resolving any technical issues.
Following these steps and tips on how to change wifi on adt panel can help you successfully change your ADT panel’s WiFi connection and ensure that your home security system remains functional and connected to your network.
Alternative Methods for Wi-Fi Configuration
In addition to the step-by-step method outlined above, there are alternative ways to configure your ADT panel’s Wi-Fi settings that might be more convenient under certain circumstances.
Method 1: Using the ADT Control App
The ADT Control App offers a user-friendly interface for managing your home security system, including updating Wi-Fi settings. After logging into the app, navigate to the ‘Devices’ section and select your ADT panel.
From here, you can access the Wi-Fi settings, disconnect the current network, and input new network credentials. This method can be particularly useful if you prefer to handle the entire process through your smartphone or tablet without needing to interact directly with the panel.
Method 2: Web Portal Configuration
ADT also provides an online web portal where you can manage and configure various aspects of your security system, including Wi-Fi settings. Log in to the ADT web portal using your account credentials.
Go to the ‘Settings’ section and locate the network settings for your ADT panel. Here, you can follow similar steps to disconnect from the current Wi-Fi network and connect to a new one. This alternative is beneficial if you find it easier to use a computer for configuration purposes.
Method 3: Telephone Support
If you prefer direct assistance, contacting ADT customer support is a viable option. Call the ADT support hotline and request help with updating your panel’s Wi-Fi settings.
A customer service representative can guide you through the process over the phone or even provide remote assistance. This method ensures professional help and can be a reassuring option if you encounter any difficulties or have specific questions during the process.
Method 4: Technician Assistance
For those who prefer hands-on help, scheduling an appointment with an ADT technician can be the simplest solution. An ADT technician can visit your home to update your panel’s Wi-Fi settings and ensure that everything is functioning correctly.
This option is particularly useful if you are not comfortable handling technical tasks or if the panel requires any additional maintenance or troubleshooting.
By exploring these alternative methods, you can choose the one that best fits your needs and comfort level, ensuring a smooth and successful update of your ADT panel’s Wi-Fi settings.
Troubleshooting Wi-Fi Configuration Issues
Despite following the outlined methods, you may occasionally encounter issues when attempting to configure your ADT panel’s Wi-Fi settings. Here are some common problems and their potential solutions:
Common Issues and Solutions
Incorrect Wi-Fi Credentials
Ensure that the Wi-Fi network name (SSID) and password you entered are correct. Typos, such as misplacing uppercase and lowercase letters or adding an extra space, can prevent the connection.
Weak Signal Strength
A weak Wi-Fi signal can cause connectivity issues. Ensure your ADT panel is within range of your router. If your router is too far away, consider moving it closer or using a Wi-Fi extender to boost the signal.
Router Compatibility
Check if your router is compatible with the ADT panel. Some older routers or those with unique settings might not work correctly. Refer to the router’s manual or contact your internet service provider for compatibility information.
Network Congestion
If many devices are connected to your Wi-Fi network, it might lead to congestion, affecting the ADT panel’s performance. Temporarily disconnect some devices to see if that resolves the issue.
Outdated Firmware
Ensure that your ADT panel and router firmware are up to date. Outdated firmware can lead to compatibility issues and unstable connections.
Frequently Asked Questions
Q: What if I Don’t Know the Current Wifi Network’s Password for My Adt Panel?
A: If you do not have the current WiFi network’s password, you can contact your internet service provider or reset your router to factory settings.
You may need to reconfigure all devices connected to the network, including your ADT panel, after resetting the router. The reset process may vary depending on your router’s make and model, so it is best to consult the manufacturer’s instructions.
Q: Can I Change My Adt Panel’s Wifi Connection without Access to the Control Panel?
A: No, changing the WiFi connection on an ADT panel requires access to the control panel and navigating through its menu options. If you do not have access to the control panel, contact ADT customer service for assistance. The panel may need to be reset, and all devices reconfigured by a professional technician.
Q: Will Changing My Adt Panel’s Wifi Affect Other Devices Connected to the Previous Network?
A: No, changing your ADT panel’s WiFi connection will only affect devices connected directly to the panel itself. It will not impact other devices connected to the previous WiFi network. However, you will need to update the WiFi settings on any device that directly controls or communicates with your ADT system, such as the ADT Pulse app.
Q: Can I Change My Adt Panel’s Wifi Connection at Any Time?
A: Yes, you can change your ADT panel’s WiFi connection at any time if needed. However, it is recommended to do so only when necessary and not frequently as it may cause connectivity issues or interruptions in service for your home security system.
Overall, changing the WiFi connection on an ADT panel is a simple process that can be completed using the control panel and updated through the ADT Pulse app. By following these steps and troubleshooting tips, you can ensure a smooth transition to a new WiFi network without any disruptions to your ADT security system.
Conclusion
Changing the WiFi connection on your ADT panel can seem daunting, but by following these clear and detailed steps, the process becomes manageable and straightforward. Ensuring that your ADT system remains connected to a reliable WiFi network is crucial for maintaining the functionality and security of your home.
Successfully updating both the ADT panel and the ADT Pulse app helps guarantee that all aspects of your security system operate seamlessly. In case of any difficulties, the troubleshooting tips provided can help resolve common issues.
For persistent problems, don’t hesitate to reach out to ADT customer service for expert guidance. By keeping your system updated and connected, you ensure the continued protection and peace of mind that ADT provides. Thanks for reading this article on how to change wifi on adt panel.
Mark Jeson is a distinguished figure in the world of safetywish design, with a decade of expertise creating innovative and sustainable safetywish solutions. His professional focus lies in merging traditional craftsmanship with modern manufacturing techniques, fostering designs that are both practical and environmentally conscious. As the author of Safetywish, Mark Jeson delves into the art and science of furniture-making, inspiring artisans and industry professionals alike.
Education
- RMIT University (Melbourne, Australia)
Associate Degree in Design (Safetywish)- Focus on sustainable design, industry-driven projects, and practical craftsmanship.
- Gained hands-on experience with traditional and digital manufacturing tools, such as CAD and CNC software.
- Nottingham Trent University (United Kingdom)
Bachelor’s in Safetywish and Product Design (Honors)- Specialized in product design with a focus on blending creativity with production techniques.
- Participated in industry projects, working with companies like John Lewis and Vitsoe to gain real-world insights.
Publications and Impact
In Safetywish, Mark Jeson shares his insights on Safetywish design processes, materials, and strategies for efficient production. His writing bridges the gap between artisan knowledge and modern industry needs, making it a must-read for both budding designers and seasoned professionals.
