Are you looking for an efficient way to change your Eufy Robovac wifi? With the increasingly interconnected world, it is no longer enough to use a traditional vacuum cleaner, but rather upgrade to something that can not only clean your house with precision and ease but also give you maximum control over how and when it works.

Eufy Robovac provides users with this level of control by giving them the ability to connect their robot vacuums directly to their home networks, allowing for remote scheduling and manual operation from smartphones or devices.
However, issues with wifi connections can occasionally arise; to solve those issues, learning how to change the wifi on your Eufy Robovac properly is essential! In this blog post, we’ll provide a comprehensive guide on taking full advantage of all the features offered by connecting your robot vacuums wirelessly. So keep reading to learn more about how to change wifi on Eufy Robovac.
Reasons to Change Wi-Fi on Eufy Robovac
Changing the Wi-Fi network on a Eufy Robovac can be necessary for several reasons, including:
- Moving to a new home: If you move to a new home, you will likely have a different Wi-Fi network with a new SSID and password. Your Eufy Robovac needs to be connected to the new Wi-Fi network to function properly.
- Changing Internet service providers: If you change your Internet service provider, you will also need to change the Wi-Fi network on your Eufy Robovac. This is because the SSID and password will be different from your previous internet service provider.
- Upgrading your Wi-Fi network: If you upgrade your Wi-Fi network, you may need to reconnect your Eufy Robovac to the new network to take advantage of the faster speeds or increased coverage.
- Wi-Fi network issues: If you are experiencing issues with your current Wi-Fi network, such as slow speeds or intermittent connectivity, you may want to switch to a different network. In this case, you will need to update the Wi-Fi network settings on your Eufy Robovac to connect to the new network.

In any of these situations, changing the Wi-Fi network on your Eufy Robovac is necessary to ensure that the device can connect to the internet and perform its cleaning functions.
10 Step-By-Step Guides on How to Change Wifi on Eufy Robovac
Step 1: Download the Eufy Home App:
The first step in changing the Wi-Fi network on your Eufy Robovac is to download the official Eufy Home app from either Google Play Store or Apple App Store. Once you have downloaded and installed it, launch it on your smartphone.
Step 2: Sign Into Your Eufy Account:
Now, sign into your account using either your Google or Apple ID. If you don’t have an account, then create one.
Step 3: Select ‘Robovac’ from the Home App Menu:
On the home screen of the app, select ‘Robovac’ from the menu. This will take you to the page where you can control your Eufy Robovac.
Step 4: Select ‘Settings’
Select ‘Settings’ from the options on the left side of the screen. Once you have entered this page, select ‘Wi-Fi Network Settings’.
Step 5: Select ‘Disconnect from Wi-Fi’
Now, you will need to select the option ‘Disconnect from Wi-Fi’. This will disconnect your Eufy Robovac from the current network it is connected to.
Step 6: Connect Your Robot Vacuum to the New Wi-Fi Network
Now, you will need to select the option ‘Connect to a New Wi-Fi Network.’ You will then be prompted to enter the SSID and password of the new network to which you would like your Eufy Robovac to connect. Enter these details and select ‘Connect.’
Step 7: Wait for the Connection to be Established
Once you have entered the details of the new network, your Eufy Robovac will attempt to connect to it. Wait a few moments until the connection is established, and then select ‘Next’.
Step 8: Select the ‘Continuous Cleaning’ Mode
Once the connection is established, you will be prompted to select a cleaning mode for your Eufy Robovac. Select the ‘Continuous Cleaning’ mode and then press ‘Next’.
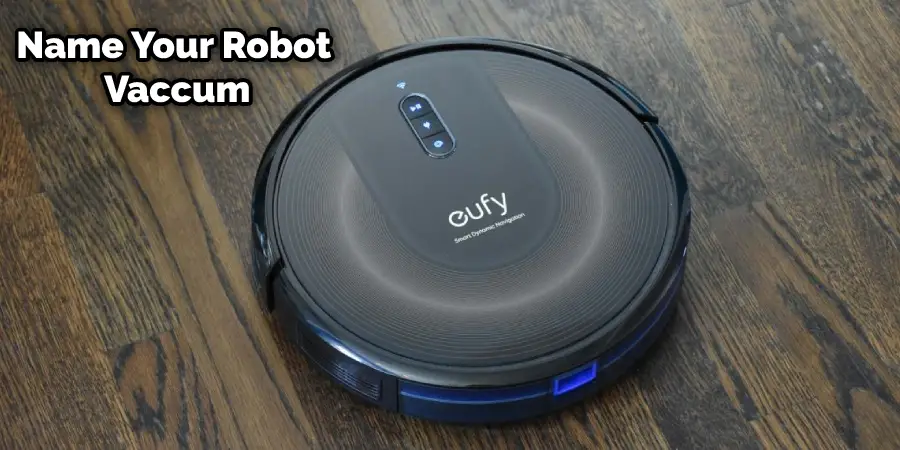
Step 9: Name Your Robot Vacuum
Now, you will be asked to name your Eufy Robovac. You can give it any name you want. Once you have named it, select ‘Next.’

Step 10: Confirm Your Changes
Finally, review all your changes and confirm them by selecting ‘Save’. You will then be taken back to the settings page of your Eufy Home app, where you can start using your Robovac with the new Wi-Fi network.
And that’s it! You have successfully changed the Wi-Fi network on your Eufy Robovac. Your robot vacuum is now ready for use on the new network. Enjoy!
10 Troubleshooting Tips on How to Change Wifi on Eufy Robovac
1. Make Sure You Are Using the Correct Ssid:
When entering the SSID of your new Wi-Fi network, make sure that the details you are entering are correct. Incorrect spelling or incorrect characters can lead to connection errors.
2. Make Sure You Are Using the Correct Password:
Similarly, when entering the password for your new Wi-Fi network, make sure that the details you are entering are correct. Incorrect spelling or incorrect characters can lead to connection errors.
3. Make Sure Your Device is Within Range of Your Wi-Fi Network:
Make sure that your Eufy Robovac is within range of the new Wi-Fi network before attempting to connect it. If your device is too far away, it will not be able to connect.
4. Make Sure Your Wi-Fi Network Is Not Hidden:
If your new Wi-Fi network is hidden, then the Eufy Robovac may not be able to connect to it. Make sure your Wi-Fi network is visible before attempting to connect your device.
5. Make Sure You Have Enabled Network Sharing:
If you are using a shared network, then make sure that network sharing is enabled on the router before connecting your Eufy Robovac. If it is not, then the robot vacuum may not be able to connect.
6. Make Sure Your Wi-Fi Network Is Not Too Busy:
If your network is too busy, then Eufy Robovac may not be able to connect. Try disconnecting other devices from the network or using a different access point with fewer connections.
7. Make Sure You Are Using The Latest Firmware Version:
Make sure that your Eufy Robovac is running the latest firmware version before attempting to connect it to a new Wi-Fi network. This will help ensure that the connection is successful.
8. Make Sure Your Router Is Compatible With Your Device:
Before attempting to connect your Eufy Robovac, make sure that it is compatible with your router. If the router does not support the device, then you will not be able to connect.
9. Make Sure Your Router Is Up To Date:
Make sure that your Wi-Fi router is up to date before attempting to connect your Eufy Robovac. Outdated routers may cause connection issues.
10. Reach Out To Eufy Support:
If you are still having trouble connecting your Eufy Robovac, then reach out to Eufy support for more help and advice. They will be able to answer any questions you have about setting up the device.
Congratulations! You have now learned how to change the Wi-Fi network on your Eufy Robovac. With these ten troubleshooting tips, you should be able to connect your robot vacuum to a new Wi-Fi network easily.
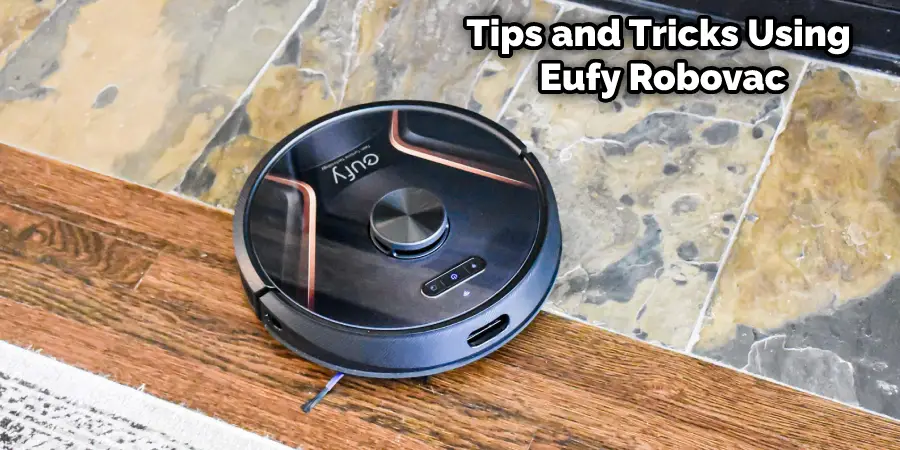
Some Additional Tips and Tricks for Using the Eufy Robovac
Here are some additional tips and tricks for using the Eufy Robovac:

- Schedule cleaning times: One of the great features of the Eufy Robovac is the ability to schedule cleaning times. To do this, simply open the Eufy Home app and select your device. Then, tap on the “Schedule” button and select the days and times you want your Robovac to clean. You can set up different schedules for different days of the week.
- Use the app to control the device: The Eufy Home app is an essential tool for controlling your Robovac. In addition to scheduling cleaning times, you can use the app to start and stop cleaning cycles, adjust the suction power, and even manually control the device using the joystick function.
- Create no-go zones: If there are certain areas in your home where you don’t want your Robovac to clean, you can create no-go zones using the app. Simply draw a virtual boundary on the app’s map, and your Robovac will avoid that area during cleaning cycles.
- Use the edge cleaning mode: The Eufy Robovac comes with an edge cleaning mode that is perfect for cleaning along baseboards, walls, and corners. To activate this mode, press the button on the device or select it in the app.
- Clean the brushes regularly: To ensure optimal performance, it’s important to clean the brushes on your Robovac regularly. You can remove and clean the brushes with a soft brush or cloth.
- Use the magnetic boundary strips: If you have areas in your home where you want to create a physical boundary for your Robovac, you can use the included magnetic boundary strips. Simply place the strips on the floor to create a no-go zone for your device.
By following these tips and tricks, you can get the most out of your Eufy Robovac and keep your home clean and tidy with minimal effort.
Conclusion
In conclusion, changing the Wi-Fi network on your Eufy Robovac is a simple process that can be necessary when you move to a new home, change internet service providers, or upgrade your Wi-Fi network. By following the step-by-step guide and troubleshooting tips, you can quickly and easily connect your Robovac to the new network and continue to enjoy its cleaning capabilities.
Additionally, by using the app and taking advantage of features such as scheduling cleaning times, creating no-go zones, and using edge cleaning mode, you can optimize your Robovac’s performance and keep your home clean with minimal effort. With these tips and tricks, you can make the most of your Eufy Robovac and enjoy a clean, tidy home without the hassle of manual vacuuming. Thanks for reading this article about how to change Wifi on Eufiy Robovac.
