
Are you having trouble charging your Nissan key? You’re not alone. Many drivers have difficulty with this task, especially if they are new to owning a Nissan vehicle.
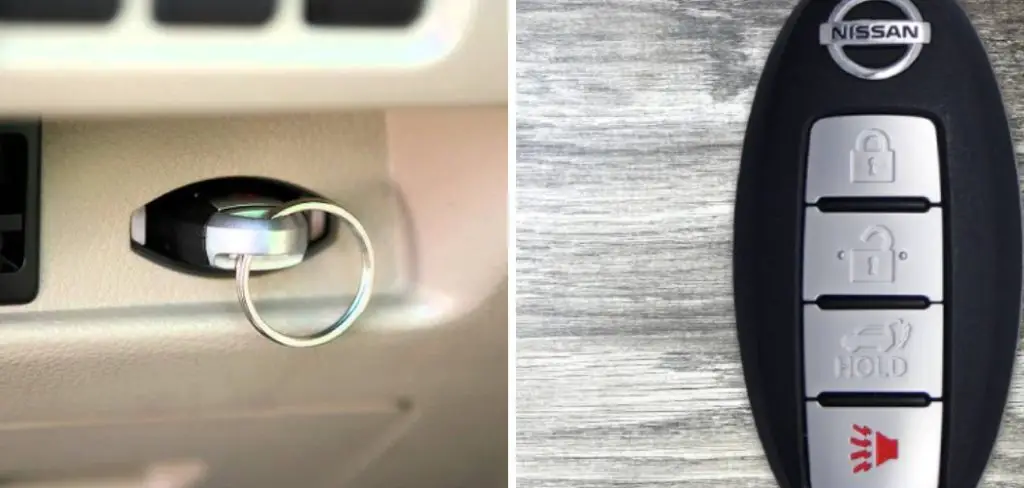
How to charge Nissan key is essential for maintaining its functionality and ensuring seamless access to your vehicle. Many modern Nissan keys use rechargeable batteries that require periodic charging rather than regular battery replacement. Following a few simple steps, you can easily recharge your Nissan key and maintain its performance.
This guide will walk you through the charging process, covering everything from identifying whether your key fob needs charging to connecting it to a power source. Understanding how to charge your Nissan key efficiently will save you from unnecessary inconvenience and enhance your car ownership experience.
What Will You Need?
Gathering all the necessary items is essential before you begin the charging process. These include:
- Your Nissan key fob
- A USB cable or charging dock
- A power source (computer USB port or wall outlet)
Having everything at hand will make the process smoother and quicker.
10 Easy Steps on How to Charge Nissan Key
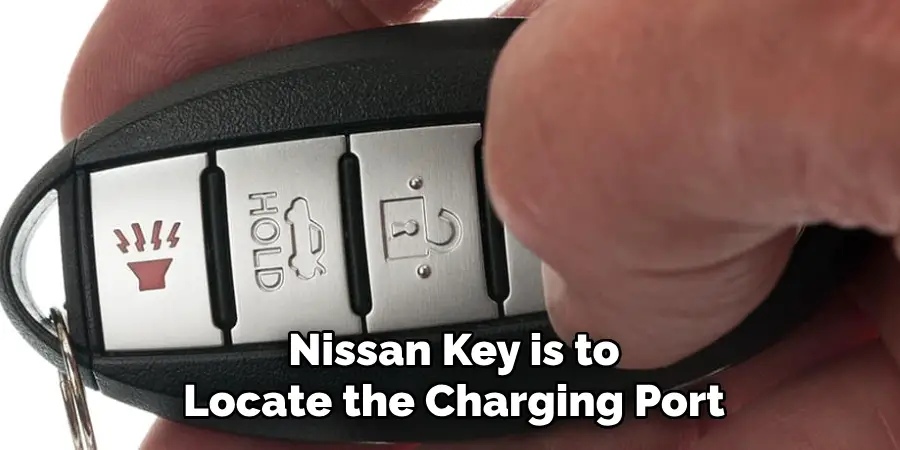
Step 1. Identify the Charging Port:
The first step in charging your Nissan key is to locate the charging port on the key fob. Most Nissan key fobs have a small, discreet port, typically on the device’s side or bottom. Check your key fob carefully and identify the indentation or flap that covers the charging port. If you’re unsure, consult your vehicle’s user manual or contact a Nissan service center for guidance. Clearly identifying the charging port ensures you can connect your charging equipment accurately and avoid damaging the key fob.
Step 2. Connect the USB Cable or Charging Dock:
Once you’ve identified the charging port, the next step is to gather your USB cable or charging dock. If you’re using a USB cable, ensure it matches the port type on your key fob—USB-C, micro-USB, or another variety based on your model. After verifying compatibility, gently insert the USB cable into the key fob’s charging port. If you’re using a charging dock, position the key fob so that the charging connectors align with those on the dock and place the key securely on it.
It’s crucial to avoid applying excessive force during connection to prevent damage to the ports or cables. Once connected, check that the connection is firm and stable, allowing proper power transfer for efficient charging. You may see a small indicator light on the key fob or dock to confirm that the charging process has begun. If no light is present, ensure everything is properly connected and that the power source is active.
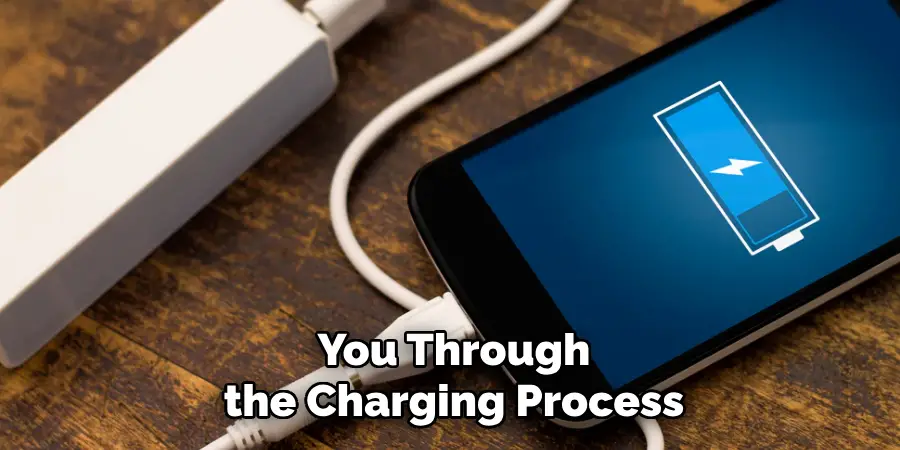
Step 3. Connect to a Power Source:
With the USB cable or charging dock connected to your key fob, it’s time to link it to a power source to begin charging. You have two primary options: a computer USB port or a wall outlet. If you choose to use a computer, plug the USB end of the cable into an available USB port. To charge via a wall outlet, you may need a USB adapter; insert the adapter into the outlet and then connect the USB cable to it. Ensure that the power source is turned on, as some devices, such as computers, may not supply power if powered off or in sleep mode. A reliable power connection is essential for effective charging and full battery performance.
Step 4. Check for Charging Indicators:
After connecting your Nissan key fob to a power source, it’s essential to ensure that the charging process has commenced. Many vital fobs feature a small LED light as a charging indicator. This light is typically located near the charging port or on the surface of the key fob, and it may display a range of colors or blink to signify various charging states.
A steady or flashing light indicates that charging is in progress, whereas some key fobs may show different colors, such as red or orange during active charging and green when the battery is fully charged. If your key fob lacks a visible indicator light, you may need to rely on other cues, such as an icon or message on the vehicle’s dashboard when the key is powered on after charging. Verify the connections and power source without any charging confirmation, and consult your vehicle’s manual for additional troubleshooting steps.
Step 5. Allow the Key Fob to Charge:
Once you have confirmed that the charging process has started, allow your Nissan key fob to charge uninterrupted. The time required for a full charge can vary depending on the battery’s current level and the specific model of the key fob, but typically, it ranges from one to three hours. During this time, avoid unplugging the cable or moving the charging dock, as this can disrupt the charging process. It’s advisable to place the key fob in a secure location where it won’t be disturbed. Patience at this stage ensures that the battery reaches its maximum capacity, essential for maintaining optimal key fob performance and preventing frequent charging cycles.
Step 6. Monitor the Charging Progress:
While your Nissan key fob is charging, it’s essential to check on the progress to prevent overcharging periodically. Most key fobs are designed to stop drawing power once they reach full capacity, but it’s still a good practice to manually monitor the situation. Look for any changes in the indicator light, such as a color change or the light turning off, which typically signifies a complete charge. If there is no indicator light, consider setting a timer according to the average charging duration for your model. Consistent monitoring helps ensure the battery’s health and longevity.
Step 7. Disconnect the Key Fob from the Power Source:
Once your Nissan key fob has achieved a full charge, it’s time to disconnect it from the power source safely. Begin by gently removing the USB cable from the key fob’s charging port—taking care to avoid pulling the cable too forcefully, which could damage the port or cable. If you use a charging dock, carefully lift the critical fob off the pier to terminate the charging process. After disconnection, ensure that the USB cable, charging dock, and key fob are stored safely for future use. Responsible handling during disconnection helps extend the lifespan of your key fob and charging accessories, ensuring reliable performance when needed.

Step 8. Test the Key Fob Functionality:
After fully charging and disconnecting your Nissan key fob, it’s essential to verify it is functioning correctly. Use the key fob to lock and unlock your vehicle’s doors remotely. Ensure that the car responds promptly to the commands. Test any other features or buttons on the key fob, such as the panic button or trunk release, to confirm that they are operational. If the key fob fails to perform these essential functions, double-check that it was appropriately charged, and consider consulting the user manual or contacting a Nissan service center for further assistance. Ensuring that your key fob works correctly after charging confirms a successful charge and provides peace of mind.
Step 9. Maintain Your Key Fob Battery:
Now that your Nissan key fob is fully charged and functioning well, maintaining the battery’s health is essential for longevity and reliability. Avoid exposing the critical fob to extreme temperatures, as intense heat or cold can degrade the battery’s performance. Store the key fob in a safe, dry place when not in use, and consider regularly checking its charge level to ensure it’s ready when needed. If the battery drains more quickly than usual, it may indicate the need for a replacement. Periodic maintenance and mindful usage can significantly extend the life of your key fob’s battery, ensuring your vehicle’s remote functions remain efficient and dependable.
Step 10. Update Key Fob Software:
Updating your Nissan key fob with the latest software can enhance its functionality and security. Occasionally, manufacturers release firmware updates to improve performance or resolve connectivity issues. Refer to your vehicle’s user manual or visit the Nissan website to check for updates. Follow the instructions to download and install any available updates. This process may require you to connect the key fob to a computer or use a mobile app designed for your vehicle. Regularly updating your critical fob software ensures you benefit from the latest improvements and security features, maintaining optimal operation.
By following these steps, you can ensure that your Nissan key fob remains charged and functional, providing convenient access to your vehicle’s remote functions.

Conclusion
How to charge Nissan key efficiently is a straightforward process that can be accomplished with a keen awareness of your device’s specific requirements and careful handling.
By acknowledging the significance of checking for charging indications, allowing sufficient time for a full charge, and safely disconnecting the device, you can maximize both the battery life and the reliability of your key fob. Regularly testing the functionality after charging ensures that the key is always ready for use while maintaining its battery health through mindful storage practices will prevent premature deterioration. Additionally, staying current with software updates will keep your key fob working smoothly and securely, offering you peace of mind with every use.
Your Nissan key fob will remain a dependable tool for convenient vehicle operation by consistently following these steps.