
Do you want to make sure your home is safe and secure? Installing a SimpliSafe security system is one of the best ways to stay protected. But these systems rely on reliable power sources like batteries, so checking them regularly is essential for your safety and peace of mind.
Keeping your home safe and secure is essential, so SimpliSafe is an increasingly popular choice among homeowners. However, if you own a SimpliSafe system, regularly checking your batteries is one of the most important components of maintaining it over time.
This helps ensure you’re always notified in case a window or door sensor has been triggered, and the battery needs to be replaced before the system stops functioning correctly.
In this blog post, we’ll be talking through some tips for how to check SimpliSafe batteries – so that your home can remain effectively monitored all year round!
What Will You Need?
First, let’s take a look at what you’ll need to check your SimpliSafe batteries. These are given below:
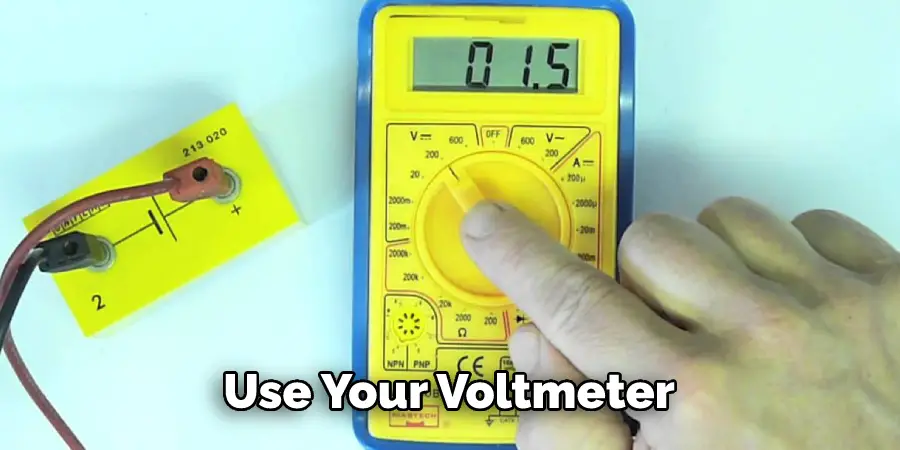
- A voltmeter
- Replacement batteries
- An understanding of how to use a voltmeter
- A Phillips screwdriver
Once you’ve got the above items, you’re ready to move onto checking SimpliSafe batteries.
10 Easy Steps on How to Check Simplisafe Batteries
Step 1: Locate the Sensors
The first step is to locate the sensors that require battery replacement. Depending on how many sensors you have, this can take a bit of time. Generally, you’ll find them located around windows and doors – both externally and internally.
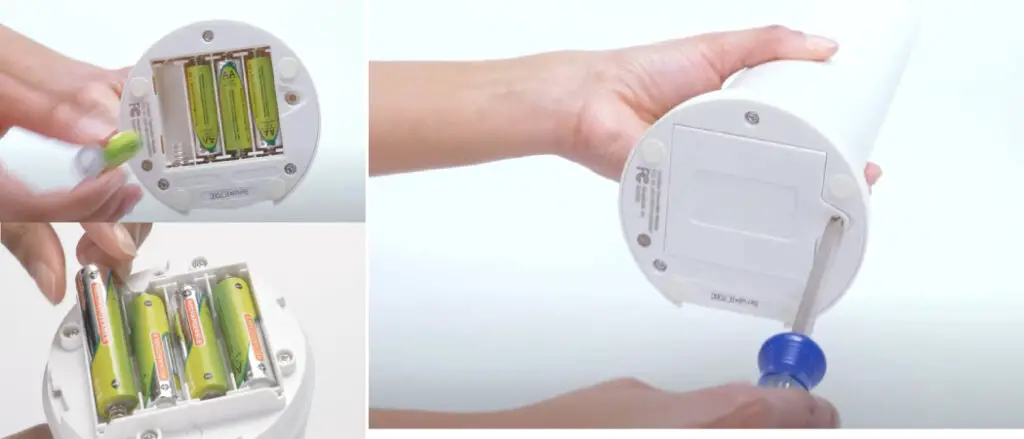
Step 2: Unscrew the Sensor Cover
The next step is to take off the sensor cover using a Phillips screwdriver. This should be relatively easy to do, but it can depend on how securely the screws are fastened. If you’re having difficulties, don’t use too much force to remove the screws, as this could damage the sensor.
Step 3: Check Battery Status with Volt Meter
Once you can access the battery, use your voltmeter to check its current status. If it reads below 3 volts, then this indicates that the battery needs replacing. It’s also important to rotate each battery to get an accurate reading. Because some batteries can become stuck and will not rotate, you may need to use a pry tool to help release them.
Step 4: Remove the Old Battery
If the reading indicates that the battery needs to be replaced, then it’s time to remove this. Make sure you do this carefully, being careful not to damage any of the wires. Once it has been removed safely, dispose of it according to your local regulations. Be careful not to mix it with other types of waste.
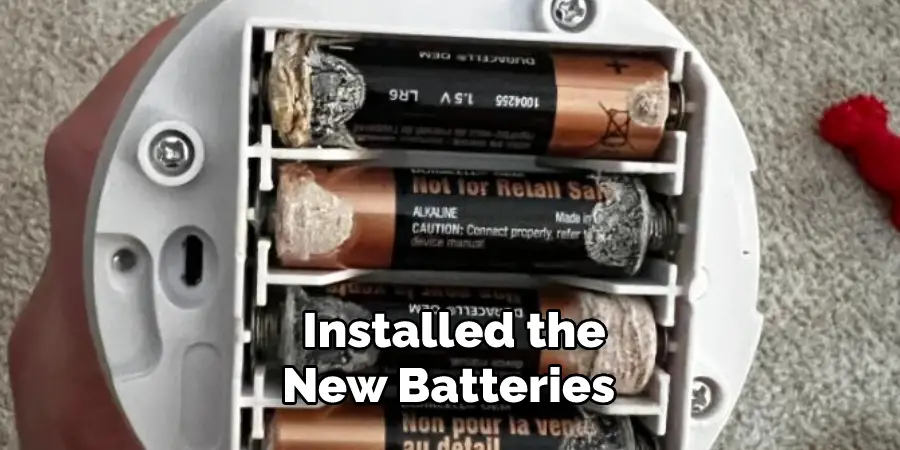
Step 5: Insert New Batteries
Now take your new batteries and insert them into the sensor in place of the old ones. Make sure that both are firmly secured – if they’re too loose, then this could cause problems with how well the system functions further down the line. Be careful not to over-tighten the screws, as this could also cause damage.
Step 6: Check Battery Voltage Again
Once you’ve successfully installed the new batteries, it’s time to check the voltage again. This will be necessary to get an accurate reading and make sure that everything is working correctly. You can repeat this process for each of your sensors. Depending on how many there are, this could take quite a bit of time – so set aside at least an hour or two before you start the process.
Step 7: Put Covers Back On
After each sensor is checked, put the cover back on securely using a Phillips screwdriver. Again, don’t over-tighten the screws, as this could cause damage. Because you’ll be doing this for each one, it’s best to ensure you have enough replacement screws in case any get damaged or lost.
Step 8: Check the System
Once all of the sensors have been checked, it’s time to check how effective the system is now that new batteries have been inserted. To do this, simply walk around your home and check whether you receive notifications when a window or door opens. If not, repeat steps 1-7 for each sensor until the system works correctly.
Step 9: Store Spare Batteries
It’s important to store any spare batteries safely in case one needs to be replaced later. Ensure they are kept away from children and pets – preferably in a fireproof container so that there is minimal risk of any accidents. Additionally, it’s also important to regularly test them to ensure they are still functioning correctly.
Step 10: Enjoy Your System
The final step is to enjoy your newly updated Simplisafe system! You can rest assured that you’re protected against any potential intrusions – as long as you check the batteries regularly and replace them when necessary. Remember that it’s best to do this every six months to keep your system functioning correctly.
By following these steps, you should now have a better understanding of checking SimpliSafe batteries! This will help ensure your system works correctly and protect you against unwanted visitors. Remember to keep spare batteries on hand in case they need replacing, and follow steps 1-10 whenever a battery needs replacing.
5 Additional Tips and Tricks
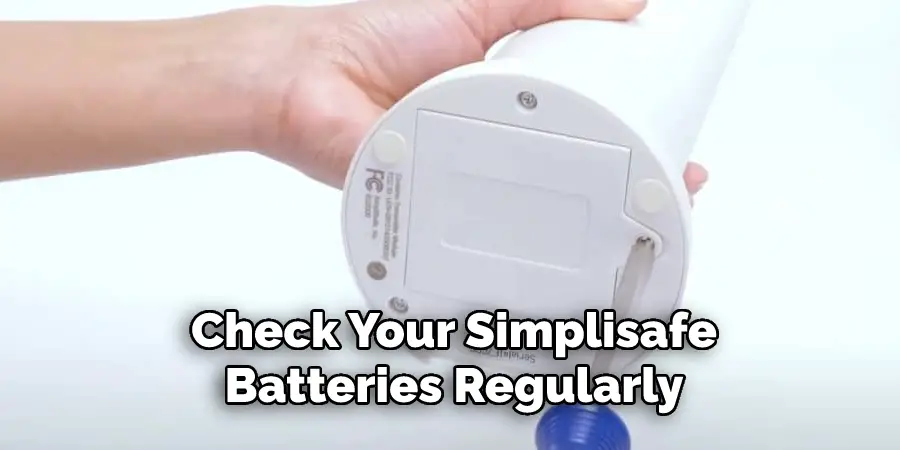
1. Check Your Simplisafe Batteries Regularly. Every few months, check the status of your batteries. If the battery indicator is green, then everything’s working smoothly. If it’s yellow or red, replace the battery with a fresh one to ensure your system stays functional and secure.
2.Keep a Spare Set of Batteries on Hand. It pays to be prepared! We recommend keeping extra batteries in case you need to change out a dying battery in your SimpliSafe system quickly.
3. Test Your Sensors Regularly. You should test each sensor every few months to make sure they are functioning correctly and connected properly to the base station. To do this, simply press the test button located on each alarm sensor or other device and wait for an audible sound from the base station to see if everything is working correctly.
4. Use High-quality Batteries in Your Simplisafe Devices. It’s important to use quality batteries in your SimpliSafe devices to ensure that they last as long as possible. Choose from brands like Energizer, Duracell, and Rayovac for the best performance.
5.Keep a Log of Your Simplisafe Device Battery Levels. Keeping track of how often you need to change your batteries can help you avoid potential issues with your system. Make sure to check and record each device’s battery level every few months, so you know when it’s time to change them out.
By following these tips, you can ensure that your SimpliSafe system is always running smoothly and securely. With the right preparation, checking SimpliSafe batteries doesn’t have to be a hassle—it can be simple and easy!
By following these tips, you can ensure that your SimpliSafe system is always running smoothly and securely. With the right preparation, checking SimpliSafe batteries doesn’t have to be a hassle—it can be simple and easy!
5 Things You Should Avoid
- Don’t ignore the expiration date on your SimpliSafe batteries – replace them as soon as they expire. Even if the batteries appear to be working, replacing them promptly is important so you don’t risk losing power in an emergency.
- Don’t wait until your notification light is flashing before changing your batteries – change them every six months, even if no signs of a problem are present.
- Don’t use any old batteries for your SimpliSafe system – always use the correct type of battery recommended by the manufacturer to ensure optimal performance and protection.
- Don’t wait until you can’t easily access your sensors before testing them out – make sure to check the connection to each sensor regularly and replace or repair any faulty ones right away.
- Don’t forget to check how much power your device is actually drawing – this will help you know how often you should be replacing its batteries and how many extra batteries you should have on hand in case of a power outage or other emergency situations.

Following these tips ensures that your SimpliSafe system runs efficiently and is always ready to protect your home or business. With the right maintenance, you can keep your system safe and reliable for years to come.
Conclusion
Checking your SimpliSafe batteries regularly not only gives you peace of mind that your system is always functioning correctly, but it also ensures that you can keep an eye on any activity around your property. Having a strong and reliable battery is crucial to the performance of SimpliSafe systems for home security, and a regular check-in protects your home from unwanted intruders.
Additionally, by following the instructions detailed in this blog post, you can easily do a self-service checkup without investing in a professional technician or master electrician. With all the reasons at hand, it ought to be rightly said that taking adequate time out to do regular battery checkups is really worth it!
Hopefully, the article on how to check SimpliSafe batteries has been helpful. Keep these tips in mind, and stay safe! Good luck!