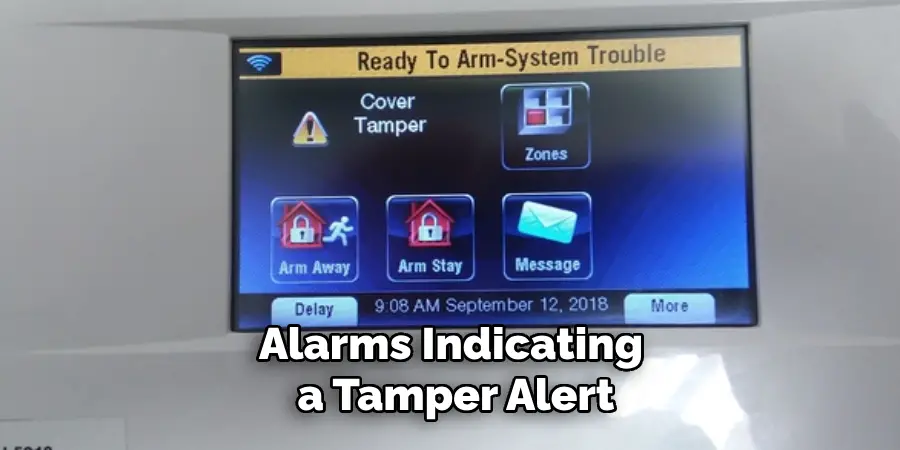
Are you getting a “Base Cover Tamper” error on your ADT security system? This can be caused by a number of factors, such as a loose base cover or a faulty sensor.

Dealing with a base cover tamper alert on your ADT security system can be frustrating, but understanding the steps to clear it can save you time and anxiety.
A base cover tamper alert typically occurs when the cover of a security system component, such as a motion detector or control panel, has been removed or is not properly secured.
This alert is a protective measure to ensure your system’s integrity, notifying you of possible tampering or incorrect installation.
In this guide, we’ll walk you through the process of how to clear base cover tamper ADT, ensuring your ADT system continues to function effectively in safeguarding your home.
What are the Benefits of Clearing Base Cover Tamper ADT?
By clearing the base cover tamper on your ADT system, you can enjoy the following benefits:
- Peace of Mind: A cleared base cover tamper alert ensures that your system is free of potential security threats or issues.
- Proper Functioning: A tampered base cover can affect the proper functioning of your security system, leading to false alarms or a compromised system. Clearing the base cover tamper ensures that your system is functioning as intended.
- Avoiding Unnecessary Calls: An unresolved base cover tamper alert may result in repeated notifications to ADT, multiple service calls, and potential fees.
Clearing base cover tamper ADT will ensure that your security system remains effective and reliable in protecting your home and loved ones.
What Causes Tamper?
There are a few reasons why your ADT security system may display a base cover tamper alert:
- Loose Base Cover: If the cover of any component is not secured tightly, it may trigger the base cover tamper alert.
- Sensor Malfunction: A faulty sensor can also cause a tamper alert. In this case, the sensor may need to be replaced.
- Incorrect Installation: If any component of your ADT system is not installed correctly, it may trigger a base cover tamper alert. This could be due to improper wiring or mounting.

These are just some of the common causes of base cover tamper alerts, but other factors may also be at play.
What Will You Need?
To successfully clear base cover tamper ADT, you will need the following:
- ADT Security System: This guide is specific to ADT security systems. If you have a different brand of security system, it may have a different process for clearing base cover tamper.
- Access Code: You will need your access code to enter into your security system’s keypad.
- System Manual: Your system manual contains information on how to clear base cover tamper for your specific ADT system model. You can usually find the manual online or contact ADT for assistance if you do not have a physical copy.
Once you have these items ready, you can begin the process of clearing the base cover tamper ADT.
10 Easy Steps on How to Clear Base Cover Tamper ADT
Step 1. Disarm Your System:
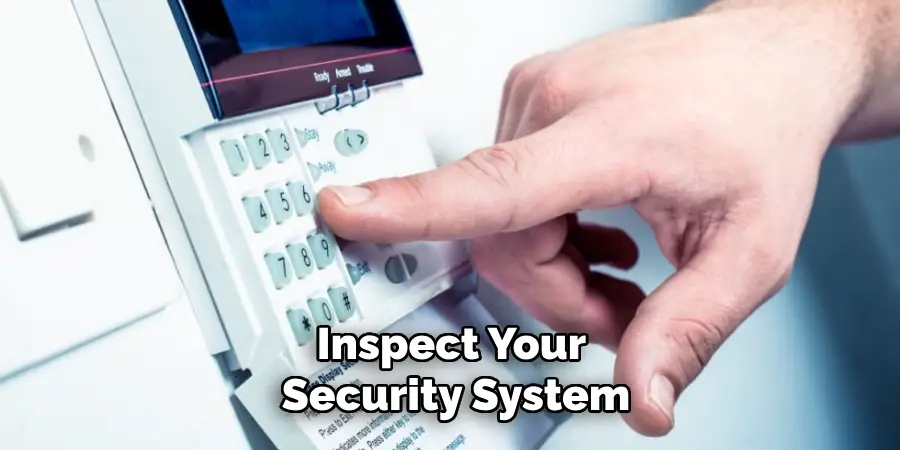
The first step in addressing the base cover tamper alert is to disarm your ADT security system. To do this, input your access code on the system’s keypad and follow the prompts to disarm. This ensures that the system will not trigger additional alerts or alarms while you are working on it.
If the system is not disarmed, attempting to access the control panel or other components may set off the alarm, creating more hassle.
Step 2. Locate the Component with the Tamper Alert:
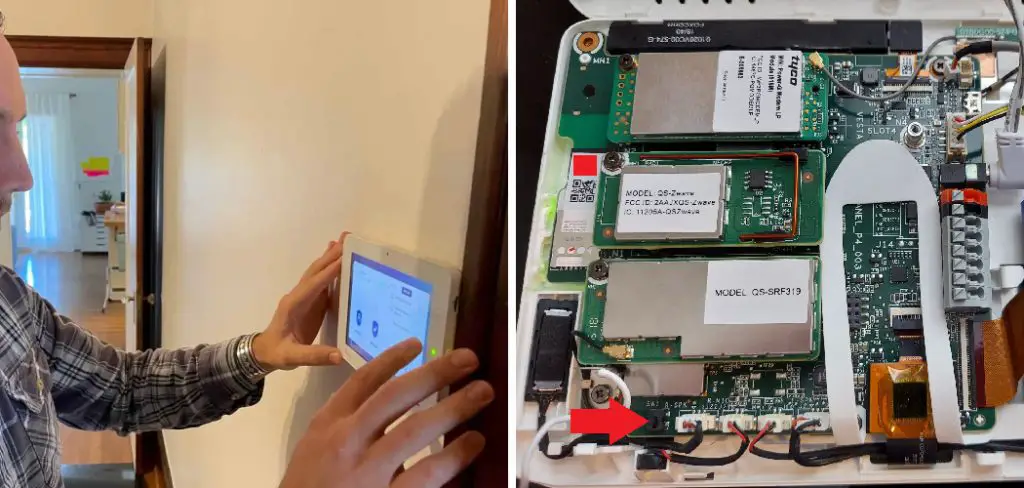
Identify the specific component triggering the base cover tamper alert. This could be any part of the security system, such as the main control panel, a motion detector, or a window/door sensor.

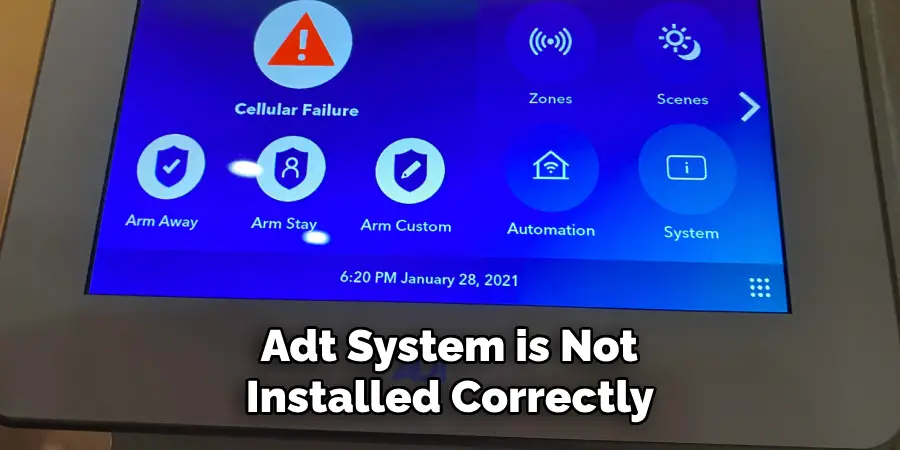
Most ADT systems will display the affected component on the control panel screen, helping you quickly locate it without guesswork. The system manual may also have diagrams or descriptions of each component’s location.
Step 3. Inspect the Base Cover:
Once you have identified the component with the tamper alert, carefully inspect its base cover. Look for any signs of damage, misalignment, or looseness that could be causing the tamper alert.
Ensure that the cover is seated properly and that all screws or fastening mechanisms are secure. If the cover appears to be damaged or warped, you may need to replace it with a new one to resolve the issue.
Sometimes, simply re-securing a loose cover can clear the tamper alert. Gently press all the cover’s edges to ensure it is in place, then check the control panel to see if the alert has cleared.
Step 4. Reseal or Replace the Base Cover:
If the base cover inspection reveals that it is not securely fastened, take the time to reseal it properly.
Align the cover with the component and carefully tighten any screws or latches that hold the cover in place. If the cover is damaged beyond repair, you must replace it with a new one, which can usually be ordered directly from ADT or an authorized supplier.
Once the cover is properly secured or replaced, this should resolve the tamper alert. Double-check that the cover is flush against the component and securely fastened to avoid future issues.
Step 5. Reset the Component:
After addressing the base cover, reset the component to ensure the tamper alert is cleared. This can typically be done by pressing a button on the component itself or through the control panel on your ADT system.
Consult your system manual for specific instructions on resetting the component in question. This step is crucial as it allows the system to register that the base cover tamper issue has been resolved.
Step 6. Check for Additional Issues:

Once you have reset the component, it is important to check for any additional issues that might be causing the tamper alert. Inspect the wiring and connections associated with the component to ensure everything is properly connected and there are no loose or damaged wires.
If you identify any additional problems, address them accordingly before proceeding. Ensuring all connections are secure will help maintain the overall integrity of your security system.
Step 7. Re-arm Your Security System:
After confirming that the base cover is securely in place and there are no further issues, it is time to re-arm your ADT security system. Input your access code into the keypad and follow the prompts to re-arm the system.
This step will activate the security system and ensure that it is ready to protect your home. Monitor the system for a few minutes to verify that the tamper alert does not reappear.
Step 8. Monitor the System:
Continue to monitor your ADT security system closely for the next few hours to ensure the tamper alert does not recur. Keep an eye on the control panel display and listen for any warning chimes that might indicate a problem.
Confirming that the issue has been fully resolved and that your system is functioning correctly is important. Additionally, check the system periodically in the coming days to ensure the tamper alert does not return.
Step 9. Contact ADT for Assistance:
If you have followed the previous steps and the base cover tamper alert persists, it’s time to contact ADT for professional assistance. ADT’s customer support team is equipped to handle various issues and can offer expert guidance to resolve the tamper alert.
When you call, have your system’s model number, installation date, and any specific error codes from your control panel at hand. This information will help the support team diagnose the problem more quickly and accurately.
Step 10. Schedule a Technician Visit:
Sometimes, the tamper alert may be due to a more complex issue requiring a professional technician’s intervention.
ADT can schedule a service visit to your home, where a technician will thoroughly inspect your security system, troubleshoot any persistent issues, and make necessary repairs or adjustments to ensure your system operates correctly.

Regular maintenance by a professional can also prevent future problems and extend the life of your security system.
By following these steps and ensuring your base cover tamper alert is resolved, you’ll maintain the integrity of your ADT security system, providing ongoing protection for your home and peace of mind for you and your loved ones.
5 Additional Tips and Tricks
- Check for Obstructions: Ensure there are no objects obstructing the tamper switch or mechanism. Small debris or incorrect positioning can often trigger false tamper alerts.
- Verify Installation Instructions: Reviewing the user manual or installation guide can provide crucial details specific to your model that might resolve the tampering issue.
- Reset the System: Sometimes, a simple reset can clear tamper alerts. Power down the system, wait a few minutes and power it back up.
- Inspect the Switch Position: Ensure that the tamper switch is properly aligned and in its correct position. Misalignment can cause the system to register a tamper alert.
- Update System Firmware: Ensure that your system firmware is up-to-date. Manufacturers often release updates that fix bugs and improve system functions, including tamper mechanisms.
With these additional tips and tricks, you can troubleshoot and resolve tamper alerts on your security system.
5 Things You Should Avoid

- Ignoring Warning Signs: Do not ignore any warning signs or alarms indicating a tamper alert. Timely attention is critical to maintaining your system’s security.
- Using Excessive Force: Avoid using excessive force when adjusting or inspecting the tamper switch or cover. This can cause damage to the components or create further issues.
- Bypassing the Tamper Switch: Never attempt to bypass or disable the tamper switch as a quick fix. Doing so can compromise your security system’s integrity and functionality.
- Disregarding Updated Guidelines: Do not overlook any new guidelines or instructions from the manufacturer. Follow the latest recommendations to ensure optimal system performance.
- Neglecting Regular Maintenance: Avoid neglecting regular maintenance and inspections of your security system. Routine checks can help identify and rectify issues before they trigger a tamper alert.
By avoiding these common mistakes, you can ensure your security system stays functional and reliable. Stay vigilant and attend to any tamper alerts promptly for maximum protection of your property.
Some Frequently Asked Questions
1. How Do You Clear Your ADT Error Code?
To clear an ADT error code, follow these steps:
- Identify the Specific Error Code: The first step is to identify the error code displayed on your security system’s keypad or control panel.
- Refer to the User Manual: Consult the user manual or installation guide for your specific model to understand the error code and how to resolve it.
- Troubleshoot the Issue: Follow any troubleshooting steps provided in the manual or guide. This may involve resetting the system, checking for obstructions, or inspecting the tamper switch.
- Contact Adt Support: If you are unable to resolve the error code on your own, contact ADT support for assistance. They can provide further guidance and potentially schedule a technician to address the issue.
- Test the System: Once the error code has been resolved, test your security system to ensure it functions properly and there are no further issues.
Address and clear any error codes on your ADT security system for optimal performance and property protection.
2. How Do You Disable Tamper?
It is not recommended to disable the tamper switch on your security system as it compromises the integrity and functionality of the system. However, if you need to temporarily disable the tamper for maintenance or troubleshooting purposes, follow these steps:

- Power Down the System: First, power down your security system by unplugging it from its power source.
- Locate the Tamper Switch: The tamper switch is typically located on the control panel or inside the device cover.
- Disconnect Wires: Carefully disconnect the wires connected to the tamper switch. This will disable its function until the wires are reconnected.
- Reconnect Wires and Power Up: Once you have completed your maintenance or troubleshooting, reconnect the wires and power up the system. Remember to reposition the tamper switch in its correct position.
It is important to note that disabling the tamper switch should only be done temporarily and as a last resort. Always consult with ADT support or refer to your user manual before attempting to disable any security system components.
3. How to Fix Tamper Fault?
To fix a tamper fault on your security system, follow these steps:
- Identify the Cause: First, determine what triggered the tamper fault. Check for any obstructions or misalignment of the tamper switch or cover.
- Reset and Power Cycle: Try resetting the system by powering it down and waiting a few minutes before powering it back up. This can often clear tamper faults.
- Inspect the Switch Position: Ensure that the tamper switch is properly aligned and in its correct position. Adjust it if necessary.
- Replace Batteries: If your system uses battery-powered devices, check and replace any low or dead batteries that may be causing the tamper fault.
- Update System Firmware: Make sure your system’s firmware is up-to-date. If not, update it to the latest version, which may include fixes for tamper issues.
If these steps do not resolve the tamper fault, contact ADT support for further assistance. It is important to address and fix any tamper faults promptly to ensure the proper functioning of your security system.
4. How to Test an ADT Alarm System?
To test an ADT alarm system, follow these steps:

- Notify ADT: Contact ADT customer service and let them know you will be testing your alarm system.
- Put the system in Test Mode: Enter the master code on the keypad or control panel to put the system in “Test” mode. This will prevent triggering a false alarm during the test.
- Activate each sensor: Activate each sensor in your system, such as door and window contacts, motion detectors, and glass break sensors. You can do this by opening or closing doors or windows, walking in front of motion sensors, or tapping on glass near the glass break sensors.
- Confirm signals received: After activating each sensor, confirm that the signal was received by ADT. You can check with the customer service representative or through your online account.
- Test the siren: Trigger the alarm and ensure that the siren sounds loudly and properly. You can also test any other audible alerts, such as voice prompts.
- Verify communication with monitoring center: Initiate a communication test to check that your system is communicating properly with the ADT monitoring center.
- Deactivate Test Mode: Once you have completed all tests, enter your master code on the keypad or control panel to deactivate “Test” mode.
Remember to notify ADT when you are finished testing so they can update their records. Regularly testing your ADT alarm system helps ensure it functions properly and provides peace of mind.
Conclusion
How to clear base cover tamper ADT security system involves careful identification and resolution of the issue to ensure your system operates flawlessly.
Start by identifying what triggered the tamper fault, such as an improperly closed cover or misaligned tamper switch. Resetting the system and ensuring all components are securely in place often resolves the problem.
Additionally, checking for any low or dead batteries and replacing them can be key, as power issues frequently lead to tamper faults. If these steps don’t resolve the issue, a firmware update might be necessary to fix any underlying software glitches.
If troubles persist, contacting ADT support can provide further guidance and ensure that your security system offers the protection you need.
Regular maintenance and careful attention to these issues will help maintain the integrity and functionality of your ADT security system.
