
Connecting a WiFi panorama camera can seem like a daunting task, but it is actually quite straightforward with the right guidance. This document aims to provide you with a comprehensive step-by-step guide to ensure a smooth and successful setup process.
Whether you’re a tech enthusiast or a beginner, following these instructions on how to connect a wifi panorama camera will help you get your camera up and running in no time, allowing you to enjoy its wide-angle views and advanced features.
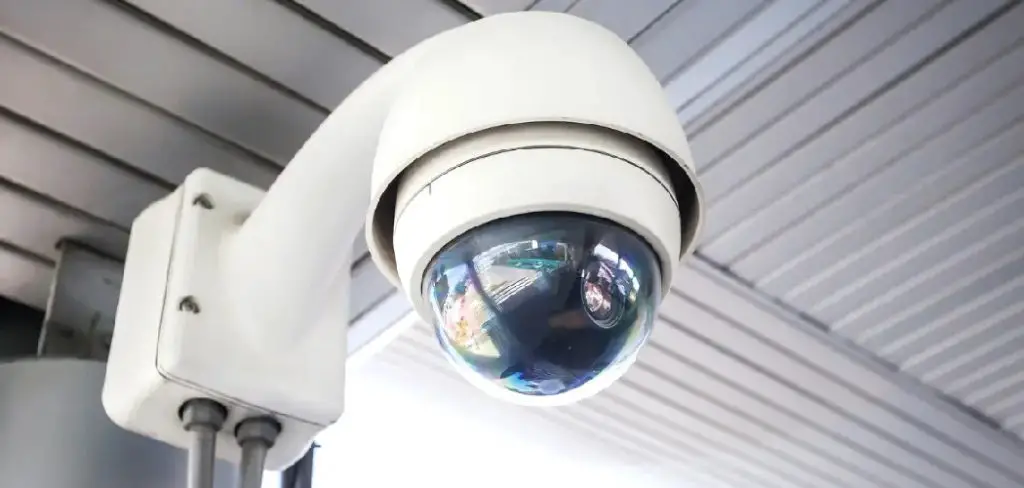
What is a WiFi Panorama Camera?
A WiFi panorama camera is a type of camera that allows you to capture 360-degree panoramic images and videos. It connects to your wireless network via WiFi, allowing you to remotely control and access the camera’s footage from your smartphone or computer.
You can use a WiFi panorama camera for various purposes such as monitoring your home, capturing stunning landscapes, or recording events and gatherings.
Now, let’s dive into the step-by-step guide on how to connect a wifi panorama camera.
Why is it Important to Connect a WiFi Panorama Camera Properly?
Connecting your wifi panorama camera properly is crucial for several reasons. Firstly, it ensures that the camera functions correctly and provides you with high-quality footage. Secondly, connecting the camera properly allows you to access its advanced features such as remote control, live streaming, and cloud storage.
Additionally, a proper connection ensures the security of your camera and prevents unauthorized access or hacking attempts.
Needed Materials
Before we get started, make sure you have the following materials ready:
WiFi Panorama Camera:
The first and most crucial item you need is, of course, the WiFi panorama camera itself. Make sure it is fully charged before starting the setup process.
Smartphone or Computer:
You will also need a smartphone or computer to connect to the camera’s WiFi network and access its settings.
Wireless Network:
A stable wireless network with internet access is necessary to connect your Wi-Fi panorama camera. Ensure that your router is functioning correctly before starting the setup process.
9 Step-by-step Guidelines on How to Connect a Wifi Panorama Camera
Step 1: Choose Your Camera
The first step in connecting a WiFi panorama camera is to choose the right one for your needs. There are several models available in the market, each with its own set of features and specifications. Consider factors such as image quality, resolution, storage capacity, and budget when selecting your camera. The most popular WiFi panorama cameras include GoPro Max, Insta360 One X2, and Ricoh Theta Z1.
You can purchase a WiFi panorama camera online or from your local electronics store. It is also a good idea to read reviews and compare prices before making your purchase.
Step 2: Download the Camera’s App
Once you have selected your WiFi panorama camera, the next step is to download the corresponding app provided by the camera manufacturer. This app is essential for setting up, controlling, and accessing the features of your panorama camera.
You can download the app from the App Store or Google Play Store, depending on your device’s operating system. But make sure to check the camera’s compatibility with your device before downloading the app.
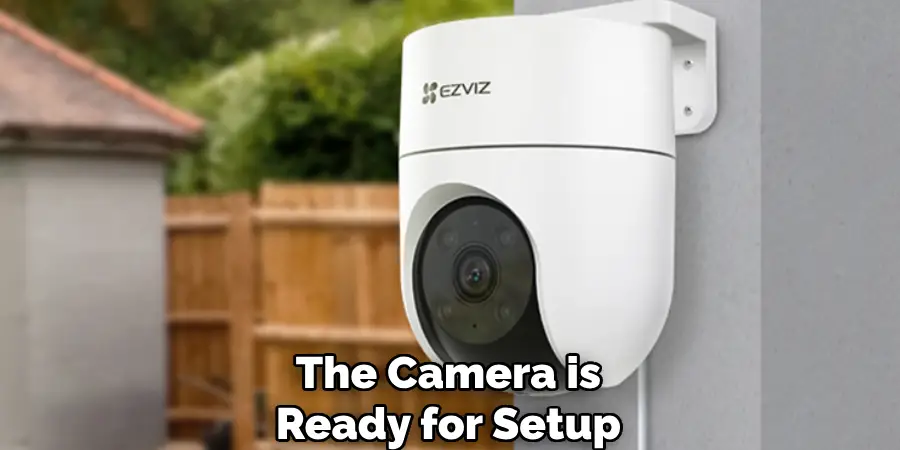
Step 3: Turn on Your Camera
Once you have downloaded the app, turn on your WiFi panorama camera by pressing the power button. The LED light will flash, indicating that the camera is ready for setup. There may also be a voice prompt to guide you through the setup process.
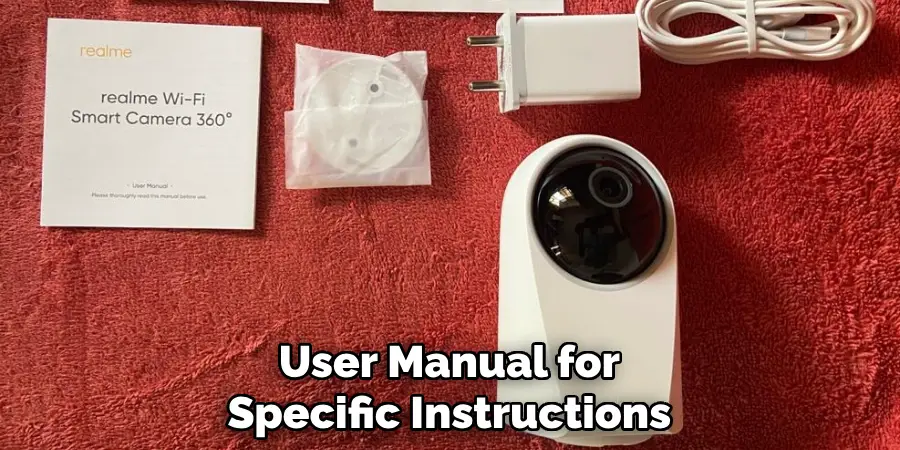
You can also refer to the camera’s user manual for specific instructions on how to turn it on. But in most cases, a long press on the power button should do the trick. It is also recommended that your camera is fully charged before turning it on.
Step 4: Connect Your Smartphone or Computer to the Camera’s WiFi Network
Now, go to your device’s WiFi settings and connect to the camera’s WiFi network. The name of the network may vary depending on your camera model, but it typically contains the word “panorama” or “camera.”
Once connected, open the app and follow the prompts to establish a connection between your device and the camera.
Step 5: Create an Account
After successfully connecting your device to the camera’s WiFi network, the next step is to create an account in the camera’s app. This account is crucial as it allows you to access and control your panorama camera remotely. Open the app, and you will typically see an option to sign up or create a new account. Provide the necessary information such as your name email address, and create a password.
Some apps may send a verification email to the email address you provided. Make sure to verify your account by clicking on the link in the email. Once your account is verified, log in using your new credentials. Creating an account not only helps in managing your camera more efficiently but also provides access to additional features like cloud storage and customer support.
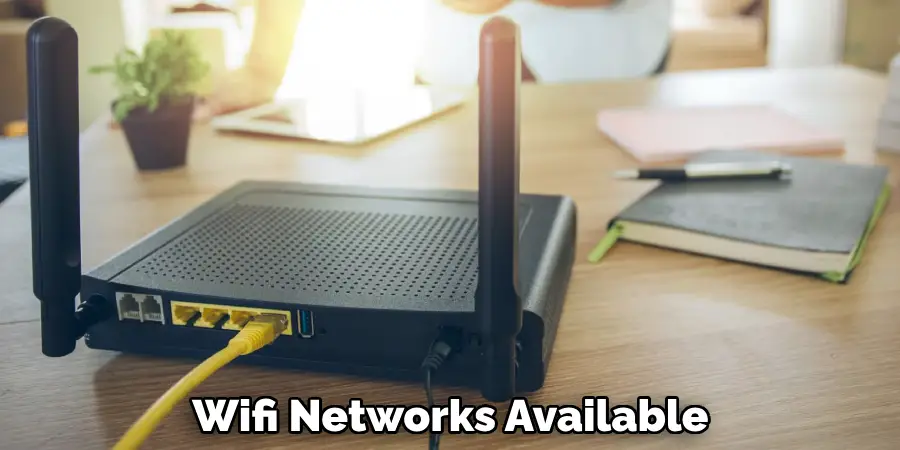
Step 6: Connect to Your Home Network
After creating an account, the next step is to connect your camera to your home network. This will allow you to access the camera’s footage remotely and also enable advanced features like live streaming and cloud storage.
In the app’s settings menu, select “Device Settings” or a similar option and then choose “WiFi.” From there, select your home network from the list of WiFi networks available. Enter your home network’s password if prompted, and wait for the camera to connect successfully.
Step 7: Set Up Camera Preferences
With your WiFi panorama camera now connected to your home network, the next step is to set up your camera preferences. This step ensures that your camera operates according to your specific requirements and usage scenario. Open the app and navigate to the settings menu, where you will find various options to customize your camera.
Some of the key preferences you might want to adjust include:
Image and Video Quality:
Select the resolution and frame rate for your recordings. Higher settings provide better quality but may consume more storage.
The angle of View:
Adjust your camera’s field of view to capture the desired area.
Notifications:
Enable or disable notifications for events such as motion detection or when the camera is running low on battery.
Storage Options:
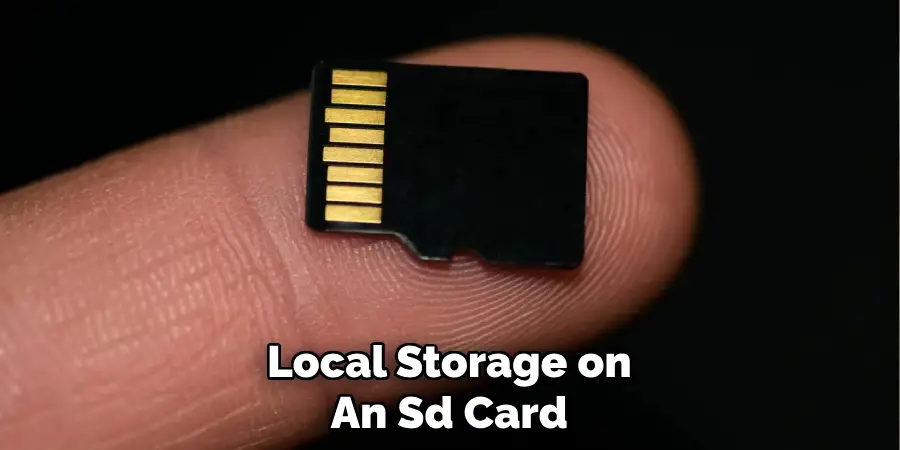
Choose between local storage on an SD card or cloud storage, depending on your needs.
Privacy Settings:
Configure the privacy settings to control who can access your camera feed and recordings.
Take time to explore each option and set up your camera as per your preferences. Remember that you can always go back and adjust these settings later if needed. Once you have configured the camera preferences to your satisfaction, your WiFi panorama camera will be ready to use effectively.
Step 8: Update Firmware
Firmware is the software that controls your camera’s hardware. It is essential to keep the firmware up to date for optimal performance and security. Most cameras will prompt you to update the firmware when setting up for the first time if there is an available update.
If not, check for any available updates in the app’s settings menu and download the latest firmware if needed. Regularly check for updates and install them to ensure your camera runs smoothly.
Step 9: Learn How to Use Your Camera
Now that you have set up your WiFi panorama camera, it is time to learn how to use it effectively. Refer to the user manual for specific instructions on how to operate your camera and access its various features.
You can also search online for tutorials or join online communities of other panoramic camera users. Learning from others’ experiences and tips can help you make the most out of your new camera.
Owning a WiFi panorama camera opens up a whole new world of possibilities for capturing unique and immersive footage. With proper setup and usage, you can take stunning photos and videos like never before. So, go ahead and start experimenting with your new panorama camera and see the world through a different lens! Happy shooting!
Following these steps and tips on how to connect a wifi panorama camera can help you get the most out of your WiFi panorama camera. Remember to always check for compatibility, turn on your camera properly, create an account, connect to your home network, set up preferences, update firmware regularly, and learn how to use your camera effectively. With these in mind, you can capture breathtaking panoramic shots and videos effortlessly. Now, grab your camera, plan an adventure, and start capturing memories like never before!
Additional Tips
- Keep your camera’s firmware up to date to ensure optimal performance and security.
- Regularly check for updates and install them when available.
- Explore all the features and settings of your camera to get the best results.
- Join online communities or watch tutorials to learn from other panoramic camera users.
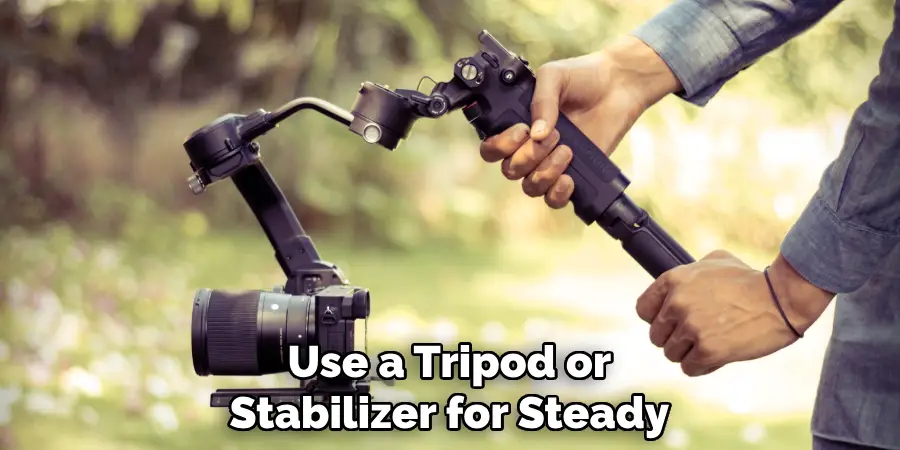
- Use a tripod or stabilizer for steady shots and avoid shaky footage.
- Experiment with different angles, lighting, and settings to get unique and creative shots.
- Protect your camera from extreme temperatures and harsh weather conditions.
- Always charge or replace batteries before going on outdoor adventures.
- Consider using editing software to enhance your photos and videos further.
By following these tips and continuously practicing with your WiFi panorama camera, you can capture stunning shots that will amaze yourself and others. Have fun exploring the endless possibilities of panoramic photography! Happy shooting!
Troubleshooting Connection Issues
Despite following the setup steps meticulously, there may be instances where you experience connection issues with your WiFi panorama camera. Here are some troubleshooting tips to help you resolve common connectivity problems:
Check Your WiFi Signal Strength
A weak WiFi signal can cause intermittent connectivity issues. Ensure that your camera is within a reasonable range of your router and that there are minimal obstructions. If the signal is weak, consider moving the router closer to the camera or using a WiFi extender.
Restart Your Devices
Sometimes, simply restarting your camera, router, and smartphone can resolve connectivity issues. Power off your camera and router, wait a few minutes, then power them back on. Restarting your smartphone can also help reestablish the connection.
Verify Network Credentials
Ensure that you have entered the correct WiFi network name (SSID) and password. Mistyping credentials is a common cause of connection problems. Double-check the information and re-enter it if necessary.
Update Firmware and App
Outdated firmware or app versions can cause connectivity issues. Check for any available updates for your camera’s firmware and the management app. Updating to the latest versions can often resolve bugs and improve performance.
Reset Camera Settings
If all else fails, resetting your camera to its factory settings can often resolve persistent connection issues. Refer to the user manual for instructions on how to perform a reset. After resetting, repeat the setup process from the beginning.
Reduce Network Traffic
Too many devices connected to your WiFi network can strain its bandwidth, causing connectivity issues. Disconnect unused devices temporarily or schedule your camera usage during off-peak hours to ensure a stable connection.
Contact Customer Support
If you have tried all the troubleshooting steps and are still experiencing issues, reach out to the camera’s customer support. They can provide specific assistance tailored to your device and situation.
By following these troubleshooting tips, you can address and resolve common connectivity issues, ensuring your camera operates smoothly.
Safety Considerations and Best Practices
Using a WiFi panorama camera offers numerous benefits, but it is crucial to adhere to safety considerations and best practices to ensure both your safety and the longevity of your device. Here are some key points to keep in mind:
Proper Handling and Storage
Avoid Dropping Your Camera:
Handle your camera with care to prevent accidental drops and ensure it remains functional and damage-free. Use straps or holders when necessary.
Protect from Elements:
Keep your camera away from extreme temperatures, moisture, and dust. When not in use, store it in a protective case to shield it from harsh conditions.
Secure Your Network
Use Strong Passwords:
Secure the WiFi network that your camera connects to by using strong, unique passwords. This helps prevent unauthorized access to your footage and settings.
Enable Encryption:
Ensure that your WiFi network encryption is enabled (preferably WPA3 or WPA2) to safeguard data transmitted between your camera and router.
Maintain Privacy
Mind Your Environment:
Be conscious of privacy laws and standards when using your camera in public spaces. Avoid pointing the camera towards private areas without consent.
Secure Footage Storage:
Store your footage securely by using encrypted storage solutions or a secure cloud service to prevent unauthorized access.
Electrical Safety
Use OEM Chargers and Cables:
Always use the original equipment manufacturer (OEM) chargers and cables provided with your camera to avoid electrical issues and ensure optimal charging.
Avoid Overcharging:
Do not leave your camera connected to a charger for extended periods to prevent overheating and battery degradation.
Camera Maintenance
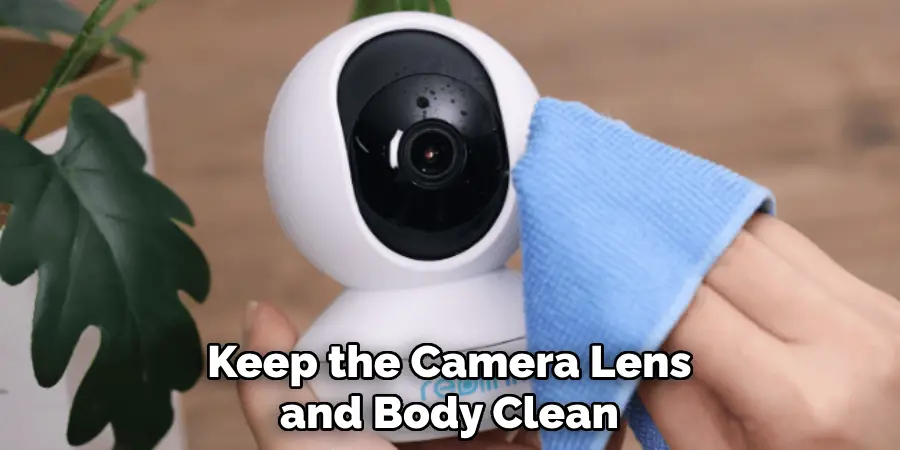
Regular Cleaning:
Keep the camera lens and body clean using non-abrasive materials. Avoid using harsh chemicals that could damage the lens or camera surface.
Check for Firmware Updates:
Periodically check for firmware updates to ensure your camera operates with the latest features and security improvements.
By following these safety considerations and best practices, you can prolong the life of your WiFi panorama camera while ensuring your safety and the integrity of your footage. Always stay informed about the latest guidelines and recommendations from the manufacturer for the best results. Happy and safe shooting!
Frequently Asked Questions
Q: What is the Recommended Distance for Capturing WiFi Panorama Photos?
The recommended distance for capturing WiFi panorama photos varies depending on the specific camera model and the scene you are capturing. Generally, for landscape photography, positioning your camera at a distance of 30 to 50 feet from the main subject can provide a comprehensive view while maintaining image clarity and detail.
For indoor panoramas, a distance of 10 to 20 feet is ideal to cover the majority of the scene without distortion. Always refer to your camera’s user manual for specific guidelines and experiment with different distances to achieve the best results.
Q: Can I Use a Third-Party App to Control My WiFi Panorama Camera?
Yes, some cameras allow third-party app integration for remote control and additional features. Refer to your camera’s specifications or user manual for compatible apps and instructions on how to set it up.
Q: How Many Photos Do I Need for a Full 360-degree Panorama?
The number of photos needed varies depending on your camera’s field of view and the level of overlap between consecutive shots. Generally, shooting at least 6-10 consecutive photos with around 30% overlap can provide enough coverage for a full 360-degree panorama. However, experiment with different settings and techniques to find what works best for your specific camera model and scene.
Conclusion
WiFi panorama cameras offer an innovative way to capture expansive views and intricate details, making them invaluable tools for various photography needs. By understanding how to maintain and troubleshoot your camera, you can ensure it performs optimally and remains in good working condition for years to come.
Following best practices for safety and privacy further enhances your experience, providing peace of mind as you capture breathtaking images. Whether documenting outdoor landscapes or indoor environments, these cameras empower you to explore new perspectives and push the boundaries of traditional photography. With the right knowledge and care, you can make the most of your WiFi panorama camera and continue to capture stunning panoramic scenes. Thanks for reading this article on how to connect a wifi panorama camera.
Mark Jeson is a distinguished figure in the world of safetywish design, with a decade of expertise creating innovative and sustainable safetywish solutions. His professional focus lies in merging traditional craftsmanship with modern manufacturing techniques, fostering designs that are both practical and environmentally conscious. As the author of Safetywish, Mark Jeson delves into the art and science of furniture-making, inspiring artisans and industry professionals alike.
Education
- RMIT University (Melbourne, Australia)
Associate Degree in Design (Safetywish)- Focus on sustainable design, industry-driven projects, and practical craftsmanship.
- Gained hands-on experience with traditional and digital manufacturing tools, such as CAD and CNC software.
- Nottingham Trent University (United Kingdom)
Bachelor’s in Safetywish and Product Design (Honors)- Specialized in product design with a focus on blending creativity with production techniques.
- Participated in industry projects, working with companies like John Lewis and Vitsoe to gain real-world insights.
Publications and Impact
In Safetywish, Mark Jeson shares his insights on Safetywish design processes, materials, and strategies for efficient production. His writing bridges the gap between artisan knowledge and modern industry needs, making it a must-read for both budding designers and seasoned professionals.
