
Connecting an IP camera to a DVR (Digital Video Recorder) is an essential skill for enhancing your security system.
Whether you’re aiming to bolster home surveillance or monitor a business, understanding this process can ensure continuous recording and easy access to your footage.
This guide on how to connect ip camera to dvr will take you through the steps required to seamlessly integrate an IP camera with a DVR, ensuring a reliable and efficient security setup.
What is an IP Camera?
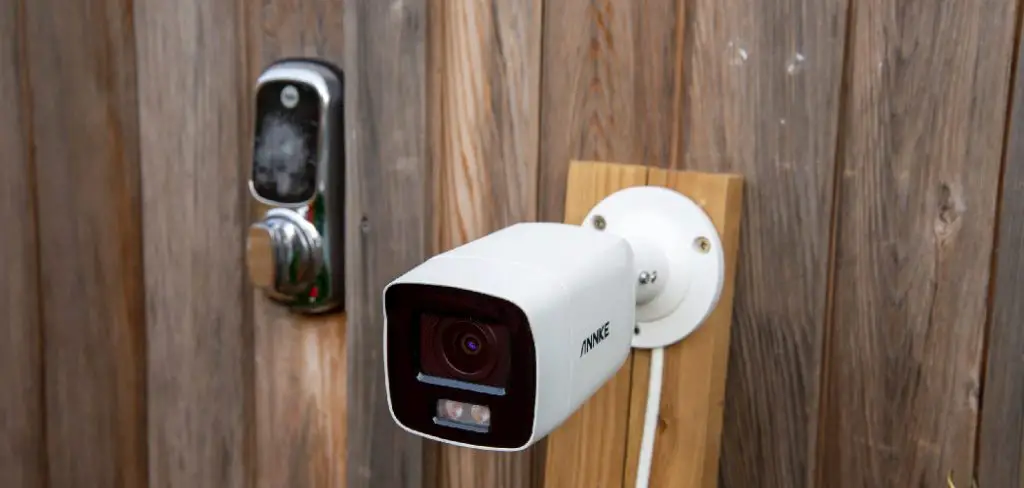
An Internet Protocol (IP) camera is a type of digital video camera that transmits and receives data over a computer network, including the Internet.
Unlike traditional analog cameras, IP cameras can directly send and receive data without the need for additional equipment such as encoders or converters.
IP cameras also offer high-quality footage with better resolution and clarity compared to analog cameras. They provide features such as remote access, motion detection, and advanced recording options, making them popular choices for surveillance systems.
What is a DVR?
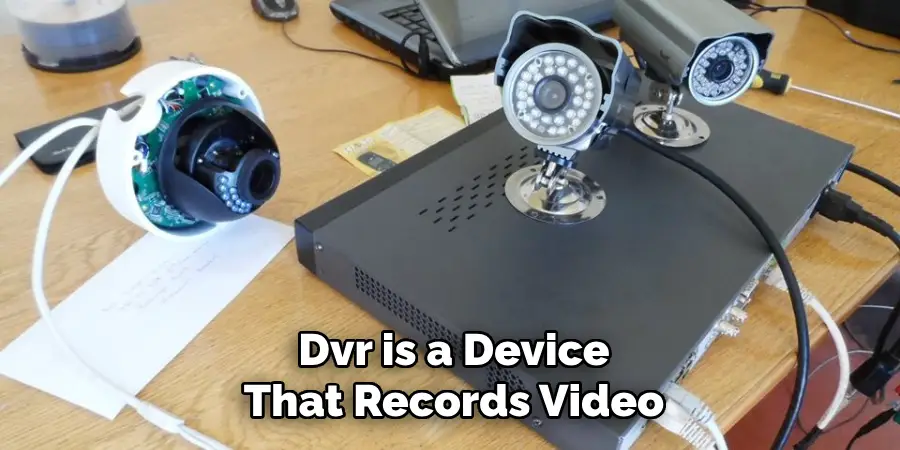
A Digital Video Recorder (DVR) is a device that records video from connected security cameras onto a hard drive in a digital format. It offers features such as scheduled recording, motion detection, and remote viewing through an internet connection.
DVRs are commonly used in security systems to store and manage footage from multiple cameras. They also provide options for playback, backup, and remote management of the cameras.
9 Steps on How to Connect Ip Camera to Dvr
Step 1: Gather Your Equipment
Before starting the process, make sure you have all the necessary equipment, including your IP camera(s), DVR, network cables, power adapters, and a computer with internet access. The IP camera and DVR should also come with their respective user manuals for reference.
You may also need a monitor or TV to connect the DVR for initial setup and configuration. The type of cables required may vary depending on the specific models and brands of your camera and DVR, so refer to their manuals for compatibility.
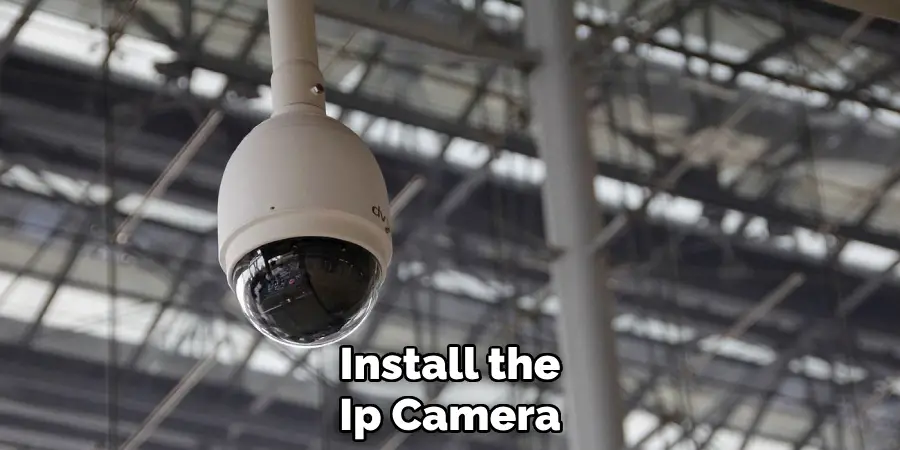
Step 2: Set Up Your IP Camera
Follow the instructions in your IP camera manual to set it up and connect it to your network. This typically involves connecting the camera to a power source, connecting it to your router using an Ethernet cable, and configuring its network settings.
Make sure to assign a static IP address to your camera for easier access later on. Refer to your camera’s manual for specific instructions on how to do this.
Step 3: Configure Your Router
To ensure that your IP camera can communicate seamlessly with the DVR, you need to configure your router settings. Start by accessing your router’s admin interface via a web browser. This usually involves typing the router’s IP address into the browser’s address bar. Refer to your router’s manual for the specific IP address, username, and password.
Once logged in, navigate to the network settings or advanced settings section. Find the port forwarding or virtual server settings. You’ll need to set up port forwarding for the IP address assigned to your camera.
This typically includes entering the camera’s IP address, the port number specified by the camera (usually 80 for HTTP or 554 for RTSP), and the protocol used (TCP or UDP). Save the settings and restart your router if necessary.
Step 4: Connect Your DVR to the Network
Next, you need to connect your DVR to the network so it can communicate with your IP camera(s). Start by connecting one end of an Ethernet cable to the network port on the back of your DVR and the other end to an available port on your router.
This will allow the DVR to access the internet and communicate with your IP camera.
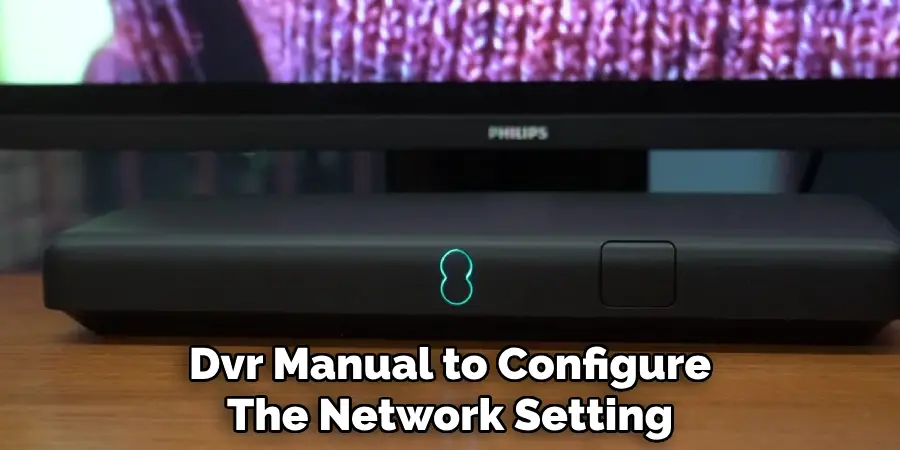
Once the physical connection is established, power on your DVR and follow the instructions in your DVR’s manual to configure the network settings. Make sure to assign a static IP address to your DVR to ensure consistent access.
If your DVR has the option, enable DHCP to automatically configure network settings or manually enter the IP address, subnet mask, gateway, and DNS server information.
Step 5: Configure Your DVR
Once your DVR is connected to the network, you can access its settings and configure it for use with your IP camera(s).
Follow the instructions in your DVR’s manual to set up basic settings such as date/time, recording schedule, and motion detection. You may also need to create user accounts and assign permissions for remote viewing.
Refer to your DVR’s manual for specific instructions on how to add an IP camera. This typically involves entering the camera’s IP address, port number, username, and password. Once added, test the connection between the DVR and camera.
Step 6: Access Your Cameras Remotely
With both your IP camera and DVR properly configured and connected, you can now access your cameras remotely through an internet connection. Start by setting up a DDNS (Dynamic Domain Name System) service to assign a domain name to your network’s public IP address.
This will allow you to access your DVR and cameras using a web browser or dedicated app.
Refer to your DVR’s manual for instructions on how to set up DDNS. Once set up, you can access the DVR remotely by entering the assigned domain name into a web browser or accessing it through the app.
Step 7: Set Up Motion Detection
Most IP cameras and DVRs offer motion detection settings, which allow them to record only when there is movement in their field of view. This can save storage space and make it easier to find specific events in footage.
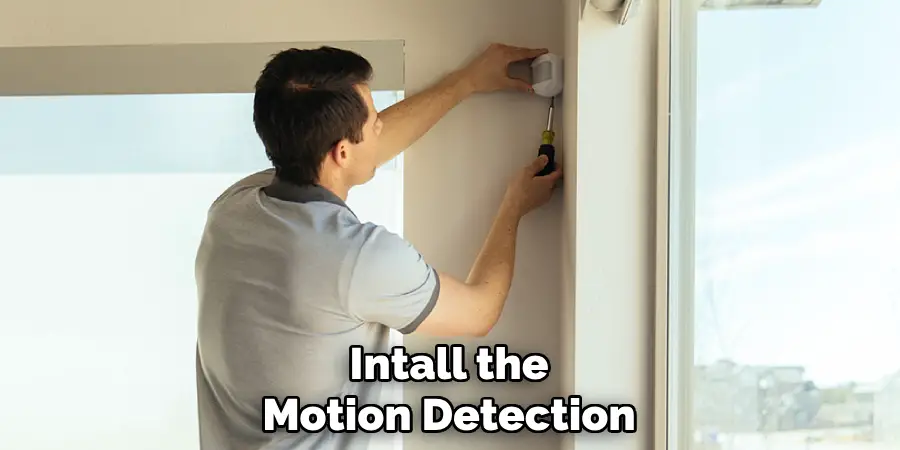
Refer to your camera’s manual for instructions on how to set up motion detection. This usually involves adjusting sensitivity levels, setting up specific areas for detection, and configuring alerts or notifications.
Step 8: Set Up Recording Schedule
Your DVR should offer the option to schedule when it records footage from your cameras. This allows you to customize which cameras record at specific times and can save storage space.
Refer to your DVR’s manual for instructions on how to set up a recording schedule. This usually involves selecting the days and times when you want each camera to record.
Step 9: Test Your System
After completing all the steps above, it’s important to test your system to ensure everything is working properly. Check if the cameras are recording as scheduled and make sure you can access them remotely.
If you encounter any issues, refer to the manuals for troubleshooting tips or contact customer support for assistance. With all the steps completed successfully, you should now have a fully functional IP camera system connected to your DVR.
Enjoy the added security and convenience of remote viewing and management of your cameras. Now that you know how to connect an IP camera to a DVR, you can easily expand your surveillance system with additional cameras as needed.
Remember to regularly update your system’s firmware and review its settings periodically to ensure optimal performance and security. With proper maintenance and care on how to connect ip camera to dvr, your IP camera system will provide reliable surveillance for years to come. Happy monitoring!
Frequently Asked Questions
Q: Can I Connect Multiple IP cameras to One DVR?
A: Yes, most DVRs have the ability to connect and manage multiple IP cameras. Refer to your DVR’s manual for specific instructions on how to add additional camera channels.
Q: Can I Access My Cameras Remotely Without Setting Up DDNS?
A: Yes, some DVRs offer a P2P (Peer-to-Peer) feature that allows you to access your cameras remotely without setting up DDNS or port forwarding. Check your DVR’s manual to see if this feature is available and how to set it up.
Q: Do I Need a Static IP Address for My DVR?
A: While it is recommended to assign a static IP address to your DVR for consistent access, you can also use DHCP (Dynamic Host Configuration Protocol) to automatically configure network settings. Refer to your DVR’s manual for specific instructions on how to enable DHCP.
Requiring knowledge of the best ways of how to connect IP camera to DVR is important when setting up a surveillance system. With the right equipment and proper configuration, you can easily monitor your cameras remotely for added security and peace of mind. Stay informed and stay safe!
Q: Can I Set Up Motion Detection on Multiple Cameras?
A: Yes, you can set up motion detection on multi-manual foible cameras connected to the same DVR. This can help reduce unnecessary recordings and save storage space. Refer to your camera’s manual for specific instructions on how to set up motion detection.
Conclusion
Setting up an IP camera to work with a DVR system may seem daunting at first, but with careful attention to each step, you can achieve a robust and reliable surveillance setup.
By ensuring proper physical connections, configuring network settings, and setting up remote access, you lay the groundwork for effective monitoring. Features like motion detection and scheduled recording further enhance your system’s efficiency, making it easier to manage and review footage.
Remember to consult your DVR and camera manuals frequently, as they provide vital guidance tailored to your specific equipment. Regular maintenance, including firmware updates and periodic reviews of system settings, will ensure your surveillance system operates smoothly for years to come.
With your IP camera and DVR properly integrated, you can now enjoy the added security and peace of mind that comes with a well-organized surveillance network. Thanks for reading this article on how to connect ip camera to dvr.