
Swann DVRs are a popular option for home security, but they can also be used to record footage of things happening in your home when you’re not there. Some people choose to use a Swann DVR as their only security system because of the high-quality nature of the recordings. However, one common problem with Swann DVRs is that they cannot connect to the internet independently. In this blog post, we will explain how to connect my swann dvr to the internet, so you can start taking advantage of all the features it has to offer. Read on for more information!
What Causes Swann DVRs to Not Connect to the Internet?
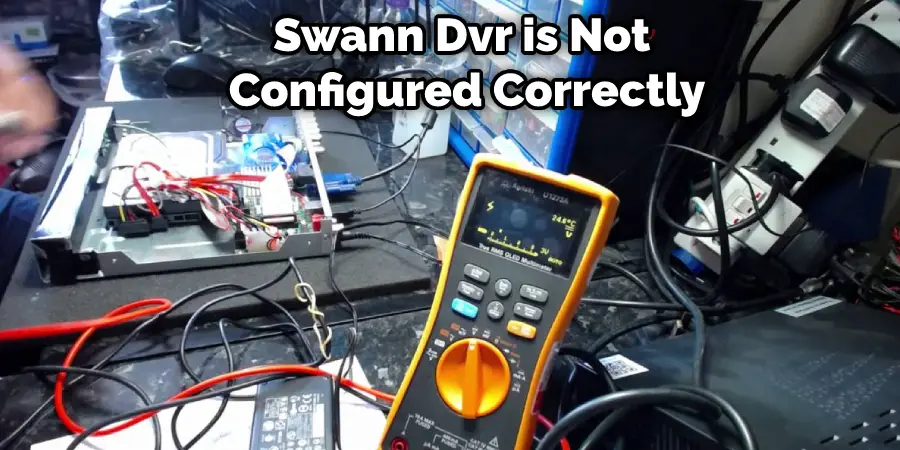
There can be a few different reasons why your Swann DVR is not connecting to the internet. One common reason is that the Swann DVR is not configured correctly. This is because the Swann DVR needs to be configured with the correct IP address, gateway, and DNS settings to connect to the internet. Another common reason why Swann DVRs do not connect to the internet is that the firewall on the router is blocking the connection.
Additionally, if you are using a wireless connection, the signal may be too weak or interfere with other devices. The other possibility is that the firmware on your Swann DVR is outdated and needs to be updated. Lastly, if you are using a VPN, this can also cause problems with the connection.
Why Would I Want to Connect My Swann DVR to the Internet?
You might want to connect your Swann DVR to the internet for a few reasons. One reason is that you can view your recordings from anywhere in the world. If you’re on vacation and something happens at your house, you can still see what happened. Additionally, you can use the internet to set up email alerts. This way, if something happens, you will get an email notification. Finally, some Swann DVR models can be controlled remotely. This means that you can change the settings on your DVR, even if you’re not at home.
Needed Materials:
Swann DVR:
Check the model number to ensure compatibility when connecting to the internet. Some older models may not have this capability.
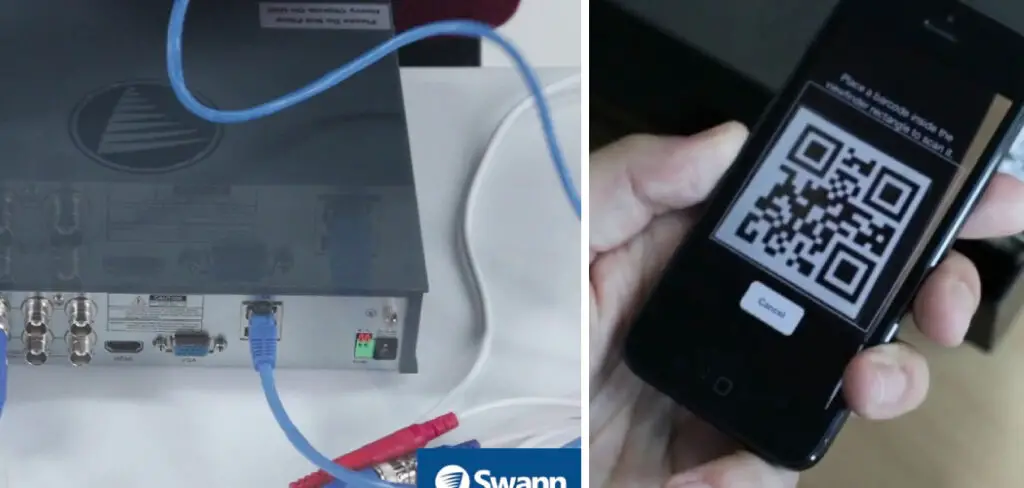
Ethernet Cable:
You will need an ethernet cable to connect your Swann DVR to your router. Make sure it is long enough to reach the DVR location and the router location.
Router:
The router should be located near your Swann DVR for a strong and stable internet connection. Additionally, make sure the router has available ports for an ethernet cable.
A Computer:
You will need a computer to access the settings for your Swann DVR and make any necessary changes. Make sure it is connected to the same network as your Swann DVR.
Step by Step How to Connect My Swann Dvr to the Internet:
1. Turn on Your Swann DVR and Your Router.
The first step is to ensure that your Swann DVR and router are turned on. This may seem obvious, but it’s important to ensure that both devices are turned on before proceeding. To turn on your Swann DVR, locate the power button on the back of the unit; once you’ve found the power button, press and hold it for a few seconds.
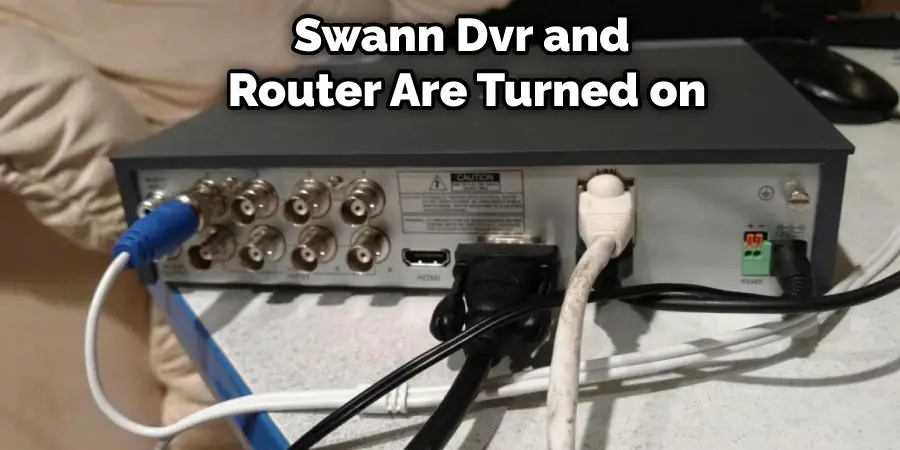
The Swann DVR will take a few moments to boot up. To turn on your router, locate the power button on the back of the unit. Once you’ve found the power button, press and hold it for a few seconds. The router will take a few moments to boot up.
You should also check the status lights on both your Swann DVR and router to ensure they are functioning properly. If there are any issues, consult the user manual or contact customer support for assistance.
2. Find the IP Address
The next step is to find the IP address of your Swann DVR. The IP address is a unique number that identifies your device on the internet. To find the IP address of your Swann DVR, first locate the “Menu” button on the front of the unit. Once you’ve found the Menu button, press and hold it for a few seconds. The menu will open up. From the menu, select “Network.” Next, select “IP Address.” The IP address of your Swann DVR will be displayed on the screen.
It’s important to write down this IP address as you will need it for the next steps. The IP address will be a series of numbers separated by periods (e.g. 192.168.1.1).
3. Find the Gateway Address
The gateway address is the IP address of your router. This device allows your Swann DVR to connect to the internet. To find your router’s gateway address, open up a web browser on a computer connected to the same network as your DVR. In the address bar, type in “192.168.1.1” (without quotation marks) and press Enter. The router’s web interface should appear. Look for a section labeled “Network” or “IP Address.” The gateway address will be listed here. Write down the IP address and close the router’s web interface.
The gateway address will be a series of numbers separated by periods, similar to the Swann DVR’s IP address. If you are having trouble finding the gateway address, refer to your router’s user manual or contact customer support.
4. Access the DVR’s Web Interface
You can access your DVR’s web interface now that you have the gateway address. This will allow you to configure your DVR’s network settings so that it can connect to the internet. Open a web browser to access your DVR’s web interface and type in the gateway address. You should see a login page where you can enter your DVR’s username and password. If you can’t remember your DVR’s login information, you can reset it by pressing the reset button on the back of the DVR.
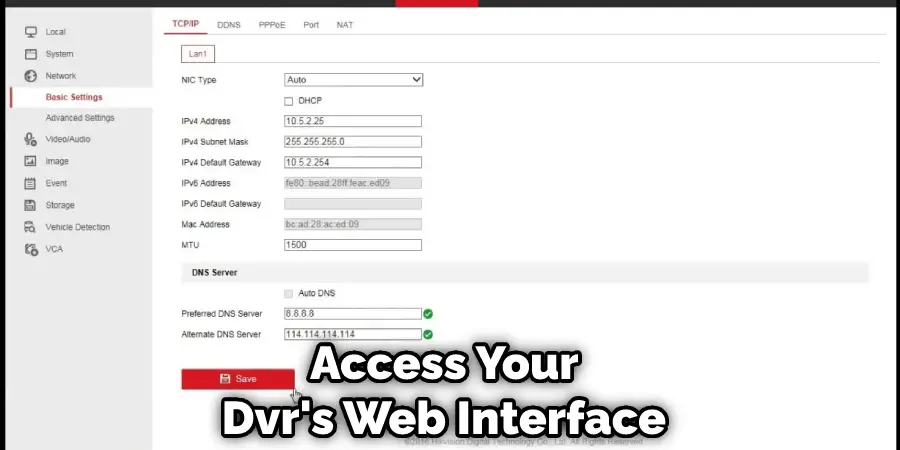
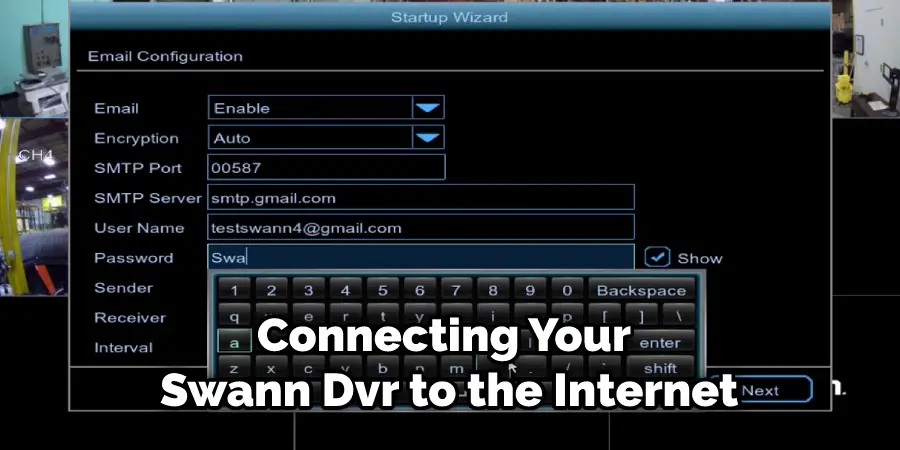
5. Configure the Network Settings
Once you’ve logged in, you’ll be able to access the DVR’s network settings. Find the section labeled “Network” or “TCP/IP.” You’ll need to enter the gateway address, subnet mask, and DNS server addresses. The gateway address is the IP address of your router. The subnet mask should be 255.255.255.0, and the DNS server addresses can be obtained from your ISP. Once you’ve entered all of the required information, save the changes and close the DVR’s web interface.’
You should now be connected to the internet. To test the connection, try accessing your DVR’s web interface from a device outside of your home network. If you can access it, then your Swann DVR is successfully connected to the internet.
6. Connect the DVR to the Internet
Now that you’ve configured your DVR’s network settings, you can connect it to the internet. To do this, locate the “Internet” or “Network” port on the back of your DVR. Once you’ve found the port, connect an Ethernet cable from the port to your router. Once the cable is connected, you should see a green light on the back of your DVR, indicating that it’s connected to the network.
The connection process may take a few minutes, so be patient. Once the DVR is connected to the internet, you should be able to access it remotely and make any necessary changes to the settings.
7. Configure the Swann DVR
The next step is to configure your Swann DVR for remote viewing. This will allow you to view your DVR’s settings and footage from anywhere in the world. To configure your DVR for remote viewing, open up the web interface and find the “Remote Viewing” section. You’ll need to enter a username and password, as well as the IP address of your DVR. Once you’ve entered all of the required information, save the changes and close the web interface.
It’s important to note that you may need to set up port forwarding on your router in order for remote viewing to work properly. Refer to your router’s user manual or contact customer support for assistance with this step.
8. Save the Settings
The final step is to save the changes you’ve made to your DVR. To do this, find the “Save” button in the web interface and click it. The changes will be saved, and you can close the web interface. You should now be able to view your DVR’s settings and footage from anywhere in the world. Try accessing the DVR from a different computer or mobile device to ensure the remote viewing feature is working properly.
It’s important to regularly check and update your DVR’s settings, especially if you experience any connectivity issues. By following these steps, you can ensure that your Swann DVR is properly connected to the internet and ready for remote viewing.
9. Restart the Swann Dvr
You can try restarting the unit if you are still having trouble connecting your Swann DVR to the internet. To do this, find the “Menu” button on the front of the unit and press it. From the menu, select “System Settings.” Next, select “Restart.” The DVR will restart, and you can try connecting to the internet again. If the issue persists, you may need to reset the DVR to its factory settings. To do this, find the “Reset” button on the back of the unit and press it. The DVR will reset, and you can reconfigure the network settings.
You can also check for any firmware updates for your Swann DVR to ensure it is running the latest software. These updates may fix any connectivity issues and improve the overall performance of your DVR.
10. Connect Your Computer to the DVR
If you still can’t connect your DVR to the internet, you can try connecting your computer directly to the DVR. To do this, find the “Ethernet” port on the back of your DVR and connect an Ethernet cable from the port to your computer. Once the cable is connected, you should see a green light on the back of your DVR, indicating that it’s connected to the network. Once the connection is made, you can access the DVR’s web interface from your computer.
You can also try adjusting the network settings on your computer to match those of the DVR. This may help resolve any connectivity issues and allow you to access the internet from your DVR. It’s important to keep your DVR connected to the internet for remote viewing and regular maintenance.
11. Test the Connection
Once you’ve connected your DVR to the internet, you can test the connection by accessing the DVR’s web interface. To do this, open a web browser and type in the IP address of your DVR. You should see a login page where you can enter your DVR’s username and password.
If you can’t remember your login information, you can find it in the “Network” or “TCP/IP” section of the DVR’s web interface. Once you’ve logged in, you should see the DVR’s main menu. If you can’t access the DVR’s web interface, ensure you use the correct IP address. You can find the IP address in the “Network” or “TCP/IP” section of the DVR’s web interface.
Following these steps on how to connect my swann dvr to the internet should help you successfully connect your Swann DVR to the internet. Remember to always use a strong and secure password for your DVR’s web interface, and regularly check for software updates to ensure optimal performance. With remote viewing capability, you can keep an eye on your property at all times, providing peace of mind and security.
Tips and Warnings on How to Connect My Swann Dvr to the Internet:
Tips:
1. Write down your DVR’s login information before you begin. This will allow you to access the web interface if you forget your password.
2. You may need to open ports on your router to allow remote access to your DVR. Consult your router’s documentation for more information.
3. Some routers require you to use a static IP address when configuring your DVR for remote access. Consult your router’s documentation for more information.
Warnings
1. Do not disconnect the power cord from your DVR while it’s turned on. This could damage the unit.
2. Do not reset your DVR to its factory settings unless you’ve backed up your footage. Resetting the DVR will delete all of your footage and settings.
- Do not attempt to open your DVR case. This could void your warranty and potentially damage the unit. Overall, it is important to follow these steps carefully to ensure a successful connection between you Swann DVR and the internet.
Frequently Asked Questions:
Q: Can I Access My Swann Dvr Remotely?
A: Yes, you can access your DVR’s web interface remotely by configuring it for remote viewing. It’s important to note that you may need to open ports on your router and use a static IP address for this feature to work properly. You can find more information on how to do this in your router’s documentation.
Q: Can I Connect My DVR to the Internet with a Wi-Fi Connection?
A: No, you cannot connect your DVR to the internet using a Wi-Fi connection. You will need to use an Ethernet cable and connect it directly to your router for internet access.
Q: How Do I Know if My Swann DVR is Connected to the Internet?
A: You can check if your DVR is connected to the internet by looking at the network status on the unit. If it’s connected, you should see a green light. You can also try accessing the web interface from a different device to ensure remote viewing is working properly.
Q: Can I Connect My DVR to Multiple Devices for Remote Viewing?
A: Yes, you can connect your DVR to multiple devices for remote viewing. You will need to configure each device separately with the appropriate login information and IP address.
Q: What Should I Do if I Can’t Connect My DVR to the Internet?
A: If you’re having trouble connecting your DVR to the internet, try restarting the unit or resetting it to its factory settings. You can also try connecting your computer directly to the DVR using an Ethernet cable. If the issue persists, consult your router’s documentation or contact Swann’s customer support for further assistance.
Conclusion
So there you have it! Now you know how to connect my swann dvr to the internet।. By following the steps above, you should be able to connect your Swann DVR to the internet. With the remote viewing feature, you can view your footage from anywhere in the world. Be sure to consult your router’s documentation for more information on configuring your network for remote access. Thanks for reading!
You Can Check It Out to Mount Blink Outdoor Camera