
Are you looking for an eco-friendly, cost-effective way to power your Ring Spotlight Camera? Connecting a solar panel to your camera can provide a sustainable solution that requires little maintenance.
How to connect solar panel to Ring Spotlight Camera is an excellent way to ensure continuous power supply while promoting energy efficiency. This process not only reduces reliance on conventional electricity sources but also provides a sustainable and cost-effective solution to keep your security system running smoothly.
In this guide, we’ll walk you through the necessary steps and considerations for successfully linking your solar panel to the Ring Spotlight Camera, enhancing its functionality and reliability. Whether you’re a tech-savvy homeowner or a beginner, this comprehensive tutorial will equip you with the knowledge you need to set up your system confidently.
What Will You Need?
To connect your solar panel to the Ring Spotlight Camera, you will need the following materials:
- A Ring Spotlight Camera
- A compatible solar panel such as the Ring Solar Panel or a third-party option
- Power cable provided with your chosen solar panel (if not included, make sure to purchase one separately)
- Tools such as a screwdriver and pliers for installation
- A stable and secure location to mount your solar panel, preferably in a spot with direct sunlight exposure
Now that you have gathered all the necessary materials let’s get started!
10 Easy Steps on How to Connect Solar Panel to Ring Spotlight Camera
Step 1: Prepare Your Solar Panel
Begin by unboxing your solar panel and carefully reading the manufacturer’s instructions. Check that all components, including the power cable and mounting hardware, are included in the package. If any components are missing, contact the manufacturer for replacements before proceeding.
Next, identify a suitable location for your solar panel. The ideal spot should have direct exposure to sunlight for most of the day, as this will maximize the efficiency of your solar panel. Avoid areas shaded by trees, buildings, or other obstructions.

Once you’ve chosen the location, clean the selected surface to ensure that the mounting brackets will have a solid grip.
Step 2: Mount the Solar Panel
Secure the provided mounting brackets onto the back of your solar panel, following the manufacturer’s guidelines. Position the brackets in alignment with the pre-drilled holes on the solar panel. Use a screwdriver to fasten the screws tightly, ensuring the brackets are firmly attached.
With the brackets in place, hold the solar panel against the chosen mounting surface. Mark the spots where you will drill holes for the screws using a pencil or marker for precision. Remove the solar panel and proceed to drill holes at the marked spots, being cautious not to drill too deeply.
Once the holes are drilled, back the solar panel onto the mounting surface, and insert the screws through the bracket holes and into the drilled points. Use the screwdriver to secure the screws, ensuring that the solar panel is firmly and securely mounted. Double-check the stability of the panel by gently applying pressure to confirm it does not wobble or shift.
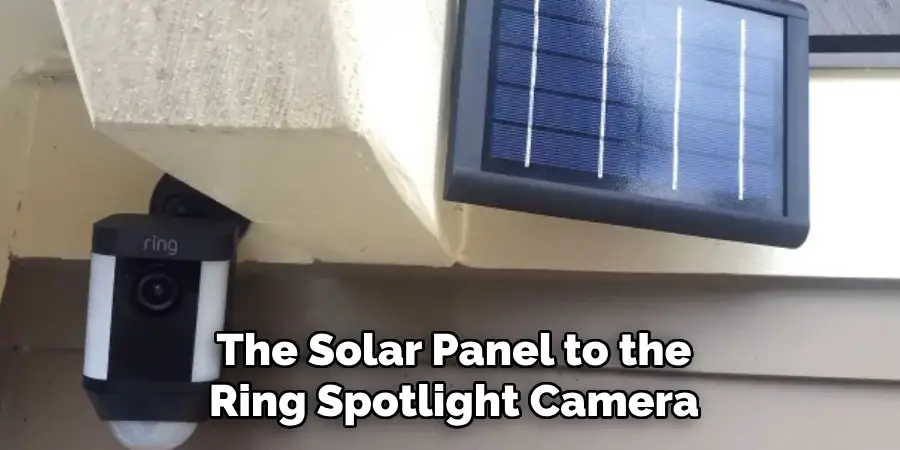
Step 3: Connect the Power Cable
Locate the power cable that accompanies your solar panel. One end of the cable will connect to the output port on the panel’s backside, whereas the other will link to your Ring Spotlight Camera. Begin by attaching the cable to the solar panel, ensuring a secure and tight fit.
Next, carefully route the cable toward the Ring Spotlight Camera. Be mindful to avoid sharp edges, potential tripping hazards, or areas that might pinch or tug on the cable. Consider using cable clips or a conduit to safely guide the cable along surfaces for an organized setup.
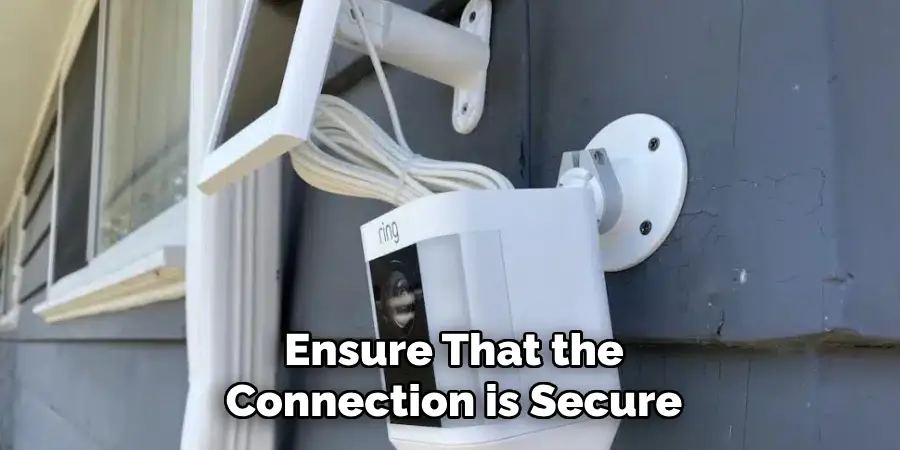
Upon reaching the camera, connect the cable to the designated power input port. Once connected, ensure that the connection is secure and intact to prevent any disconnections or loss of power.
Step 4: Secure the Cable
To prevent any potential damage or disconnection, securely fasten the power cable along its path from the solar panel to the Ring Spotlight Camera. Use cable clips, zip ties, or a conduit to keep the cable in place. This provides a neat, organized appearance and protects the cable from environmental factors like wind, rain, or accidental tugging.
Step 5: Test the Solar Panel Connection
Before finalizing the installation, it’s important to test the connection between the solar panel and the Ring Spotlight Camera. Ensure the camera receives power from the solar panel by checking the device’s app for a power status indication. The app should show that the camera is connected to a power source.
Step 6: Optimize Solar Panel Positioning
Monitor the initial performance of the solar panel and Ring Spotlight Camera over a few days to ensure optimal power generation. Adjust the tilt or positioning of the solar panel if necessary to capture maximum sunlight throughout the day. Ensuring that the solar panel is ideally positioned can significantly enhance its efficiency and the reliability of your camera’s power supply.
Step 7: Regular Maintenance
To maintain optimal performance, periodically clean the solar panel’s surface to remove any dust, dirt, or debris that might accumulate. Ensure that the solar panel remains unobstructed by plants or other growing objects. Regular inspections will help prevent potential issues and sustain efficient energy production.
Step 8: Check the Connections
After positioning the solar panel, it’s important to thoroughly inspect all electrical connections. Begin by examining the connection at the solar panel itself. Ensure that the power cable is securely fastened to the output port with no signs of looseness or damage. A loose connection at this point could compromise the power transfer efficiency and even pose a risk of electrical faults.
Next, follow the length of the power cable from the solar panel to the Ring Spotlight Camera. Check for any stretches of cable that might be exposed to harsh environmental conditions, such as direct sunlight, heavy rain, or areas prone to animal interference. If you find any vulnerable sections, take preventive steps such as adding a protective conduit or rerouting the cable to a safer path.
Re-examine the attachment points where the power cable is secured along its route. Use cable clips, zip ties, or other suitable fasteners to keep the cable firmly in place. Verify that these securing mechanisms are tight enough to hold the cable but not so tight that they might damage the insulation.
Step 9: Verify the Camera Functionality
Once all the connections are secured and the solar panel is optimally positioned, the next step is to verify the functionality of your Ring Spotlight Camera. Check the camera feed through the Ring app to ensure it is uploading video footage correctly and that the live view is operational. Also, review camera settings, such as motion detection zones and notification preferences, to ensure everything is configured to your liking.
Step 10: Monitor Battery Levels
Regularly monitor your Ring Spotlight Camera’s battery levels to ensure that the solar panel is providing adequate power. The camera’s app should display the battery status; if you notice the battery is not maintaining sufficient charge, reassess the solar panel’s positioning and angle, clean the panel surface, and check the connections once more.
By following these steps and maintaining regular upkeep, you can ensure that your Ring Spotlight Camera is powered by the sun and provides reliable surveillance for your home.
5 Additional Tips and Tricks
- Check Compatibility: Ensure your solar panel is compatible with your Ring Spotlight Camera model. Not all solar panels work with every Ring device, so verify specifications from the manufacturer.
- Choose the Right Location: Position the solar panel in an area that receives maximum sunlight throughout the day. Ideally, the panel should be placed facing south (in the Northern Hemisphere) with an unobstructed view of the sky.
- Optimal Angle: Adjust the solar panel’s angle according to your geographical location and season. Generally, a tilt angle equal to your latitude will yield the best results.
- Secure Mounting: Make sure the mounting hardware for both the solar panel and the Ring Spotlight Camera is securely fastened. Use appropriate anchors and screws for your wall type, whether it’s wood, brick, or concrete.
- Cable Management: Use cable clips or zip ties to neatly route the connecting cables to ensure a clean installation. This keeps the setup organized and prevents accidental disconnection or damage to the wires.
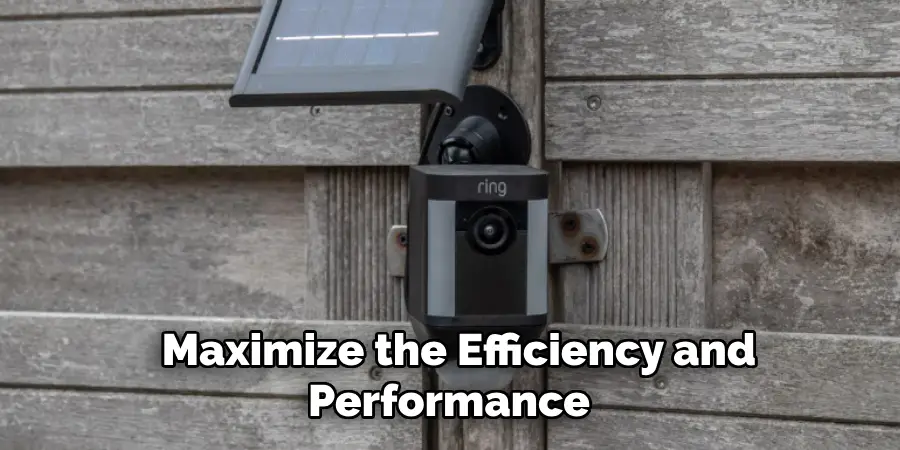
With these additional tips and tricks, you can maximize the efficiency and performance of your Ring Spotlight Camera with a solar panel.
Conclusion
How to connect solar panel to Ring Spotlight Camera is an efficient way to ensure continuous power supply, harnessing the renewable energy of the sun.
By following the steps outlined and incorporating the additional tips and tricks provided, you can achieve a reliable setup that minimizes downtime and reduces the need for manual recharging. Begin by verifying compatibility, choosing an optimal location, and adjusting the angle of the solar panel. Secure mounting and proper cable management will further enhance the installation’s effectiveness and longevity.
With diligent planning and execution, your Ring Spotlight Camera will remain charged and operational, providing your home peace of mind and security.
Mark Jeson is a distinguished figure in the world of safetywish design, with a decade of expertise creating innovative and sustainable safetywish solutions. His professional focus lies in merging traditional craftsmanship with modern manufacturing techniques, fostering designs that are both practical and environmentally conscious. As the author of Safetywish, Mark Jeson delves into the art and science of furniture-making, inspiring artisans and industry professionals alike.
Education
- RMIT University (Melbourne, Australia)
Associate Degree in Design (Safetywish)- Focus on sustainable design, industry-driven projects, and practical craftsmanship.
- Gained hands-on experience with traditional and digital manufacturing tools, such as CAD and CNC software.
- Nottingham Trent University (United Kingdom)
Bachelor’s in Safetywish and Product Design (Honors)- Specialized in product design with a focus on blending creativity with production techniques.
- Participated in industry projects, working with companies like John Lewis and Vitsoe to gain real-world insights.
Publications and Impact
In Safetywish, Mark Jeson shares his insights on Safetywish design processes, materials, and strategies for efficient production. His writing bridges the gap between artisan knowledge and modern industry needs, making it a must-read for both budding designers and seasoned professionals.
