Connecting to a wifi camera can significantly enhance your ability to monitor and manage security within your home or office. This technology allows you to access live video feeds from your smartphone, tablet, or computer, offering convenience and improved surveillance capabilities.
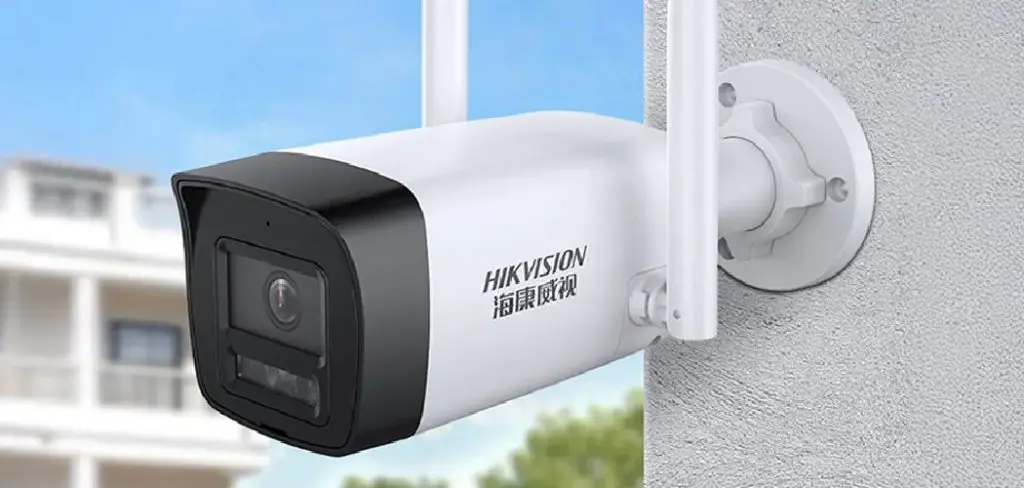
Whether you are using it for home security, monitoring pets, or checking in on a vacation property, understanding how to establish a stable connection is crucial. In the following sections, you will guide you with how to connect to a wifi camera, ensuring a seamless and reliable setup process.
Prerequisites for Connecting to a WiFi Camera
Before you begin the process of connecting to a WiFi camera, ensure you have the following prerequisites in place:
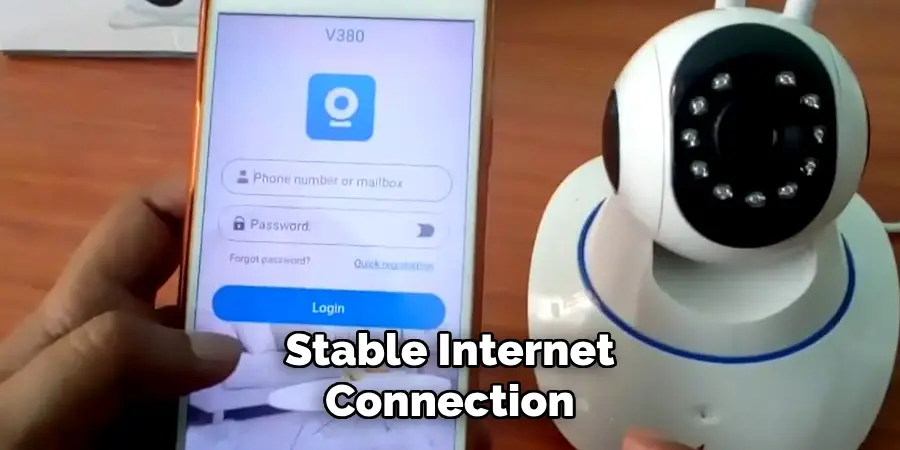
- Stable Internet Connection: Verify that you have a reliable and fast WiFi network. A stable connection is essential for streaming live video and maintaining communication between your camera and devices.
- Compatible Device: Use a smartphone, tablet, or computer that is compatible with the camera’s software or app. Ensure your device is updated to the latest operating system version for optimal performance.
- Camera’s User Manual: Have access to the camera’s user manual or quick start guide. This will provide you with specific configuration details, such as default login credentials and setup instructions.
- Power Source: Make sure your WiFi camera is connected to a reliable power source. Some cameras are battery-operated, so check the battery status before proceeding.
- Camera’s App Installation: Download and install the necessary app for your WiFi camera on your device. This app is usually available on the manufacturer’s website or app store.
- Camera’s Credentials: Ensure you have the default username and password. These are typically found in the user manual or on the camera itself and will be needed during the initial setup process.
With these prerequisites checked and ready, you are now prepared to proceed with connecting your WiFi camera efficiently and effectively.
Compatible Device Requirements
To ensure a seamless connection with your WiFi camera, it’s important to meet certain device requirements. Firstly, your device—whether it’s a smartphone, tablet, or computer—must support the installation of the camera’s application. This typically requires a modern operating system; for instance, Android devices should run a version no older than 8.0 Oreo, while iOS devices should have iOS 12 or later installed. If you’re using a computer, ensure it supports the necessary web browser plugins for accessing the camera interface, which are often JavaScript or Flash-based.
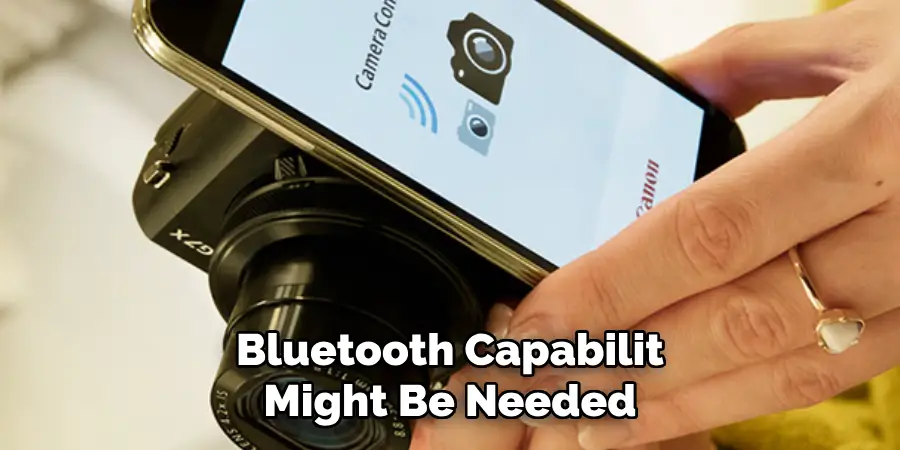
Sufficient storage space on your device is also necessary for downloading and operating the app effectively. Additionally, Bluetooth capability might be needed if your camera uses it for initial setup or functions. Lastly, verify that your device’s WiFi hardware is compatible with the camera’s communication protocol, commonly 802.11ac or 802.11n, to maintain a fast and reliable connection. Ensuring these requirements are met will facilitate a smooth and efficient setup process.
Download Necessary Apps or Software
Before you can begin interacting with your WiFi camera, it is crucial to download the necessary apps or software that will facilitate the connection and operation of the device. Start by visiting the manufacturer’s official website or the app store associated with your device, such as the Apple App Store or Google Play Store. Search for the app specified in your camera’s user manual, which is usually designed to provide the necessary interface for camera control and settings adjustment.
Ensure that you download the latest version of the app to avoid any potential compatibility issues and to have access to the most recent features and security updates. Once installed, open the app and follow any on-screen prompts to set up your account or log in, which will typically involve entering your camera’s credentials. If any additional software or plugins are required, particularly for computers, carefully follow the instructions provided during installation and ensure that your system meets any specified requirements. This step is essential to leveraging the full capabilities of your WiFi camera and ensuring a user-friendly experience.
10 Effective Methods on How to Connect to a Wifi Camera
In today’s connected world, WiFi cameras are becoming increasingly popular for photography enthusiasts, home security seekers, and tech-savvy users alike. Whether you’re looking to capture stunning images from unusual angles or monitor your home while you’re away, knowing how to connect to a WiFi camera is crucial. This guide offers 10 actionable methods to help you establish a connection with your WiFi camera, ensuring you can start using it confidently and efficiently.
Use the Manufacturer’s Mobile App
Most WiFi cameras come with a proprietary mobile app that facilitates a seamless connection process. These apps are designed to guide you through each step, from initial setup to real-time viewing. For example, apps like Canon Camera Connect or GoPro App provide intuitive interfaces and additional features like remote shooting and instant sharing.

Connect via Direct WiFi
Many modern WiFi cameras offer a direct WiFi connection option, which allows you to connect your device to the camera without a router. This is especially handy when you’re on the go or in areas without WiFi coverage. Simply enable the direct WiFi option on your camera and connect using the device’s WiFi settings.
Utilize NFC Pairing
Near Field Communication (NFC) is a technology that simplifies the connection process by allowing you to pair devices with a simple tap. If your camera and smartphone support NFC, ensure both are turned on, then tap them together as instructed—your devices should connect instantly.
Connect Using the Camera’s Built-In QR Code
Some cameras generate a QR code that you can scan with your smartphone to establish a connection. This method is particularly user-friendly, removing the need to enter passwords manually. Check your camera’s manual to see if this feature is available.
Configure Through Router Settings
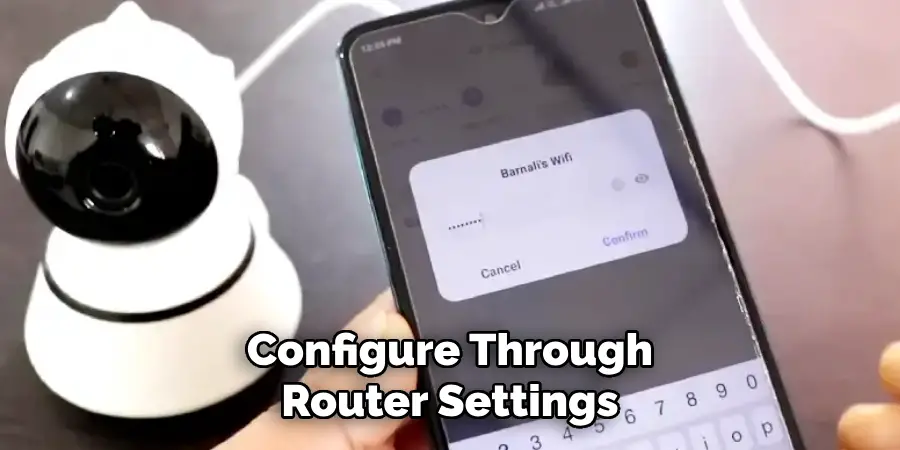
If your camera requires a connection through a home or office network, you’ll need to enter your WiFi credentials into the camera’s settings. Access the camera’s network settings menu and input the necessary credentials. This step ensures a stable connection for ongoing use.
Employ WPS Push Button
WiFi Protected Setup (WPS) is an efficient way to connect without entering complex passwords. If your router and camera support WPS, simply press the WPS button on both devices to initiate a secure connection. This method is quick and minimizes setup errors.
Access Through a Web Browser Interface
Some WiFi cameras can be accessed and configured through a web browser interface using a unique IP address. This feature is particularly useful for tech-savvy users who prefer customizing their settings. Once on the interface, you can manage all aspects of your camera’s functionality directly from your computer.
Sync via Cloud Services
Brands like Arlo and Nest integrate cloud services that allow easy access to your camera feeds, settings, and recordings from anywhere. By creating an account with the respective service, you can connect multiple devices to your camera effortlessly.
Link through IFTTT
“If This Then That” (IFTTT) is a powerful automation tool that can link various smart devices, including WiFi cameras. With IFTTT applets, you can automate tasks such as receiving notifications when motion is detected, enhancing your home security system.
Use Bluetooth for Initial Setup
Some WiFi cameras use Bluetooth for the initial connection setup, before switching to WiFi for data transfer. Ensure Bluetooth is enabled on your device and follow any included instructions to pair the devices before proceeding to full WiFi connectivity.
Maintenance and Upkeep
Ensuring your WiFi camera remains in optimal condition requires regular maintenance and upkeep. Start by routinely checking the camera’s firmware for updates, as manufacturers frequently release updates that enhance performance and security. Keeping your firmware up to date is crucial in protecting against vulnerabilities and ensuring compatibility with the latest applications.
Regularly clean the exterior of your camera, especially the lens, using a soft microfiber cloth to remove dust, fingerprints, and smudges that may compromise image quality. If your camera is located outdoors, inspect it for any signs of weather-related wear and ensure that any protective casings are still effective.
Battery-powered cameras should be checked periodically to ensure they are charged, or if they use replaceable batteries, keep spare sets on hand. For wired cameras, confirm that cabling is securely connected and free from damage.
Conclusion
Connecting to a WiFi camera can initially seem daunting, but with the right guidance, it becomes a straightforward process. By exploring multiple connection methods—from using manufacturer apps to leveraging cloud services or IFTTT—you can find the best fit for your needs. Regular maintenance ensures that your camera not only functions efficiently but also remains secure from potential vulnerabilities. So, there you have it – a quick and easy guide on how to connect to a wifi camera.
