Are you looking to connect your wired security cameras to Wi-Fi? This can be a great way to monitor your home or business remotely without the need for complicated wiring or additional equipment.
Setting up a security system involves more than just installing cameras; it’s about ensuring they remain connected and accessible at all times. With technological advancements, even wired security cameras can now connect to wireless networks, offering more flexibility in their placement and management. By connecting wired cameras to WiFi, users can take advantage of remote access and monitoring, receive real-time alerts, and view live footage from any location.

In this guide on how to connect wired security cameras to WiFi, we will discuss the various steps involved in setting up a wireless connection for your cameras.
What Will You Need?
Before getting started, make sure you have the following equipment and tools on hand:
- Wired security cameras
- WiFi network with internet access
- Wireless bridge or adapter (if your camera does not have built-in WiFi capabilities)
- Power supply for the camera(s)
- Ethernet cable (if using a wireless bridge)
Once you have these items, you can begin connecting your wired security cameras to WiFi.
9 Easy Steps on How to Connect Wired Security Cameras to Wifi
Step 1: Choose Your Camera Placement
When choosing the placement for your camera, it is essential to consider both functionality and coverage. Start by identifying the critical areas in your property that require surveillance. These often include entry points such as doors and windows and high-traffic areas in your home or business. Once pinpointed these locations, ensure your camera has a clear, unobstructed view of these zones. Avoid placing cameras in areas where obstacles like walls or large furniture may block the line of sight.
Additionally, consider the lighting conditions in your chosen spots. Cameras should not face direct sunlight, as this can create glare and disrupt the quality of the footage. Instead, opt for positions where the camera has good lighting at all times or consider cameras equipped with low-light capabilities. Also, ensure that the camera is within range of your WiFi network or consider using a range extender if needed. Proper placement is crucial for both effectiveness and providing a reliable connection to your wireless network.
Step 2: Connect the Camera to a Power Source
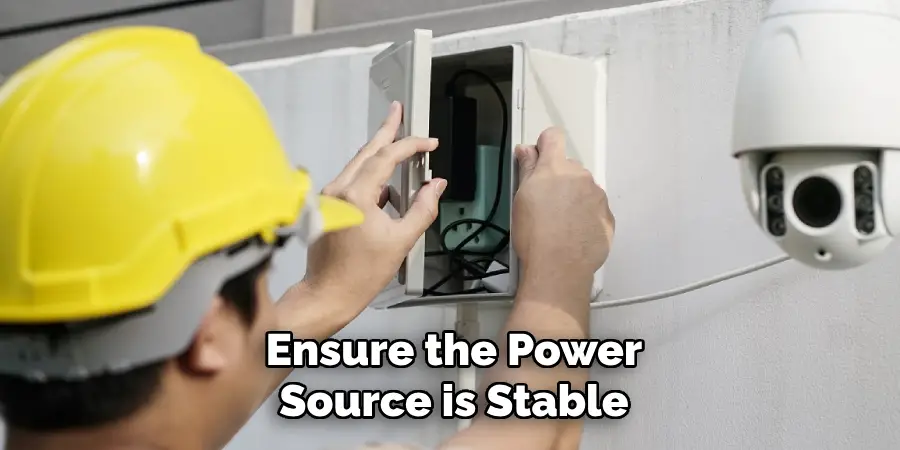
After selecting the optimal locations for your cameras, the next step is to connect each camera to a power source. Follow the manufacturer’s instructions to ensure the correct setup. Typically, this involves plugging the camera’s power adapter into a nearby electrical outlet. Ensure the power source is stable and reliable, as disruptions could affect the camera’s operation. If necessary, use extension cords or power strips for easier access. Always prioritize safety by ensuring that cables are organized and do not cause any trip hazards. Once the cameras are powered on, they should be ready for the next phase of the setup process.

Step 3: Connect the Camera to the Network
To connect your wired security camera to the network, you must use an Ethernet cable if the camera lacks built-in WiFi capabilities. Begin by plugging one end of the Ethernet cable into the camera and the other into the wireless bridge or adapter. Ensure a secure connection to prevent any disruptions. If the camera has built-in WiFi, refer to the manufacturer’s instructions to enable the wireless function.
Access the camera’s settings via its designated app or web interface and select your WiFi network from the available options. Enter the correct WiFi password to establish the connection. Confirm that the camera is connected by checking for a status indicator light or notification in the app signaling a successful link to the network. This connectivity allows for easy remote access and starts integrating the camera into your security system.
Step 4: Configure the Camera Settings
Once your camera is connected to the network, it’s time to configure its settings for optimal performance. Access the camera’s control panel through its dedicated app or web platform. Here, you can adjust various settings such as image resolution, frame rate, and motion detection sensitivity. Customizing these parameters helps ensure the camera operates efficiently and provides high-quality footage tailored to your monitoring needs. Consider enabling features like motion alerts or automatic recording to enhance your security system’s responsiveness. Remember to check if the device’s firmware requires any updates, as manufacturers periodically release updates that may include new features or security enhancements. Proper configuration not only improves functionality but also reinforces the security of your surveillance setup.
Step 5: Test the Camera Setup
Once you have configured the camera settings, it is crucial to test the setup to ensure everything is functioning correctly. Start by verifying that the camera is successfully capturing footage and transmitting it to your monitoring device, whether it’s a smartphone, tablet, or computer. Check the live feed for image clarity and ensure there is no lag or delay in the video transmission.
Test the motion detection capability by moving within the camera’s field of view to ensure that alerts and notifications are being triggered as expected. Additionally, confirm that you can control the camera settings remotely, such as adjusting the view angle or enabling audio features. Performing these tests helps identify any issues early, allowing you to make necessary adjustments for a reliable and effective security system.
Step 6: Setup Remote Access
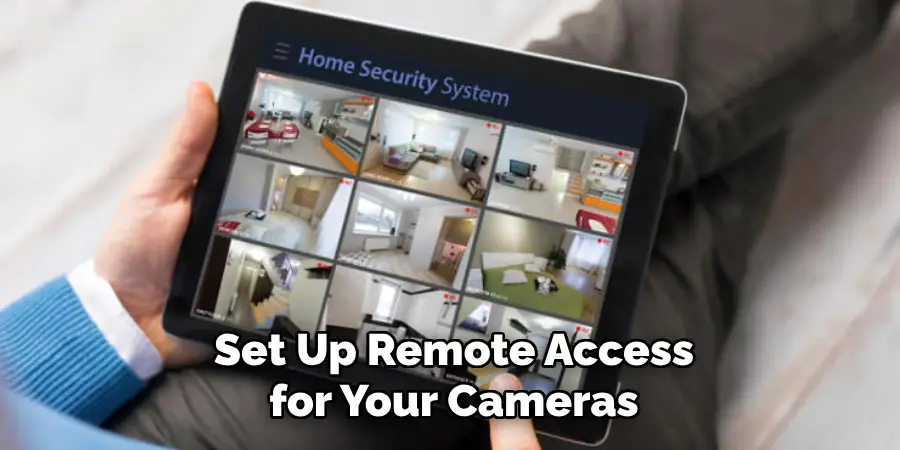
To enhance the convenience and functionality of your security system, set up remote access for your cameras. This feature allows you to monitor your property from anywhere with an internet connection. Begin by installing the camera’s official mobile app or accessing its web portal on your computer. Ensure that the device you are using is connected to the internet.

Log into your camera’s account and enable remote viewing options within the app settings. Some systems may require you to create a secure account linked to your cameras for access. Always use strong, unique passwords to protect against unauthorized entry into your system. Once configured, test the remote access by logging in from a different network to verify that you can view live feeds and receive alerts seamlessly. Remote access is a valuable tool for monitoring your property, enhancing overall security and peace of mind.
Step 7: Maintenance and Troubleshooting
Regular maintenance and troubleshooting are vital to ensure your security cameras remain in optimal condition. Begin by periodically checking the camera lenses for dust or dirt and gently clean them with a microfiber cloth to maintain clear image quality. Inspect all cables and connections for any wear or damage, replacing them as necessary to prevent technical failures.
Review footage and settings regularly to ensure the cameras are functioning as expected and adjust any configurations if your monitoring needs to change. It is essential to stay up-to-date with any firmware updates provided by the manufacturer, as these often include enhancements and security patches. If you encounter any issues, consult the user manual or contact technical support for guidance. Consistent upkeep helps extend the lifespan of your system and ensures reliable surveillance.
Step 8: Evaluate and Upgrade Your System
Periodically evaluating your security camera system is crucial to ensure it continues to meet your security requirements effectively. Begin by assessing whether the current setup still adequately covers all necessary areas of your property. Consider any changes in your environment or security needs that require adjustments or expansions.
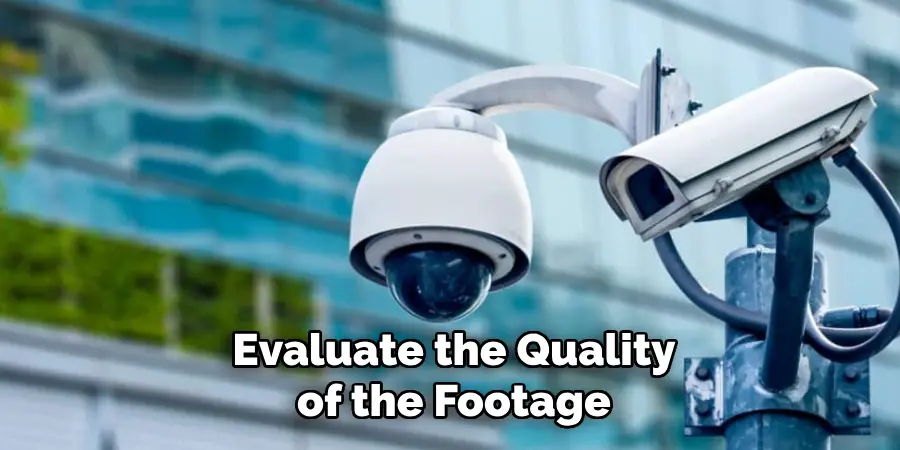
Evaluate the quality of the footage and decide if upgrades to higher resolution cameras or additional cameras might enhance your security coverage. Additionally, assess the integration of your cameras with other smart home devices, as improved compatibility can offer added convenience and security features. Stay informed about the latest advancements in security technology that may benefit your system, such as advanced analytics or AI capabilities. Upgrading components enhances security and ensures that your system remains efficient and current with current standards.

Step 9: Ensure Compliance with Local Laws and Regulations
When setting up and using security cameras, it’s essential to ensure compliance with local laws and regulations regarding surveillance. Begin by researching the legal requirements in your area, as these may vary significantly depending on location. Some regions may have specific restrictions on where cameras can be placed, what areas they can cover, and how long footage can be stored.
You may also need to inform visitors, employees, or other individuals about the presence of cameras for transparency and legal compliance. If your system involves audio recording, consider laws governing consent and privacy. By adhering to these guidelines, you protect the rights of individuals and safeguard yourself from potential legal issues. Consulting with a legal expert or local authority can provide clarity and ensure your security measures are fully compliant.

With these steps, you can set up a reliable and effective security camera system for your property.
Conclusion
To conclude, how to connect wired security cameras to wifi can greatly enhance the flexibility and accessibility of your surveillance system.
The process involves using a network video recorder (NVR) or connecting the camera directly to a Wi-Fi router if it has built-in wireless capabilities. Ensure that the camera is securely connected to a power source and network, and follow the manufacturer’s instructions for setting up the Wi-Fi connection. Ensuring a strong and stable internet connection is important for consistent monitoring and data transmission. Once connected, verify the functionality of the cameras through the monitoring app, ensuring that live feeds are accessible and alerts are functioning. Consider the physical placement of routers and extenders to maximize connectivity and minimize signal interference.
By successfully integrating wired cameras into your wireless network, you achieve a sophisticated level of surveillance that combines reliability with modern convenience, allowing for an effective and efficient security solution.
