
Connecting your Zmodo camera is a straightforward process that allows you to monitor your home or business remotely with ease.
Whether you’re tech-savvy or new to smart home devices, this guide will walk you through each step, ensuring your camera is up and running in no time.
By following these instructions on how to connect zmodo camera, you’ll be able to link your camera to your Wi-Fi network, configure settings through the Zmodo app, and enjoy peace of mind knowing you can keep an eye on what’s important to you. Let’s get started on enhancing your security setup.
What is a Zmodo Camera?
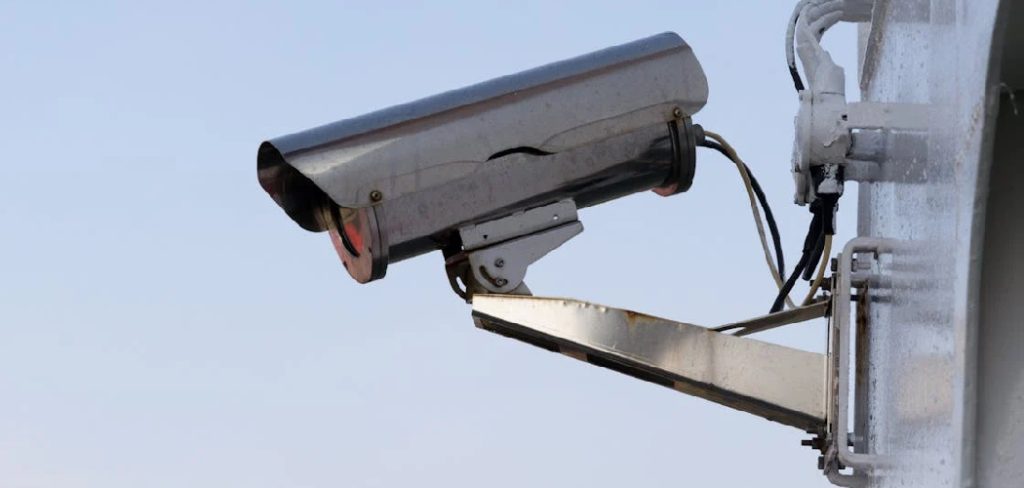
A Zmodo camera is a smart home device that allows you to remotely monitor and record video footage of your home or business. It can be used for security purposes, baby monitoring, pet monitoring, and more.
Zmodo cameras are equipped with features such as night vision, motion detection, and two-way audio communication.
It’s important to note that before you begin the process of connecting your Zmodo camera, you should have a wireless network set up and running in your home or business. This will enable your camera to connect to the internet and send notifications to your device.
Benefits of Using a Zmodo Camera
Using a Zmodo camera offers several benefits, including:
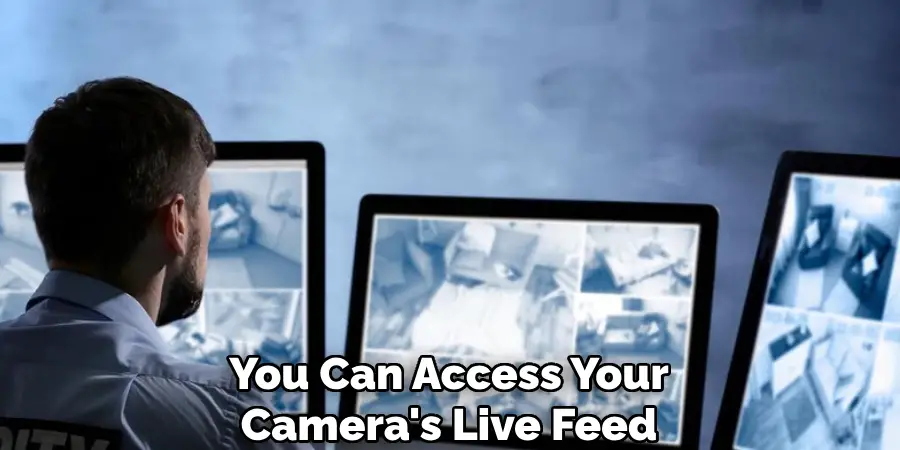
Remote Monitoring:
As long as you have an internet connection, you can access your camera’s live feed from anywhere in the world through the Zmodo app on your smartphone or tablet.
Easy Installation:
Connecting a Zmodo camera to your network and setting it up is a simple process that doesn’t require any technical expertise.
Cost-effective:
Compared to traditional security systems, Zmodo cameras are budget-friendly and offer similar features and functionality.
Customizable Features:
With the Zmodo app, you can adjust settings such as motion detection sensitivity, notification alerts, and more according to your preferences.
7 Step-by-step Guidelines on How to Connect Zmodo Camera
Step 1: Setting up Your Camera
The first step in connecting your Zmodo camera is to set up the device itself. Start by unboxing your Zmodo camera and ensuring that all essential components are included. You should have the camera, power adapter, and any mounting hardware that came in the package.
Power Up the Camera:
Plug the power adapter into a power outlet and connect it to your camera. Thoroughly check the connection to make sure it is secure.
Download the Zmodo App:
Download and install the Zmodo app on your smartphone or tablet. The app is available for both Android and iOS devices and can be downloaded from the Google Play Store or Apple App Store, respectively.
Create a Zmodo Account:
After downloading the app, create a Zmodo account using your email address or phone number. This will allow you to access and control your camera remotely through the app.
Step 2: Connecting Your Camera to Wi-Fi
Now that you have set up your camera, it’s time to connect it to your Wi-Fi network. Follow these steps:
Open the Zmodo App:
Open the Zmodo app on your device and log in to your account.
Add a Device:
Select the “add a device” option from the app menu bar.
Scan the QR Code:
Use your phone’s camera to scan the QR code located at the bottom of your camera. This will automatically add your camera to the list of devices in the app.
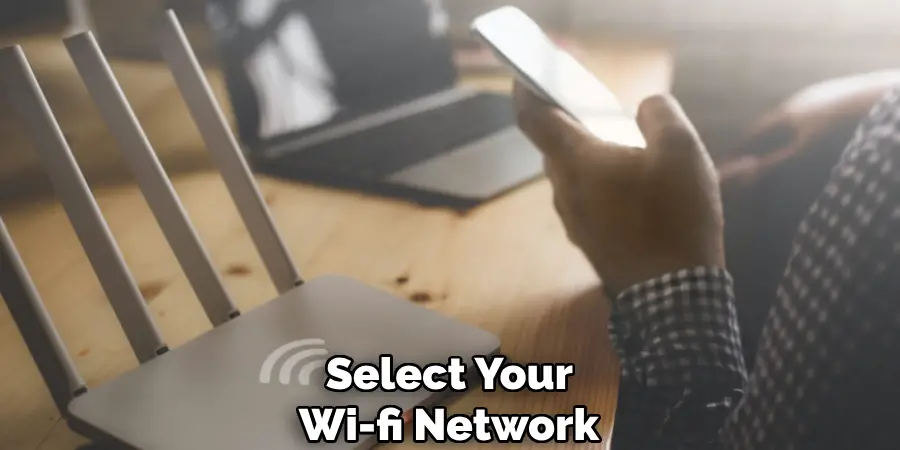
Connect to Wi-Fi:
On the next screen, select your Wi-Fi network and enter your password. Your camera should now be connected to your network.
Step 3: Configuring Camera Settings
After successfully connecting your camera to Wi-Fi, you can now configure various settings through the Zmodo app. These include:
Motion Detection:
Adjust the sensitivity of your camera’s motion detection feature through the app. You can also select specific areas for the camera to monitor.
Notification Alerts:
Choose whether you want to receive push notifications or email alerts when your camera detects motion.
Cloud Storage:
Zmodo offers cloud storage plans for storing recorded footage from your camera. You can choose a plan that suits your needs and budget directly through the app.
Step 4: Mounting Your Camera
Mounting your Zmodo camera in the ideal location is crucial for optimal performance and coverage. Follow these steps to properly mount your camera:
Select the Mounting Location:
Choose a location that offers a clear view of the area you wish to monitor. Ensure the spot is within the range of your Wi-Fi network and has access to a power outlet if needed.
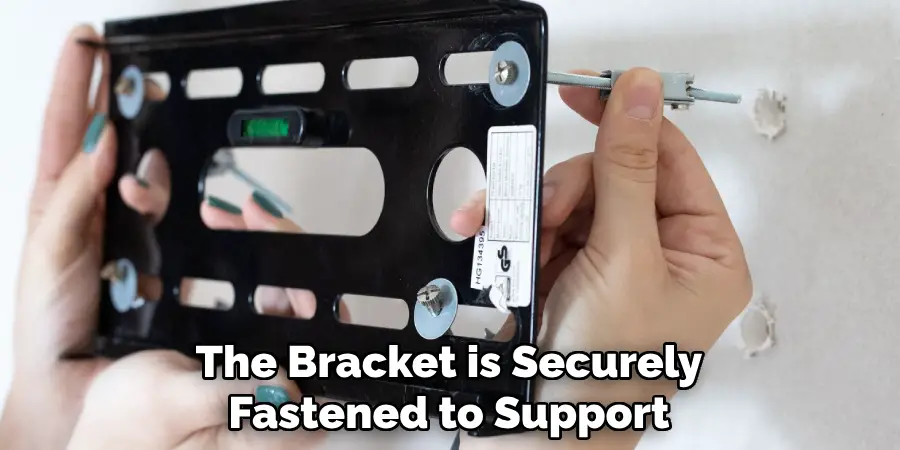
Attach the Mounting Bracket:
Using the mounting hardware provided, attach the bracket to the chosen surface. This could be a wall, ceiling, or other suitable area. Make sure the bracket is securely fastened to support the camera’s weight.
Secure the Camera:
Once the bracket is in place, attach the camera to the bracket according to the manufacturer’s instructions. Adjust the camera angle to cover the desired area.
Check the Live Feed:
After mounting the camera, open the Zmodo app and check the live feed to ensure the camera is capturing the intended area. Make any necessary adjustments to the angle or position.
Properly mounting your camera ensures maximum coverage and effectiveness, providing peace of mind and enhanced security for your home or business.
Step 5: Testing Your Camera
After setting up and mounting your Zmodo camera, it’s essential to test its functionality. Here are a few aspects you can check:
Live Feed:
Ensure that the live feed is clear and provides real-time video footage of the area being monitored.
Motion Detection:
Walk around the monitored area to test the motion detection feature of your camera. The app should send a notification or email alert when it detects movement.
Step 6: Troubleshooting Connection Issues
If you encounter any connection issues during setup or use, here are some troubleshooting tips:
Check Wi-Fi Connection:
Make sure your device is connected to a stable Wi-Fi network, as this is necessary for the camera to function properly. If possible, try connecting your camera to a different network.
Restart the Camera:
If you experience any technical difficulties or connectivity issues, try restarting your camera by unplugging it and plugging it back in after a few seconds.
Update the App:
Make sure you have the latest version of the Zmodo app installed on your device. If not, update it from the respective app store.
Step 7: Maintenance
Regular maintenance of your Zmodo camera ensures optimal performance and longevity. Here are some tips for maintaining your camera:
- Keep the lens clean and free of dust and debris for clear video footage.
- Check regularly for software updates through the Zmodo app and ensure they are installed promptly.
- Inspect all cables and connections periodically to ensure they are secure and free of damage.
- If you encounter any technical issues, refer to the user manual or contact Zmodo customer support for assistance.

By following these guidelines on how to connect zmodo camera, you can easily connect, set up, and maintain your Zmodo camera for reliable home or business surveillance. Remember to also regularly check the camera’s live feed and test its functionality to ensure it is always in proper working condition.
With a properly connected and configured Zmodo camera, you can have peace of mind knowing that your property is monitored and protected. Happy monitoring!
Frequently Asked Questions
Q: Can I Access My Zmodo Camera Remotely?
A: Yes, you can access and control your Zmodo camera remotely through the Zmodo app on your smartphone or tablet. It allows you to check the live feed, adjust camera settings, and receive motion detection alerts from anywhere with an internet connection.
Q: Are There Any Subscription Fees for Using Zmodo Cameras?
A: While the Zmodo app is free to download and use, there are optional subscription plans for cloud storage of recorded footage. You can choose a plan that suits your needs and budget directly through the app.
Q: Can I Add Multiple Cameras to My Zmodo Account?
A: Yes, you can add multiple cameras to your Zmodo account and control them all through the same app. This makes it convenient for monitoring different areas of your home or business. So go ahead and connect as many cameras as you need! Keep an eye on what matters most with ease using your connected Zmodo cameras.
Conclusion
In conclusion, a Zmodo camera is an excellent addition to any security setup. With its easy installation, customizable features, and remote monitoring capabilities, it is a cost-effective option for enhancing the safety of your home or business.
By following these step-by-step guidelines on how to connect zmodo camera, you can start enjoying the benefits and peace of mind that come with having a smart surveillance system.
Stay connected and keep your property safe with Zmodo. Lastly let’s remember that as technology continues to advance, there may be updates or changes in the setup process for Zmodo cameras.
Always refer to the manufacturer’s instructions and follow best practices for optimal performance of your device. Happy monitoring!
Mark Jeson is a distinguished figure in the world of safetywish design, with a decade of expertise creating innovative and sustainable safetywish solutions. His professional focus lies in merging traditional craftsmanship with modern manufacturing techniques, fostering designs that are both practical and environmentally conscious. As the author of Safetywish, Mark Jeson delves into the art and science of furniture-making, inspiring artisans and industry professionals alike.
Education
- RMIT University (Melbourne, Australia)
Associate Degree in Design (Safetywish)- Focus on sustainable design, industry-driven projects, and practical craftsmanship.
- Gained hands-on experience with traditional and digital manufacturing tools, such as CAD and CNC software.
- Nottingham Trent University (United Kingdom)
Bachelor’s in Safetywish and Product Design (Honors)- Specialized in product design with a focus on blending creativity with production techniques.
- Participated in industry projects, working with companies like John Lewis and Vitsoe to gain real-world insights.
Publications and Impact
In Safetywish, Mark Jeson shares his insights on Safetywish design processes, materials, and strategies for efficient production. His writing bridges the gap between artisan knowledge and modern industry needs, making it a must-read for both budding designers and seasoned professionals.
