
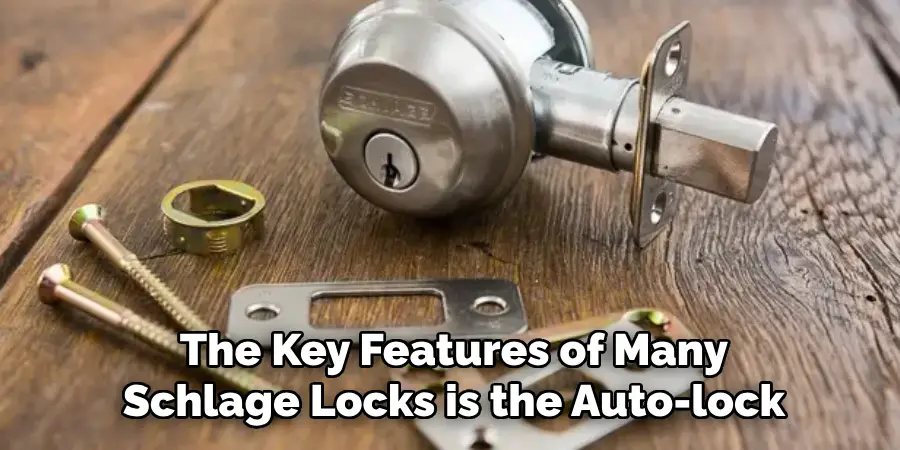
Schlage locks are a popular choice for homeowners seeking reliable security solutions, and they are known for their robust design and advanced features. One of the key features of many Schlage locks is the auto-lock functionality, which automatically secures the door after a set period, enhancing safety and convenience.
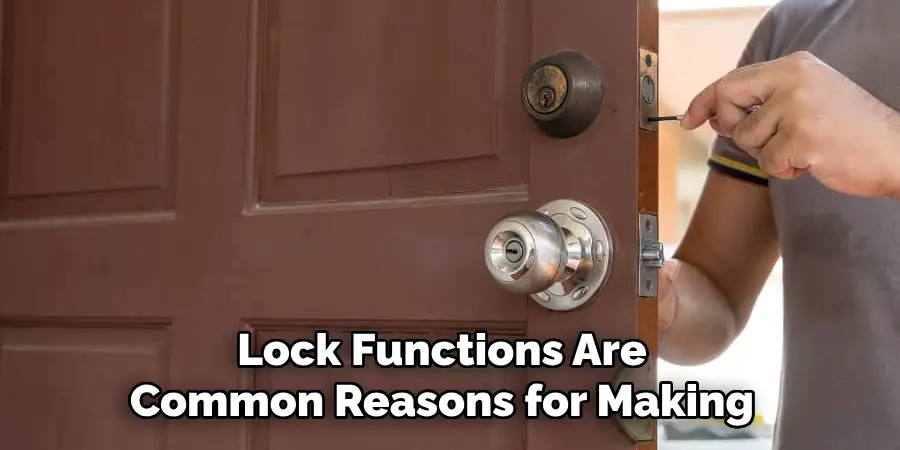
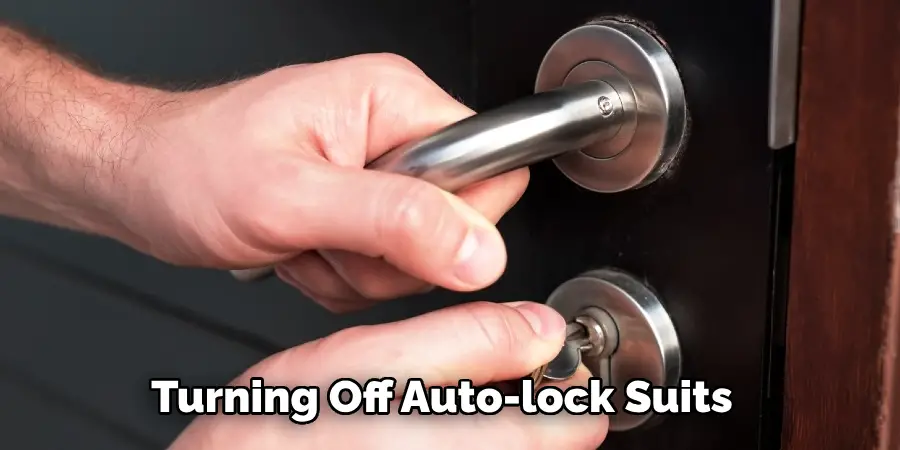
However, there are instances where users might prefer to disable the auto-lock feature. Personal preference, the need for convenience, or troubleshooting other lock functions are common reasons for making this adjustment. Some users find that turning off auto-lock suits their lifestyle better, allowing for smoother entry and exit without the worry of a timed lockout.
This article aims to provide comprehensive guidance on how to disable Schlage auto-lock functions, detailing the steps necessary for both keypad and smart lock models. By following the instructions within, readers can confidently adjust their locks to better meet their individual needs.
Understanding Schlage Auto-Lock Feature
The Schlage auto-lock feature is designed to automatically secure your door after a predetermined period once it has been closed. This advanced functionality is particularly beneficial for enhancing home security by ensuring the door is never left unlocked accidentally.
Schlage locks typically include this feature to provide both improved security and convenience, offering peace of mind to homeowners who can focus on other tasks knowing their homes are protected. The auto-lock feature is programmable, allowing users to set their preferred locking time interval, ranging from a few seconds to a couple of minutes, depending on individual preferences.
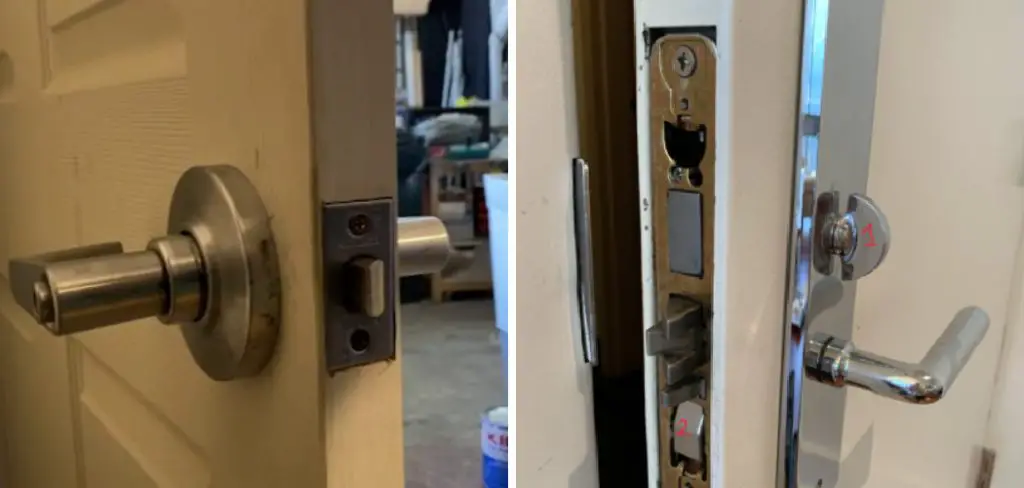
The distinction between auto-locking and manual-locking modes is significant. While manual locking requires the user to physically lock the door using a key, a button, or a digital keypad, the auto-lock feature eliminates this step, ensuring the lock engages automatically.
To enable or disable the auto-lock feature, users can follow simple steps either through the Schlage keypad on the lock itself or using a compatible mobile app. These customizable options make Schlage locks versatile, catering to different user needs for both secure entry points and convenient operation.
How to Disable Schlage Auto-Lock On Schlage Keypad Locks
Locating the Programming Code
To disable auto-lock on your Schlage keypad lock, the first step is to locate the programming code. This unique code is essential for modifying the lock settings. You can typically find the programming code in the user manual provided with the lock or on a label located on the back of the lock itself.
Disabling the Auto-Lock Feature
Once you have your programming code ready, follow these steps to disable the auto-lock feature on your Schlage keypad lock:
- Begin by entering the programming code on the lock’s keypad.
- Press the “Schlage” button, which is usually illuminated or clearly marked on the keypad.
- After pressing the Schlage button, the lock will indicate readiness for programming with a flashing light or a sound.
- Following this, enter the command to toggle the auto-lock feature off. This typically involves entering another specific sequence of numbers unique to your device model. Consult your user manual for the precise sequence.
- The lock will provide confirmation that the auto-lock feature is disabled. This confirmation may vary by model, typically involving a specific light pattern or a series of beeps to indicate successful setting changes.
Verifying the Change
To verify that the auto-lock feature has been successfully disabled, conduct a simple test by leaving the door open for the duration that auto-lock normally engages. If the door remains unlocked past this period, the changes have been applied correctly, confirming that the auto-lock feature is now disabled.
How to Disable Schlage Auto-Lock On Schlage Smart Locks
Accessing the Lock Settings via the Mobile App
Disabling the auto-lock function on Schlage smart locks can be conveniently executed using the Schlage Home app or other compatible smart lock apps. These applications allow you to adjust lock settings remotely, providing both ease of use and flexibility. To begin, ensure you have downloaded and installed the appropriate app on your smartphone or tablet.
Open the app and log into your account using your credentials. Once logged in, navigate to the “Locks” tab, where you will find all connected locks listed. Select the specific lock you wish to modify. Within this lock’s settings, navigate to the “Auto-Lock” feature. Some apps may require you to access an “Advanced Settings” section to locate this option. This menu allows you to adjust the timing or turn off the auto-lock feature as per your requirements, providing a user-friendly interface for lock management.
Disabling the Auto-Lock Function
Once you have navigated to the auto-lock settings, you can proceed to disable the auto-lock feature on your selected Schlage smart lock. Follow the app’s guided steps to turn off auto-lock. This typically involves toggling a switch or selecting the “disable” option next to the auto-lock function. Changes made in the app are usually updated on the lock instantaneously.
To ensure the changes have been implemented, check for any confirmation indicators within the app, such as a notification pop-up or a change in icon display reflecting the new settings status. Additionally, you can conduct a physical test by observing the lock over its previous auto-lock duration to verify the door remains unlocked. The app interface often provides visual feedback, such as an icon or setting change, confirming the auto-lock feature is now deactivated, thus ensuring your lock configuration aligns with your security needs.
Using the Keypad or App to Change the Auto-Lock Delay
Adjusting Auto-Lock Time Delay
For Schlage locks, not every user may wish to completely disable the auto-lock feature. Instead, adjusting the time delay offers a middle ground, allowing the lock more time before securing itself. This adjustment can be made using either the keypad on the lock or a mobile app. A customized delay ensures you have sufficient time to enter or exit your home without having to rush, while still maintaining security.
Step-by-Step Guide to Change the Auto-Lock Time Delay
Using the Keypad:
- Enter the programming code on the keypad.
- Press the “Schlage” button to initiate programming mode.
- Input the code to adjust the delay time, which is typically followed by the number of seconds for the new delay.
- Confirm the new setting through the required keypad sequence.
Using the App:
- Open the Schlage Home app and access the “Locks” tab.
- Select your lock and proceed to the “Auto-Lock” settings.
- Choose the option to adjust the delay time by entering the desired duration.
- Save the changes and verify the update.
Benefits of Adjusting the Delay
Adjusting the auto-lock delay can be an excellent compromise for users who see the advantage of not locking immediately but still appreciate the security the feature provides. This flexibility helps balance convenience and safety by allowing users to choose a time delay that suits their daily routines. To determine the ideal setting, consider your typical entry and exit patterns and test different delays to find a sweet spot that offers both convenience and peace of mind.
Troubleshooting Common Issues with Schlage Auto-Lock
Lock Not Responding to Settings Changes

If your Schlage lock isn’t responding after you’ve attempted to disable the auto-lock feature, start by checking the lock’s battery. A weak battery could impede the lock’s ability to implement new settings. Replacing the battery often resolves performance issues. If the battery isn’t the culprit, verify that the correct programming code was entered; even a small error can prevent changes from taking effect. If issues persist, consider performing a factory reset. To reset the lock, locate the reset button inside the battery compartment, press and hold it for a specified amount of time (as detailed in your user manual), then reprogram the lock with your desired settings.
App or Keypad Connectivity Issues
When the Schlage app is not connecting to the lock or keypad settings aren’t taking effect, ensure your Wi-Fi connection is stable and that the device is within range. Re-pairing the lock with the app might be necessary; follow the manufacturer’s instructions for the pairing process. Additionally, ensure that both the lock’s firmware and the app are updated to the latest versions, as outdated software can cause connectivity problems. If connectivity issues persist, restarting your router and mobile device can also assist in resolving the problem.
Disabling Auto-Lock in Emergency Situations
Quick Lock Override
In emergencies, quick access is crucial, so disabling the auto-lock feature on your Schlage lock can prove essential. You can rapidly prevent auto-lock from engaging by using the “lock” or “unlock” button on your lock’s keypad or app. Pressing these buttons momentarily halts the auto-lock sequence, granting you immediate access while still ensuring controlled entry. This functionality is particularly useful in urgent situations where every second counts.
Factory Reset as a Last Resort
If you encounter persistent issues with the auto-lock feature, performing a factory reset might be necessary. Overriding the lock’s programmed settings can resolve problems when other methods fail. Locate the reset button inside the battery compartment to reset your Schlage lock to factory settings. Press and hold it according to the user manual’s instructions until the lock resets. Afterward, reprogram the lock to your preferences, ensuring all settings align with your security needs.
Benefits and Considerations of Disabling Schlage Auto-Lock
Improved Convenience
Disabling the auto-lock feature on a Schlage lock can significantly enhance convenience for households where users prefer not to wait for the lock to engage automatically. This setting is particularly beneficial for people who frequently forget to lock the door, as it allows them to manually secure their home without relying on a preset timer. Additionally, for families with small children, the ability to quickly access the home without delay can be invaluable, especially in urgent situations.
Security Implications
While disabling the auto-lock feature offers increased convenience, it may also impact your home’s security by increasing the risk of leaving doors unlocked. For this reason, it is crucial to weigh the benefits against the potential vulnerabilities. As an alternative, homeowners can adopt supplementary security measures, such as installing door alarms or conducting regular manual lock checks, to maintain safety even when the auto-lock function is turned off.
Conclusion
In conclusion, understanding how to disable Schlage auto-lock involves using the keypad, app, or adjusting the delay time to suit your individual needs. These methods provide a range of options to enhance convenience while ensuring security. It’s crucial to carefully choose when to disable the auto-lock based on daily routines and potential security implications.
Regular testing of the lock settings is advised to confirm they align with your preferences, offering a tailored security setup. Ultimately, finding the ideal balance between convenience and safety will help maintain a secure and efficient home environment.