Blink cameras are a popular choice for home security due to their ease of use and wireless capabilities. However, there are times when you might want to disarm your Blink camera system, such as when you’re home and don’t need surveillance or to prevent notifications during a family gathering.
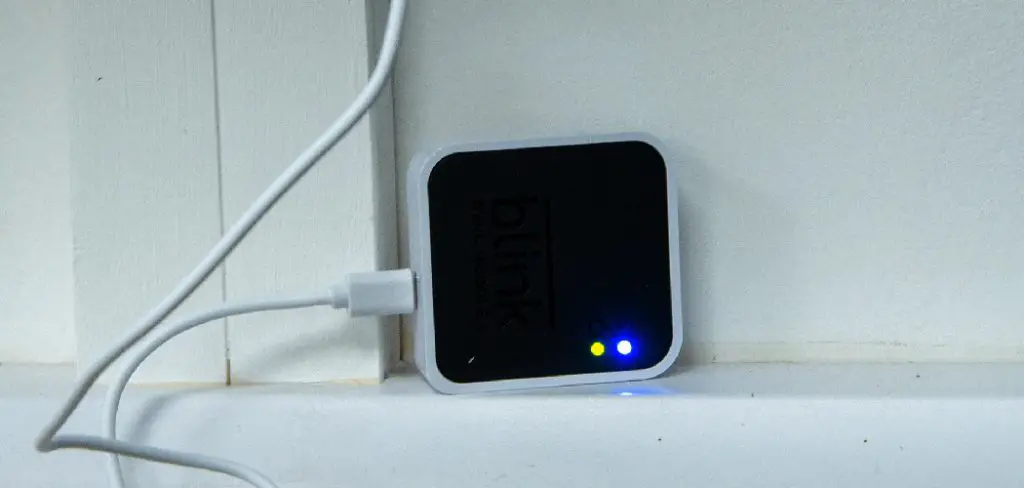
Disarming your Blink camera ensures that it stops recording and sending alerts without needing to turn the system off completely. This guide on how to disarm blink camera will walk you through the process step-by-step, ensuring your disarming process is as seamless and straightforward as possible.
Why Disarm Your Blink Camera?
There are several reasons why you might want to disarm your Blink camera system. One of the most common is when you’re home and don’t need surveillance. Having your cameras armed while you’re at home can feel intrusive, especially if they have motion-detection capabilities. By disarming your blink camera, you can have peace of mind knowing that you’re not being watched or recorded while in the privacy of your own home.
Another reason to disarm your Blink camera is to avoid receiving constant alerts and notifications. For example, if you’re hosting a family gathering or have guests over, the constant motion detection alerts from your cameras can be annoying and disruptive. By disarming your cameras, you can enjoy quality time with your loved ones without interruption.
Needed Materials
Before you begin the process of disarming your Blink camera system, make sure you have the following materials:
Smartphone or Tablet:
You will need a device with the Blink Home Monitor app installed. The app is available for both iOS and Android.
Active Internet Connection:
Ensure you have a stable internet connection, either through Wi-Fi or mobile data, to access the Blink app and control your camera settings.

Blink Login Credentials:
Make sure you have your Blink account username and password handy to log into the app.
Blink Sync Module (If Applicable):
If your system uses a Sync Module, ensure it is powered on and connected to the network.
Having these materials on hand will help ensure that the disarming process is smooth and efficient. Once you have everything ready, you can proceed to disarm your Blink camera system.
10 Steps on How to Disarm Blink Camera
Step 1: Open the Blink App on Your Smartphone or Tablet
Begin by unlocking your smartphone or tablet and locating the Blink Home Monitor app icon on your home screen or app drawer. Tap the icon to open the Blink app. If prompted, enter your Blink account login credentials to access the app’s main dashboard. This will be your central control hub for managing your Blink camera system, including disarming the cameras. Once logged in, you will see an overview of your camera system and its current status.
Step 2: Select the Camera You Want to Disarm
On the main dashboard of the Blink app, you will see a list of all the Blink cameras connected to your system. Each camera will be represented by a thumbnail image or an icon, along with its current status (armed or disarmed). Locate the specific camera you wish to disarm and tap on its thumbnail or icon. This will take you to the camera’s individual settings page, where you can control and manage that particular camera’s operational status.
Step 3: Tap on the Gear Icon to Access Camera Settings
Once you are on the individual camera’s settings page, look for the gear icon, typically located in the top-right corner of the screen. This icon represents the settings menu for the selected camera. Tap on the gear icon to access the camera’s settings. Through this menu, you will be able to adjust various parameters, including the ability to arm or disarm the camera. The settings menu provides a comprehensive set of options to customize your camera’s operation according to your needs.

Step 4: Disable Motion Detection
On the camera’s settings menu, you will see a toggle switch for motion detection. By default, this switch is set to “on,” indicating that the camera is armed and will send alerts when it detects motion. To disarm your camera, tap on the switch to turn it off. You should see a message confirming that motion detection has been disabled for that particular camera. If you have multiple cameras, repeat this process for each one individually.
Step 5: Turn Off Audio Alerts (Optional)
If you want to completely silence your Blink camera system while disarmed, you can also disable audio alerts. To do this, locate the “Audio Alert” option in the camera’s settings menu and tap on the toggle switch to turn it off. This will prevent your camera from making any sound or playing audio when motion is detected, further minimizing any potential disruptions.
Step 6: Disable Scheduling (Optional)
Another option you can choose to enable while disarming your Blink camera system is disabling scheduling. If you have set up a schedule for when your cameras are armed and disarmed automatically, you can disable this feature in the settings menu for each camera. Locate the “Schedule” option and tap on the toggle switch to turn it off. This will prevent your cameras from following their preset schedule and instead remain disarmed until manually reactivated.
Step 7: Save Your Changes
After you have adjusted the necessary settings to disarm your Blink camera, it is crucial to save your changes to ensure they take effect. Look for a “Save” or “Apply” button at the bottom or top-right corner of the settings menu. Tap on this button to confirm and apply your modifications. You may see a brief loading screen indicating that your changes are being saved. Once the process is complete, you should receive a confirmation notification within the app, verifying that your camera has been successfully disarmed and all settings have been updated accordingly.

Step 8: Test the Camera
After disarming your Blink camera, it’s important to verify that the settings have been correctly applied. To test the camera, move around within its field of view while keeping an eye on the Blink app. Since you have disabled motion detection and possibly other alerts, the camera should not send any notifications or record any motion events. Additionally, check for any audio alerts if you have disabled them. This step ensures that your camera is truly disarmed and no longer actively monitoring or recording movements. If you notice any issues or the camera is still active, revisit the previous steps to ensure all settings are properly configured.
Step 9: Repeat for Other Cameras (If Applicable)
If you have multiple Blink cameras, you will need to repeat the disarming process for each one individually. This is to ensure that all your cameras are correctly disarmed and not active while you are away from home or no longer need them monitoring certain areas. Follow the same steps outlined above for each camera and make sure to save any changes before moving on to the next one.
Step 10: Arm Your Cameras When Ready
Once you have finished using your Blink camera system in its disarmed state, remember to rearm it when necessary. To do this, simply reverse the steps outlined above. Access each camera’s settings menu and toggle motion detection, audio alerts, and scheduling back on. Save any changes, and your cameras will once again be armed and ready to monitor your home or property. Remember to disarm them again when needed, following the same process outlined in this guide.
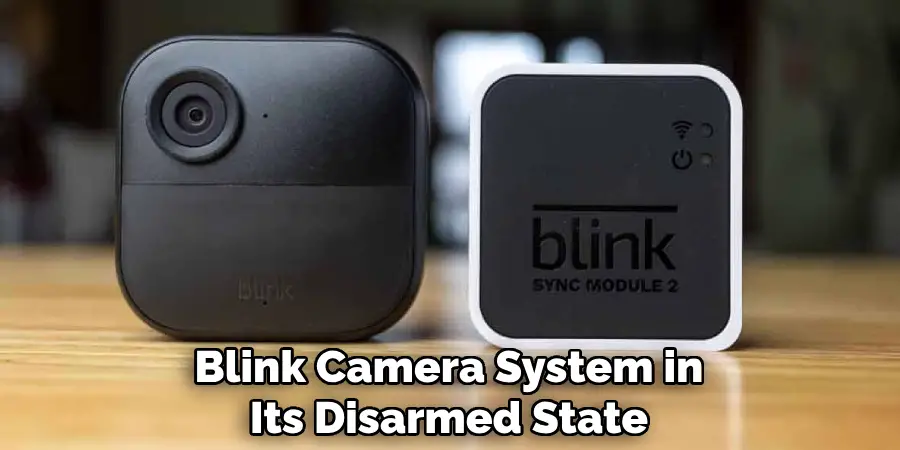
Following these steps on how to disarm blink camera, you can easily disarm your Blink camera system and make any necessary adjustments to its settings. Whether you are leaving for a vacation or simply want some privacy at home, disarming your cameras allows you to have full control over their operation while still having the option to quickly arm them again when needed. To learn more about the features and settings offered by Blink cameras, explore the app’s documentation or visit their website for additional resources. And as always, don’t forget to stay vigilant and keep your home secure with Blink! Happy monitoring!
Additional Tips for Disarming Your Blink Cameras
- It’s a good idea to create a routine or habit of disarming your Blink cameras whenever you are at home. This will prevent unnecessary alerts or recordings while you are inside.
- If you have guests staying over or workers coming into your home, consider temporarily disabling all motion detection for added privacy and peace of mind.
- If you want to keep some of your cameras armed while others are disarmed, simply follow the same steps outlined above for each individual camera. This allows you to have full control over which cameras are actively monitoring and recording.
- Remember to periodically check your Blink app to ensure that all settings are still configured correctly. In case of any changes or updates, you may need to adjust your camera’s settings accordingly. Overall, disarming your Blink cameras is a simple process that offers additional flexibility and control over your home security system. With these steps in mind, you can effectively manage and customize your cameras according to your needs. Happy disarming!
Troubleshooting Camera Disarmament Issues
If you encounter problems while attempting to disarm your Blink cameras, there are several troubleshooting steps you can take to resolve these issues:
Check Your Internet Connection
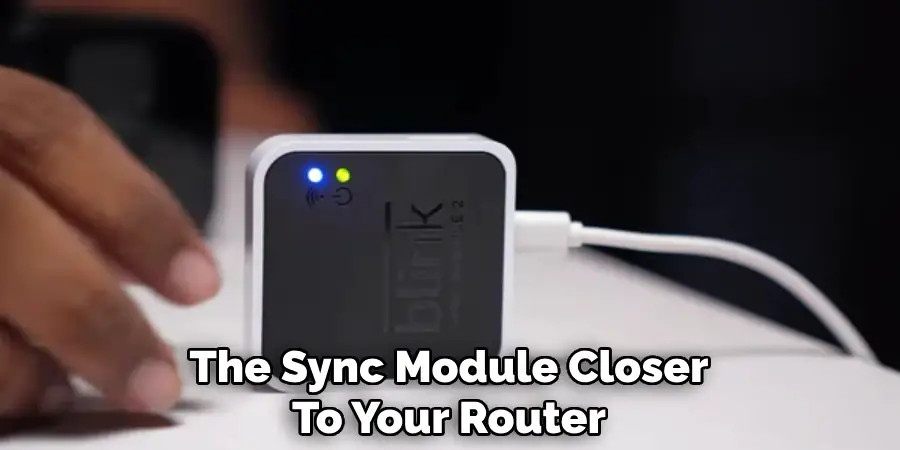
Ensure that your Blink camera system is connected to a stable and reliable internet connection. Disarmament settings require a live connection to be saved and applied. If your Wi-Fi signal is weak or unstable, try moving the Sync Module closer to your router or consider using a Wi-Fi extender.
Verify Camera Settings in the App
Double-check that you have applied the correct settings in the Blink app. Sometimes, disarmament issues can arise from missed toggles or unsaved changes. Go back into each camera’s settings to confirm that motion detection, audio alerts, and scheduling have been successfully turned off.
Restart the Blink App
Occasionally, the Blink app may experience glitches or errors that affect its functionality. Restarting the app can help resolve temporary issues. Close the app completely and then reopen it to see if the problem persists.
Power Cycle Your Cameras
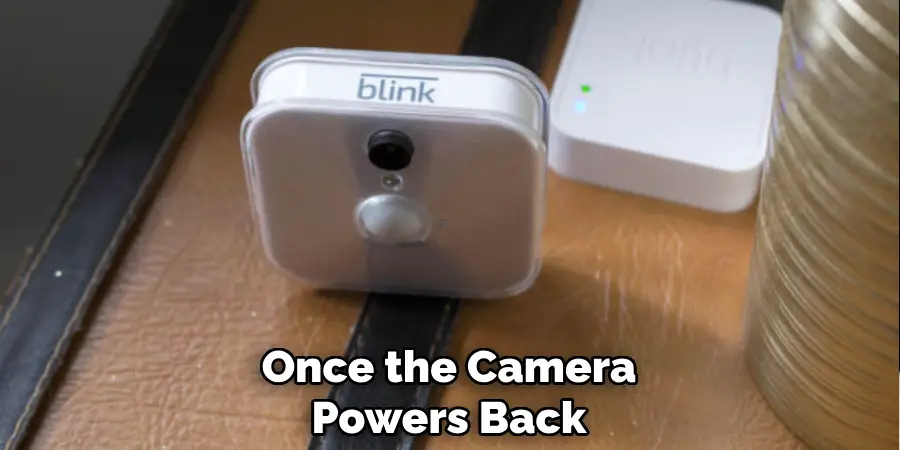
Turning off and then back on your Blink cameras can sometimes resolve disarmament issues. To do this, remove the batteries from the camera, wait for a minute, and then reinsert them. Once the camera powers back on, attempt the disarmament process again through the app.
Update the Blink App and Firmware
Ensure that both your Blink app and camera firmware are up-to-date. Outdated software can often lead to configuration errors or missing features. Check the app store for any available Blink app updates and follow in-app instructions to update your camera’s firmware if needed.
Reset the Sync Module
If all else fails, try resetting the Sync Module. This involves unplugging the Sync Module from the power source and then plugging it back in. Wait for the Sync Module to reconnect to your Wi-Fi network and then try disarming your cameras again.
Contact Blink Support
If you have tried all the above steps and are still experiencing issues, it may be time to contact Blink customer support for further assistance. They can provide more detailed troubleshooting steps specific to your device and situation to help you resolve the issue.
By following these troubleshooting steps, you should be able to identify and fix any issues preventing you from successfully disarming your Blink cameras.
Legal and Ethical Considerations
When using Blink cameras or any home security system, it’s important to be aware of the legal and ethical considerations involved. Laws regarding surveillance vary by region, so make sure to familiarize yourself with the regulations in your area. In many places, it’s illegal to record audio without the consent of all parties involved. Ensure that you are compliant with local, state, and federal laws to avoid potential legal issues.
Ethically, it’s crucial to respect the privacy of others. If your cameras capture footage of neighbouring properties, inform your neighbors and assure them that your intention is solely to secure your own premises. Transparency with guests and occupants is also essential; let them know that they are being recorded and explain the purpose of the surveillance. Always prioritize consent and privacy when using security cameras to maintain trust and avoid unwanted conflict.
By adhering to both legal requirements and ethical guidelines, you can use your Blink camera system responsibly and effectively, ensuring that you respect the privacy and rights of others while keeping your home secure.
Frequently Asked Questions
Q1: Can I Disarm My Blink Cameras Remotely?
A: Yes, you can disarm your Blink cameras from anywhere as long as you have a stable internet connection and access to the Blink app. Simply follow the same steps outlined in this guide to disarm your cameras remotely. The process is the same regardless of your location.
Q2: Can I Schedule Specific Times for Disarming My Cameras?
A: Yes, you can schedule specific times for disarming your Blink cameras using the scheduling feature in the Blink app. To set up a schedule, navigate to the settings menu for the desired camera and select the “Schedule” option. Here, you can define the days and times during which you want the camera to be automatically disarmed. This feature is particularly useful if you have regular routines, such as arriving home from work at a certain time each day.
Q3: Will My Blink Cameras Still Record When Disarmed?
A: No, when you disarm your Blink cameras, they will not record any footage. However, if you have a subscription plan with Blink that includes cloud storage, the camera will still upload and store any footage recorded within the previous 10 seconds before being disarmed.
Q4: Can I Temporarily Disarm One Camera Without Affecting Others?
A: Yes, you can disarm individual cameras while leaving others armed through the Blink app. Simply navigate to the settings for the desired camera and toggle off the “Arm” setting. This allows for customizable security and monitoring based on your specific needs at any given time.
Conclusion
In conclusion, managing your Blink camera system effectively ensures that you maintain control over your home security while also accommodating your personal needs for privacy and convenience. Disarming your cameras can offer peace of mind, especially during times when constant monitoring isn’t necessary. By following the outlined steps on how to disarm blink camera, you can easily adjust your camera’s settings, whether it’s turning off motion detection, disabling audio alerts, or modifying scheduling.
Always remember to test your cameras after making changes to verify that they are working as intended. Additionally, use the provided tips to enhance your experience and ensure your system remains adaptable to various scenarios. By regularly checking and updating your settings, you can achieve a balanced approach to home security that aligns with your lifestyle.
