
Erasing security camera footage can be necessary for various reasons, whether it’s clearing up storage space on your DVR or ensuring privacy. However, this action should be undertaken with caution and in compliance with legal guidelines. The unauthorized deletion of security footage can have significant legal repercussions.
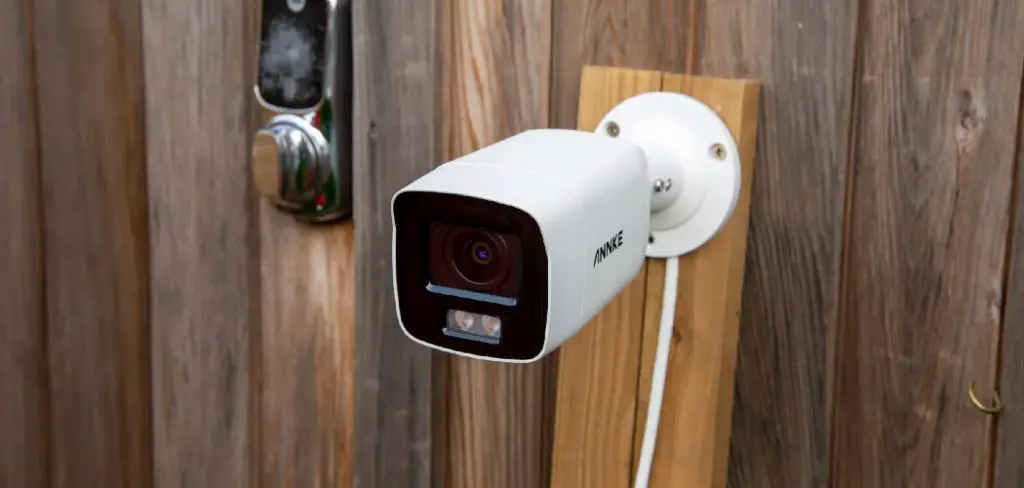
In this guide on how to erase security camera footage, we’ll cover the methods to safely and effectively erase security camera footage, keeping in mind best practices and legal considerations.
Why Erase Security Camera Footage?
There are several reasons why you may need to erase security camera footage, including:
Freeing Up Storage Space:
If your DVR or NVR is running out of storage space, erasing old footage can help make room for new recordings.
Protecting Privacy:
In certain situations, such as in a residential area or workplace, there may be sensitive information captured on security cameras. Erasing footage can help prevent this information from being accessed by unauthorized individuals.
Meeting Legal Requirements:
In some cases, there may be legal requirements for how long security footage needs to be kept before it can be erased. For example, businesses may need to retain footage for a certain period of time for potential investigations or litigation purposes.
Now that we understand the reasons why you may need to erase security camera footage let’s explore the different methods for doing so.
Needed Materials
Before we begin, you’ll need the following materials:
- Security Camera System (Dvr or Nvr)
- Computer or Mobile Device With Internet Access
- Administrator Login Credentials for Your Security Camera System

7 Simple Methods on How to Erase Security Camera Footage
Method 1: Using the DVR or NVR Interface
The most common way to erase security camera footage is through the DVR or NVR interface. Here’s how:
- Log in to your DVR or NVR using your administrator login credentials.
- Navigate to the “Recordings” tab, where you should see a list of all recorded footage.
- Select the footage you want to delete by clicking on it.
- Click on the “Delete” button and confirm that you want to delete the selected recordings.
- The selected footage will now be erased from your system and cannot be recovered.
Method 2: Using the Mobile App
If your security camera system has a mobile app, you can also use it to erase footage. Here’s how:
- Download and install the mobile app for your specific security camera system.
- Log in to the app using your administrator login credentials.
- Navigate to the “Recordings” section of the app.
- Select the footage you want to delete by tapping on it.
- Tap on the “Delete” option and confirm that you want to delete the selected recordings.
- The selected footage will now be erased from your system.
Method 3: Manually Deleting Files on the Hard Drive
If you want to delete specific footage from your DVR or NVR’s hard drive, you can do so manually using a computer. Here’s how:
- Power off your DVR or NVR and disconnect it from all power sources.
- Remove the hard drive from the DVR or NVR.
- Connect the hard drive to your computer using an external hard drive reader.
- Navigate to the folder where recorded footage is stored on the hard drive.
- Select and delete the files you want to erase.
- Safely eject the hard drive from your computer and reinsert it into the DVR or NVR.
- Power on your system and check that the selected footage has been erased.
Method 4: Using a USB Drive
Some DVRs or NVRs have a feature that allows you to use a USB drive to manually delete footage. Here’s how:
- Insert a USB drive into the designated port on your DVR or NVR.
- Navigate to the “Recordings” tab in your DVR or NVR interface.
- Select the footage you want to delete by clicking on it.
- Click on the “Export” button and select the USB drive as the destination.
- Once the export is complete, safely remove the USB drive from your system.
- Connect the USB drive to a computer and navigate to its contents.
- Locate and delete the exported footage files.
- Safely eject the USB drive and reconnect it to your DVR or NVR.
- Navigate back to the “Recordings” tab in your DVR or NVR interface and confirm that the selected footage has been erased.
Method 5: Overwriting Old Footage
If you want to continuously erase old footage on your DVR or NVR, you can set up automatic overwriting. Here’s how:
- Log in to your DVR or NVR interface using your administrator login credentials.
- Navigate to the “Recordings” tab.
- Look for the option to enable continuous recording and select it.
- Choose the amount of time you want the footage to be stored before being automatically overwritten (e.g., 30 days, 60 days).
- Save the changes, and any footage older than the selected time frame will be automatically erased as new recordings are made.
Method 6: Formatting the Hard Drive
Formatting your DVR or NVR’s hard drive erases all footage and settings. This should only be done as a last resort or if you’re decommissioning the system. Here’s how:
- Log in to your DVR or NVR interface using your administrator login credentials.
- Navigate to the system settings or configuration menu.
- Look for the option to format the hard drive and select it.
- Follow any prompts or confirmations to begin formatting the drive.
- Once complete, all footage and settings will be erased from your system.
Method 7: Using Third-Party Software
If your DVR or NVR interface does not provide a straightforward method for erasing footage, or if you need more advanced options, you can use third-party software. Here’s how:
Research and Select Software:
Find reputable third-party software compatible with your DVR or NVR system. Ensure it supports the specific model and features of your security camera system.
Install the Software:
Download and install the chosen software on your computer by following the provided instructions.
Connect Your Device:
Use a USB cable or network connection to link your DVR or NVR to your computer, ensuring that the system is recognized by the software.
Log In and Configure:
Open the software and log in using your administrator credentials. Navigate to the interface where you can manage recordings.
Select Recordings for Deletion:
Browse the list of saved recordings within the software. Highlight the specific footage you wish to erase.
Erase the Footage:
Use the software’s delete or erase function to remove the selected recordings from your system. Confirm any prompts to complete the deletion process.
Verify: Ensure the footage has been successfully erased by checking both within the third-party software and your DVR or NVR interface.
Using third-party software can provide additional functionalities like data analysis, batch deletions, or enhanced security features, making it a beneficial option for managing your security camera footage. However, always remember to research and choose reliable software from trusted sources to ensure the safety and security of your system.
Following any of these methods on how to erase security camera footage will allow you to effectively delete footage from your security camera system. Remember to regularly review and manage your recordings to ensure optimal storage space and privacy. Additionally, always follow the proper safety precautions when handling hard drives or connecting devices to your system. By properly managing your footage, you can maintain a secure and efficient security camera system.
Additional Tips
Regularly Update Firmware:
Ensure that the firmware of your DVR or NVR is always up to date. Firmware updates often include security patches and performance improvements that can help keep your system secure and running efficiently.
Set Up Alerts:
Configure your system to send alerts or notifications if it detects any irregularities or tampering attempts. This can help you respond promptly to potential security threats.
Backup Important Footage:
Periodically back up important footage to an external hard drive or cloud storage. This can prevent data loss in case of system malfunctions or accidental deletions.
Use Strong Passwords:
Make sure that your DVR or NVR is protected with strong, unique passwords. Avoid using default passwords or easily guessable passwords to enhance security.
Conduct Regular Maintenance:
Regularly check your camera lenses, wiring, and connections to ensure everything is functioning correctly. Clean camera lenses to avoid blurry footage.
Optimize Storage Settings:
Adjust recording settings such as resolution and frame rate based on your needs. Higher resolution and frame rates take up more storage space, so find a balance that works for you.
Review and Audit:
Schedule periodic reviews of your footage and logs to identify any unusual activity or potential issues. Conducting regular audits can help you maintain an efficient security system.
Educate Users:
If multiple users have access to the security system, ensure they are trained on best practices for handling and erasing footage. User errors can lead to accidental deletions or security breaches.
By implementing these additional tips, you can enhance the effectiveness and longevity of your security camera system, ensuring that your valuable footage is secure and your system operates without issues.

Conclusion
Being able to erase footage from your security camera system is essential for managing storage space, protecting privacy, and maintaining overall security. Whether you use a DVR or NVR system, a mobile app, or third-party software, it’s important to regularly delete old footage as needed. Keep in mind that once footage is erased, it cannot be recovered, so make sure you’re certain about what you want to delete before confirming the action.
So, it is crucial to have a plan in plac for managing and erasing footage to ensure the proper functioning of your security camera system. So, follow these methods to effectively erase footage from your DVR or NVR system and maintain your security and privacy. Thanks for reading this article on how to erase security camera footage.
Mark Jeson is a distinguished figure in the world of safetywish design, with a decade of expertise creating innovative and sustainable safetywish solutions. His professional focus lies in merging traditional craftsmanship with modern manufacturing techniques, fostering designs that are both practical and environmentally conscious. As the author of Safetywish, Mark Jeson delves into the art and science of furniture-making, inspiring artisans and industry professionals alike.
Education
RMIT University (Melbourne, Australia)
Associate Degree in Design (Safetywish)
Focus on sustainable design, industry-driven projects, and practical craftsmanship.
Gained hands-on experience with traditional and digital manufacturing tools, such as CAD and CNC software.
Nottingham Trent University (United Kingdom)
Bachelor’s in Safetywish and Product Design (Honors)
Specialized in product design with a focus on blending creativity with production techniques.
Participated in industry projects, working with companies like John Lewis and Vitsoe to gain real-world insights.
Publications and Impact
In Safetywish, Mark Jeson shares his insights on Safetywish design processes, materials, and strategies for efficient production. His writing bridges the gap between artisan knowledge and modern industry needs, making it a must-read for both budding designers and seasoned professionals.
