
Are you looking for a way to find the IP address of your camera? In this tutorial, we will guide you through the process of locating your camera’s IP address.
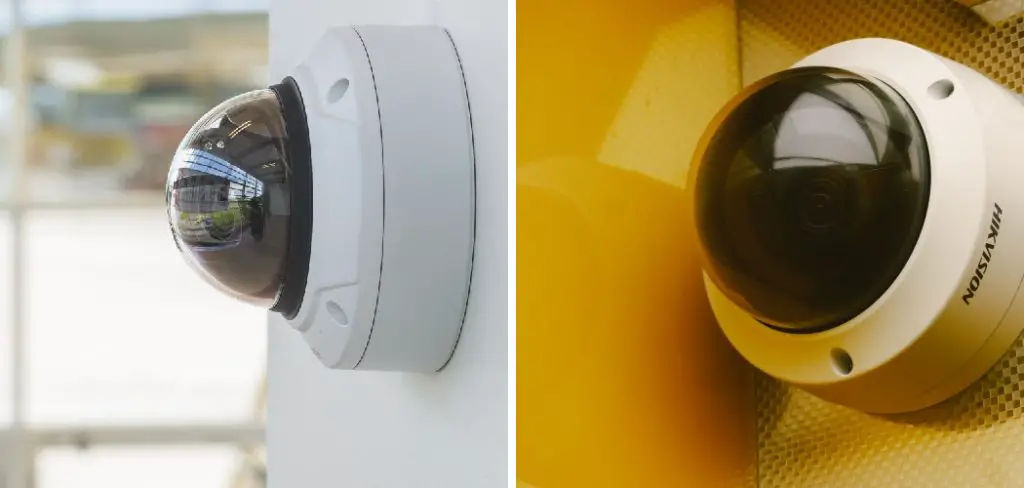
Determining the IP address of your camera is an essential step for network configuration and remote monitoring. Whether you are setting up a new security system or troubleshooting an existing one, knowing the IP address allows you to access the camera’s settings and video feed through your computer or mobile device.
This guide will walk you through the various methods of how to find IP address for camera, from checking your router’s connected devices list to using specialized software tools. By the end of this document, you’ll have the knowledge you need to efficiently find and manage the IP address of your camera, ensuring a seamless and secure setup.
What are the Causes of a Dynamic or Changing Camera IP Address?
Before diving into different methods of finding your camera’s IP address, it is essential to understand why the IP address may change. There are several reasons for this, such as:
- Dynamic Ip Allocation: Most networks use dynamic IP addresses that change periodically. This means that whenever you restart your router or device, the IP address assigned to your camera may change.
- Dhcp Server Settings: If your router’s DHCP (Dynamic Host Configuration Protocol) server is set to a short lease time, the IP address of your camera can change more frequently. A shorter lease time means that the IP address will expire sooner and be reassigned to another device.
- Network Configuration Changes: Any changes made to your network, such as adding a new router or changing network settings, can change the camera’s IP address.
- Camera Settings: In some cases, the camera may have its own configuration settings that allow for dynamic IP addressing. This means that the camera itself is responsible for obtaining and using an IP address from your network.
Understanding these potential causes can help you better troubleshoot and manage your camera’s IP address.
What Will You Need?
To follow the steps in this tutorial, you will need:
- A computer or mobile device connected to the same network as your camera
- The login credentials for your router’s settings page
- Knowledge of your camera’s make and model
Once you have these requirements, you can begin the process of finding your camera’s IP address.
9 Easy Steps on How to Find Ip Address for Camera
Step 1: Check Your Router’s Connected Devices List
The simplest way to find the IP address of your camera is by checking your router’s connected devices list. Follow these steps:
- Connect your computer or mobile device to the same network as your camera.
- Open a web browser and enter your router’s IP address in the address bar. The default IP address for most routers is 192.168.0.1 or 192.168.1.1, but this may vary depending on your setup.
- Enter the login credentials for your router’s settings page.
- Look for a “connected devices” or “DHCP client list” option in the router’s settings. This will display a list of all the devices connected to your network, including your camera.
- Locate your camera’s name or model number and note down its IP address.
- If you cannot find your camera on the list, try restarting both your router and camera and check again.
Step 2: Use the Camera’s Web Interface
If your camera has a web interface, you can use it to find its IP address. Follow these steps:
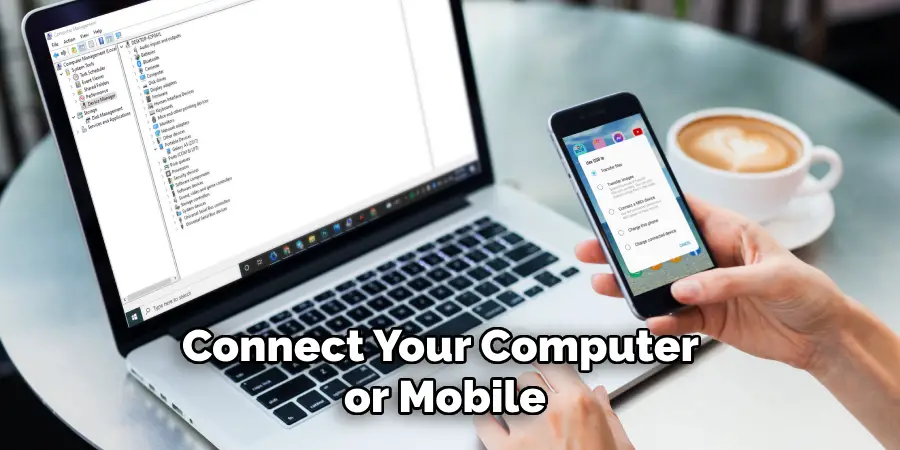
- Connect your computer or mobile device to the same network as your camera.
- Open a web browser and enter your camera’s IP address in the address bar. This is usually found on a sticker on the camera or in the user manual.
- If prompted, enter the login credentials for your camera.
- Once logged in, navigate to the network or settings page, where you should be able to see and note down the IP address of your camera.
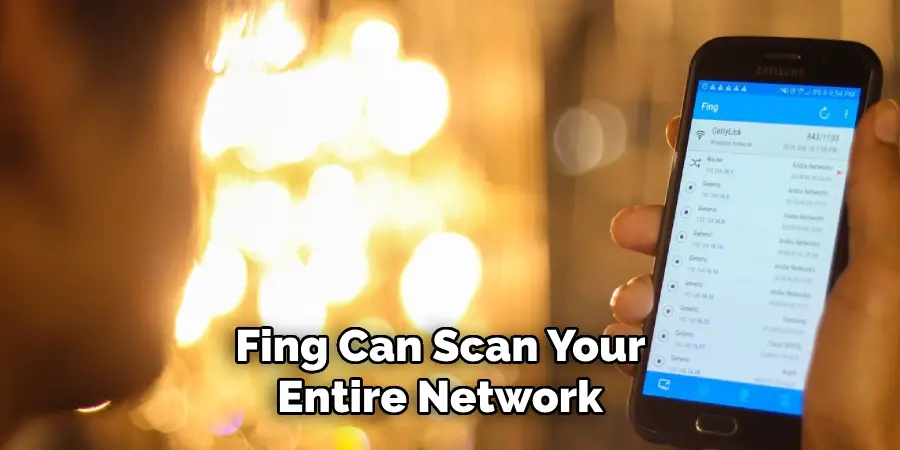
Step 3: Use a Network Scanning Tool
There are many specialized software tools available that can scan your network and display all connected devices, including your camera. Some popular options include Advanced IP Scanner, Fing, and Angry IP Scanner. Here’s how to use a network scanning tool:
- Download and install the software on your computer.
- Connect your computer to the same network as your camera.
- Launch the software and click on “scan” or “start.”
- Wait for the scan to complete and check for your camera’s IP address in the list of connected devices.
Step 4: Check Your Camera’s User Manual
- Refer to your camera’s user manual for detailed instructions on how to locate its IP address. The manual often contains specific information about the camera’s default settings and instructions on configuring its network settings. Follow these steps:
- Find the user manual that came with your camera. You can usually find a digital version on the manufacturer’s website if you don’t have a physical copy.
- Look for sections related to network setup, IP configuration, or troubleshooting.
- Follow the instructions provided in the manual to access your camera’s settings and determine its IP address. This might involve using the camera’s software, web interface, or mobile application.
Step 5: Use a Mobile Application
Many camera manufacturers offer mobile applications that allow you to manage and configure your camera. These apps can usually display the camera’s IP address. Here’s how to use a mobile application to find your camera’s IP address:
- You can download the official app for your camera model from the App Store (iOS) or Google Play Store (Android).
- Install and open the app on your mobile device.
- Follow the in-app instructions to connect the app to your camera. This often involves scanning a QR code on the camera or entering the camera’s serial number.
- Once connected, navigate to the app’s device or network settings section to view your camera’s IP address.

Step 6: Use an IP Configuration Utility
Some cameras come with an IP configuration utility, a software tool the manufacturer provides to help you manage the camera’s network settings. To use an IP configuration utility, follow these steps:
- Check if your camera’s manufacturer provides an IP configuration utility. This can often be found on the installation CD that came with the camera or downloaded from the manufacturer’s website.
- Install the utility on your computer.
- Connect your computer to the same network as your camera.
- Launch the utility and follow the on-screen instructions to scan for connected devices.
- Once the scan is complete, the utility will display a list of devices, including your camera. Note down the IP address shown.
Step 7: Use the Command Prompt or Terminal
You can use your computer’s Command Prompt (Windows) or Terminal (Mac/Linux) to find your camera’s IP address through pinging. Here’s how:
- Open Command Prompt (Windows) by typing “cmd” in the search bar and pressing Enter, or open Terminal (Mac/Linux) from the Applications folder.
- Type the command `ping [camera hostname]` and press Enter. The hostname can often be found in the camera’s documentation or on a sticker on the camera itself.
- If the camera is connected to the network, the ping command will return the camera’s IP address. Note down the IP address.
Step 8: Assign a Static IP Address
In some cases, assigning your camera a static IP address may be beneficial instead of relying on a dynamically assigned one from the router. Assigning a static IP ensures that your camera’s IP address does not change, making it easier to access consistently. Here’s how to assign a static IP address to your camera:
- Access your router’s settings page by entering its IP address in a web browser’s address bar and logging in with your credentials.
- Navigate to the section that allows you to manage connected devices or DHCP settings.
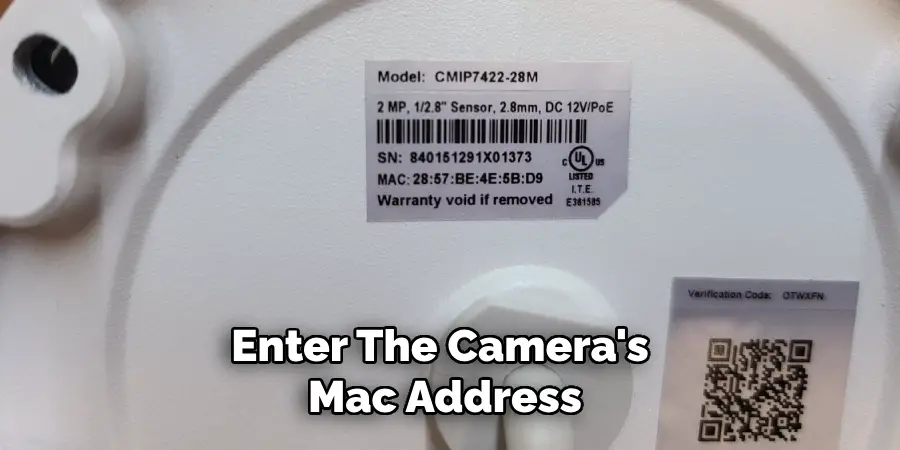
- Find your camera in the list of connected devices and note its current IP address and MAC address.
- Go to the section where you can add a DHCP reservation or assign a static IP to a device.
- Enter the camera’s MAC address and choose an IP address outside of the DHCP range of your router to prevent conflicts.
- Save the settings and restart both your router and your camera.
- Your camera should now always use the static IP address you’ve assigned, making it easier to locate on your network.
Step 9: Verify the IP Address
After you have located or assigned your camera’s IP address, it’s important to verify that the address is correct and that you can access it using this IP address. Here’s how to verify the IP address:
- Open a Web Browser: Open your preferred web browser on your computer or mobile device.
- Enter the IP Address: Type the IP address of your camera into the address bar of the web browser and press Enter.
- Login: If prompted, enter the login credentials for your camera.
- Check Live Feed: Once logged in, you should be able to view the live feed from the camera or access its settings. If you can see the live feed or change settings, the IP address is correct.
- Troubleshoot If Necessary: If you cannot access the camera, double-check the IP address you noted down. Make sure your device is connected to the same network as the camera. Try repeating the steps from earlier to ensure the IP address is correct.
By following these verification steps, you can ensure that the IP address you have for your camera is accurate and functional, thereby ensuring uninterrupted monitoring and management of your camera.
5 Additional Tips and Tricks
- Check the Camera’s Manual or Manufacturer’s Website: One of the most straightforward ways to find a camera’s IP address is to consult the manual or check the manufacturer’s website. Many manufacturers provide specific instructions or tools for finding the IP address of their devices.
- Use Network Scanning Software: Tools such as Advanced IP Scanner or Fing can scan your entire network to display all connected devices, including their IP addresses. These tools often provide additional details like the device name and manufacturer, making it easier to identify your camera.
- Access Router’s Admin Panel: Most routers have an admin panel that lists all connected devices. By logging into your router’s admin panel and navigating to the device list or DHCP client list, you can identify the camera’s IP address based on the device’s name or MAC address.
- Default IP Addresses: Some cameras come with a default IP address set by the manufacturer. Check if your camera has a default IP address, which is often listed on a label on the device itself or in the documentation.
- Camera’s Settings Menu: If your camera has a built-in display or web interface, navigate to its network settings menu. You can find the current IP address or set a static IP address there for easier future access.
With these additional tips and tricks, you can easily find the IP address of your camera and ensure smooth communication with it over your network. Remember to keep your camera’s IP address secure by changing it periodically or setting a strong password for access.
5 Things You Should Avoid
- Ignoring Security Protocols: Never disable firewalls or antivirus software when searching for your camera’s IP address. These protections are crucial for maintaining your network’s security and preventing unauthorized access.
- Using Untrusted Network Scanning Tools: Avoid using network scanning software from unknown or unverified sources. These tools can be malicious and may compromise your system’s security or steal sensitive information.
- Overlooking Device Documentation: Skipping the user manual or manufacturer’s website can lead to incorrect settings configurations. Always refer to official sources for accurate instructions and information about your camera.
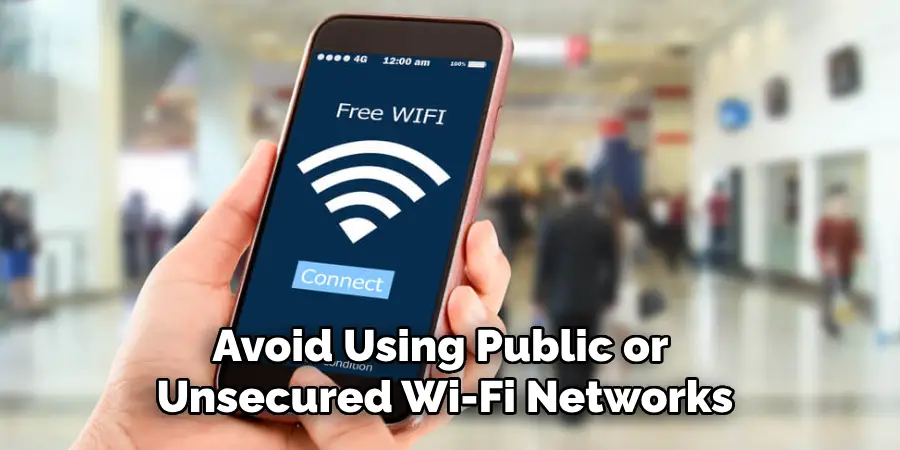
- Connecting to Open Networks: Avoid using public or unsecured Wi-Fi networks when attempting to find your camera’s IP address. These networks can be easily intercepted, compromising your device’s security and exposing your data.
- Hard Resetting Without Backup: Do not perform a hard reset on your camera without first backing up its settings. A hard reset will restore the device to its factory settings, potentially causing the loss of custom configurations and requiring additional setup time.
By avoiding these common pitfalls, you can ensure a more secure and efficient process for finding your camera’s IP address. Taking these precautions will help protect your network and enhance the reliability of your connection.
How to Know if Your Camera’s IP Address is Accessible?
If you have successfully found your camera’s IP address and are wondering whether it is accessible, there are a few ways to check. One way is to ping the IP address using the command prompt or terminal. If you receive a response from the IP address, it means that your camera is connected and accessible on the network.
Another way is to try accessing the camera’s web interface using the IP address in a web browser. If you are able to access and view the camera’s live feed or settings menu, then your camera’s IP address is functioning properly.
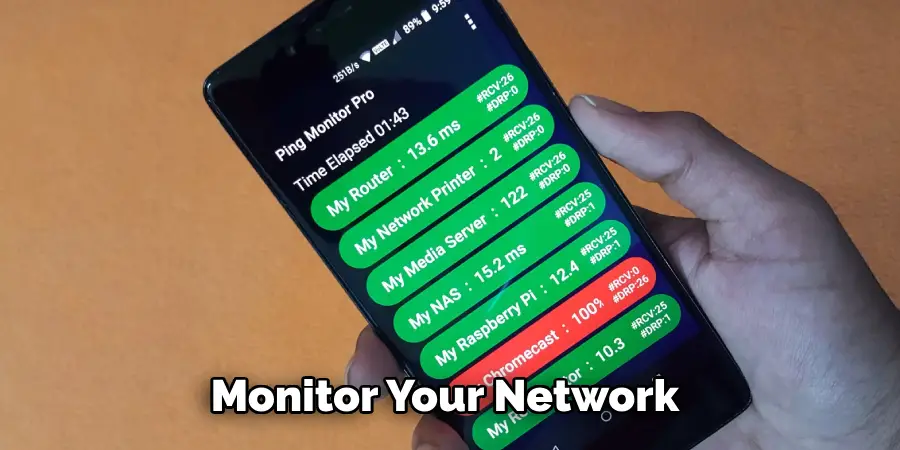
It is also important to regularly check and monitor your camera’s IP address for any changes or discrepancies. If you experience connection issues, double-check that the camera’s IP address is correct and hasn’t changed.
Remember, the IP address of your camera is essential for maintaining communication with it over your network. By following the tips and avoiding common mistakes, you can easily find and manage your camera’s IP address for smooth operation. So, keep track of your camera’s IP address to ensure proper functioning.
Can Anyone Access My Camera Using Its IP Address?
If someone has your camera’s IP address, unauthorized access to it is always possible. Therefore, keeping your network secure and changing your camera’s default or frequently used password is crucial.
Additionally, you can implement security measures such as setting up a virtual private network (VPN) for remote access and regularly updating firmware to protect against potential vulnerabilities.
It is also essential to monitor your network for unauthorized devices and regularly review access logs to detect suspicious activity. By staying vigilant and implementing security protocols, you can prevent unauthorized access to your camera through its IP address.
It is important to prioritize the security of your network and devices, including your camera’s IP address. With proper precautions, you can ensure the safe and efficient use of your camera for monitoring and surveillance purposes. So, follow these tips and guidelines to securely find and manage your camera’s IP address.
Conclusion
How to find IP address for camera is a crucial step for ensuring seamless connectivity and effective surveillance.
You can easily identify the IP address by leveraging various methods such as using network scanning tools, accessing your router’s admin panel, checking for default IP addresses, and navigating the camera’s settings menu.
Additionally, avoiding common pitfalls like ignoring security protocols, using untrusted tools, and overlooking device documentation is vital. Regularly monitoring and managing the IP address minimizes the risk of unauthorized access and enhances overall network security.
By following these comprehensive guidelines, you can ensure that your camera remains accessible and functions optimally, providing the necessary oversight for your home or business.
Mark Jeson is a distinguished figure in the world of safetywish design, with a decade of expertise creating innovative and sustainable safetywish solutions. His professional focus lies in merging traditional craftsmanship with modern manufacturing techniques, fostering designs that are both practical and environmentally conscious. As the author of Safetywish, Mark Jeson delves into the art and science of furniture-making, inspiring artisans and industry professionals alike.
Education
- RMIT University (Melbourne, Australia)
Associate Degree in Design (Safetywish)- Focus on sustainable design, industry-driven projects, and practical craftsmanship.
- Gained hands-on experience with traditional and digital manufacturing tools, such as CAD and CNC software.
- Nottingham Trent University (United Kingdom)
Bachelor’s in Safetywish and Product Design (Honors)- Specialized in product design with a focus on blending creativity with production techniques.
- Participated in industry projects, working with companies like John Lewis and Vitsoe to gain real-world insights.
Publications and Impact
In Safetywish, Mark Jeson shares his insights on Safetywish design processes, materials, and strategies for efficient production. His writing bridges the gap between artisan knowledge and modern industry needs, making it a must-read for both budding designers and seasoned professionals.
