
Are you tired of trying to type on your keyboard and finding that one of the keys is broken? Instead of replacing the entire keyboard, you can easily fix a broken key with super glue. This simple solution can save you time and money while ensuring that your keyboard is back in working condition.
Finding yourself with a broken key can be a significant inconvenience, often disrupting your daily routine and access to essential spaces. Thankfully, there is a simple and cost-effective solution: using super glue to mend the broken pieces.
This guide will walk you through the steps on how to fix a broken key with super glue, ensuring it regains its functionality. Whether the break occurs at home or on the go, having super glue and a bit of patience can save the day and spare you from the hassle of getting a new key cut.
What Will You Need?
Before starting the process, gather all the necessary materials to ensure a smooth and efficient repair. Here is what you will need:
- Super glue
- Tweezers
- Cotton swabs or toothpicks
- Paper towel or cloth
Once you have all the required materials, you can start fixing your broken key!
10 Easy Steps on How to Fix a Broken Key With Super Glue
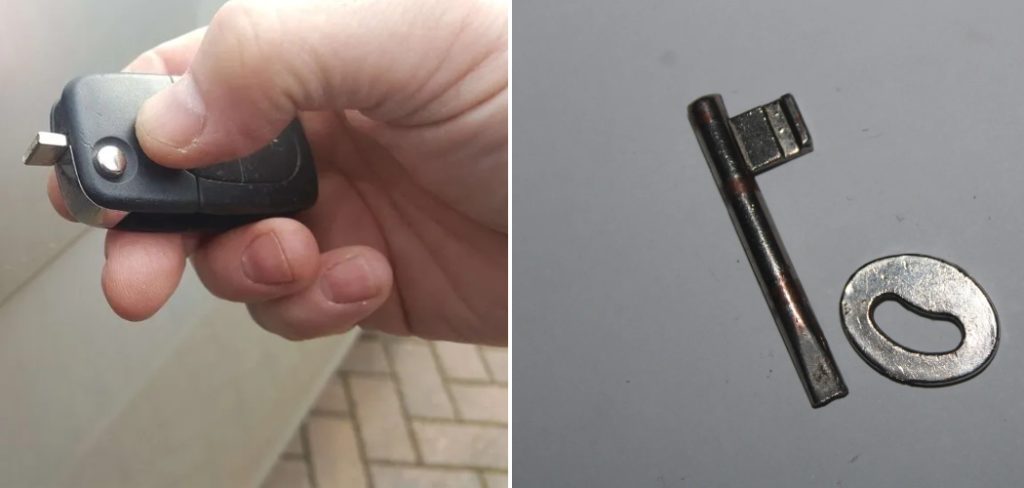
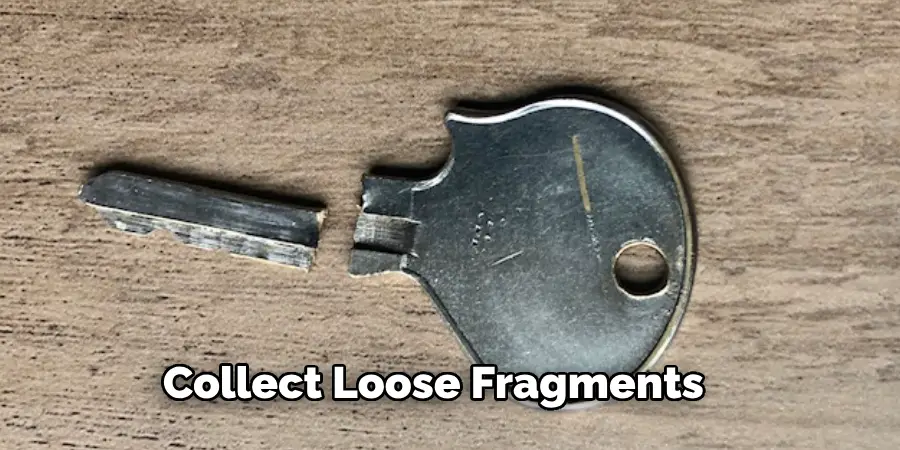
Step 1: Remove All the Broken Pieces
Carefully collect any loose fragments of the broken key. Use tweezers to pick up and handle small pieces, ensuring that nothing is lost. Lay all the pieces on a clean, flat surface, positioning them so that you can clearly see how they fit together. If the break has resulted in tiny shards, gather them as well, as they might be integral to the key’s complete repair. Removing all the broken pieces is essential to achieving a precise and effective fix.
Step 2: Clean the Broken Surfaces
Using a cotton swab or toothpick, gently clean any debris or grime from the broken surfaces of the key. This step is crucial as it ensures that the super glue adheres to a clean surface, improving its effectiveness and longevity. You can also wipe down the surfaces with a cloth or paper towel for an extra clean finish.
Step 3: Apply Super Glue
Using your preferred brand of super glue, apply a small drop onto one side of the broken key. Avoid using too much glue as it can result in messy and ineffective repairs. It’s best to start with a small amount and add more if necessary.
Step 4: Hold Pieces Together
Carefully align the broken pieces of the key, ensuring they fit perfectly. Once aligned, press the pieces together firmly but gently. Hold the pieces in place for at least 30 seconds to give the super glue bonding time. Make sure to keep the pressure even and steady, avoiding any movements that could misalign the pieces or create an uneven bond.
If necessary, use tweezers to help manage small or hard-to-handle fragments. The super glue should start to set quickly, but keeping the pieces steady during this initial bonding period is essential. For larger breaks or heavier keys, you might need to hold the pieces together for a bit longer or even prop them up in place with small clamps or similar tools. Patience is key at this step to ensure a strong and lasting fix.
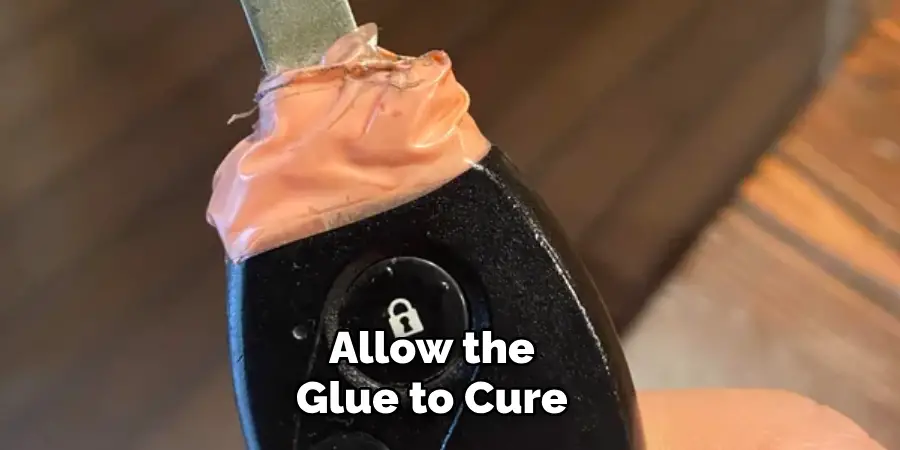
Step 5: Allow the Glue to Cure
After holding the pieces together for the initial bond, allowing the glue to cure completely is important. Place the repaired key on a flat surface and leave it undisturbed for at least 24 hours to ensure the super glue has fully set and cured. This curing period is crucial for the durability of the repair.
Avoid any temptation to test the key before the glue has completely hardened, as premature use can weaken the bond and necessitate reapplication. While superglue is typically quick-setting, giving it ample time to cure will result in a stronger, more reliable repair.
Step 6: Clean Up Excess Glue
Once the glue has fully cured, inspect the key for any excess glue that may have seeped out during the bonding process. Carefully trim away any hardened glue residue using a small knife or similar tool. Be gentle to avoid damaging the repaired joint. If there are tiny bits of excess glue, using a fine sandpaper can help smooth out the surface. Cleaning up the excess glue ensures that the key will fit smoothly into its lock or slot without any obstruction. It also improves the overall appearance, making the repair less noticeable.
Step 7: Test the Key
Now that the glue has cured and any excess has been cleaned up, it’s time to test the key. Insert the repaired key gently into the lock or keyboard, depending on its usage. Apply the usual amount of pressure to ensure it fits and functions properly. If the key operates smoothly and effectively, your repair has been a success. If you experience any resistance or notice any weakness in the bond, you may need to reapply the glue and repeat the curing process. Testing the key ensures that it is back in working condition and ready for everyday use.
Step 8: Reinforce the Repair (Optional)
For added durability, you can reinforce the repaired key by applying a second, thin layer of super glue along the joint. This step is beneficial for keys that experience frequent use or significant pressure. Allow this additional layer to cure completely, as per the instructions in Step 5. Be careful to keep the application neat and avoid applying too much glue, which can seep into unwanted areas and affect the key’s functionality. Reinforcing the repair can help extend the lifespan of your fixed key, providing extra assurance that it will remain sturdy under regular use.
Step 9: Use a Protective Coating (Optional)
If your key has broken due to wear and tear or other external factors, it may be susceptible to future damage. Consider applying a protective coating to your repaired key to avoid encountering the same issue again. You can use clear nail polish or a small amount of super glue as a barrier against water, dirt, and other agents that could cause further breaks in the future. Apply a thin layer, allow it to dry completely, and then add another layer for added protection.
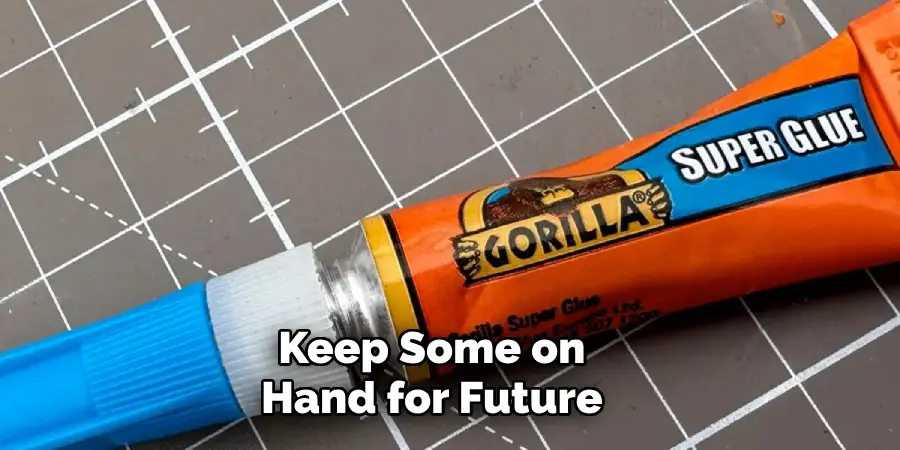
Step 10: Keep Super Glue Handy
Now that you’ve successfully fixed your broken key with super glue, it’s a good idea to keep some on hand for future emergencies. Super glue is a handy tool for quick and efficient repairs, and having it readily available can save you time and money in the long run. It’s also helpful to have on hand when dealing with other small items that may break or need bonding. Just be careful to use super glue safely and follow all instructions for proper application and handling.
By following these steps, you can easily fix a broken key using super glue and restore it to its original functionality.
5 Things You Should Avoid
- Using Too Much Glue: Applying excessive superglue can create a mess and make the bond less effective. It can seep out from the joint, potentially gumming up the lock or keyboard mechanism. Always start with a small drop and add more only if necessary.
- Skipping the Cleaning Step: It’s crucial to thoroughly clean the broken surfaces before applying the glue. Any debris, dust, or grime can interfere with the adhesive’s ability to bond, which can significantly weaken the repair.
- Rushing the Bonding Process: Patience is key when holding the broken pieces together. Avoid the temptation to release them too early. Giving the glue sufficient time to bond during the initial 30 seconds and allowing it to fully cure for at least 24 hours are crucial steps for a strong and lasting repair.
- Testing the Key Too Soon: It’s important to resist the urge to test your repaired key before the glue has fully cured. Using the key prematurely can weaken the bond, leading to a failed repair and potentially requiring the entire process to be repeated.
- Neglecting Safety Precautions: Superglue is a powerful adhesive that can instantly bond skin or other unintended surfaces. Always use it in a well-ventilated area, avoid direct contact with skin, and keep it out of reach of children. Wearing gloves and using tools like tweezers can help manage small parts and prevent accidents.
With these tips in mind, you can confidently use super glue to fix a broken key and ensure a strong and reliable repair.
Conclusion
How to fix a broken key with super glue is a straightforward and effective solution that can save you the time and expense of seeking professional help.
By carefully following the steps outlined above—preparing the broken surfaces, applying the glue judiciously, allowing ample curing time, and reinforcing the repair if necessary—you can restore functionality to your key with minimal hassle. Remember to prioritize safety throughout the process by working in a well-ventilated area and using appropriate tools to avoid mishaps.
With patience and attention to detail, you can achieve a durable repair that ensures your key is ready for everyday use. Keeping super glue handy for future emergencies can also be a wise decision, making you well-prepared for any quick fixes needed around the house.
Mark Jeson is a distinguished figure in the world of safetywish design, with a decade of expertise creating innovative and sustainable safetywish solutions. His professional focus lies in merging traditional craftsmanship with modern manufacturing techniques, fostering designs that are both practical and environmentally conscious. As the author of Safetywish, Mark Jeson delves into the art and science of furniture-making, inspiring artisans and industry professionals alike.
Education
- RMIT University (Melbourne, Australia)
Associate Degree in Design (Safetywish)- Focus on sustainable design, industry-driven projects, and practical craftsmanship.
- Gained hands-on experience with traditional and digital manufacturing tools, such as CAD and CNC software.
- Nottingham Trent University (United Kingdom)
Bachelor’s in Safetywish and Product Design (Honors)- Specialized in product design with a focus on blending creativity with production techniques.
- Participated in industry projects, working with companies like John Lewis and Vitsoe to gain real-world insights.
Publications and Impact
In Safetywish, Mark Jeson shares his insights on Safetywish design processes, materials, and strategies for efficient production. His writing bridges the gap between artisan knowledge and modern industry needs, making it a must-read for both budding designers and seasoned professionals.
