When considering how to hardwire a wireless security camera, understanding the motivations behind it is crucial. Hardwiring a wireless camera offers a consistent power supply, which eliminates the annoyance of frequent battery replacements and ensures uninterrupted surveillance. Moreover, transitioning from Wi-Fi to a wired connection can significantly enhance the reliability of data transmission, minimizing connectivity issues that often arise in wireless setups.
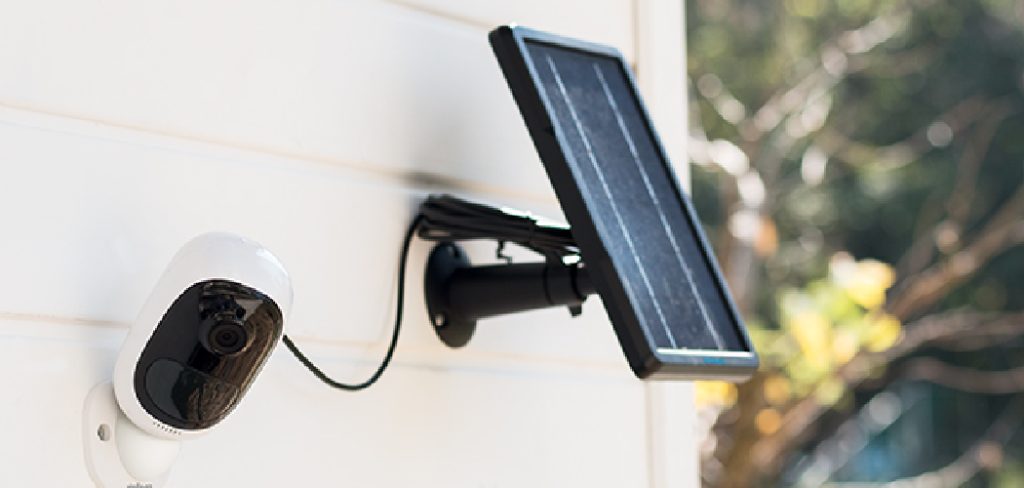
This switch improves the camera’s operational reliability and reduces its dependency on potentially unstable wireless networks. However, undertaking the hardwiring process presents certain challenges, such as planning the setup and handling the necessary technical tasks. The process typically involves several key steps, including evaluating the camera’s power and connectivity requirements, gathering the right tools and materials, mapping out the wiring, and executing the step-by-step conversion process. This guide outlines these steps in detail, ensuring a seamless transition for enhancing your camera’s performance.
Understanding the Camera’s Power and Connectivity Requirements
Power Requirements:
Wireless security cameras typically require either USB or AC power for operation, with common variations including 5V USB and 12V AC power. A 5V USB connection often involves charging cables similar to smartphones, providing a straightforward power solution but potentially limiting the distance between the camera and the power source. On the other hand, 12V AC power is more robust, allowing for greater flexibility in camera placement, but generally necessitates more involved installation procedures, such as direct connections to household circuits.
Internet Connectivity:
Wireless cameras generally utilize Wi-Fi for internet connectivity, offering convenience and ease of setup. However, switching to Ethernet can enhance connection stability and speed, reducing latency issues often experienced with wireless networks. If considering hardwiring for internet connectivity, ensure the camera supports Ethernet connections, either natively or through adapters.

Checking Camera Compatibility:
Before proceeding with the hardwiring process, it is vital to consult the camera’s manual to verify compatibility with a wired power source. Additionally, if you intend to use Ethernet for data transmission, confirm the camera can support a wired Ethernet connection. This ensures both power and connectivity are maintained effectively, optimizing the camera’s performance.
Tools and Materials Needed
Essential Tools:
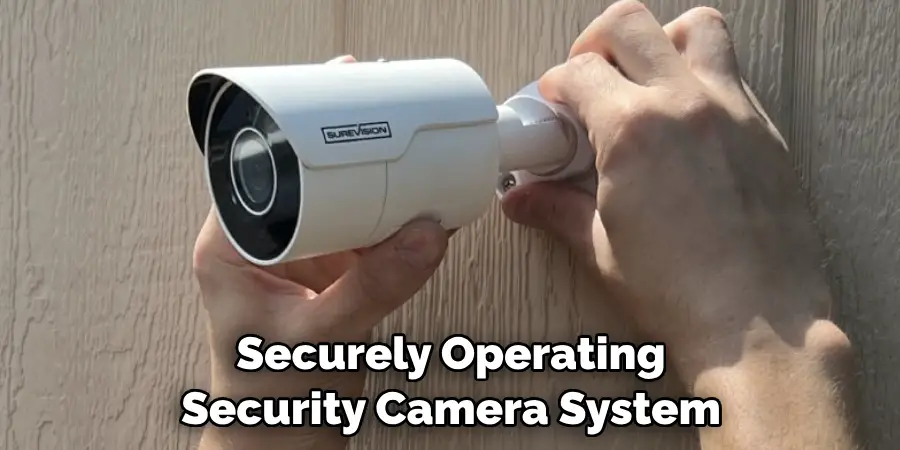
To successfully hardwire a wireless security camera, you’ll need a solid set of tools. These include a drill for creating passageways through walls or other barriers, various screwdrivers for securing components, fish tape for guiding cables through confined spaces, and wire strippers for preparing cable ends.
Materials Required:
For materials, you’ll require Ethernet cables if planning to switch to a wired network connection, a low-voltage power cable to ensure a reliable power supply, a compatible power adapter, conduit for protecting cables in outdoor installations, and cable clips or ties to maintain an organized wiring system.
Safety Gear:
Safety should be a priority during installation. It is wise to wear protective gloves and eye protection, particularly when drilling through walls or dealing with potentially harmful materials. This ensures your installation process is both secure and efficient, promoting a safe work environment.
Planning the Hardwired Setup
Choosing the Location for Hardwiring:
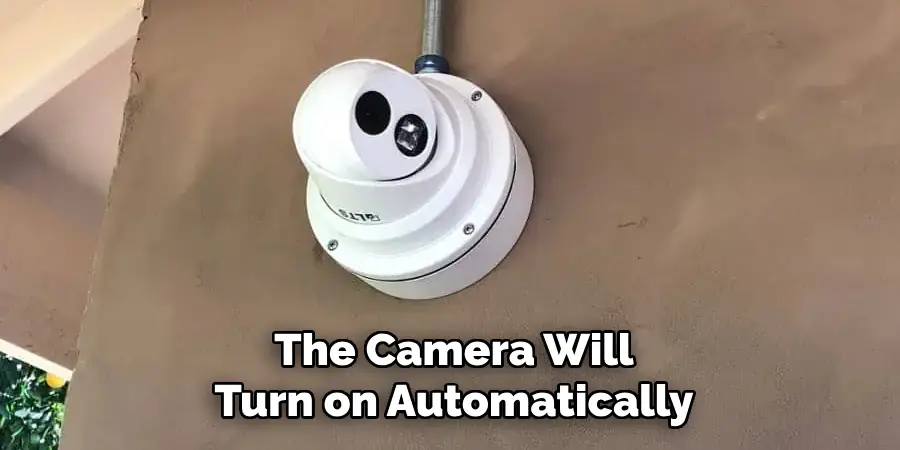
Selecting the appropriate location for hardwiring your wireless security camera is crucial to ensure optimal performance and minimal cable exposure. Aim to place the camera in a spot that maximizes coverage while remaining relatively hidden to deter tampering. Consider how natural elements, such as sunlight or rain, might impact the camera’s visibility and durability. Position the camera within a reasonable distance from power and data sources to reduce the length of exposed wiring, thereby preventing potential wear and tear over time.
Mapping the Wiring Route:
Carefully mapping the wiring route is essential to a neat and efficient setup. Begin by determining the best path from your power source to the camera’s location and evaluating the feasibility of running cables through walls or ceilings for protection and concealment. Use a stud finder to locate structural elements and avoid unnecessary drilling. Plan your conduit or protective sheathing layout, ensuring the wiring remains hidden while allowing for easy access if maintenance is needed.
Locating Power and Internet Sources:
Identifying the nearest and most stable power source or outlet is vital for maintaining the camera’s operation. Choose a reliable power source to avoid potential fluctuations or interruptions. If hardwiring the internet connection, ensure proximity to an Ethernet port or networking device, taking advantage of existing network infrastructure for efficient wiring. Integrating these considerations into your setup plan will enhance the system’s stability and performance.
How to Hardwire a Wireless Security Camera: Step-by-Step Guide
Step 1: Turn Off Power
Before beginning the hardwiring process, ensure all power is turned off to prevent any accidents. Locate the circuit breaker panel in your home and identify the switch controlling power to the area where the camera will be installed. Flip the switch to the ‘off’ position, and double-check that the power is completely cut off by testing the outlets and fixtures with a voltage tester. This safety measure is crucial to protect yourself from electrical shocks during installation.
Step 2: Prepare the Power Adapter and Cabling
Start by assembling the necessary components for the power connection, focusing on compatibility and secure connections. Select a low-voltage power cable that matches your camera’s requirements, whether 5V USB or 12V AC and make sure it fits perfectly with the power adapter. Strip the cables as needed using wire strippers to expose the connecting wires. Follow your camera’s manual for specific instructions on connecting these wires to ensure compatibility and avoid damaging your equipment.
Step 3: Drill Holes and Install Conduit (Optional)
If your installation plan involves running wires through walls or floors, you’ll need to drill appropriate holes along the planned route. Use a drill bit that matches the cable diameter but allows a snug fit to avoid excessive gaps. In outdoor setups, it’s advisable to use a conduit to protect the wiring from weather and other potential damage. Measure and cut the conduit to fit the length required, and securely fasten it to the exterior surfaces with appropriate brackets or clips.
Step 4: Run the Power Cable and Connect to the Outlet
With the holes drilled and conduit installed, feed the power cable through the prescribed route. If needed, utilize fish tape to guide the cable through intricate paths. Secure the cable along the runs with cable clips or ties, making sure it adheres neatly to walls or other mountable surfaces to maintain a clean installation appearance. Route the cable toward the power source, ensuring it reaches the designated outlet.
Step 5: Connect the Power Cable to the Camera
Once the cable is successfully routed to the camera location, securely plug it into the camera’s power input. Double-check that the connection is firm and that there are no visible signs of loose wiring or potential risks for disconnection. Afterward, carefully restore power by flipping the circuit breaker back on. Test the camera to confirm it receives power and is fully operational. Monitor the camera for a few minutes to ensure there are no interruptions and that the setup works efficiently.
Converting to Wired Internet Connectivity (Optional)
Using an Ethernet Adapter (If Applicable)
If your camera supports Ethernet connectivity, you can enhance your setup by using an Ethernet or powerline adapter to switch from a Wi-Fi to a wired connection. Ethernet adapters allow you to connect devices to a network via Ethernet cables, providing a more stable and faster internet connection. Powerline adapters utilize your existing electrical wiring to transmit Ethernet signals, offering flexibility if a direct Ethernet connection is impractical. Both options are excellent for reducing latency and improving the reliability of live video feeds.
Running the Ethernet Cable
En route, the Ethernet and power cables are installed to install a wired connection. Begin at the location of your network device, such as a router or a nearby Ethernet port, and feed the cable through the same paths used for the power cable, or alternatively, run a parallel route. Secure the Ethernet cable using clips or ties to ensure it remains tidy and unobtrusive. Consider placing the Ethernet and power cables within the same conduit for additional protection and organization if using a conduit.
Connecting and Testing Ethernet Connectivity
With the Ethernet cable routed, connect one end to your network device and the other to the camera’s Ethernet port. Ensure all connections are tight and securely fastened to prevent disconnections. Once connected, check the camera’s interface to verify a stable connection and perform a network speed test to confirm optimal signal quality. If any issues arise, troubleshoot by checking the cable connections, testing the adapters, and ensuring settings on both the camera and network meet the requirements for strong connectivity.
Testing the Hardwired Setup
Power Connection Test
Begin by restoring power to the camera by turning on the circuit breaker. Once power is restored, allow the camera to boot up and check for any indicator lights or display messages that confirm it is powered on. Double-check all wired connections if the camera doesn’t power on and ensure the adapter is properly connected to a functioning outlet.
Connectivity Test
Next, proceed to verify the camera’s connectivity. Access the camera interface via a computer or mobile device that’s connected to the same network. Ensure that the video feed is displayed and that the audio, if supported, functions correctly. If issues arise, check your Ethernet connections and verify that the network settings are correctly configured. A smooth video and audio transmission indicates a successful setup.
Monitoring Camera Performance
For the first few days, monitor the camera’s performance closely. Regularly check the video stream for any signs of interruption or degradation in quality. Inspecting the cables and connections periodically ensures that the power connection remains stable. Utilize any available diagnostic tools within the camera’s software to assess network and power status and promptly address any possible alerts or issues. This proactive monitoring will help maintain a reliable and efficient security system.
Troubleshooting Common Issues
Issue 1: Camera Not Receiving Power
If your camera fails to power on, verify all power connections. Ensure that the power cable is securely plugged into both the camera and the outlet. Inspect the power adapter for any signs of damage or malfunction, and consider testing it with another compatible device, if possible. Additionally, check the power cable for any visible wear or tear that might have occurred during installation. Replacing any damaged components can resolve power issues efficiently.
Issue 2: Poor Signal with Wired Internet Connection
For cameras experiencing connectivity issues with a wired connection, start by confirming that the Ethernet cable is properly connected at both ends—the camera and the router or network device. Testing the Ethernet cable with another device is also beneficial in ruling out any defects. When using powerline adapters, ensure that the devices are on the same electrical circuit and adjust router settings, such as channel frequency, to alleviate any interference. Upgrading to a higher-quality Ethernet cable may also enhance signal strength and reliability.
Issue 3: Power Interruption or Fluctuation
Should power interruptions or fluctuations affect camera performance, check that the camera is connected to a reliable power source. Ensure the outlet functions correctly and the camera does not share an outlet with devices that draw significant power. Installing a surge protector can guard against voltage spikes and maintain a consistent power supply, which is crucial for uninterrupted camera operation.
Conclusion
Hardwiring a wireless security camera offers numerous advantages that can significantly enhance the performance and reliability of your surveillance system. Opting for a hardwired connection ensures a consistent and reliable power supply, eliminating disruptions that might occur with wireless setups. Ethernet connectivity can also greatly improve signal stability and video feed quality, reducing latency and increasing overall system reliability.
It’s crucial to adhere to proper safety measures throughout the installation process and to rigorously test all connections post-setup to ensure the camera operates at its best capacity. Always refer to the camera’s user manual for specific guidance on how to hardwire a wireless security camera and reach out to the manufacturer’s support in case of any persistent issues. By following these steps, you can maintain an efficient and robust security setup that readily supports your safety needs.
