
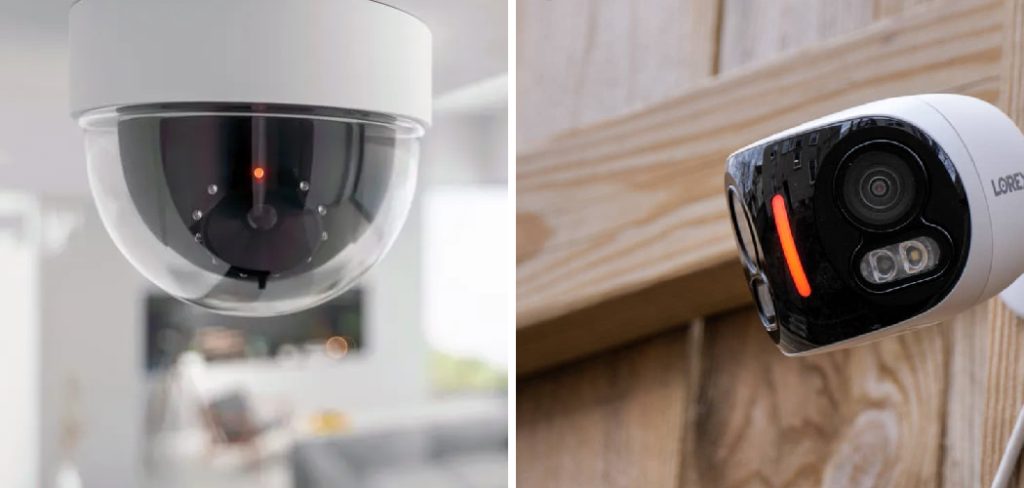
Infrared lights on security cameras play a crucial role in night vision by illuminating the area with light invisible to the human eye. However, there are situations where you might want to hide these lights to avoid detection or prevent disturbance.
Whether you are trying to maintain a discreet surveillance setup or ensuring that wildlife is not spooked by the infrared glow, understanding how to effectively conceal these lights can be highly beneficial. This guide on how to hide infrared lights on security camerawill walk you through various techniques to hide infrared lights on your security cameras without compromising their functionality.
Benefits of Hiding Infrared Lights
Hiding infrared lights on your security camera can offer several benefits, including:
Increased Discretion:
Sometimes, you may not want others to know that they are being monitored. By hiding the infrared lights, you can make your security camera blend in with its surroundings and go unnoticed.
Prevent Disturbance:
The red glow of infrared lights is often annoying or distracting for some people. By concealing these lights, you can prevent disturbance or false alarms caused by animals, insects, or even humans.
Extended Camera Lifespan:
Constant exposure to infrared light can degrade the quality of your camera’s lenses over time. By hiding the lights, you can reduce their usage and extend the lifespan of your camera.
7 Step-by-step Guidelines on How to Hide Infrared Lights on Security Camera
Step 1: Identify the Type of Infrared Lights on Your Camera
Before you can effectively hide the infrared lights on your security camera, it’s crucial to identify the type of infrared (IR) lights your camera uses. Most security cameras come equipped with either IR LEDs or IR illuminators.
IR LEDs:
These are small, individual light-emitting diodes that emit infrared light. They are often arranged in a circular pattern around the camera lens.
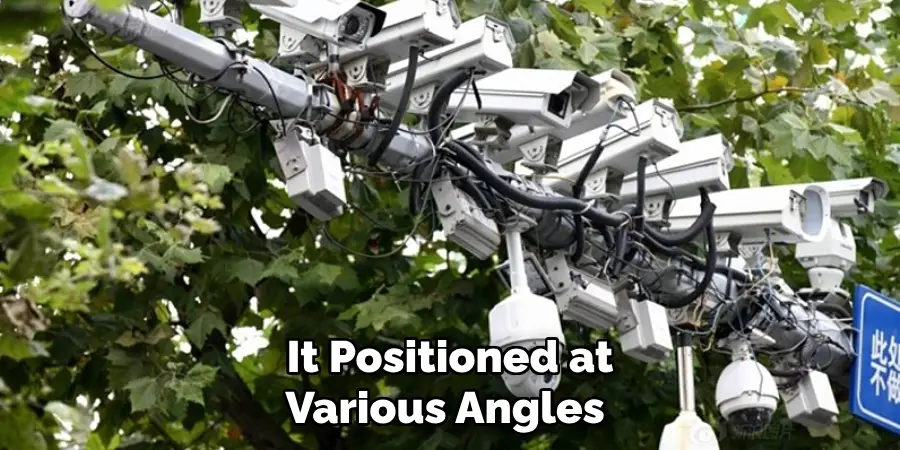
IR Illuminators:
These are larger, standalone devices that can be positioned at various angles around the camera. They emit a more concentrated beam of infrared light compared to IR LEDs.
Step 2: Use Electrical Tape to Cover IR LEDs
Electrical tape is an effective solution to cover the infrared LEDs on your security camera. Here’s how you can do it:
Turn Off Your Camera:
For safety reasons, always switch off your camera before starting any modifications.
Clean the Surface:
Ensure that the area around the IR LEDs is clean and dry. Use a soft cloth to gently wipe away any dust or debris.
Cut the Tape:
Cut small pieces of electrical tape, each just large enough to cover an individual LED. Be careful not to use oversized pieces as they might obstruct the camera lens.
Apply the Tape:
Gently stick the tape over each IR LED, making sure they are completely covered. Ensure the tape adheres well to the surface to prevent it from peeling off.
Test the Camera:
Switch on your camera and check if the infrared lights are effectively concealed. Adjust the tape pieces if needed.
Step 3: Position Objects to Cover IR Illuminators
If your security camera uses IR illuminators, you can position objects to effectively conceal them. Here’s how you can do it:
Identify the IR Illuminators’ Positions:
First, determine the exact location of the IR illuminators around your security camera. This will help you identify the areas that need to be concealed.
Select Appropriate Objects:
Choose objects that blend well with the surroundings and do not draw attention. Common items include plant pots, garden ornaments, or small furniture pieces. Ensure the objects are not obstructing the camera lens or field of view.
Position the Objects Strategically:
Place the selected objects in front of the IR illuminators to block the infrared light. Ensure the objects are stable and won’t move easily, which could expose the IR lights.
Test the Effectiveness:
Turn on your camera and verify that the IR illuminators are effectively covered by the objects. Make adjustments as necessary to ensure complete concealment.
By following these steps, you can keep the IR illuminators hidden while maintaining the functionality of your security camera.
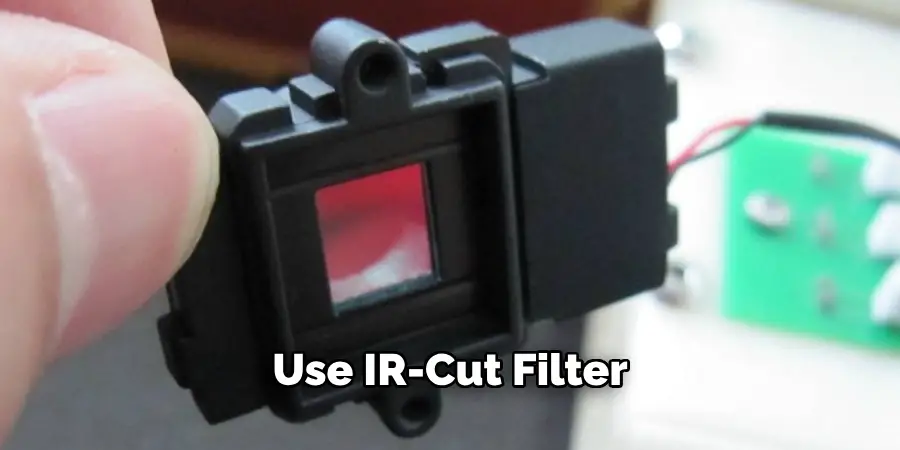
Step 4: Use an IR-Cut Filter
An IR-cut filter is a physical barrier that blocks the infrared light and allows only visible light to pass through. Some security cameras come equipped with this feature, while others allow you to add it as an accessory.
Install the Filter:
If your camera has a detachable lens, you can install the IR-cut filter between the lens and the camera body. Refer to your camera’s manual for specific instructions.
Test the Filter:
Turn on your camera and check if the IR lights are effectively blocked by the filter. Adjust the position of the filter if needed.
Step 5: Tint Your Camera Lens
Another effective way to hide the infrared lights on your security camera is by tinting the lens with a specialized film or spray. This method works best for cameras with detachable lenses.
Acquire a Tinting Film or Spray:
Purchase a specialized tinting film or spray designed for security camera lenses. These products are often available at hardware stores or online.
Apply the Tint:
Follow the instructions provided with the product to apply the tint evenly over your lens. Be careful not to obstruct the field of view or damage any internal components.
Test the Effectiveness:
Turn on your camera and verify if the infrared lights are effectively concealed with the tint. Adjust as needed for optimal results.
Step 6: Disguise Your Camera
If you prefer a more creative approach, you can disguise your security camera to hide the infrared lights. Here are some ideas:
Use Camouflage Wraps:
Specialized camouflage wraps designed for security cameras are available in various designs that blend well with different environments. They can effectively conceal both IR LEDs and IR illuminators.
Incorporate Your Camera into Existing Objects:
You can also incorporate your camera into existing objects such as birdhouses, fake rocks, or even a doormat. This method is not recommended for cameras with built-in IR illuminators.
Test the Disguise:
Whichever disguise method you choose, ensure that it effectively conceals the infrared lights while still allowing the camera to function properly. Test it out in different lighting conditions to verify its effectiveness.
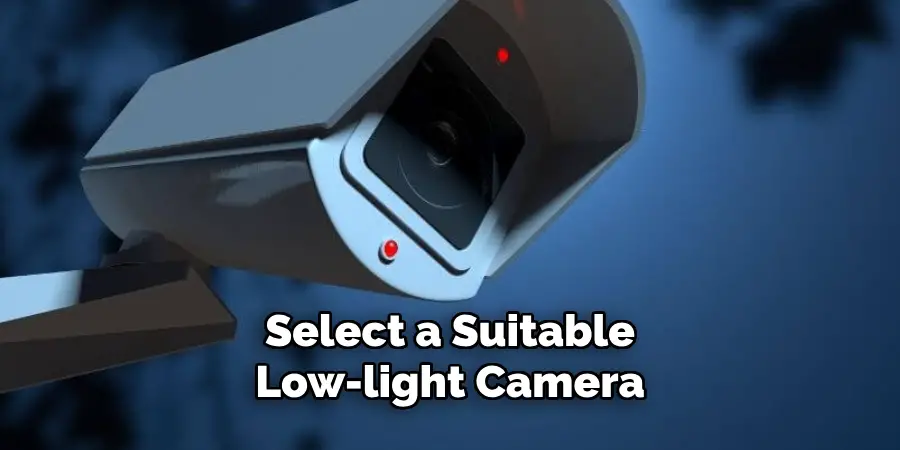
Step 7: Opt for Low-Light Cameras
An alternative to hiding infrared lights is to use low-light cameras that do not rely on IR illumination. These cameras are designed to operate efficiently in low-light conditions without emitting infrared light, making them ideal for discreet security surveillance.
Research and Choose a Low-Light Camera:
Look for cameras engineered with advanced low-light technology, such as CMOS sensors or Starlight sensors. These sensors are highly sensitive to light and can capture clear images in dim environments without the need for additional IR illumination. Read reviews and compare specifications to find the best option for your needs.
Install the Low-Light Camera:
Once you’ve selected a suitable low-light camera, follow the manufacturer’s installation guidelines to set it up. Ensure you position the camera in an area that maximizes its low-light capabilities, such as near ambient light sources like streetlights or porch lights.
Test the Camera’s Performance:
After installation, test the camera’s performance in various low-light conditions to ensure it captures high-quality footage. Make any necessary adjustments to the camera’s settings or positioning to optimize its performance.
Regular Maintenance:
Regularly maintain your low-light camera by cleaning the lens and checking its settings to ensure it continues to perform optimally. Low-light cameras tend to gather more dust and debris due to their prolonged exposure outside.
Following these steps on how to hide infrared lights on security camera, you can effectively hide the infrared lights on your security camera while maintaining its functionality. Whether you choose to conceal them with objects, use an IR-cut filter or tinting film, or opt for a low-light camera, it’s important to regularly test and maintain your camera to ensure its effectiveness in monitoring and safeguarding your property. So, be sure to incorporate these tips into your regular security system maintenance routine. Happy protecting!
Frequently Asked Questions
Q: Can I Use Any Objects to Detect the Ir Lights on My Security Camera?
A: While you can use any object to block the IR lights, it’s important to ensure that they are stable and won’t move easily. Additionally, make sure they don’t obstruct the field of view or damage any internal components.
Q: Do All Security Cameras Come with IR-Cut Filters?
A: No, not all security cameras come equipped with IR-cut filters. Some may require you to purchase and install it as an accessory.
Q: Can I Use Tinting Film on Any Type of Camera Lens?
A: Tinting film is designed specifically for camera lenses, so it’s important to use one that is made for this purpose to avoid damaging your lens. Always refer to the manufacturer’s instructions and choose a product suitable for your specific camera models. Always test the tinting film before applying it to your camera lens.
Conclusion
Hiding infrared lights on security cameras can be a useful skill for various scenarios, including maintaining discretion and preventing disturbances. With these techniques on how to hide infrared lights on security camera, you can effectively conceal the presence of infrared lights without compromising the functionality of your security camera’s night vision capabilities.
Experiment with different methods and products to find the best solution for your specific needs. Remember to regularly test and maintain your camera to ensure its optimal performance in safeguarding your property. Stay safe and secure!
Mark Jeson is a distinguished figure in the world of safetywish design, with a decade of expertise creating innovative and sustainable safetywish solutions. His professional focus lies in merging traditional craftsmanship with modern manufacturing techniques, fostering designs that are both practical and environmentally conscious. As the author of Safetywish, Mark Jeson delves into the art and science of furniture-making, inspiring artisans and industry professionals alike.
Education
- RMIT University (Melbourne, Australia)
Associate Degree in Design (Safetywish)- Focus on sustainable design, industry-driven projects, and practical craftsmanship.
- Gained hands-on experience with traditional and digital manufacturing tools, such as CAD and CNC software.
- Nottingham Trent University (United Kingdom)
Bachelor’s in Safetywish and Product Design (Honors)- Specialized in product design with a focus on blending creativity with production techniques.
- Participated in industry projects, working with companies like John Lewis and Vitsoe to gain real-world insights.
Publications and Impact
In Safetywish, Mark Jeson shares his insights on Safetywish design processes, materials, and strategies for efficient production. His writing bridges the gap between artisan knowledge and modern industry needs, making it a must-read for both budding designers and seasoned professionals.
