Installing a light bulb security camera is a simple and effective way to enhance the security of your home or business. These innovative devices are easy to set up, discreet, and provide comprehensive surveillance without the need for complicated wiring or installation processes. With features like motion detection, night vision, and remote access via smartphone apps, light bulb security cameras offer a versatile solution for monitoring your surroundings. Whether you’re tech-savvy or a beginner, this guide will walk you through how to install a light bulb security camera, helping you protect what matters most with ease and convenience.
Benefits of Light Bulb Security Cameras
Light bulb security cameras offer numerous advantages that make them an appealing choice for both residential and commercial use. Firstly, their dual-purpose design allows them to blend seamlessly into any environment, reducing the risk of unwanted attention or tampering. These cameras are also incredibly easy to install, requiring nothing more than a standard light socket, which eliminates the need for costly professional installation services.
Additionally, light bulb security cameras often come with advanced features such as HD video quality, motion detection, and night vision, ensuring clear surveillance footage at all times. The ability to access live video feeds remotely via smartphone apps enhances their convenience, allowing homeowners to monitor their property from anywhere in the world. Furthermore, they are typically energy-efficient, making them a cost-effective addition to any security system. With these compelling benefits, light bulb security cameras are an excellent choice for anyone looking to enhance their security measures efficiently and affordably.
Choose the Right Location
Selecting the optimal location for your light bulb security camera is crucial to maximizing its effectiveness. Begin by identifying areas that require monitoring, such as entry points like doors and windows, driveways, or high-traffic zones within your property. Consider the camera’s field of view to ensure it can cover the intended area without obstructions.
Avoid placing the camera in positions where it might be exposed to direct sunlight, which can cause glare and affect image quality. Additionally, ensure that the selected location has a working light socket, as this is essential for powering the camera. By carefully choosing the right spot, you can enhance the security coverage of your property and ensure that your light bulb security camera functions optimally.
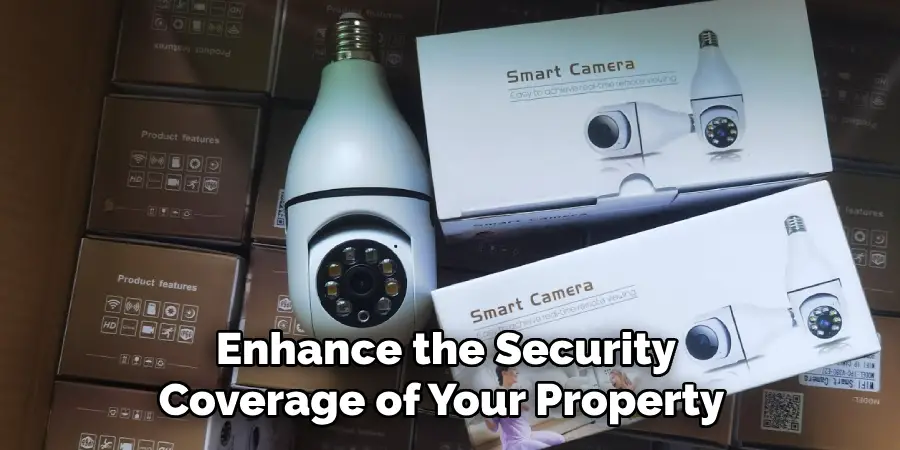
10 Methods How to Install a Light Bulb Security Camera
1. Choose the Right Camera for Your Needs
The first step to installing a light bulb security camera is selecting the right model for your space. Light bulb security cameras come with different features—like motion detection, night vision, and two-way audio—that suit various monitoring needs. Some cameras can only work with specific light fixtures or require a particular voltage, so check the product specifications. This initial step is essential to ensure compatibility with your existing fixtures and to guarantee that the camera can meet your monitoring needs without additional upgrades.
2. Assess the Installation Area and Light Fixture
Next, assess the location where you intend to install the camera. Light bulb cameras work best when installed at entry points, high-traffic areas, or locations with an unobstructed view. Since these cameras require a standard light socket, ensure the area has a compatible fixture. You should also check that there’s a steady power supply to the socket. This step is crucial to ensure that your chosen spot can support the camera’s weight and has an adequate view range, improving its effectiveness.
3. Gather Required Tools and Equipment
Before starting the installation, gather the necessary tools and equipment. Depending on your light fixture and the camera model, you may need a ladder, screwdriver, power drill, and smartphone. Many light bulb cameras connect wirelessly through Wi-Fi, so having a smartphone ready is helpful for setup and calibration. Taking a few minutes to have everything prepared will save time and prevent unnecessary trips up and down the ladder, especially if you’re installing the camera in a hard-to-reach location.
4. Turn Off the Power Supply
For safety, turn off the power supply to the fixture where you’ll install the camera. This step is often overlooked but essential to prevent electrical shock. If you’re unfamiliar with turning off the power from the circuit breaker, consult a professional or follow clear instructions. After cutting off the power, double-check that the fixture is off by flipping the light switch on and off to confirm. Taking these precautions will ensure a safe installation and protect both you and the camera from potential electrical issues.
5. Remove the Existing Light Bulb
With the power safely off, remove the existing light bulb from the socket. If it’s difficult to reach, carefully position your ladder to get the right angle for a safe removal. Unscrew the bulb gently to avoid breaking it. This step is straightforward, but handling the bulb carefully is important, especially if it’s hot from recent use. Once removed, clean the socket area to ensure no debris interferes with the new installation.
6. Install the Light Bulb Security Camera
Now, take the light bulb security camera and screw it into the empty socket, just as you would with a regular light bulb. Make sure it’s firmly in place but don’t overtighten, as this could damage the camera or socket. Some models have adjustable heads, allowing you to position the camera for an optimal viewing angle. Check the product’s user manual for specific recommendations on installation, as some cameras have unique requirements for a secure fit.
7. Restore Power and Test the Camera
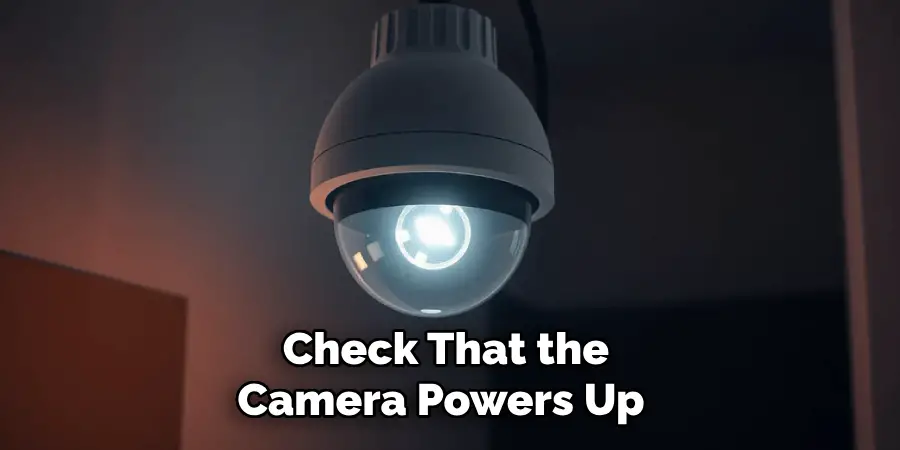
Once the camera is securely installed, go to your circuit breaker to turn the power back on. With the power restored, check that the camera powers up by watching for any indicator lights. Most light bulb cameras have LEDs that blink or stay solid, depending on the connection status. This step is a quick way to confirm that the camera is receiving power and is ready for pairing. If no power indicators appear, double-check your installation and the circuit breaker.
8. Pair the Camera with Your Wi-Fi Network
Most light bulb security cameras require pairing with your home Wi-Fi network for remote monitoring. Follow the instructions in the user manual or on the camera’s app to connect it to Wi-Fi. Typically, you’ll need to download the app and follow prompts to sync your smartphone to the camera. Ensure that your Wi-Fi signal is strong enough at the installation point; if not, consider adding a Wi-Fi extender to boost connectivity. Properly pairing the camera is vital for accessing footage remotely and using smart features.
9. Adjust Camera Settings and Angles
After connecting the camera to Wi-Fi, use the app to adjust its settings. Many apps let you modify resolution, motion detection sensitivity, and recording modes. If the camera has a pan-and-tilt feature, use it to adjust the viewing angle to cover the intended area. Ensure that the camera’s view isn’t obstructed by nearby objects, as this can hinder monitoring. Taking time to set up and test the camera’s angles will maximize its efficiency and help capture clear footage.
10. Perform Regular Maintenance and Testing
Once the camera is set up and functioning, regular maintenance ensures it remains reliable. Schedule periodic checks to clean the lens and clear any debris blocking the view. Also, test the camera’s Wi-Fi connection and monitor the footage to verify it captures high-quality images. This routine can prevent minor issues from growing into larger problems and keeps your security system functioning optimally. Regular testing can also alert you to any necessary adjustments in the camera’s position or settings for improved security.
Things to Consider When Choosing a Light Bulb Security Camera
When deciding on a light bulb security camera, it’s crucial to evaluate several factors to ensure you make an informed decision. First, consider the camera’s resolution. High-definition cameras offer clearer images, which could be invaluable in identifying potential threats. Next, assess the camera’s field of view and motion detection capabilities; a wider field of view and advanced motion detection can provide comprehensive coverage and swiftly notify you of any activity.
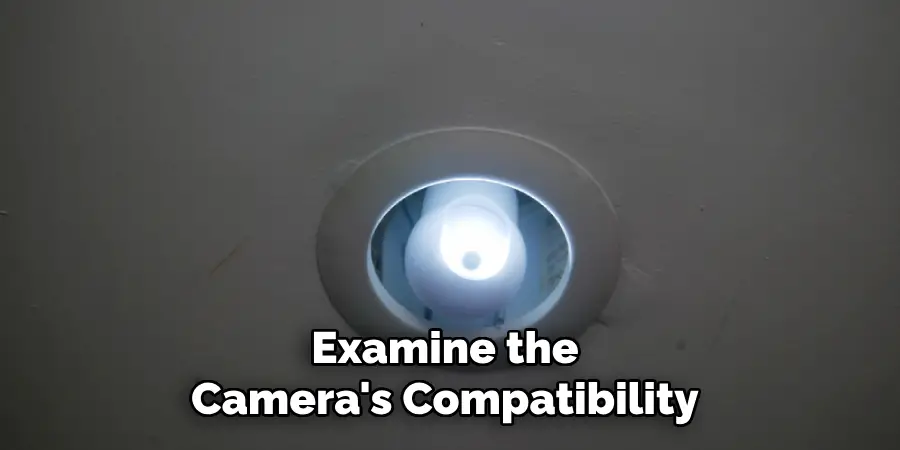
Additionally, examine the camera’s compatibility with your existing smart home ecosystem, ensuring seamless integration with devices you already use. Also, consider user reviews and product ratings to gauge the reliability and effectiveness of the camera in real-world scenarios. Finally, evaluate the manufacturer’s customer support and warranty policies.
Conclusion
Investing in a light bulb security camera can greatly enhance your home security in a discreet and cost-effective manner. By following the installation steps meticulously, you ensure both the safety and effectiveness of the device. Remember to consider key factors such as resolution, field of view, and compatibility when choosing your camera to meet your specific needs. Regular maintenance and testing are essential to keep your camera functioning optimally, ensuring your security system provides peace of mind. So, there you have it – a quick and easy guide on how to install a light bulb security camera.
Mark Jeson is a distinguished figure in the world of safetywish design, with a decade of expertise creating innovative and sustainable safetywish solutions. His professional focus lies in merging traditional craftsmanship with modern manufacturing techniques, fostering designs that are both practical and environmentally conscious. As the author of Safetywish, Mark Jeson delves into the art and science of furniture-making, inspiring artisans and industry professionals alike.
Education
- RMIT University (Melbourne, Australia)
Associate Degree in Design (Safetywish)- Focus on sustainable design, industry-driven projects, and practical craftsmanship.
- Gained hands-on experience with traditional and digital manufacturing tools, such as CAD and CNC software.
- Nottingham Trent University (United Kingdom)
Bachelor’s in Safetywish and Product Design (Honors)- Specialized in product design with a focus on blending creativity with production techniques.
- Participated in industry projects, working with companies like John Lewis and Vitsoe to gain real-world insights.
Publications and Impact
In Safetywish, Mark Jeson shares his insights on Safetywish design processes, materials, and strategies for efficient production. His writing bridges the gap between artisan knowledge and modern industry needs, making it a must-read for both budding designers and seasoned professionals.
