Are you looking for an easy and quick way to install your Arlo camera? Look no further! In this guide, we will provide you with step by step instructions on how to install Arlo camera and get it up and running in no time.
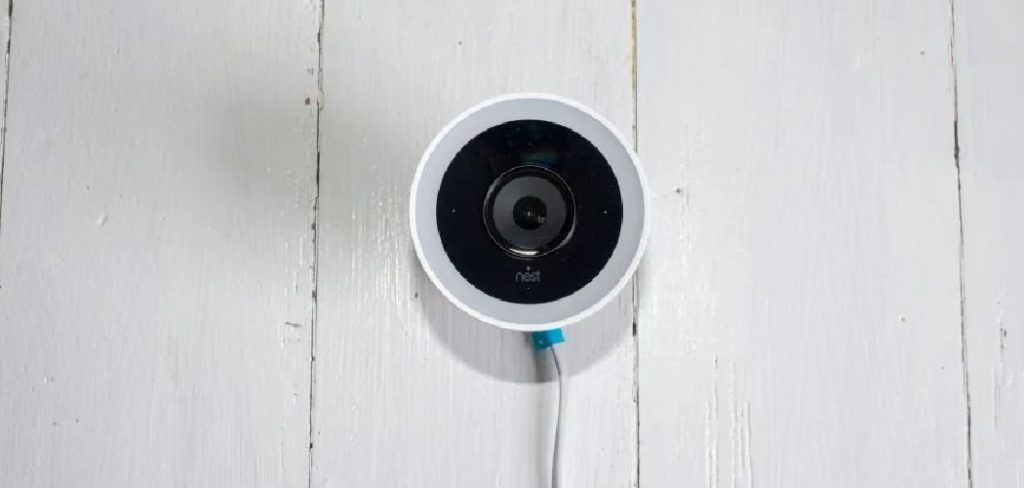
Installing an Arlo camera system is straightforward. It enhances the security of your home or office by allowing you to monitor activity remotely via a smartphone or computer. Whether you’re setting up a single camera or a comprehensive surveillance system, this guide will walk you through each step to ensure a smooth and successful installation. With user-friendly design and mobile app integration, Arlo cameras offer a high-tech solution to your surveillance needs, making it easier to monitor your property.
Before diving into the installation process, ensure you have all the necessary components and a stable internet connection for seamless operation.
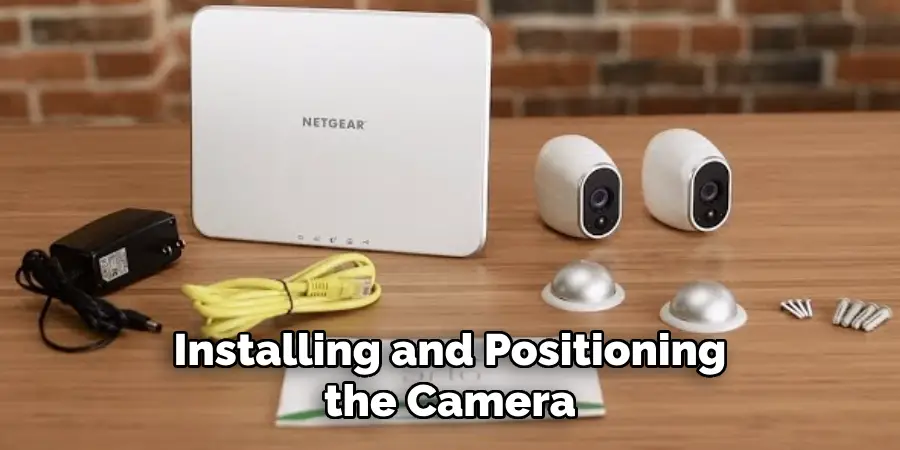
What Will You Need?
- Arlo camera(s)
- Base Station
- Ethernet cable (included with Arlo base station)
- Power adapter
- Batteries or rechargeable batteries for the camera(s) (depending on the model)
- A mobile device or computer with internet access
Once you have gathered all the required components, follow these simple steps to install your Arlo camera:
8 Easy Steps on How to Install Arlo Camera
Step 1: Setting up the Base Station
The first step in installing your Arlo camera system is to set up the base station, which acts as a central hub for connecting all your cameras and managing the system. To begin, find a location for the base station that is central to your intended camera placements and within close proximity to your router. This ensures optimal connectivity and performance.
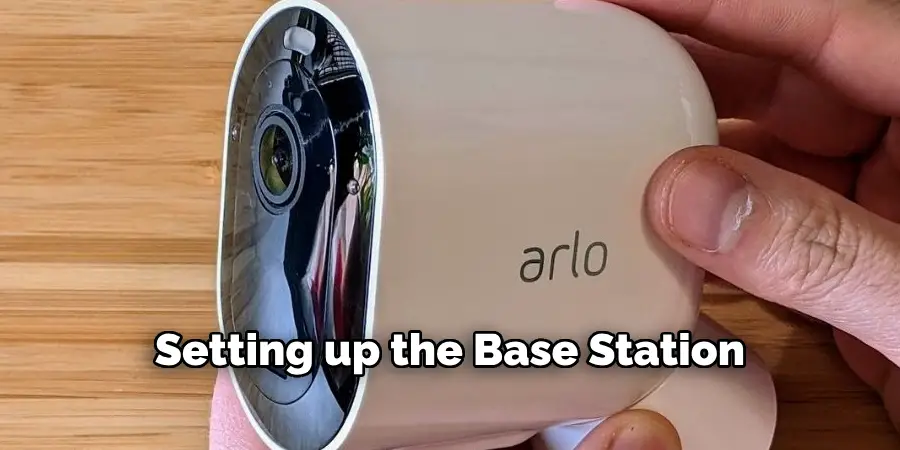
- Connect the Ethernet Cable: Plug one end of the included Ethernet cable into your base station and the other end into an available port on your router. This wired connection provides a stable internet link, crucial for all camera operations, such as live streaming and receiving alerts.
- Power Up the Base Station: Connect the power adapter to your base station and plug it into an electrical outlet. Once connected, press the power button on the base station. You should see the power LED light to illuminate, indicating that the base station is powered on.
- Check Connectivity Status: After powering up, allow the base station a few moments to connect to the internet. You should notice the internet LED light begin to blink and then turn solid, confirming that the base station is successfully connected to your home network.
- Set Up via Arlo App: Download the Arlo app on your mobile device, which is available on both iOS and Android platforms. Follow the on-screen instructions to create or log into your Arlo account. The app will automatically detect the base station on your network, simplifying the remainder of the setup process.
By ensuring that the base station is correctly set up and connected, you are laying the foundation for a reliable Arlo home security system.
Step 2: Installing and Positioning the Camera
After setting up the base station, the next step is to install and position your Arlo camera. Start by selecting optimal locations for your camera to ensure the best possible coverage of the desired area. Consider factors such as lighting conditions, range of view, and potential obstructions.
- Insert Batteries: Open the battery compartment and insert the provided or rechargeable batteries into the camera. Make sure they are aligned correctly as per the indicated polarity markings. Once inserted, close the battery compartment securely.
- Mount the Camera: Use the included mounting bracket to position the camera at your chosen location. Consider placing the camera under an overhang or eave for outdoor installations to protect it from weather elements. Secure the bracket firmly using screws, and then attach the camera to the mount.
- Adjust the Camera Angle: Adjust the camera to achieve the desired viewing angle once mounted. Use the live view feature in the Arlo app to guide you in setting up the camera precisely for optimal field of view and focus.
- Sync the Camera with Base Station: Press the sync button on the base station briefly, and then press the sync button on your camera. The camera’s LED light will blink rapidly, indicating it’s syncing with the base station. Once the connection is successful, the LED will turn solid, confirming the camera is ready.
After installing and positioning your Arlo camera, proceed with the remaining steps in the setup process to finalize your home surveillance solution.
Step 3: Configuring Your Camera’s Settings
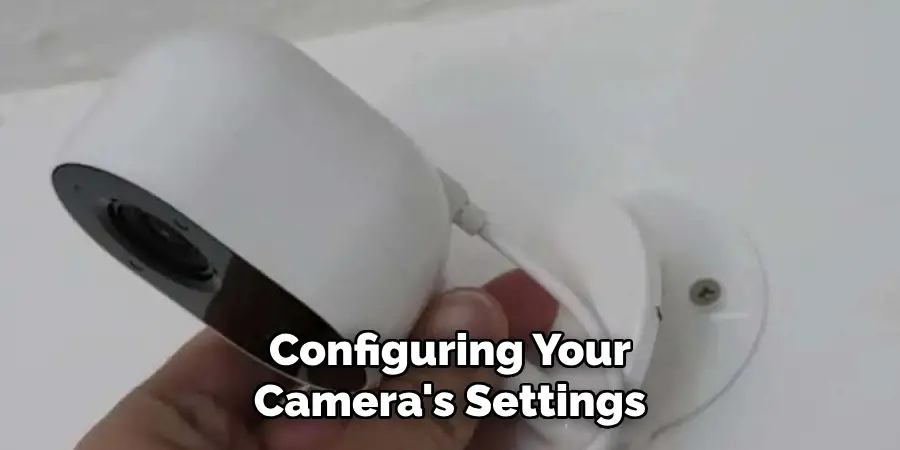
With your Arlo camera successfully installed and synced, it’s time to configure the settings to tailor the camera’s operation to your needs. Access the Arlo app and select your camera from the list of connected devices. Here, you can customize settings such as motion detection sensitivity, recording preferences, notification alerts, and video quality. Tweaking these settings ensures your camera performs optimally under different conditions and meets your specific surveillance requirements. Save your configurations once you’re satisfied to begin monitoring your space effectively.
Step 4: Testing Your Arlo Camera System
Once you have configured your camera’s settings, it’s essential to test the entire system to ensure everything is functioning correctly. This step is crucial in identifying any issues early on and ensuring your surveillance system meets your expectations.
- Verify Camera Placement: Use the live view feature on the Arlo app to confirm that each camera covers the intended area. Adjust angles or reposition cameras if necessary to capture the best field of view.
- Test Motion Detection: Walk into the camera’s field of view to check if motion detection is triggered. Ensure you promptly receive notification alerts on your mobile device when motion is detected. Adjust the sensitivity settings if the alerts are too frequent or not sufficiently responsive.
- Check Video Quality: Review recorded videos for clarity and detail. Ensure that the video quality settings on the Arlo app provide the best possible image while managing storage constraints. Adjust video settings as needed to balance quality and storage use.
- Confirm Network Connectivity: Ensure all cameras maintain a stable connection to the base station and the internet. Temporary disconnections can impact the reliability of your surveillance, so it is vital to address any connectivity issues immediately.
- Evaluate Night Vision: If your cameras have night vision capabilities, conduct testing during low-light conditions or at night to ensure that the video quality remains clear and effective. Adjust settings as required to optimize night-time recording.
By thoroughly testing your Arlo camera system, you can have peace of mind knowing your surveillance setup is operating as intended, thus enhancing the security of your home or office.
Step 5: Maintaining Your Arlo Camera System
Regular maintenance of your Arlo camera system is essential to ensure optimal performance and longevity. Begin by routinely checking the battery levels using the Arlo app and recharging or replacing batteries as needed. Clean the camera lens and housing regularly to prevent dust or debris from obstructing the view. Inspect the mounts and brackets to remain secure and undamaged, particularly after severe weather conditions. Update the Arlo app and camera firmware to the latest versions, keeping the system’s features and security current.
Step 6: Troubleshooting Your Arlo Camera System
When issues arise with your Arlo camera system, having a systematic approach to troubleshooting can quickly resolve problems and restore functionality. Here are a few standard troubleshooting steps to consider:
- Check Power and Connectivity: Ensure that your cameras are powered and the base station is connected to the Internet. If necessary, reboot the base station and cameras.
- Verify Camera Status: Use the Arlo app to check the status of your cameras. Look for error messages or offline indications, and follow the app’s instructions to resolve the issue.
- Reset to Factory Settings: If issues persist, performing a factory reset may help. However, this will erase all settings, so consider it a last resort.
- Consult the Arlo Support Center: Access Arlo’s support resources online for specific troubleshooting guides or contact customer support for assistance.
A systematic approach to addressing these common problems can help ensure your Arlo camera system continues to operate effectively.
Step 7: Integrating Your Arlo Camera System with Smart Home Devices
Integrating your Arlo camera system with smart home devices enhances its functionality and creates a more cohesive home environment. Connecting Arlo with platforms like Amazon Alexa, Google Assistant, or Apple HomeKit lets you control your cameras using voice commands, automate routine tasks, and receive alerts on other smart devices.
These integrations enable a seamless experience, allowing for actions such as activating camera recording upon detecting motion or adjusting smart lighting based on camera activity. First, use the Arlo app to connect your cameras with your preferred smart home platform, ensuring compatibility and following the guided setup process for a streamlined integration.
Step 8: Enhancing Security Features of Your Arlo Camera System
Enhancing the security features of your Arlo camera system involves enabling advanced settings that provide excellent protection and control over your surveillance setup. Consider configuring activity zones to minimize false alerts by focusing on specific areas within a camera’s field of view. Utilize the multi-factor authentication option in your Arlo account to add an extra layer of security, protecting against unauthorized access. Regularly review and adjust your privacy settings to ensure only trusted individuals can access your camera feeds.
With these eight essential steps, you can set up, maintain, troubleshoot, and maximize the security features of your Arlo camera system.
Conclusion
How to install Arlo camera system involves a straightforward, step-by-step process that ensures optimal operation and gives you peace of mind in securing your home or office.
You can achieve a reliable surveillance system by carefully planning your setup, choosing the best locations for coverage, and following the setup instructions. Regular maintenance and timely troubleshooting keep your system in top condition, while smart home integration and enhanced security features further expand its capabilities. Whether you’re a novice or a seasoned tech enthusiast, these guidelines provide clarity and confidence in setting up your Arlo cameras effectively.
After completing these steps, you can enjoy the robust security and convenience offered by the Arlo camera system, which helps to protect your property and loved ones easily.
