The Hiseeu security camera systems are renowned for their cutting-edge features, enabling users to maintain a secure environment effectively. With high-definition video, the cameras capture crystal-clear images, ensuring detailed surveillance around your property. Night vision capabilities extend this vigilance into the dark, providing unwavering protection regardless of lighting conditions. Remote access allows homeowners to monitor their property anytime, from anywhere, using a mobile app, while motion detection alerts you to any unusual activity, providing peace of mind.
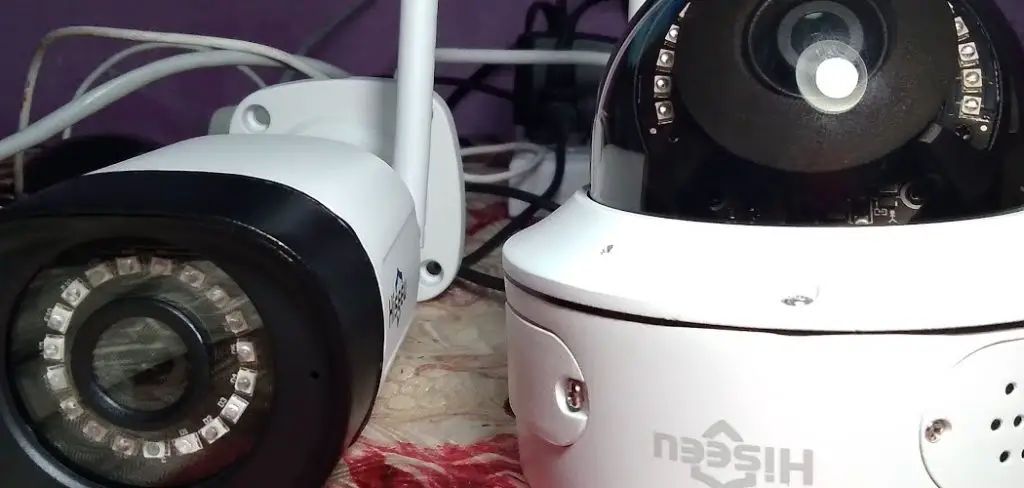
Installing a home security system like Hiseeu is essential in safeguarding your home and enhancing safety. Fortunately, understanding how to install Hiseeu security camera system is straightforward. The process is designed to be user-friendly, allowing homeowners of varying skill levels to set up their security effectively without professional help. As a result, Hiseeu’s systems empower homeowners to protect what matters most with ease and confidence.
Unboxing the Hiseeu Security Camera System
Contents of the Box:
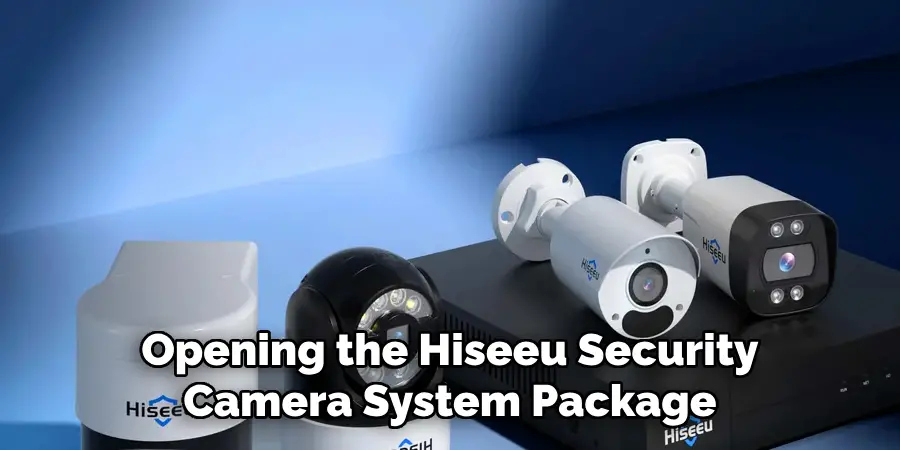
Upon opening the Hiseeu security camera system package, you will find a comprehensive set of components ready to enhance your property’s security. These items typically include several high-definition security cameras, a DVR/NVR unit for recording and managing the footage, power adapters and connecting cables to supply necessary power and facilitate data transmission, and a variety of mounting hardware like brackets and screws for secure installation.
Initial Inspection:
Before beginning the installation process, it’s vital to inspect all components carefully. Check each camera, the DVR/NVR unit and all included accessories for any visible signs of damage, such as cracks or broken parts. Ensure that no items are missing and that each component matches the list provided in the manual. This inspection process ensures that you have everything you need for a hassle-free setup and identifies any issues that need to be addressed with the seller immediately.
Familiarizing with Features:
Take a moment to familiarize yourself with the system’s features. The cameras boast high-definition video, enabling clear surveillance, while the DVR/NVR unit offers user-friendly footage management, allowing you to configure settings, review recordings, and access live feeds. Understanding these specifications helps maximize your system’s performance and align it with your specific security needs.
Preparing for Installation
Choosing the Right Location for Cameras:
Selecting optimal camera locations is crucial to ensuring comprehensive coverage and maximizing the effectiveness of your Hiseeu security camera system. Consider areas that provide a clear view of potential entry points, like doors, windows, and driveways. It is also important to choose spots with reliable power sources and strong Wi-Fi signal strength for wireless systems. Additionally, avoid placing cameras where they might be easily tampered with or where sunlight might cause glare on the camera lens.
Checking Wi-Fi Requirements (if applicable):
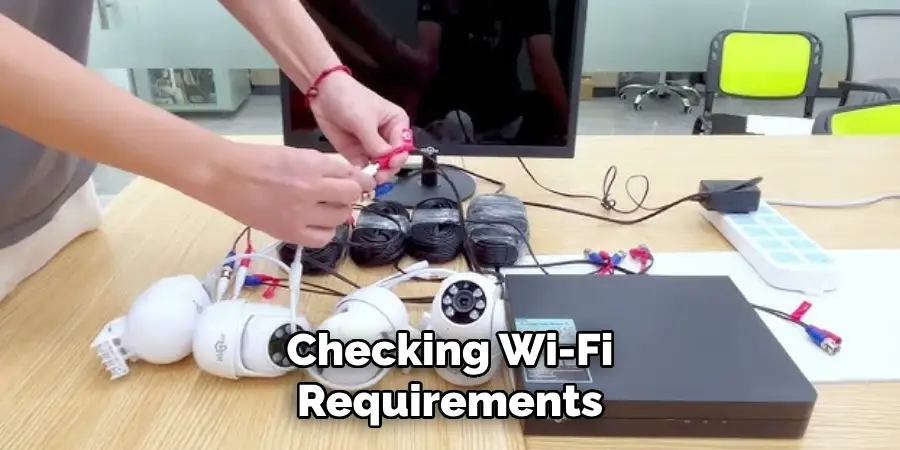
If you’re setting up a wireless system, ensure your home Wi-Fi network meets the necessary requirements. The Hiseeu security camera system typically supports Wi-Fi connections on 2.4GHz frequency bands, offering a good balance between range and bandwidth. Ensure your camera locations are within the optimal signal range of your router to prevent connectivity issues. A strong and stable signal is pivotal for consistent remote access and live streaming capabilities.
Gathering Necessary Tools:
Successfully installing your security camera system calls for the right tools. Assemble tools including a drill for making mounting holes, a screwdriver for securing fittings, a level to ensure cameras are mounted straight, measuring tape to position cameras accurately, and wire cutters for any required cable adjustments. Having these tools ready will streamline the installation process and aid in achieving a secure and reliable setup.
Setting Up the DVR/NVR Unit
Connecting to Power:
To begin setting up your DVR/NVR unit, locate a suitable location near a power source and your internet router, if applicable. Use the power adapter included in the package to connect the DVR/NVR to a wall outlet. Once plugged in, press the power button on the unit to turn it on. You’ll notice the power indicator light up, signaling the unit is active and ready for further configuration.
Connecting to a Monitor:
Next, connect the DVR/NVR unit to a monitor or TV to view and manage your camera feeds. Depending on the available ports on your monitor, you can use either an HDMI cable for high-definition video quality or a VGA cable for a standard display. Insert one end of the chosen cable into the corresponding port on the DVR/NVR unit and the other end into the monitor or TV. Ensure the monitor is on and set to the correct input source to display the DVR/NVR interface.
Configuring Initial Settings:
Once the display is active, navigate the setup menu using the DVR/NVR’s remote control or connected mouse. Proceed to configure the initial settings by selecting your preferred language. Set the correct date and time to ensure accurate time-stamped recordings within the system’s settings. Then, update the network settings to connect the unit to the internet, ensuring remote access and updates are enabled. Configuring these critical settings at the outset aligns the system for optimal performance and user satisfaction.
How to Install Hiseeu Security Camera System: Installing the Cameras
Step 1: Mounting the Cameras
Properly mounting your cameras is crucial for optimal coverage and security. Begin by selecting strategic mounting locations that offer a clear, unobstructed view of the area you wish to monitor, such as entryways, main paths, and common areas. Using the camera bracket as a template, mark the drilling holes with a pencil.
Ensure you adhere to all safety guidelines when using a drill to create the holes in the wall or ceiling. Insert the provided wall anchors into the holes if you mount them on drywall or other soft materials for added support. Next, align the camera with the drilled holes, attach the mounting bracket, and secure it with the included screws. Make sure to tighten the screws enough to stabilize the camera while avoiding excessive force that might cause damage.
Step 2: Connecting Power and Video Cables
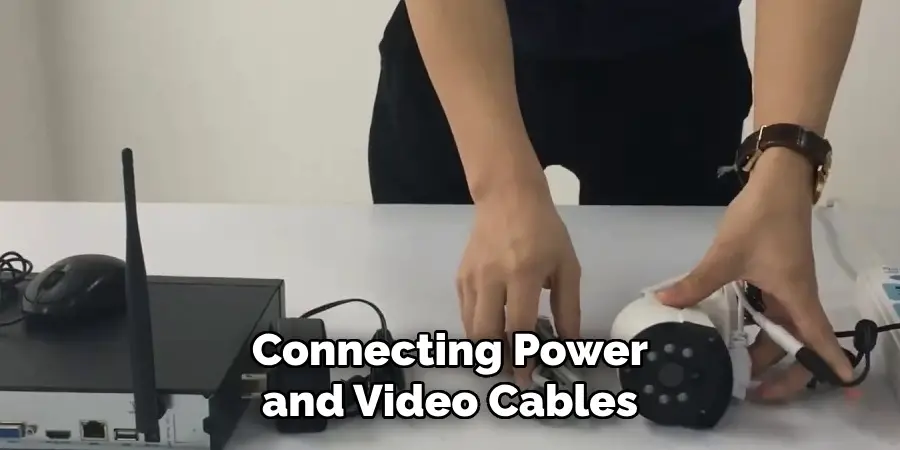
Once the cameras are mounted, connect the power and video cables. Attach the corresponding cable to the designated ports on the camera’s rear for each camera. Use cable clips or conduits to run the cables neatly along your walls or baseboards, hiding them behind furniture or decorations where possible for a cleaner appearance.
This also helps deter tampering by keeping the cables out of easy reach. Guide the cables carefully to the DVR/NVR unit’s location, ensuring they do not create any tripping hazards. Connect the video cables to the appropriate video input ports on the DVR/NVR. For power, plug the cables into a reliable power source, ensuring there is no strain on the connections, which could cause them to loosen over time.
Step 3: Testing Camera Positioning
Before finalizing the camera installation, test the positioning to confirm that the cameras are capturing the desired field of view. Utilizing the DVR/NVR’s interface, access the live feed from each camera to adjust angles and focus as necessary. Slightly tilt the cameras up or down, left or right, to eliminate any blind spots and ensure complete area coverage.
Pay particular attention to lighting conditions, as strong backlighting or shadows can affect the image quality. Fine-tuning these angles now will save time and improve the system’s efficiency in the long run. Once satisfied, secure the camera settings by tightening any adjustable fittings on the mount.
Step 4: Securing the Cameras
Once you’ve confirmed that the camera angles are accurate, secure them tightly to prevent any future tampering or accidental movement. Ensure all bolts, screws, and brackets are securely fastened to maintain stability over time and under varying weather conditions if installed outdoors. Consider adding security screws or specialty brackets if additional protection against tampering is required.
Regularly check these fittings as part of your maintenance routine to ensure the cameras remain firmly in place. Properly secure cameras lead to consistent surveillance performance and peace of mind, knowing your property is under reliable watch.
Connecting the System to the Internet
Wired Connection (if applicable):
To establish a stable internet connection using a wired method, connect your DVR/NVR unit directly to your router with an Ethernet cable. First, locate the Ethernet port on the back of the DVR/NVR and connect one end of the cable. Ensure the other end is securely inserted into an available port on your router. This connection method provides a reliable and high-speed internet link, reducing the risk of interruptions and supporting seamless remote access.
Wireless Connection (if applicable):
For a wireless connection, begin by accessing your DVR/NVR’s interface through the monitor or TV display. Navigate to the network configuration section within the settings menu. Select the Wi-Fi option, then scan for available networks. Choose your Wi-Fi network from the list and enter the security password when prompted. Ensure the signal strength is adequate to maintain a stable connection. Once connected, confirm your DVR/NVR is assigned a valid IP address by reviewing the network status.
Testing Internet Connection:
After following the connection procedures, test the internet connectivity to ensure all remote viewing features are functional. Attempt to access the DVR/NVR system using a mobile app or web interface from a different location. Verify the live camera feeds are available and that the connection is both stable and responsive. Troubleshoot any issues by checking cable connections, wireless signal strength, and verifying network settings for accuracy.
Configuring Camera Settings
Accessing the Camera Settings Menu
To configure your camera settings, begin by accessing the settings menu, either directly on the DVR/NVR unit or through the convenience of a mobile app. On your DVR/NVR, use the connected monitor or display to navigate to the settings interface and then select the camera settings option. For mobile users, launch the camera app and locate the settings or gear icon to manage your devices.
Adjusting Video Quality and Recording Settings
Once in the camera settings menu, focus on optimizing video quality and recording parameters. Start by selecting the desired resolution for your camera feeds, typically ranging from standard definition (SD) to high definition (HD), depending on storage capacity and bandwidth considerations. Adjust frame rates to balance the smoothness of playback with storage efficiency, commonly set between 15-30 frames per second (fps). Finally, recording schedules can be configured by establishing regular intervals or activating continuous or event-triggered recording to suit surveillance needs.
Setting Up Motion Detection Alerts
To enhance security, configure motion detection alerts within the settings. Identify and define motion detection zones by adjusting the sensitivity and areas of interest that require monitoring. Enable alert notifications either through the DVR/NVR settings or the mobile app by specifying how and when notifications should be sent (e.g., via email or push notifications). These alerts provide real-time updates, ensuring you stay informed about any suspicious activities, thus bolstering the efficiency of your surveillance system.
Downloading the Hiseeu App
Accessing the App
First, download the Hiseeu app onto your mobile device to start using your surveillance system remotely. For iOS users, open the App Store on your device and search for “Hiseeu.” Tap on the app when it appears in the search results and select “Get” to download and install it. Android users should open the Google Play Store and enter “Hiseeu” in the search bar. Once found, tap “Install” to begin the download process.
Creating an Account or Logging In
After the app installation is complete, open the Hiseeu app. If you’re a new user, tap on “Sign Up” to create an account. Fill in the required details, such as your email address and a secure password, and then complete the registration process by following on-screen instructions. If you already have an account, select “Login” and enter your credentials to access your dashboard and camera feeds.

Connecting Cameras to the App
With your account set up or logged in, proceed to add your cameras to the app for efficient remote management. Navigate to the camera management section in the app, then select “Add Device.” Follow the prompts to scan a QR code on your DVR/NVR or manually enter the device serial number. Once added, configure settings such as camera positions and alert notifications for personalized control. Now, you can view and manage your cameras effortlessly from anywhere.
Troubleshooting Common Issues
Issue 1: Cameras Not Connecting to the DVR/NVR
If your cameras are not connecting to the DVR/NVR, inspect all cable connections to ensure they are secure and undamaged. Confirm the power supply is consistent for both the cameras and the DVR/NVR unit; a loss of power could disrupt connectivity. Restart the DVR/NVR unit to refresh network settings. If problems persist, consider using a different Ethernet cable or port, and double-check that the firmware is up-to-date.
Issue 2: Poor Video Quality
For video quality issues, begin by reviewing the camera settings and ensuring that the resolution is set to your desired level—commonly HD for clearer images. Adjust the frame rate to improve smoothness; a higher fps provides better playback but requires more bandwidth. Examine the network bandwidth to ensure it supports high-quality video streaming without disruption. If needed, reposition the cameras to improve lighting conditions and reduce obstructions in the field of view.
Issue 3: Remote Access Problems
If you’re experiencing difficulties with remote access, verify that the DVR/NVR system is correctly connected to the internet. Check the app’s network settings to ensure the correct IP addresses and ports are configured. Ensure your mobile device or PC is also connected to the internet. Updating the app and system firmware to the latest versions can address compatibility issues, and disabling any active VPN services may resolve access problems.
Conclusion
Installing and configuring the Hiseeu security camera system involves several clear steps to ensure effective home surveillance. Start by downloading the Hiseeu app and logging in to manage your cameras remotely. Configure settings for enhanced protection, including video quality, motion detection alerts, and recording schedules. Troubleshooting common issues like connectivity and video quality ensures uninterrupted service.
This guide on “how to install Hiseeu security camera system” demonstrates the ease of enhancing home security with professional-grade features. Regularly checking camera settings and updating the app ensures the system operates at peak performance, providing peace of mind. Maintaining the system by inspecting cables, ensuring connection stability, and checking firmware updates to sustain long-term security and functionality is essential. Following these guidelines allows you to maximize the Hiseeu system’s benefits, safeguarding your home with advanced technology.
Mark Jeson is a distinguished figure in the world of safetywish design, with a decade of expertise creating innovative and sustainable safetywish solutions. His professional focus lies in merging traditional craftsmanship with modern manufacturing techniques, fostering designs that are both practical and environmentally conscious. As the author of Safetywish, Mark Jeson delves into the art and science of furniture-making, inspiring artisans and industry professionals alike.
Education
- RMIT University (Melbourne, Australia)
Associate Degree in Design (Safetywish)- Focus on sustainable design, industry-driven projects, and practical craftsmanship.
- Gained hands-on experience with traditional and digital manufacturing tools, such as CAD and CNC software.
- Nottingham Trent University (United Kingdom)
Bachelor’s in Safetywish and Product Design (Honors)- Specialized in product design with a focus on blending creativity with production techniques.
- Participated in industry projects, working with companies like John Lewis and Vitsoe to gain real-world insights.
Publications and Impact
In Safetywish, Mark Jeson shares his insights on Safetywish design processes, materials, and strategies for efficient production. His writing bridges the gap between artisan knowledge and modern industry needs, making it a must-read for both budding designers and seasoned professionals.
