
Installing a ladder stabilizer is a crucial step for anyone looking to enhance safety and stability while working at heights. Whether you’re a professional contractor or a DIY enthusiast, a ladder stabilizer can prevent dangerous wobbles and falls, providing a secure base and peace of mind. This device attaches to the top of an extension ladder, increasing its footprint and ensuring it stays firmly in place against the structure you’re working on.
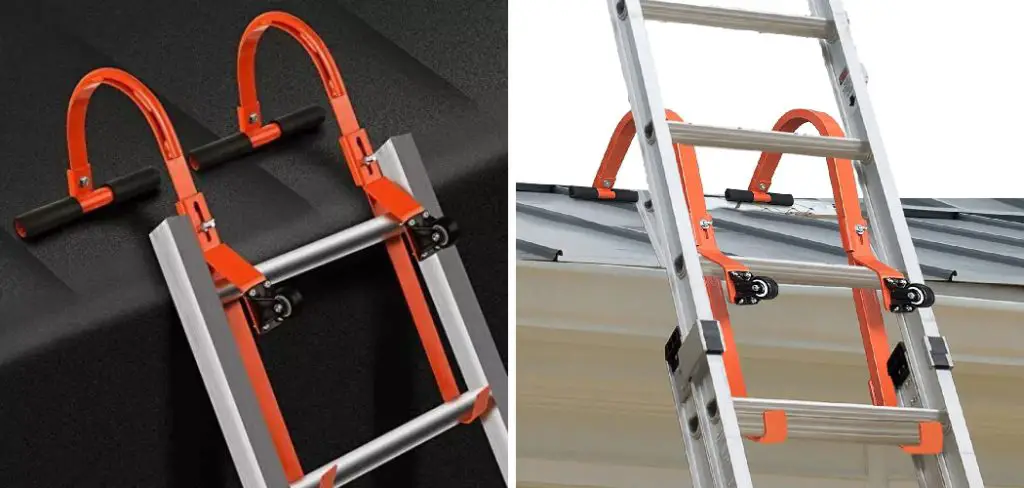
In this comprehensive guide, we’ll walk you through the process of how to install ladder stabilizer, from selecting the right model for your ladder to securing it properly. We’ll cover the tools you’ll need, safety precautions to take, and detailed step-by-step instructions to ensure a successful installation. By the end, you’ll be equipped with the knowledge to safely tackle any project that requires a ladder, minimizing risks and improving your overall efficiency and confidence.
Importance of Using a Ladder Stabilizer
Using a ladder stabilizer is fundamental to maintaining safety and efficiency during tasks that require elevation. These devices provide several critical benefits:
- Enhanced Stability: A ladder stabilizer distributes the ladder’s weight over a broader area, significantly reducing the risk of the ladder tipping or shifting unexpectedly. This is especially crucial when working on uneven ground or against surfaces like roofs and walls.
- Safety: Falls from ladders are a common cause of injuries in both professional and home environments. By keeping the ladder securely in place, a stabilizer minimizes wobbles and sudden movements, thereby reducing the likelihood of accidents.
- Surface Protection: Ladder stabilizers keep the pressure of the ladder off delicate surfaces, preventing damage to gutters, siding, and other materials. This ensures that while you’re safe, the property you’re working on remains intact.
- Ease of Use: With a ladder stabilizer, setting up and positioning your ladder becomes more straightforward. This ease of use allows you to focus on the task at hand rather than constantly readjusting your climb.
- Increased Work Area: Some stabilizers come with added features like work trays or platforms, offering more space to keep tools and materials. This productivity boost means fewer trips up and down the ladder, saving time and energy.
Investing in a ladder stabilizer is a smart decision for anyone looking to improve their safety protocols and operational efficiency. By providing a stable base and peace of mind, this accessory allows you to focus on your work with confidence, no matter how high you need to go.
10 Methods How to Install Ladder Stabilizer
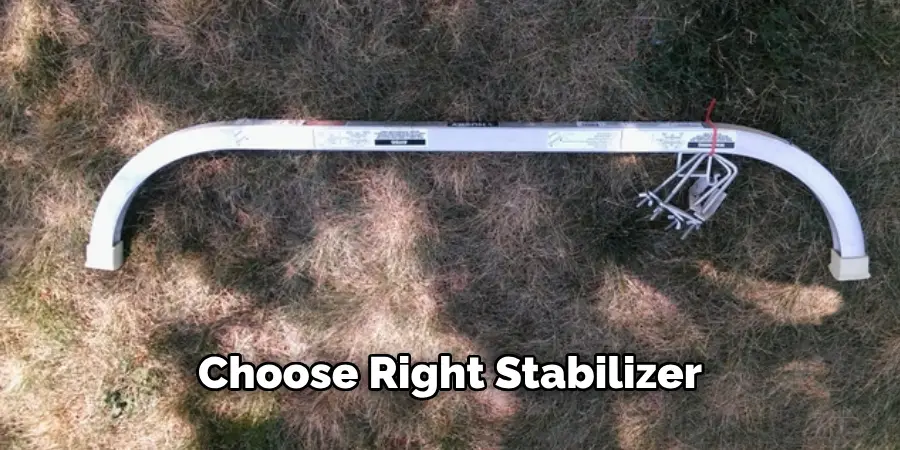
1. Choose the Right Stabilizer for Your Ladder
Before installation, it’s crucial to select the appropriate ladder stabilizer for your specific ladder type. Ladder stabilizers come in various sizes and designs to fit different ladder models, including extension ladders, step ladders, and multi-position ladders. Check the manufacturer’s specifications and guidelines to ensure compatibility. The right stabilizer should fit snugly and securely to your ladder, providing a stable and safe base for your tasks.
2. Read the Manufacturer’s Instructions
Every ladder stabilizer comes with a set of manufacturer’s instructions that detail the installation process. These instructions are tailored to the specific model of the stabilizer and ladder, providing crucial information on how to properly attach and secure the stabilizer. Read these instructions thoroughly before beginning the installation process. Understanding the steps and safety precautions will help prevent mistakes and ensure a secure installation.
3. Gather Necessary Tools and Equipment
Installing a ladder stabilizer typically requires a few basic tools, including a wrench or screwdriver, depending on the stabilizer’s design. Gather all necessary tools and equipment before starting the installation process to avoid interruptions. Having everything at hand will make the installation smoother and more efficient. Additionally, ensure that the work area is clear of obstacles and that you have a stable surface to work on.
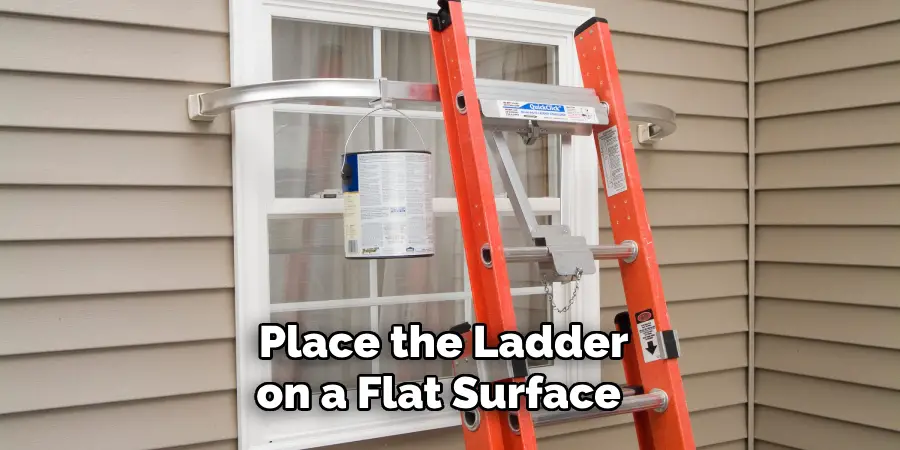
4. Position the Ladder Correctly
Before attaching the stabilizer, position the ladder on a flat, stable surface. The ladder should be fully extended and locked in place if it is an extension ladder. Ensuring the ladder is stable before attaching the stabilizer will make the installation process safer and more manageable. If working on uneven ground, use ladder levelers to stabilize the ladder before proceeding with the installation of the stabilizer.
5. Attach the Stabilizer Brackets
Most ladder stabilizers are equipped with brackets that attach to the sides of the ladder. Start by positioning the stabilizer against the ladder, aligning the brackets with the ladder rails. Depending on the model, you may need to slide the brackets over the rails or bolt them into place. Use the appropriate tools, such as a wrench or screwdriver, to secure the brackets tightly. Ensure that the brackets are firmly attached and do not move when pressure is applied.
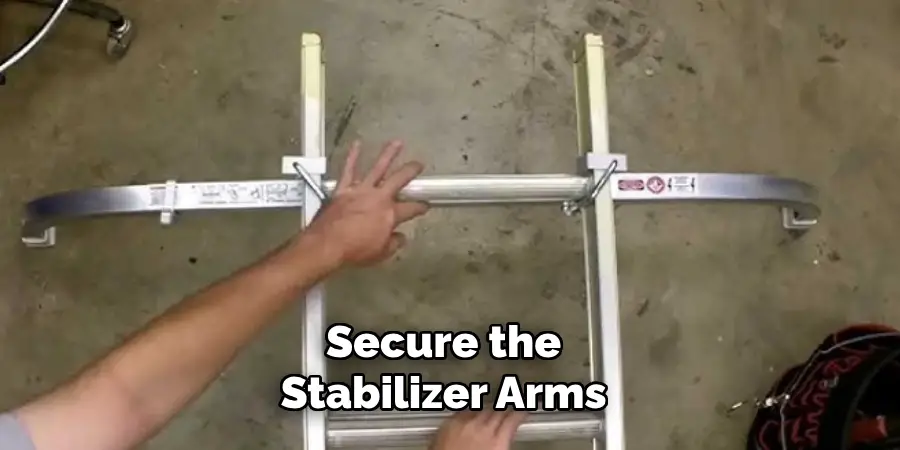
6. Secure the Stabilizer Arms
After attaching the brackets, secure the stabilizer arms to the brackets. The stabilizer arms extend outward to provide a wider base of support. Slide the arms into the brackets and secure them using the provided bolts or locking mechanisms. Tighten all connections thoroughly to prevent any movement or instability. The stabilizer arms should be evenly aligned and firmly attached to the ladder, providing a balanced support system.
7. Adjust the Stabilizer Height
Many ladder stabilizers feature adjustable height settings to accommodate different working conditions. Adjust the height of the stabilizer arms according to the specific requirements of your task. The arms should be set at a height that provides optimal stability and support. Ensure that both sides of the stabilizer are adjusted evenly to maintain balance. Lock the height adjustment mechanism securely to prevent any accidental movement during use.
8. Double-Check All Connections
Before using the ladder with the stabilizer, double-check all connections to ensure they are secure and tight. Inspect the brackets, arms, and any adjustable components to confirm they are properly locked in place. Give the stabilizer a gentle shake to test its stability. Any loose or wobbly parts should be tightened before proceeding. Ensuring all connections are secure will maximize the stabilizer’s effectiveness and your safety.
9. Test the Stabilizer on a Stable Surface
Before using the ladder in your desired location, test the stabilizer on a flat, stable surface. Climb the ladder carefully, applying gentle pressure to check for stability. The stabilizer should distribute your weight evenly and prevent the ladder from wobbling or slipping. If the stabilizer does not feel secure, recheck the installation and make necessary adjustments. Testing the stabilizer in a controlled environment will give you confidence in its performance when used in different conditions.
10. Follow Safety Guidelines During Use
Once the ladder stabilizer is installed and tested, follow proper safety guidelines during use. Always place the ladder on a stable, flat surface and avoid setting it up on slippery or uneven ground. When climbing the ladder, maintain three points of contact (two hands and one foot, or two feet and one hand) at all times. Avoid overreaching or leaning to the side, as this can compromise the stability provided by the stabilizer. Regularly inspect the stabilizer for wear and tear, and replace any damaged components promptly.
Things to Consider When Using a Ladder Stabilizer
1. Weight Capacity
One crucial factor to consider when using a ladder stabilizer is its weight capacity. Ensure that the stabilizer can support both the weight of the ladder and the additional weight of the person using it, along with any tools or materials being carried. Check the manufacturer’s specifications for the maximum weight capacity and do not exceed it to maintain safety.
2. Surface Compatibility
The effectiveness of a ladder stabilizer heavily depends on the surface it is being used on. It is important to use the stabilizer on flat, solid surfaces to prevent slipping and instability. Avoid using the stabilizer on slippery, wet, or uneven ground unless it is specifically designed for such conditions and comes with additional stabilizing features.
3. Type of Task
Different tasks may require different types of stabilizers. For instance, some stabilizers are better suited for working on walls and vertical surfaces, while others are designed for roof or gutter work. Consider the nature of your task when choosing a stabilizer to ensure it provides the necessary support and stability for that specific job.
4. Material Quality
The material quality of both the ladder and the stabilizer can significantly affect safety and performance. Opt for stabilizers made from durable, high-quality materials such as aluminium or reinforced steel. These materials offer better durability, strength, and longevity compared to lower-quality alternatives.

Conclusion
Installing a ladder stabilizer involves several detailed steps to ensure safety and stability. From choosing the right stabilizer and reading the manufacturer’s instructions to securing the stabilizer arms and following safety guidelines during use, each method contributes to a secure installation. By understanding and following these methods, you can enhance the stability of your ladder, reducing the risk of accidents and improving overall safety. Proper installation and use of a ladder stabilizer are essential for any task requiring ladder use, ensuring a stable and secure working environment. Be sure to follow all instructions on how to install ladder stabilizer carefully, and always consult an expert when in doubt.
Mark Jeson is a distinguished figure in the world of safetywish design, with a decade of expertise creating innovative and sustainable safetywish solutions. His professional focus lies in merging traditional craftsmanship with modern manufacturing techniques, fostering designs that are both practical and environmentally conscious. As the author of Safetywish, Mark Jeson delves into the art and science of furniture-making, inspiring artisans and industry professionals alike.
Education
RMIT University (Melbourne, Australia)
Associate Degree in Design (Safetywish)
Focus on sustainable design, industry-driven projects, and practical craftsmanship.
Gained hands-on experience with traditional and digital manufacturing tools, such as CAD and CNC software.
Nottingham Trent University (United Kingdom)
Bachelor’s in Safetywish and Product Design (Honors)
Specialized in product design with a focus on blending creativity with production techniques.
Participated in industry projects, working with companies like John Lewis and Vitsoe to gain real-world insights.
Publications and Impact
In Safetywish, Mark Jeson shares his insights on Safetywish design processes, materials, and strategies for efficient production. His writing bridges the gap between artisan knowledge and modern industry needs, making it a must-read for both budding designers and seasoned professionals.
