
Are you planning to install a Laview security camera in your home or office? This guide will walk you through the installation process and provide tips for setting up your camera for optimal performance.
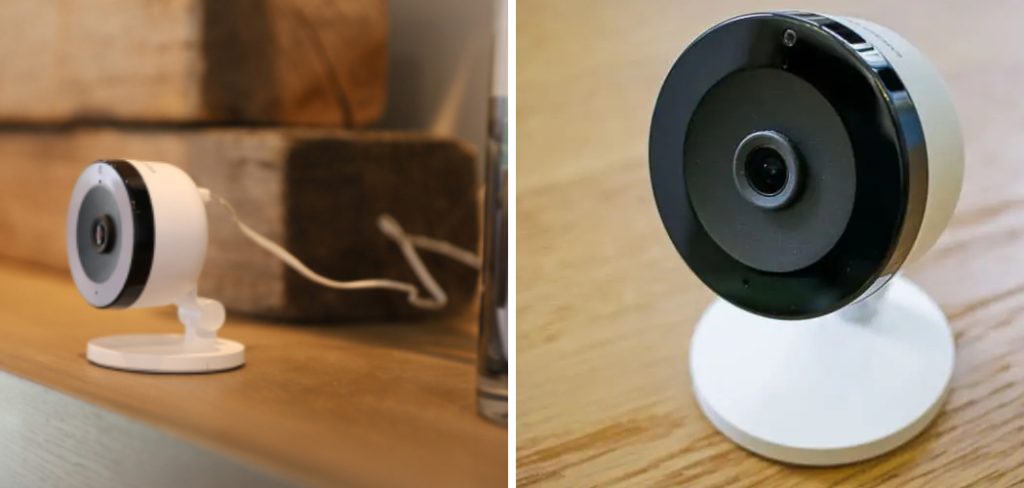
Installing a LaView security camera system is an effective way to enhance the safety and security of your home or business. Whether you are a seasoned tech enthusiast or a beginner, the process can be straightforward and manageable with the right guidance. This guide aims to walk you through each step of how to install Laview security camera, from unboxing your camera to setting up the software, ensuring that you can monitor your premises with ease and confidence.
By following these instructions, you’ll be able to create a reliable security setup that safeguards your property and provides you with peace of mind.
What Will You Need?
Before we dive into the installation process, let’s make sure you have all the necessary tools and equipment to set up your Laview security camera. Here’s a list of items you’ll need:
- A LaView security camera system
- An Ethernet cable
- Power supply for each camera
- A drill and drill bit suitable for outdoor or indoor installations (if needed)
- A ladder (if needed)
- A smartphone, tablet or computer for initial setup
- Stable and high-speed internet connection
Now that you have everything you need, let’s move on to the installation process.
8 Easy Steps on How to Install Laview Security Camera
Step 1: Unboxing Your Camera
Begin by carefully unboxing your Laview security camera system. Inside the box, you should find the following components:
- The security camera(s), each with its protective covering
- Power supply adapters for each camera
- An Ethernet cable
- Mounting brackets and screws
- Quick start guide and user manual
- Any additional accessories specific to your camera model
Inspect all components to ensure that nothing is damaged or missing. If anything appears to be damaged or if any components are missing, contact the manufacturer or retailer for a replacement before proceeding.

Once you’ve confirmed that all components are present and in good condition, you can start preparing for the physical installation. Familiarize yourself with the quick start guide and user manual, as these documents often contain specific details and tips for your camera model, which can be instrumental in correctly installing and setting up your system.
Taking the time to understand the components and instructions before you begin will help ensure a smooth and stress-free installation process.
Step 2: Choosing the Right Location
Selecting the optimal location for your Laview security camera is crucial for effective monitoring. Consider the following factors when choosing a spot for installation:
- Coverage Area: Identify the areas you need to monitor, such as entry points (doors and windows), driveways, and other vulnerable spots. Ensure the camera has a clear line of sight to these areas.
- Height and Angle: Place the camera at a height that is out of reach to prevent tampering but still allows for a clear view. Typically, mounting the camera 8-10 feet above the ground is ideal. Adjust the angle to cover the desired area without obstructions.
- Weather Protection: For outdoor cameras, choose locations that provide some protection from the elements, such as under eaves or overhangs. This can help prolong the life of your camera and maintain picture quality.
- Power Source: Ensure there is a nearby power source for each camera. If your camera uses an Ethernet cable for power (Power over Ethernet – PoE), ensure the cable can reach from the camera to the power injector or PoE switch.
- Lighting Conditions: Consider the lighting conditions of the area, both during the day and night. Avoid pointing the camera directly at bright lights or reflective surfaces, as this can cause glare and impact image quality.
Once you’ve chosen the ideal location, mark the spots where you plan to mount each camera. This preparation will streamline the installation process and help you achieve the best possible coverage for your security needs.
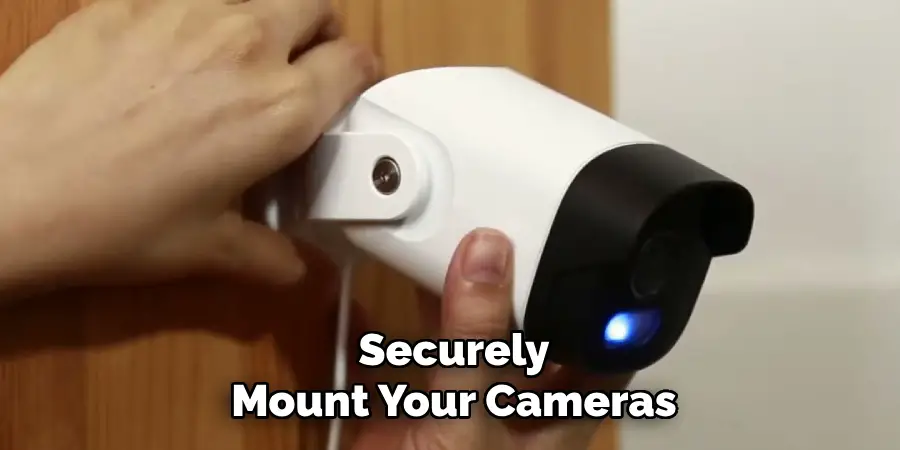
Step 3: Mounting the Camera
Now that you’ve selected the optimal locations for your Laview security cameras, it’s time to mount them. Follow these steps to securely mount your cameras:
- Preparing the Mounting Surface: If you’re installing the camera on a wall or ceiling, ensure the surface is clean and dry. Use a pencil to mark the drill holes on the mounting surface based on the mounting bracket’s template.
- Drilling the Holes: Drill pilot holes where you’ve marked the spots. Use appropriate drill bits and anchors to ensure a secure fit if you’re mounting on brick, concrete, or stucco. For wood or other softer surfaces, regular screws should suffice.
- Attaching the Mounting Bracket: Align the mounting bracket with the drilled holes and use the provided screws to attach it securely to the surface. Ensure the bracket is firm and doesn’t wobble.
- Mounting the Camera: Attach the camera to the mounting bracket as per the manual’s instructions. This may involve sliding the camera into a slot on the bracket or fastening it with screws.
- Adjusting the Angle: Once the camera is mounted, adjust its angle to cover the desired viewing area. Tighten any adjustment screws to lock the camera’s position in place.
After mounting all cameras, double-check to ensure they are securely positioned and aimed correctly. This step ensures that your cameras are in the right location for optimal monitoring and are ready for the next steps in the installation process.
Step 4: Connecting the Camera to Power and Network
With your cameras securely mounted and positioned, the next step is to connect them to power and your network. Follow these steps:
- Power Connection: Connect each camera to a power outlet using the provided power supply adapters. For Power over Ethernet (PoE) cameras, plug the Ethernet cable into the camera’s Ethernet port and the other end into the PoE injector or PoE switch.
- Network Connection: If your camera is not PoE and requires a separate Ethernet connection, plug one end of an Ethernet cable into the camera and the other end into your router or network switch.
- Cable Management: Secure any loose cables from the power supply and Ethernet connections to avoid tripping hazards and maintain a neat installation. Use cable clips, zip ties, or cable conduits as needed to ensure the cables are unobtrusive.
- Test Connections: After connecting all cables, power on the cameras and check the indicator lights to confirm they are receiving power and connected to the network. Refer to the user manual for specific indicators and their meanings.
Ensuring that each camera is properly powered and connected to your network is essential for seamless monitoring and recording. Once all cameras are powered and connected, you’re ready to proceed with the initial setup and configuration using the app or software provided by Laview.
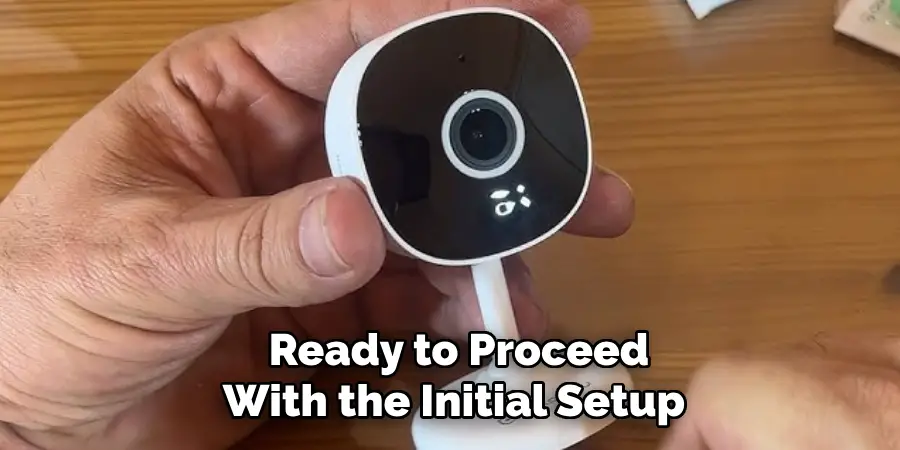
Step 5: Initial Setup and Configuration
With your cameras powered and connected to your network, it’s time to perform the initial setup and configuration. Follow these steps to get your Laview security system up and running:
- Install the App or Software: Download the Laview app on your smartphone or install the Laview software on your computer. The app’s name and download instructions are in the user manual.
- Create an Account: Open the app or software and create a new account if you don’t already have one. Follow the on-screen instructions to set up your username and password.
- Add Your Cameras: Once your account is created, log in and navigate to the section where you can add new devices. Select the option to add a new camera and follow the prompts to detect and connect to your Laview cameras.
- Configure Camera Settings: After adding the cameras, you can configure various settings such as motion detection zones, recording schedules, and notifications. Adjust the settings according to your security needs and preferences.
- Firmware Updates: Check for any available firmware updates for your cameras. Keeping the firmware up to date ensures you have the latest features and performance improvements. If available, follow the prompts to download and install updates.
- Test the System: Perform a thorough test of your system by walking through monitored areas and checking the live feed to ensure the cameras are capturing video correctly. Adjust the camera angles or settings if necessary.
Completing these steps will help ensure your Laview security camera system is correctly set up and configured, providing reliable monitoring and peace of mind. Once the initial setup is complete, you can start using your security system to monitor your property.
Step 6: Monitoring and Maintaining Your System
With your Laview security camera system properly set up and configured, the final step is ongoing monitoring and maintenance to ensure optimal performance. Follow these steps to effectively monitor and maintain your security system:
- Monitor Live Feeds Regularly: Use the Laview app or software to check live video feeds from your cameras regularly. This will help you stay aware of any unusual activity and ensure your cameras are functioning properly.
- Review Recorded Footage: Periodically review the recorded footage for incidents or areas of concern. This will help ensure your recording settings align with your security needs.
- Check for Alerts and Notifications: Set up and monitor alerts and notifications for motion detection or other events. Promptly investigate any alerts to address potential security breaches.
- Clean Camera Lenses: Dust, dirt, and weather can obscure camera lenses over time. Regularly clean the lenses with a soft cloth to ensure clear video quality.
- Inspect and Secure Connections: Periodically inspect all power and network connections to ensure they remain secure and free of damage. Tighten any loose cables as needed.
- Update Camera Firmware and Software: Regularly check for and install firmware updates for your cameras and software updates for the Laview app or computer software. Keeping everything up to date ensures you have access to the latest features and security improvements.
- Test Backup Systems: If your security system includes backup power supplies or storage options, regularly test these systems to ensure they activate correctly in the event of a power outage or other failure.

Step 7: Troubleshooting Common Issues
Even with proper setup and maintenance, you might encounter some common issues with your Laview security camera system. Follow these steps to troubleshoot and resolve typical problems:
- Camera not Powering on: If a camera does not power on, first check the power connections. Ensure the power adapter is securely plugged into both the camera and the power outlet. If using PoE, confirm the Ethernet cable is properly connected to both the camera and the PoE switch or injector. If necessary, try a different power outlet or adapter.
- No Network Connection: If your camera isn’t connecting to the network, verify the Ethernet cable is firmly attached to the camera and network equipment. Restart your router or network switch to refresh the connection. Check that your network settings are correctly configured and that DHCP is enabled if needed.
- Poor Video Quality: If the video feed is blurry or pixelated, clean the camera lens with a soft, lint-free cloth. Ensure the camera’s resolution settings are appropriately configured in the Laview app or software. If using Wi-Fi, check the signal strength and consider relocating the camera closer to the router or using a Wi-Fi extender.
- No Motion Detection Alerts: Verify that motion detection is enabled in the camera’s settings within the Laview app or software. Adjust the motion detection sensitivity and ensure detection zones are set up correctly. Test the system by walking through the detection area.
- Missing Recorded Footage: Confirm that your camera’s recording schedule is properly set and that the storage device (e.g., memory card, NVR) has sufficient space. If using cloud storage, check your subscription status and storage limits. Restart the camera or storage device if the issue persists.
- App or Software Issues: If you’re having trouble with the Laview app or software, make sure you’re using the latest version. Restart the app or software and your device. Reinstall the app or software if the problem continues, and check the Laview support website for any known issues or updates.
Following these troubleshooting steps, you can resolve most common issues and ensure your security camera system operates smoothly. If problems persist, consult the Laview support team for further assistance.
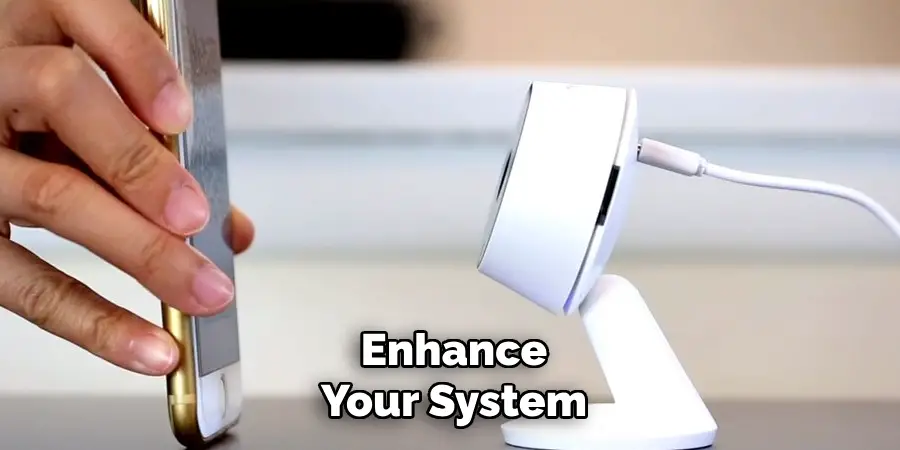
Step 8: Enhancing Security Measures
Elevate the effectiveness of your Laview security camera system by implementing additional security measures. Here are some suggestions to further enhance your system:
- Add More Cameras: Expanding your network of cameras can provide more comprehensive coverage of your property. Consider positioning additional cameras in blind spots or high-risk areas.
- Use Secure Passwords: Ensure that your Laview account and cameras are protected with strong, unique passwords. Regularly update your passwords to prevent unauthorized access.
- Enable Encryption: If your security system supports it, enable encryption for both video feeds and recorded footage to enhance data security.
- Integrate With Smart Home Devices: Link your Laview system with other smart home devices, such as lights or alarms, for coordinated responses to detected activity.
- Implement Redundancy: Use both local and cloud storage solutions to avoid data loss in the event of a device failure or theft.
- Regular Security Audits: Perform regular audits of your security system to identify potential vulnerabilities and address them promptly. This may include inspecting physical security measures and reviewing digital security settings.
- Educate Family Members or Employees: Ensure that everyone who lives or works at the property is aware of the security system and understands how to use it effectively.
By following these additional security measures, you can further enhance the protection provided by your Laview security camera system.
5 Things You Should Avoid
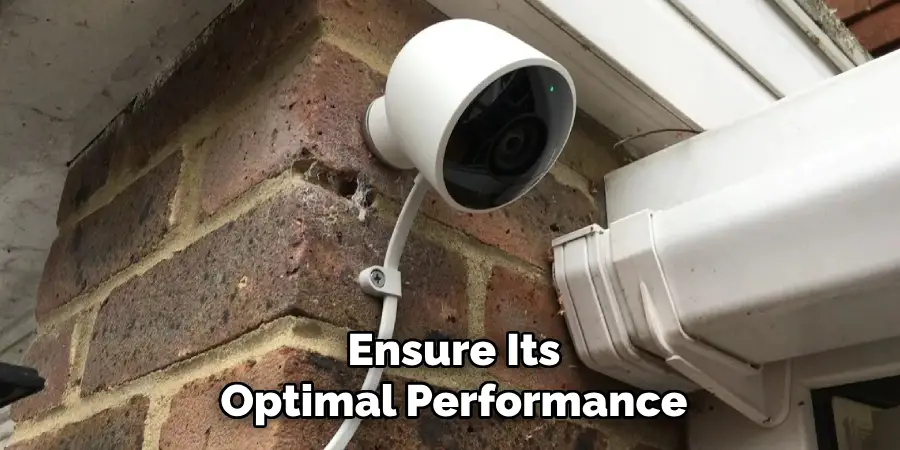
While using your Laview security camera system, avoid these things to ensure its optimal performance and protection.
- Placing Cameras in Private Areas: Avoid placing cameras in bedrooms, bathrooms, or other private areas where people have a reasonable expectation of privacy. This not only violates their privacy but may also leave your security system open to legal challenges. Stick to public areas and entrances.
- Positioning Cameras Too High or Low: Place your cameras at an appropriate height for their designated purpose. Too high, and the camera may not capture valuable details; too low, and it may be easily tampered with.
- Neglecting Maintenance Tasks: Regularly inspect and clean your cameras, perform software updates, and perform maintenance checks. Neglecting these tasks can compromise the system’s effectiveness and leave it vulnerable to issues.
- Using Weak or Default Passwords: Avoid using simple or easily guessable passwords for your Laview account and cameras. Also, change any default passwords immediately upon installation to prevent unauthorized access.
- Sharing Login Credentials: Never share your account username or password with anyone, as this can compromise the security and privacy of your system. Each user should have their own unique login credentials.
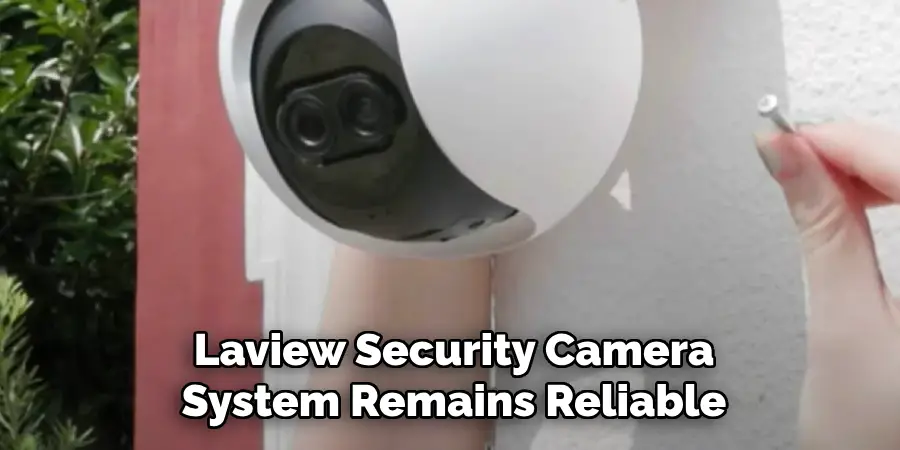
By avoiding these actions, you can ensure that your Laview security camera system remains reliable and secure.
Conclusion
How to install Laview security camera system is a straightforward process that can significantly enhance the security of your home or business.
By following the procedural steps and guidelines outlined in this document, you can ensure a smooth setup and optimal operation of your security cameras. From selecting the ideal installation locations to configuring the necessary settings and troubleshooting common issues, attention to detail is crucial.
Additionally, implementing advanced security measures and adhering to best practices will further safeguard your investment. Should any challenges arise during the installation or operation, the Laview support team is available to provide assistance.
With a properly installed Laview security camera system, you can enjoy peace of mind knowing that your property is under constant protection.
Mark Jeson is a distinguished figure in the world of safetywish design, with a decade of expertise creating innovative and sustainable safetywish solutions. His professional focus lies in merging traditional craftsmanship with modern manufacturing techniques, fostering designs that are both practical and environmentally conscious. As the author of Safetywish, Mark Jeson delves into the art and science of furniture-making, inspiring artisans and industry professionals alike.
Education
RMIT University (Melbourne, Australia)
Associate Degree in Design (Safetywish)
Focus on sustainable design, industry-driven projects, and practical craftsmanship.
Gained hands-on experience with traditional and digital manufacturing tools, such as CAD and CNC software.
Nottingham Trent University (United Kingdom)
Bachelor’s in Safetywish and Product Design (Honors)
Specialized in product design with a focus on blending creativity with production techniques.
Participated in industry projects, working with companies like John Lewis and Vitsoe to gain real-world insights.
Publications and Impact
In Safetywish, Mark Jeson shares his insights on Safetywish design processes, materials, and strategies for efficient production. His writing bridges the gap between artisan knowledge and modern industry needs, making it a must-read for both budding designers and seasoned professionals.
