Installing a Nest Floodlight can significantly enhance the security and visibility around your home. A floodlight not only illuminates dark areas, deterring potential intruders, but also provides clear visibility for family members and guests navigating around your property.
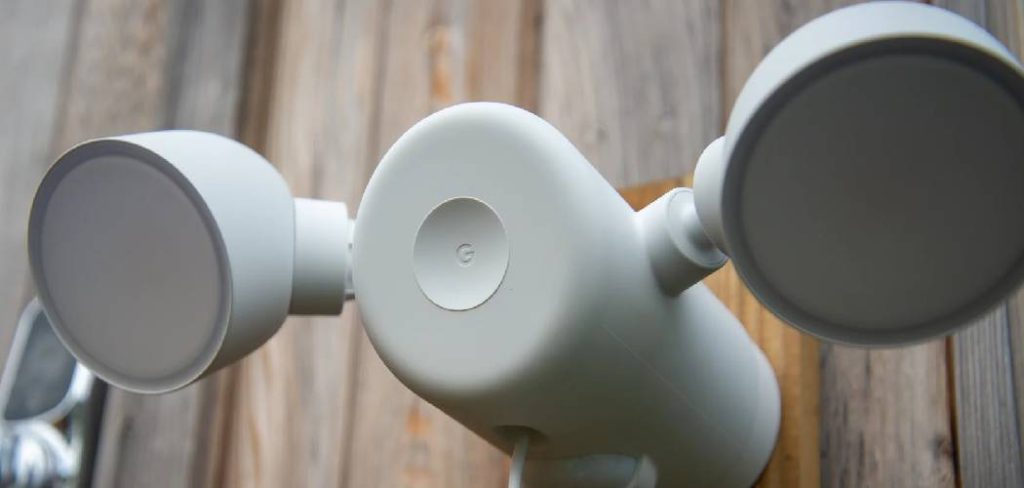
The Nest Floodlight stands out due to its advanced smart features, including motion detection that triggers both the floodlight and built-in security camera, ensuring you are alerted to any movement. Additionally, it integrates seamlessly with other Nest products, allowing you to create a comprehensive smart home security system. This guide will cover how to install Nest Floodlight, providing step-by-step instructions to ensure a smooth and successful setup process.
Understanding the Nest Floodlight
Overview of Nest Floodlight Features
The Nest Floodlight stands out with its impressive array of features tailored for advanced home security. Motion detection is one of its key attributes, allowing the floodlight to automatically illuminate when any movement is detected, thereby deterring intruders and providing visibility during nighttime.
The integration of a built-in security camera offers the added advantage of real-time video monitoring, enabling homeowners to keep an eye on their property remotely via the Nest app. This camera captures clear and high-quality footage, ensuring crucial details are recorded.
Smart home compatibility is another significant feature, seamlessly integrating with other Nest and Google Home products. This interoperability allows users to create a cohesive and coordinated smart home ecosystem, enhancing the overall security and convenience of their household. The combination of these advanced features ensures that the Nest Floodlight is an indispensable part of modern home security.
Compatibility and Requirements
Before installing the Nest Floodlight, it’s essential to ensure that your home’s electrical and Wi-Fi systems meet the necessary requirements. The floodlight requires a standard 120-240V power supply and must be connected to a ground wire for safe operation.
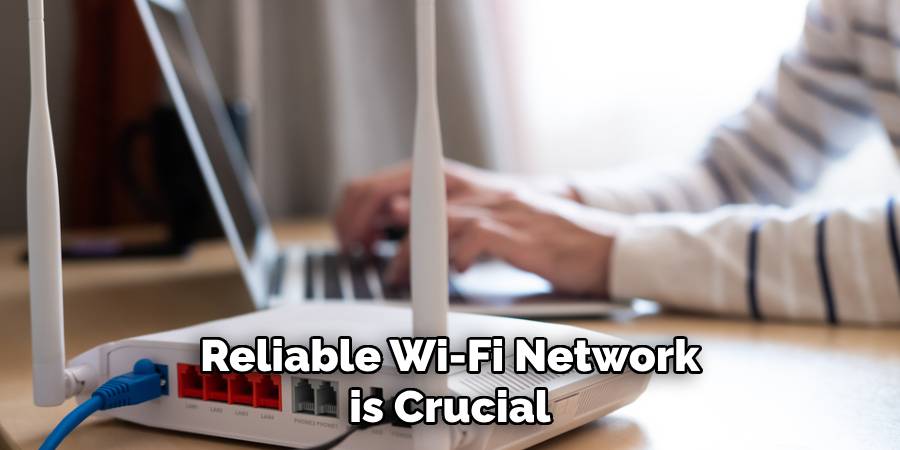
A robust and reliable Wi-Fi network is crucial for the functioning of the floodlight’s camera and smart features, providing a stable connection for real-time monitoring and alerts. Additionally, having a strong Wi-Fi signal at the installation location is important to avoid connectivity issues.
For a successful installation, you’ll need several tools and materials, including a Phillips and flathead screwdriver, a drill with appropriate bits, wire strippers and cutters, a voltage tester, and a ladder if you are installing the floodlight at a height. Safety gear such as gloves and safety goggles is also recommended to protect yourself during the installation process. Ensuring you have all these tools and materials at hand will streamline the setup and help avoid unnecessary delays.
Tools and Materials Needed
Essential Tools
To ensure a smooth and successful installation of your Nest Floodlight, it is crucial to gather all necessary tools and materials before you begin. Essential tools include Phillips and flathead screwdrivers for fastening screws securely and a drill with appropriate drill bits for creating necessary holes. Wire strippers and cutters will help in handling and connecting electrical wires efficiently.
A voltage tester is important to ensure safety by confirming that the electrical circuit is off. If you are installing the floodlight at a height, a sturdy ladder will be required. Additionally, using safety gear such as gloves and safety goggles is highly recommended to protect yourself during the installation process.
Preparation Steps
Turn Off Power
Before you start the installation process, the first and most critical step is to turn off the power supply to the existing light fixture. Locate your home’s circuit breaker panel, typically situated in the basement, garage, or utility room. Identify the breaker that controls the power to the area where you will be working and switch it off.
Use a voltage tester on the existing light fixture to ensure your safety and double-check that the power is off. Carefully touch the tester to the wires; if the tester does not light up or create a sound, the power is off, and it is safe to proceed. Never attempt to work on electrical fixtures without confirming that the power supply has been completely shut down.
Gather Tools and Materials
Once the power is safely turned off, the next step is to gather and organize all the tools and materials required for the installation. Start by collecting essential tools such as Phillips and flathead screwdrivers, a drill with appropriate bits, wire strippers and cutters, and a voltage tester. Ensure you also have a sturdy ladder if you need to reach a high spot. Safety gear, including gloves and safety goggles, should be on hand to protect yourself during the installation process.
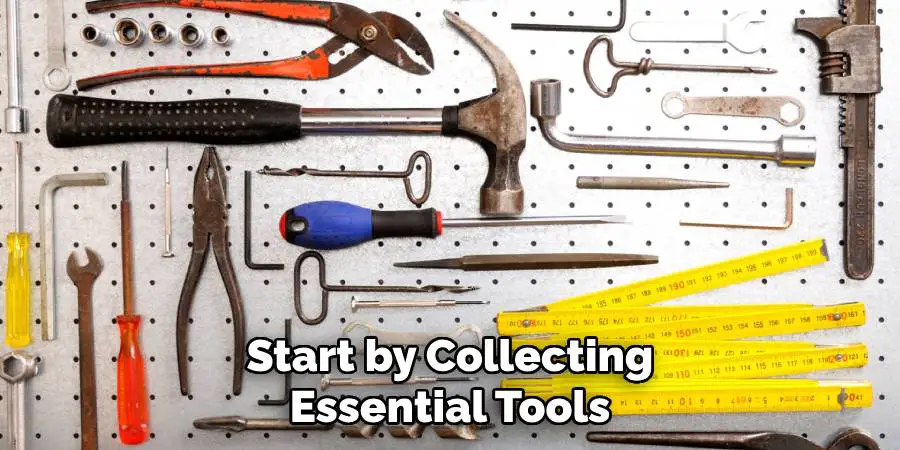
Additionally, review the Nest Floodlight package to ensure all components are present and in good condition. This includes the floodlight unit, mounting hardware, and any screws or connectors supplied by the manufacturer. Having everything organized and ready will streamline the installation process and help you avoid any interruptions or unnecessary trips to the hardware store. Proper preparation is key to a smooth and efficient installation.
How to Install Nest Floodlight: Removing the Existing Fixture
Remove the Old Fixture
To safely remove the existing light fixture, start by ensuring that the power supply is turned off at the circuit breaker. Double-check this with a voltage tester on the fixture’s wires to confirm there is no electrical current. Once you have confirmed it is safe, remove any bulbs from the fixture to prevent breakage during disassembly. Next, unscrew the mounting hardware securing the fixture to the junction box. When the fixture is loosened, carefully pull it away from the wall or ceiling to expose the wiring connections.
Disconnect the wires by unscrewing the wire nuts or loosening the screw terminals. Take note of the wire colors and their connections for reference when installing the new fixture. Typically, you will find a black (hot) wire, a white (neutral) wire, and a green or bare (ground) wire. Once all wires are disconnected, carefully remove the old fixture and set it aside. Keep the wire nuts and mounting screws if they are in good condition, as they may be useful for the new installation.
Inspect and Prepare the Wiring
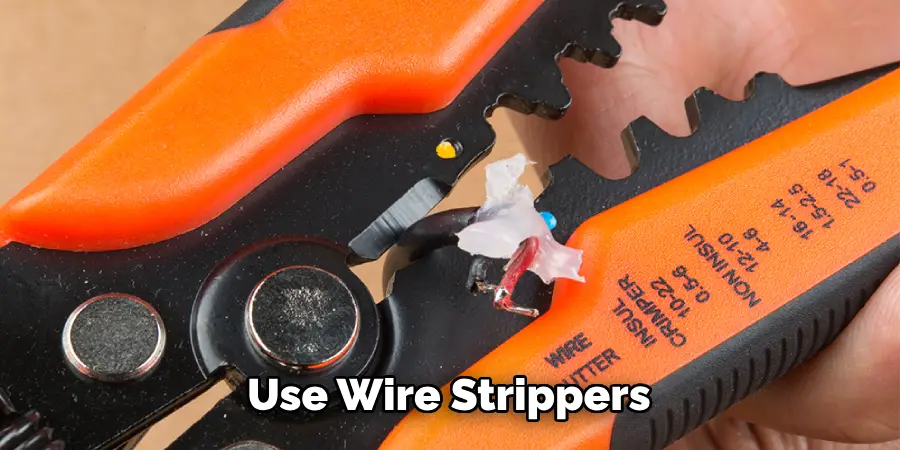
With the old fixture removed, closely inspect the condition of the existing wiring. Look for any signs of damage, such as frayed insulation or exposed copper, which could pose a safety hazard. If you find any damaged wires, it is crucial to trim and strip the ends to expose fresh, intact wire. Use wire strippers to carefully remove about ¾ inch of insulation from the ends of the wires.
Next, inspect the junction box to ensure it is securely attached and free from any debris or obstructions. If needed, tighten any loose screws and clean out the box to ensure a solid foundation for the new fixture. Additionally, verify that the ground wire is properly connected to the junction box or grounding screw. Making these preparations ensures that the wiring is in optimal condition and ready for the installation of the Nest Floodlight, promoting both safety and functionality in your smart home setup.
How to Install Nest Floodlight: Installing the Nest Floodlight
Mounting the Floodlight
To mount the Nest Floodlight, begin by attaching the provided mounting bracket to the junction box. Align the holes in the bracket with those in the junction box, ensuring a proper fit. Use the screws supplied with the mounting hardware to secure the bracket to the junction box. The bracket must be tightly fastened to provide a stable base for the floodlight.
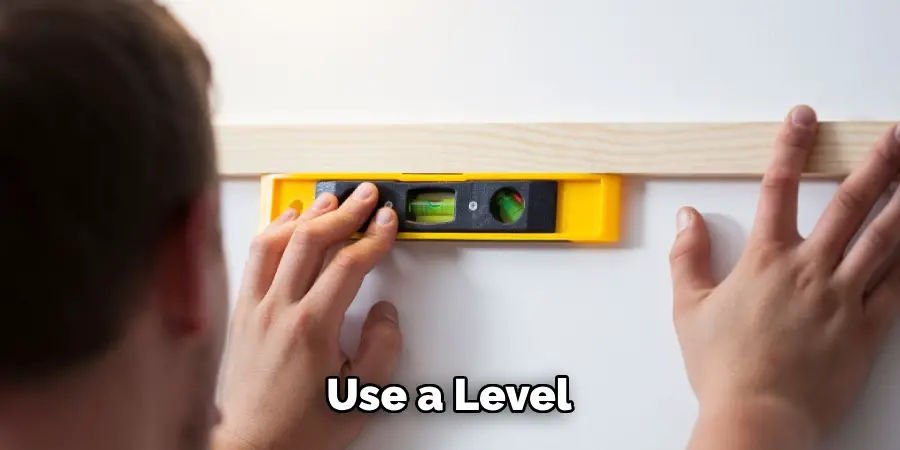
Once the bracket is secured, use a level to ensure it is perfectly horizontal. An uneven bracket can affect the alignment and performance of the floodlight. Adjust as needed and recheck the level before proceeding to the next step. Ensuring the bracket is securely fastened and level will help avoid any future issues and provide a reliable foundation for the floodlight installation.
Connecting the Wires
Connecting the wires for the Nest Floodlight is a straightforward process but must be done with care. Begin by matching each wire from the Nest Floodlight to the corresponding house wires: black to black (hot), white to white (neutral), and green or bare wire to the ground wire.
Start with the black wires. Twist the exposed ends together, then screw on a wire nut to secure the connection. Follow the same process for the white wires, ensuring each connection is tight and properly enclosed within the wire nuts. Finally, connect the ground wires using a similar method. Double-check each connection to ensure there are no loose or exposed wires.
Carefully tuck the wires back into the junction box, ensuring that there is no undue strain on any connection. This detailed attention to wire connections ensures both the functionality and safety of the new floodlight.
Securing the Floodlight
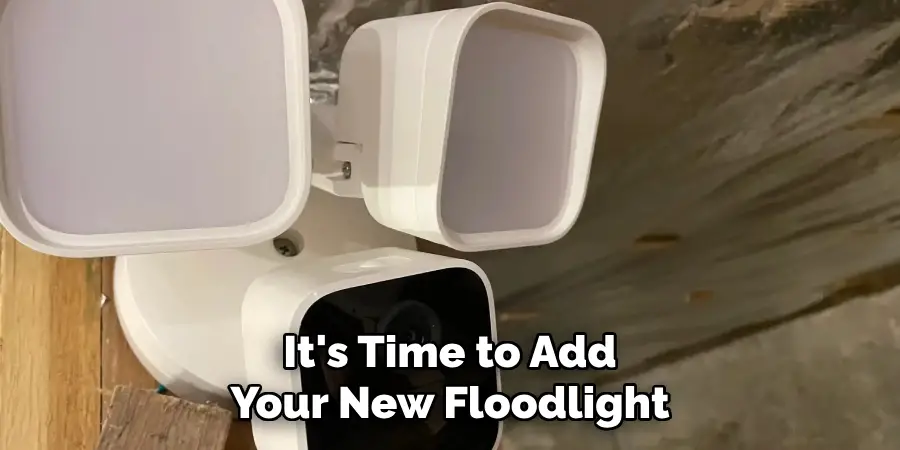
With the wires securely connected, proceed to attach the Nest Floodlight to the mounting bracket. Align the floodlight with the bracket, making sure the screw holes are properly aligned. Use the provided screws to attach the floodlight to the bracket, tightening them evenly to ensure a secure fit.
Next, adjust the positioning of the floodlight heads to the desired angles to ensure optimal coverage. Ensure that all components are securely fastened and that there are no loose parts. After making these final adjustments, double-check the stability of the floodlight to confirm everything is tightly secured.
By carefully following these steps and ensuring each component is properly fastened, you can confidently complete the installation of your Nest Floodlight, which will enhance your home’s security and visibility.
Attaching the Floodlight
Attaching the floodlight unit to the mounting bracket is the final step of the installation process. Begin by aligning the floodlight’s base with the mounting bracket that you have already secured to the junction box. Ensure that the screw holes in the floodlight unit match up with those on the bracket.
Insert the provided screws through the floodlight’s base and into the mounting bracket, tightening them evenly with a screwdriver. Be sure to secure all screws tightly to ensure the floodlight is firmly in place and does not wobble. This not only ensures the stability of the installation but also maintains proper alignment for optimal performance.
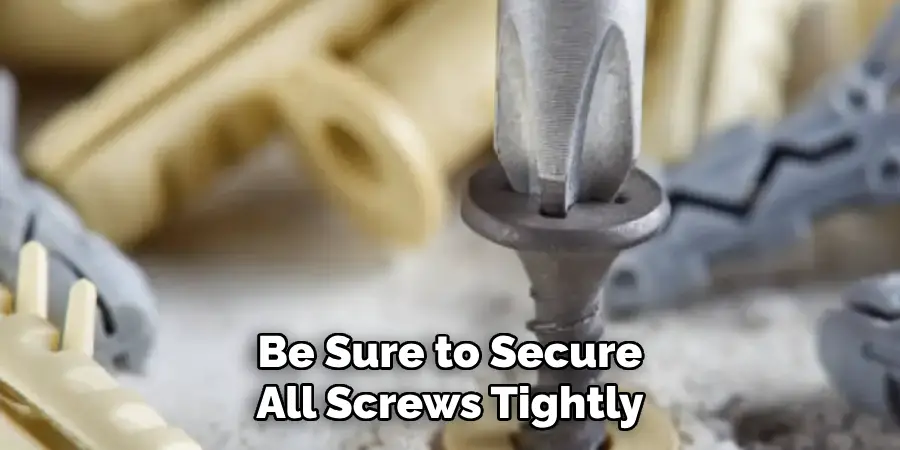
Finally, perform one last check to confirm that all screws are fully tightened and the floodlight unit is securely attached to the mounting bracket. A properly secured floodlight will withstand various weather conditions, providing reliable security and illumination for your home.
Setting Up the Floodlight Camera
Connecting to Power
Once the floodlight is securely attached to the mounting bracket, the next step is to restore power at the circuit breaker. Return to your home’s circuit breaker panel and switch the breaker back to the “on” position to restore electrical power to the floodlight. It is essential to ensure that power is restored correctly to avoid any functionality issues.
After restoring power, verify that the floodlight powers on correctly. You should see the lights activate, indicating that the floodlight is receiving power. Additionally, the camera component should show signs of powering up, which may include an LED indicator light or a startup sound. If the floodlight does not power on as expected, double-check your wiring connections and ensure that the circuit breaker is fully engaged. Properly restoring power ensures the floodlight camera is ready for setup and operation.
Downloading the Nest App
To control and configure your Nest Floodlight Camera, you will need the Nest app on your smartphone. Begin by opening the App Store (for iOS devices) or Google Play Store (for Android devices) on your smartphone. Search for the “Nest” app using the search bar and select it from the list of results. Tap the “Download” or “Install” button to initiate the installation process.
Once the app is installed, open it and proceed to create a Nest account by tapping “Create Account” if you are a new user. Follow the on-screen prompts to enter your personal information and set up a secure password. If you already have a Nest account, simply log in using your existing credentials. Creating or logging into your Nest account allows you to link your floodlight camera to the app, enabling remote control and monitoring capabilities.
Configuring Camera Settings
With the Nest app open and your account set up, it’s time to add your new floodlight camera to the app. Tap the “+” icon or “Add Device” button, then follow the on-screen instructions to identify and connect your Nest Floodlight Camera. This process typically involves scanning a QR code on the device or entering a setup code provided in the package.
After successfully adding the floodlight camera to your Nest account, navigate to the camera settings in the app. Here, you can configure various settings such as motion detection sensitivity, notification preferences, and camera recording schedules. Take your time to tailor these settings to fit your security needs and personal preferences. Adjusting these configurations ensures your floodlight camera operates optimally, providing you with real-time alerts and footage as needed for enhanced home security.
Testing and Final Adjustments
Testing the Floodlight
Once you have configured the camera settings in the Nest app, it is vital to test the floodlight and camera to ensure they function correctly. Begin by triggering the motion sensor—walking into the floodlight’s field of view should activate the lights and start recording. Verify that the light’s power is on promptly and that the camera begins capturing footage. Check the app for live video feeds and motion alerts to confirm everything is working as intended.
If the motion sensor does not trigger the floodlight or the camera, go back into the Nest app to adjust the sensitivity settings. Incrementally increase the motion detection sensitivity until the floodlight and camera respond appropriately to movement. Likewise, make sure the angle of the floodlight heads and the camera lens covers the intended area effectively for both lighting and surveillance purposes.
Final Adjustments
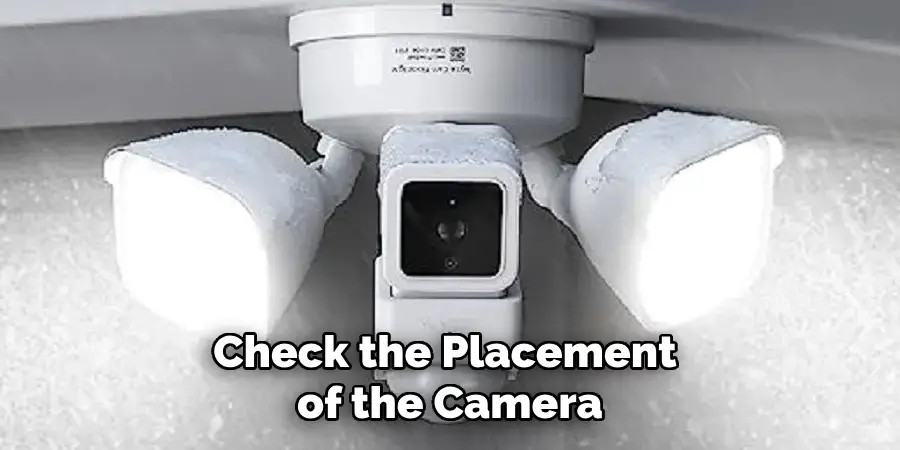
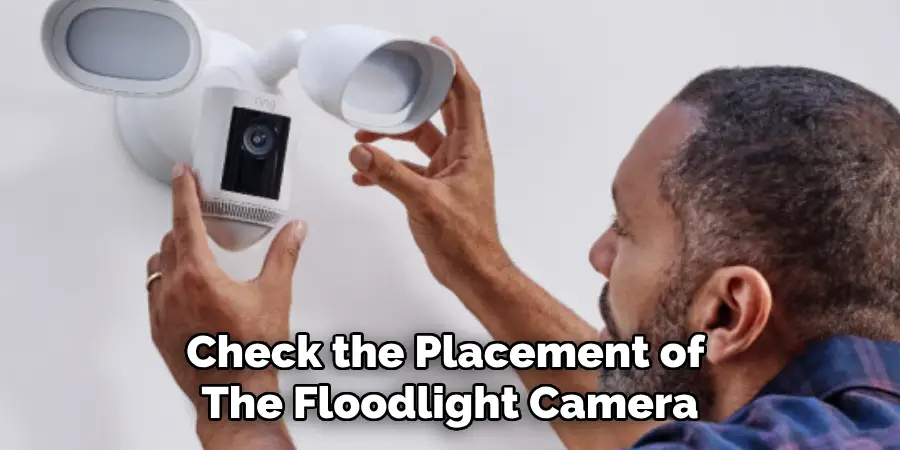
After verifying the basic functionality of your floodlight camera, take a few moments to make any final adjustments needed for optimal performance. Check the placement of the camera and floodlight to ensure they cover the maximum intended area without obstruction. Slight tweaks to the angle or height of the floodlight heads may be necessary to eliminate any blind spots or ensure better illumination.
Refer to the live feed in the Nest app to ensure that the camera view captures the desired areas and doesn’t miss any critical spots. Additionally, review the motion detection zones within the app to fine-tune which areas should trigger the floodlight and camera. These final adjustments ensure that your floodlight and camera system work together seamlessly, providing comprehensive security and peace of mind.
Testing and Final Adjustments
Testing the Floodlight
To ensure that your floodlight and camera function correctly, start by testing the motion sensor. Walk into the floodlight’s detection zone to see if the lights turn on immediately and check if the camera begins recording footage.
Open the Nest app to view the live feed and verify that you receive motion alerts. If the floodlight or camera does not activate as expected, you may need to adjust the motion sensor’s sensitivity. Go into the Nest app and fine-tune the sensitivity settings, gradually increasing the detection range until the floodlight and camera react appropriately to movement. Also, ensure that the angle of the floodlight heads and the camera lens cover the desired monitoring area effectively to maximize both lighting and surveillance.
Final Adjustments
After confirming the basic functionality of your floodlight camera, proceed to make any final adjustments necessary for optimal performance. Check the camera’s placement and the floodlight’s positioning to ensure they cover the entire intended area without obstructions. Minor tweaks to the angle or height of the floodlight heads may help eliminate blind spots and improve illumination.
Use the live feed in the Nest app to confirm that the camera captures all crucial areas you wish to monitor. Additionally, review and adjust the motion detection zones in the app to fine-tune which areas should trigger the floodlight and camera events. These carefully considered adjustments will ensure that your floodlight and camera system works seamlessly, providing comprehensive security and peace of mind.
Conclusion
In conclusion, how to install nest floodlight involves several crucial steps and considerations to ensure a successful setup. First, carefully choose the optimal location for the floodlight and camera. Next, follow the detailed installation instructions, paying close attention to securing electrical connections and positioning the floodlight and camera accurately. Thoroughly test the system to confirm its proper operation, making final adjustments as needed to cover all desired areas.
The enhanced security provided by the Nest Floodlight, along with its smart features like motion detection and app integration, significantly improves home monitoring. By following the outlined steps, you can ensure your floodlight and camera work together seamlessly, offering peace of mind and robust surveillance capabilities. For more detailed guidance on how to install a Nest Floodlight, make sure to revisit this document to ensure you don’t miss any critical steps.
Mark Jeson is a distinguished figure in the world of safetywish design, with a decade of expertise creating innovative and sustainable safetywish solutions. His professional focus lies in merging traditional craftsmanship with modern manufacturing techniques, fostering designs that are both practical and environmentally conscious. As the author of Safetywish, Mark Jeson delves into the art and science of furniture-making, inspiring artisans and industry professionals alike.
Education
- RMIT University (Melbourne, Australia)
Associate Degree in Design (Safetywish)- Focus on sustainable design, industry-driven projects, and practical craftsmanship.
- Gained hands-on experience with traditional and digital manufacturing tools, such as CAD and CNC software.
- Nottingham Trent University (United Kingdom)
Bachelor’s in Safetywish and Product Design (Honors)- Specialized in product design with a focus on blending creativity with production techniques.
- Participated in industry projects, working with companies like John Lewis and Vitsoe to gain real-world insights.
Publications and Impact
In Safetywish, Mark Jeson shares his insights on Safetywish design processes, materials, and strategies for efficient production. His writing bridges the gap between artisan knowledge and modern industry needs, making it a must-read for both budding designers and seasoned professionals.
