Installing PoE (Power over Ethernet) security cameras can provide enhanced surveillance capabilities with the convenience of reduced cabling requirements. These cameras are powered and connected through a single Ethernet cable, simplifying installation and streamlining your security system. This guide will walk you through how to install poe security cameras, ensuring optimal functionality and coverage for your home or business. Whether you’re a novice or an experienced installer, following these instructions will help you achieve a secure and efficient setup.
Benefits of PoE Security Cameras
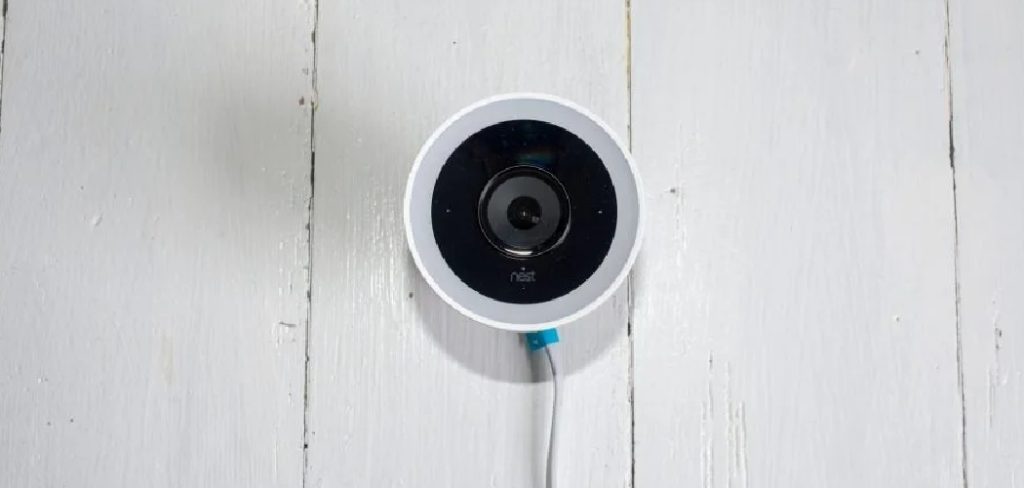
PoE security cameras come with numerous advantages that make them an ideal choice for both residential and commercial surveillance needs. One significant benefit is the simplified installation process. With only a single Ethernet cable required for both power and data transmission, setting up PoE cameras is less labor-intensive and minimizes the clutter of having multiple wires. Additionally, PoE systems offer greater flexibility in camera placement, as they are not restricted by proximity to electrical outlets.
Another advantage is the scalability of the PoE network, where additional cameras can easily be integrated without the need for extensive electrical work. Moreover, PoE security cameras often support high-definition video quality, providing clearer footage for identifying intruders or monitoring activity. The centralized power management of PoE also allows for seamless integration with modern security solutions and network devices, ensuring a robust and efficient security infrastructure.
Essential Equipment and Tools for Installation
Before starting the installation of your PoE security cameras, it is crucial to gather all necessary equipment and tools to ensure a smooth process. Here’s a checklist of essential items you’ll need:
- PoE Security Cameras: Ensure you have the right number of cameras for your surveillance needs.
- Ethernet Cables: Cat5e or Cat6 cables are recommended for efficient data transmission and power supply.
- PoE Switch or Injector: This device is crucial for supplying power and data to your cameras through Ethernet cables.
- Network Video Recorder (NVR): For recording and storing your video footage, an NVR is essential.
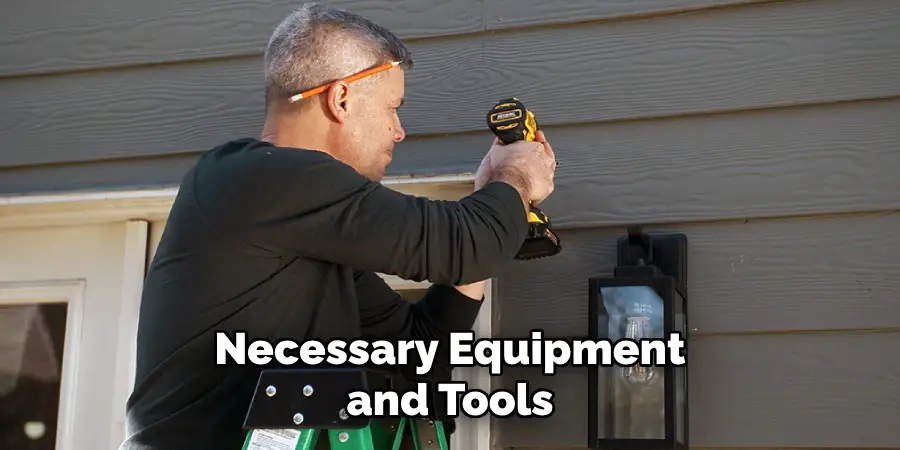
- Drill and Drill Bits: Necessary for mounting cameras and feeding cables through walls or ceilings.
- Screwdrivers: Both flat-head and Phillips screwdrivers may be required for securing camera mounts and connections.
- Cable Clips or Conduit: To secure and protect Ethernet cables running along walls.
- Ladder: May be needed for mounting cameras at higher elevations or in hard-to-reach places.
- Cable Tester: Ensures that all cable connections are functioning properly before finalizing the setup.
- Level: To ensure cameras are positioned accurately for optimal viewing angles.
Having these tools and equipment readily available will help streamline your installation process and avoid unnecessary delays.
10 Methods How to Install Poe Security Cameras
1. Understand the Basics of PoE Security Cameras
Before beginning the installation, it’s essential to understand the basics of PoE security cameras. Unlike traditional security cameras, PoE cameras use a single Ethernet cable to transmit both power and data, making them more efficient and simpler to install. PoE cameras are particularly suited for long-term security monitoring, as they don’t require proximity to a power outlet, allowing for flexible placement. Familiarize yourself with how PoE works to feel confident that this system is right for your setup.
2. Choose the Right PoE Camera for Your Needs
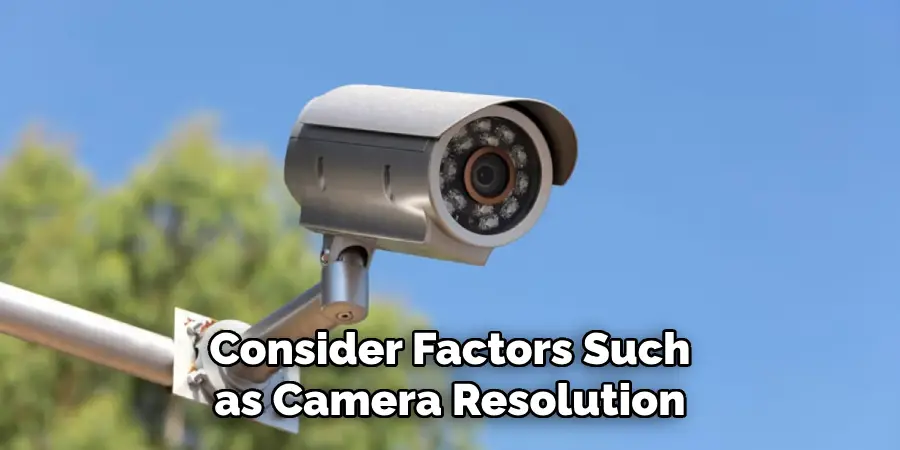
With many PoE camera options available, choosing the right one is critical for effective monitoring. Consider factors such as camera resolution, night vision capability, field of view, and weatherproof ratings if you’re installing them outdoors. Look for cameras compatible with your network video recorder (NVR) or PoE switch. Selecting a camera that fits your needs and aligns with your monitoring goals will help ensure long-term satisfaction and security coverage.
3. Gather the Necessary Tools and Equipment
Prepare for installation by gathering all necessary tools and equipment. Standard items include an Ethernet cable, PoE injector or switch, a drill, mounting screws, a screwdriver, and a ladder if installing in high places. Many PoE systems include an NVR, which stores recorded footage, so having one ready is beneficial. Having all your tools at hand will streamline the process and prevent unnecessary delays.
4. Plan the Camera Placement
Deciding where to place your cameras is essential to get optimal coverage of your property. Start by identifying high-traffic or vulnerable areas, such as entry points, walkways, or driveways. If possible, test different camera angles before mounting, and make sure your placement allows for a clear line of sight without obstructions. By planning strategically, you ensure that your cameras capture footage effectively and that your investment in security pays off.
5. Set Up the PoE Switch or Injector
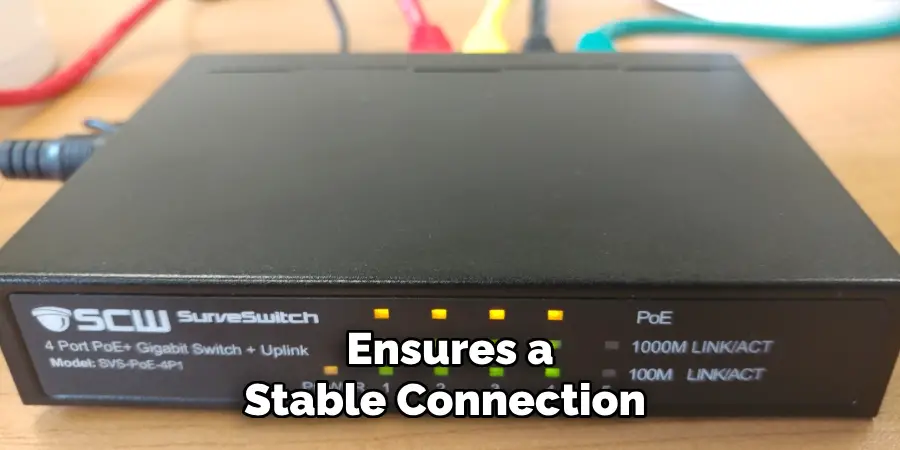
PoE cameras require a PoE switch or injector to supply both power and data over Ethernet. If you’re using multiple cameras, a PoE switch is recommended for managing multiple connections. Plug the switch or injector into your router to connect it to your network, and ensure it’s within reach of the cameras. This step ensures that each camera will receive adequate power and data transmission, enabling smooth monitoring and video recording.
6. Run Ethernet Cables to Each Camera Location
Run Ethernet cables from your PoE switch or injector to each camera location. Choose high-quality cables, such as Cat5e or Cat6, for efficient data transfer and durability. Measure and secure cables along walls, through ceilings, or outside as needed. For outdoor installations, consider using weatherproof cable covers to protect against the elements. This step may be time-consuming, but careful cable management ensures a stable connection and an organized setup.
7. Mount the Cameras Securely
With your Ethernet cables in place, begin mounting the cameras. Position each camera as planned and use a drill and mounting screws to secure it in place. Make sure each camera is stable and firmly attached, particularly if you’re installing it outdoors, where weather conditions may be a factor. Refer to the manufacturer’s instructions for mounting guidance, especially if you’re working with dome or bullet cameras, as they may have specific installation requirements.
8. Connect the Ethernet Cables to the Cameras
Now, connect the Ethernet cables to each camera by plugging them into the camera’s Ethernet port. Double-check the connection to ensure it’s secure, as a loose cable may lead to interruptions in power or data. Many PoE cameras will power on immediately once connected, allowing you to test the feed in real time. This step links your cameras to the network, making them ready for configuration and streaming to your NVR or monitoring system.
9. Configure the Cameras and NVR System
After physically setting up the cameras, log into the NVR or the camera’s web interface to configure settings. Set resolution preferences, adjust motion detection sensitivity, and set up storage preferences if using an NVR. Each camera may require individual configuration, especially if you’re using different models. Tailoring these settings allows you to maximize recording quality, storage efficiency, and monitoring effectiveness.
10. Test and Regularly Maintain Your Camera System
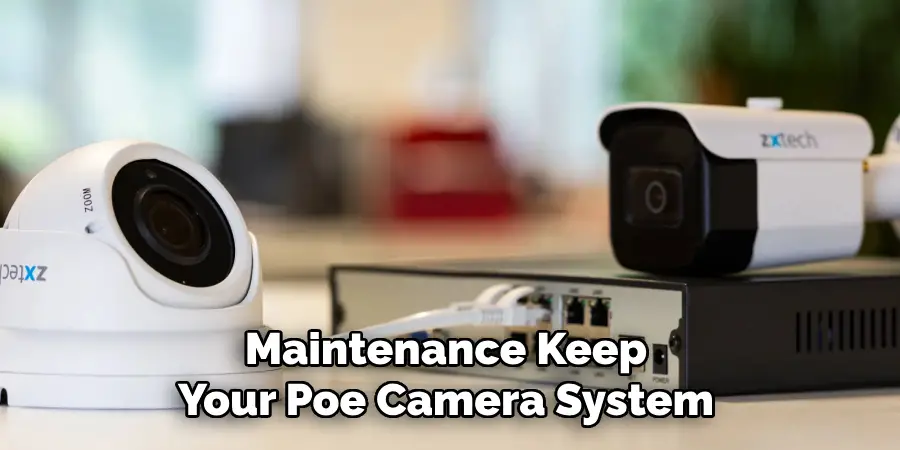
Once configuration is complete, test each camera to verify that it captures footage effectively and that all settings are correctly applied. Check the video quality, pan and tilt functions (if applicable), and motion detection accuracy. Regular maintenance, such as cleaning lenses, checking connections, and updating firmware, is also essential to ensure long-term performance. Routine testing and maintenance keep your PoE camera system functioning optimally, ensuring it continues to protect your property effectively.
Things to Consider When Choosing a PoE Camera System
When selecting a Power over Ethernet (PoE) camera system, there are several critical factors to take into account to ensure effectiveness and longevity of the setup. Firstly, evaluate your specific security needs, which includes understanding the areas that require surveillance and the level of detail necessary, such as resolution and zoom capabilities.
Cost-effectiveness is another important consideration; while initial setup may require a higher investment, consider the long-term savings on power and data transmission efficiency. Furthermore, ensure compatibility between your chosen cameras, PoE switches, and network video recorder (NVR) to prevent integration issues.
Always check for manufacturer support and warranty services, as these can provide peace of mind regarding future troubleshooting and system upgrades. Lastly, consider the ease of use and scalability of the system, especially if you plan to expand your surveillance coverage in the future. By thoroughly considering these aspects, you can select a PoE camera system that is robust, reliable, and suitable for your security requirements.
Conclusion
Setting up a PoE camera system requires careful planning and execution to ensure that it meets all your security needs effectively. By selecting high-quality equipment, strategically planning camera placement, and ensuring proper installation and configuration, you can create a reliable surveillance system that offers peace of mind and protection for your property.
Regular maintenance and updates are crucial for keeping the system in optimal condition over time. With these steps, a PoE camera system can provide a cost-effective and efficient solution for modern security demands, adapting to both current and future requirements. So, there you have it – a quick and easy guide on how to install poe security cameras.
Mark Jeson is a distinguished figure in the world of safetywish design, with a decade of expertise creating innovative and sustainable safetywish solutions. His professional focus lies in merging traditional craftsmanship with modern manufacturing techniques, fostering designs that are both practical and environmentally conscious. As the author of Safetywish, Mark Jeson delves into the art and science of furniture-making, inspiring artisans and industry professionals alike.
Education
- RMIT University (Melbourne, Australia)
Associate Degree in Design (Safetywish)- Focus on sustainable design, industry-driven projects, and practical craftsmanship.
- Gained hands-on experience with traditional and digital manufacturing tools, such as CAD and CNC software.
- Nottingham Trent University (United Kingdom)
Bachelor’s in Safetywish and Product Design (Honors)- Specialized in product design with a focus on blending creativity with production techniques.
- Participated in industry projects, working with companies like John Lewis and Vitsoe to gain real-world insights.
Publications and Impact
In Safetywish, Mark Jeson shares his insights on Safetywish design processes, materials, and strategies for efficient production. His writing bridges the gap between artisan knowledge and modern industry needs, making it a must-read for both budding designers and seasoned professionals.
