Are you looking to buy and install a Ring Indoor Camera for your home or office? Look no further! This guide will walk you through the process of installing your new Ring Indoor Camera step-by-step.
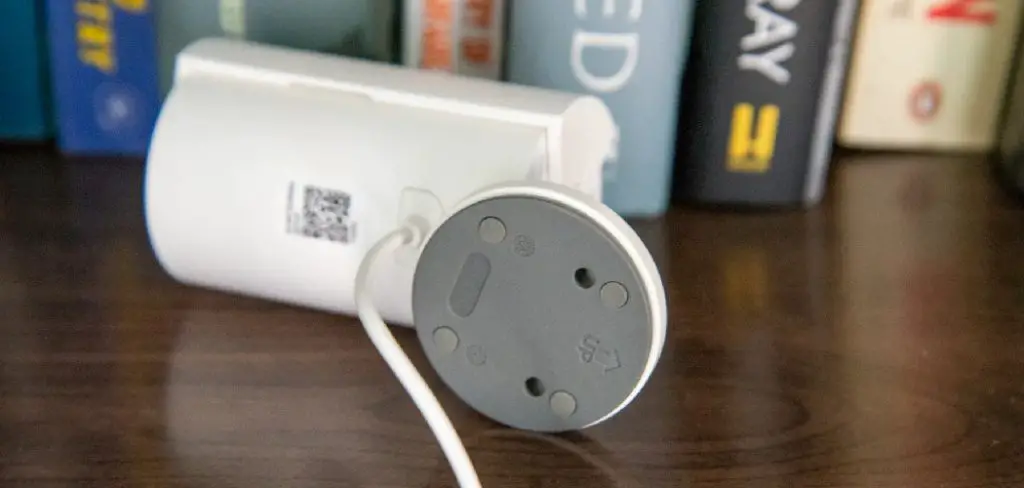
How to install Ring Indoor Camera is a straightforward process that enhances the security and surveillance capabilities of your home. Whether you’re setting it up for the first time or adding it to an existing network of smart home devices, this guide will walk you through each step to ensure a hassle-free installation.
With just a few simple tools and the Ring app, you can easily set up your indoor camera to monitor your living space, ensuring peace of mind whether you’re at home or away. Let’s explore the essential steps to get your Ring Indoor Camera up and running efficiently.
What Will You Need?
Before we dive into the installation process, let’s make sure you have all the necessary tools and equipment:
- A Ring Indoor Camera
- An iOS or Android device with the latest version of the Ring app installed
- A strong Wi-Fi connection
- A power outlet near where you plan to install the camera
- A Phillips head screwdriver (if planning to mount the camera on a wall or ceiling)
Make sure your device is fully charged before starting the installation process. It’s also recommended to read through the user manual with your Ring Indoor Camera for additional instructions or safety precautions.
10 Easy Steps on How to Install Ring Indoor Camera:
Step 1: Download and Set Up the Ring App
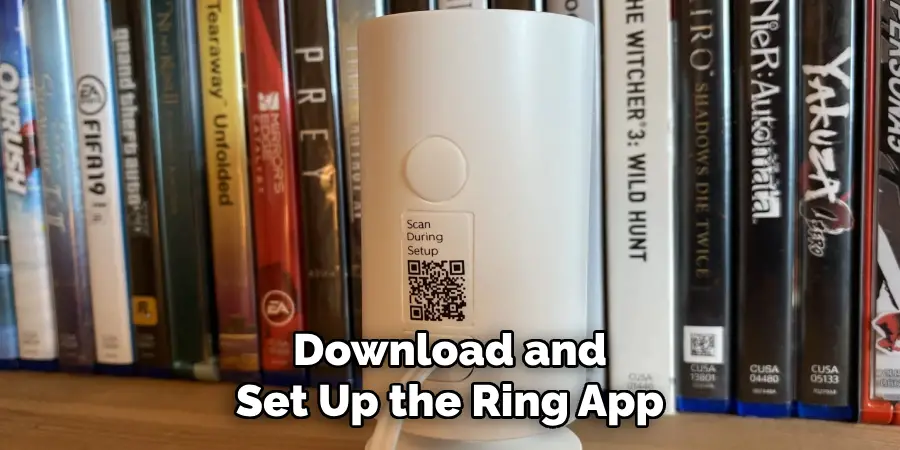
The first step in the installation process is downloading and setting up the Ring app on your mobile device. The app is available for free on both the App Store for iOS devices and Google Play Store for Android devices. Simply search for “Ring” and download the app to your smartphone or tablet. Once installation is complete, open the app and create an account if you’re a new user or log in to your existing account.
Follow the on-screen prompts to confirm your email address and set up your profile. This app will be the central hub for managing your Ring devices, allowing you to customize settings, adjust notifications, and view live or recorded footage from your camera. Ensure that your device has a stable internet connection during this setup process to avoid any interruptions.
Step 2: Connect Your Ring Indoor Camera to Power
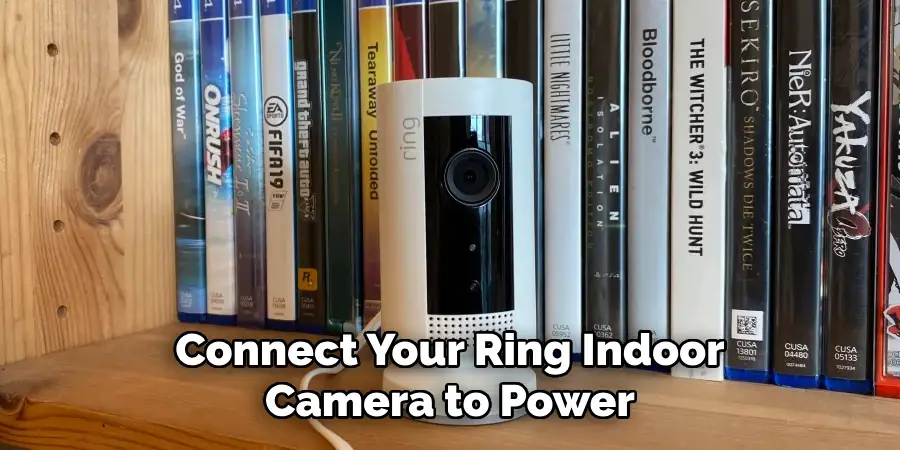
Once you have the app on your device, the next step is to connect your Ring Indoor Camera to a power source. Locate a nearby power outlet and plug the camera’s power adapter into it. Then, connect the other end to the camera. You should see a light on your camera indicating that it has power. Give the camera a moment to start up. If mounting the camera on a wall or ceiling, ensure that the power adapter cable can reach from the outlet to the desired mounting location without being strained or creating a tripping hazard.
Step 3: Connect to Your Wi-Fi Network
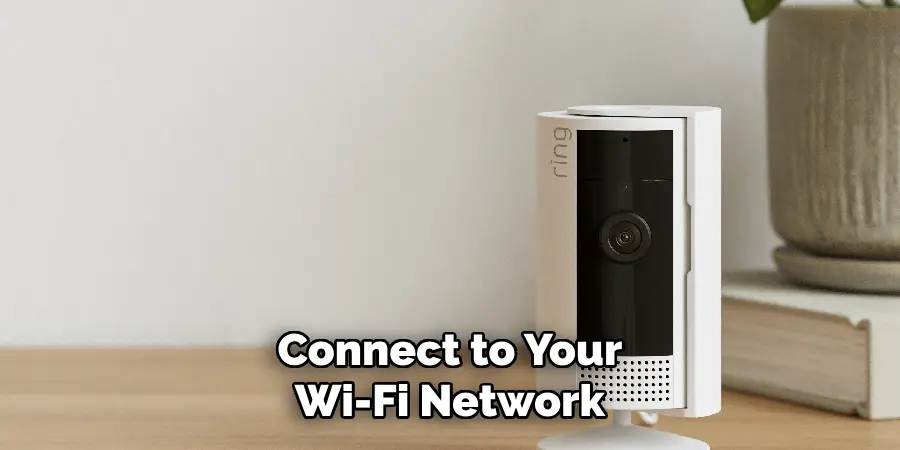
Now that your Ring Indoor Camera is powered on, it’s time to connect it to your Wi-Fi network. Open the Ring app on your mobile device and navigate to the “Set Up a Device” option. Select the “Security Cams” section and choose your Ring Indoor Camera from the list. The app will guide you through connecting the camera to your Wi-Fi network. Ensure you have your Wi-Fi password handy, as you must enter it during this process. Follow the on-screen instructions to complete the connection. Once connected, you will receive a confirmation message in the app, and your camera will be ready for further customization and use.
Step 4: Mount the Camera (Optional)
If you prefer to mount your Ring Indoor Camera on a wall or ceiling, you can do so with the included mounting bracket and screws. First, decide on the desired location, ensuring that it provides a clear view of the area you’d like to monitor. Using a Phillip’s head screwdriver, attach the mounting bracket to the selected surface by screwing it into place. Make sure the bracket is secure and aligned correctly.
Once the bracket is mounted, attach your camera to it by snapping it into place or using the built-in mounting holes for a more secure fit. Ensure the camera’s angle is adjusted to your preference, capturing the best possible view. If mounting isn’t necessary or desired, you can also place the camera on a flat surface such as a shelf or table. Adjust the camera’s positioning as needed to fit your surveillance needs.
Step 5: Customize Your Camera Settings
With your Ring Indoor Camera connected and possibly mounted, the next step is to customize the camera’s settings for optimal use. Open the Ring app and navigate to your device’s settings. Here, you can adjust preferences, such as motion detection sensitivity, notification frequency, and video recording length, to suit your specific needs.
You can also explore options like enabling two-way audio, setting up privacy zones to block out areas within the camera’s view, and adjusting night vision settings to ensure clear footage in low-light conditions. Take time to explore the app and familiarize yourself with the features available, as this will maximize the utility and effectiveness of your Ring Indoor Camera.
Step 6: Test the Camera
After setting up and customizing your Ring Indoor Camera, it’s essential to test its functionality to ensure everything works correctly. Use the Ring app to access the live view and verify that the camera is streaming a clear image. Check that motion detection functions by moving within the camera’s field of view and ensuring you receive the appropriate notifications on your device.
Test the two-way audio feature by speaking through the app and confirming that your voice is audible near the camera. Additionally, confirm that video recordings are saved correctly by reviewing the footage in the app’s history section. If any issues arise during testing, consult the in-app help section or Ring’s support website for troubleshooting tips.
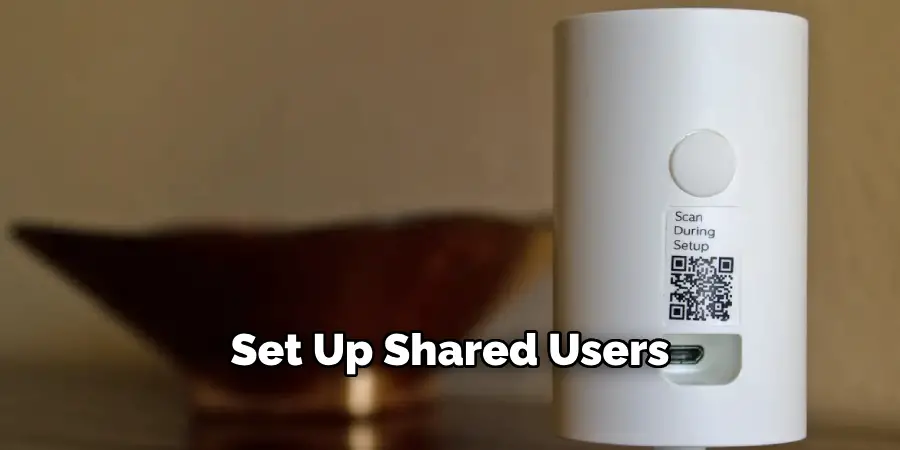
Step 7: Set Up Shared Users
Once you have verified that your Ring Indoor Camera is functioning correctly, consider setting up shared users to allow other members of your household access to the camera. Through the Ring app, navigate to the device settings for your camera and select the “Shared Users” option. Here, you can add the email addresses of the individuals you wish to have access.
These users will then receive an invitation to join your Ring account. Depending on the permissions you set, they will be able to view live footage, receive notifications, and review recordings. This feature helps enhance security by ensuring that trusted household members can monitor the camera and respond to any necessary alerts.
Step 8: Review and Update Camera Firmware
Regularly review and update its firmware to ensure your Ring Indoor Camera remains secure and functions optimally. Firmware updates often include critical security enhancements, bug fixes, and new feature additions. You can check for an update by opening the Ring app and navigating to your camera’s settings. The app will prompt you to initiate the process if an update is needed.
Ensure your camera is connected to a strong Wi-Fi network and plugged into power before starting the update, as interruptions could cause issues. Regularly updating the firmware helps maintain the performance and security of your device, providing peace of mind in your home surveillance setup.
Step 9: Monitor and Maintain Your Camera
Continuous monitoring and maintenance are essential to ensure your Ring Indoor Camera operates efficiently and keeps your home secure. Regularly check the camera’s video feed through the Ring app to ensure it’s capturing the desired views and that the image quality remains clear. Inspect the physical components of the camera for any signs of wear or damage, especially if the camera is mounted outdoors or in areas subject to environmental exposure.
Clean the camera lens periodically to remove dust, smudges, or debris that could obscure the video feed. Furthermore, review your camera settings and alert preferences every few months to confirm they still meet your current security needs. By monitoring your camera’s performance and making adjustments as needed, you can rely on its continued effectiveness as part of your home security system.
Step 10: Integrate with Other Smart Home Devices
Enhance the functionality of your Ring Indoor Camera by integrating it with other smart home devices. In the Ring app, explore the options for connecting your camera with platforms such as Amazon Alexa, Google Assistant, or IFTTT (If This Then That) to create a more interconnected home security system. For instance, you can use voice commands to view the live feed on compatible devices or automate routines such as turning on intelligent lights when the camera detects motion. These integrations can help tailor your home security to fit your lifestyle while providing additional convenience and control over your home environment.
Following these steps, you can effectively set up and utilize your Ring Indoor Camera for enhanced home security.
Conclusion
In conclusion, how to install Ring Indoor Camera involves a straightforward process that empowers you to enhance your home security effectively.
By carefully following each step, from selecting the optimal placement and connecting the device to Wi-Fi to customizing settings and testing functionality, you ensure the camera is set up correctly and meets your specific surveillance needs. Subsequently, setting up shared users, regular firmware updates and potential integration with other smart home devices enrich the camera’s utility, offering flexibility and peace of mind.
Regular maintenance and monitoring further guarantee the indoor camera’s operational efficiency, securing your living space with minimal effort.
