Ensuring the security of your home or business is a top priority, and installing a wireless security camera is an effective way to enhance your surveillance system. Wireless cameras offer the flexibility of easy installation without the need for complex wiring, making them a popular choice for many property owners.

This guide will walk you through how to install security camera wireless, covering everything from choosing the right location to connecting the device to your network. Whether you’re a tech-savvy individual or a complete beginner, following these instructions will help you set up your security camera quickly and efficiently, ensuring peace of mind with enhanced home security.
Benefits of DIY Installation
Opting for a DIY installation of a wireless security camera offers several benefits that can be appealing to many users. Firstly, it can significantly reduce costs, as hiring professional installers can be relatively expensive. By taking on the installation yourself, you only need to invest in the camera and possibly some basic tools, without needing to cover labor fees. Secondly, DIY installation allows for flexibility and customization, giving you full control over the placement and setup of your camera to suit your specific needs and preferences.
Additionally, engaging in the installation process enhances your understanding of the device, enabling you to troubleshoot minor issues independently in the future. Lastly, the satisfaction of completing a DIY project can be rewarding, offering a sense of accomplishment while ensuring the security of your home or business.

Choosing the Right Wireless Security Camera
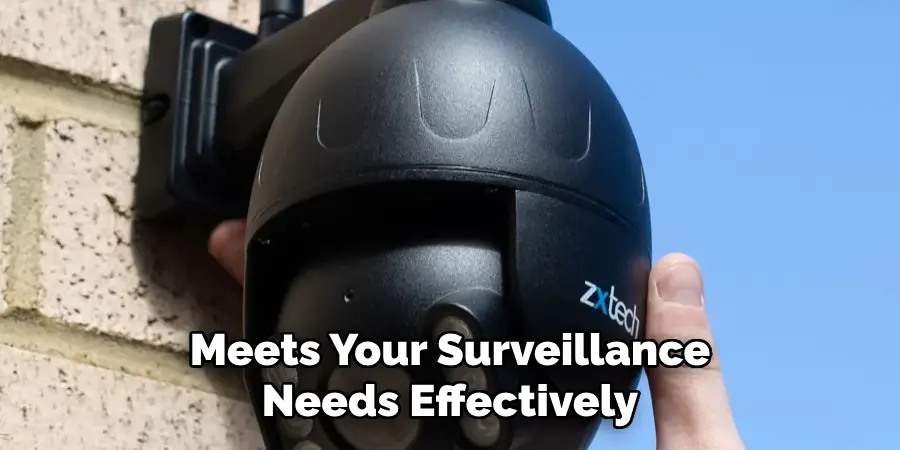
Selecting the right wireless security camera is crucial to ensure it meets your surveillance needs effectively. Start by assessing the primary areas you want to monitor, as this influences the type and number of cameras required. Consider the camera’s resolution—higher resolution cameras offer clearer images, making it easier to identify details. Evaluate the camera’s field of view to determine how much area it can cover; a wide-angle lens may reduce the number of cameras needed. Night vision capabilities are essential for monitoring in low-light conditions, so ensure the camera offers sufficient night-time coverage.
Additionally, check for features like motion detection, two-way audio, and app compatibility for remote access. Finally, consider the camera’s power source—battery-operated cameras provide installation flexibility, while AC-powered options may offer constant recording without the need for frequent recharging. By carefully examining these factors, you can choose a wireless security camera that provides reliable and comprehensive coverage for your property.

10 Methods How to Install Security Camera Wireless
1. Select the Right Location for the Camera
The first step in installing a wireless security camera is to choose the ideal location. Consider areas where surveillance is most critical, such as entry points, driveways, or backyards. Ensure that the camera’s view is unobstructed and that it can capture the intended area effectively. A height of at least eight to ten feet is typically recommended to prevent tampering while still allowing for clear visibility. Additionally, avoid placing the camera in areas where it could be easily blocked by foliage or other obstacles, as this could hinder its ability to monitor the desired space.
2. Check Wi-Fi Connectivity and Camera Compatibility
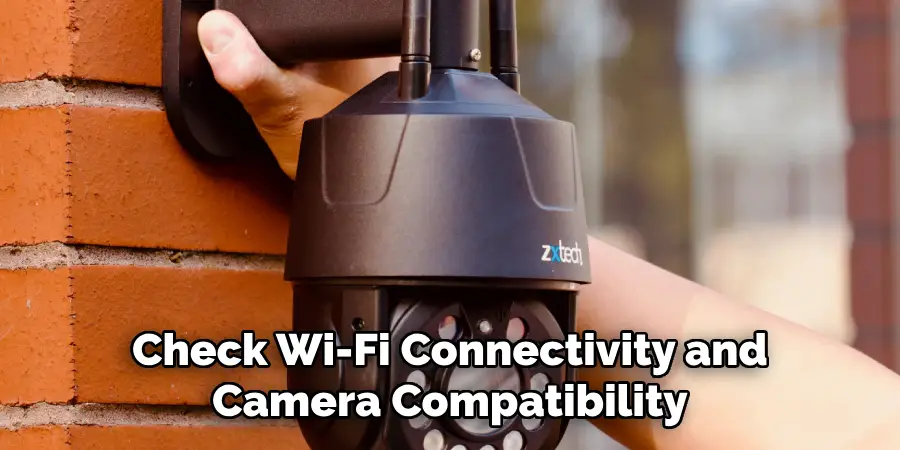
Before proceeding with the installation, ensure that your wireless security camera is compatible with your home’s Wi-Fi network. Most wireless cameras operate on either the 2.4 GHz or 5 GHz frequency bands. It’s essential to check the camera’s specifications to determine which band it uses and ensure that your Wi-Fi signal is strong in the intended installation area. Using a Wi-Fi extender can help enhance signal strength if the camera is located far from the router. A reliable Wi-Fi connection is crucial for streaming video feeds without interruptions.

3. Gather Necessary Tools and Materials
To install the wireless security camera, gather all the necessary tools and materials before starting the installation process. Typically, you will need a drill, screws, anchors (if mounting on drywall), a screwdriver, a level, and possibly a ladder, depending on the camera’s placement. Having these tools ready will streamline the installation process and help avoid interruptions. Additionally, consult the camera’s user manual for any specific tools or mounting hardware recommended by the manufacturer.
4. Mount the Camera Bracket
Once you have selected the installation location and gathered your tools, it’s time to mount the camera bracket. Start by holding the bracket against the wall and marking the screw holes with a pencil. Use a level to ensure the bracket is straight before drilling holes for the screws. If mounting on drywall, use anchors to provide additional support. After drilling the holes, attach the bracket securely to the wall, ensuring it can hold the camera’s weight. Some cameras come with a base that allows for tilt and swivel, so ensure that the bracket is installed at the correct angle for optimal coverage.
5. Connect the Camera to Power
Most wireless security cameras require a power source, even if they transmit video wirelessly. If your camera is battery-operated, ensure that the batteries are charged and inserted properly. For cameras that plug into an electrical outlet, use the provided power cable to connect it to a nearby outlet. Concealing the power cable can enhance the camera’s aesthetics and prevent tampering. If the camera is located in a spot without easy access to a power outlet, consider using extension cords or outdoor-rated power cables to reach the nearest source.
6. Sync the Camera with Your Wi-Fi Network
After physically mounting the camera and providing power, the next step is to sync it with your Wi-Fi network. Most wireless cameras come with an accompanying app that guides users through the setup process. Download the app on your smartphone or tablet and create an account if necessary. Follow the app’s instructions to connect the camera to your Wi-Fi network. This process typically involves scanning a QR code or entering your Wi-Fi credentials. Make sure to position the camera within range of your router during the initial setup to ensure a strong connection.

7. Adjust Camera Settings Through the App
Once the camera is connected to your Wi-Fi network, use the app to adjust the camera settings according to your preferences. This may include configuring motion detection sensitivity, setting up alerts, and adjusting video resolution. Many apps also allow you to set up recording schedules, ensuring that the camera only records during specific times. Familiarizing yourself with the app’s features will help you make the most of your camera’s capabilities, ensuring that it functions optimally for your security needs.
8. Test the Camera’s Field of View
After adjusting the settings, it’s essential to test the camera’s field of view to ensure it captures the intended area. Access the live feed through the app to check the camera’s angle and visibility. Adjust the camera’s position if necessary to eliminate any blind spots and ensure comprehensive coverage. Pay attention to areas where movement may occur, such as walkways or entrances. Testing the camera’s view also provides an opportunity to fine-tune settings like night vision, ensuring the camera performs well in varying light conditions.
9. Secure the Camera and Cables
Once you are satisfied with the camera’s position and settings, secure all cables and connections. If the camera is powered via a cable, use cable clips to secure the wire along the wall, keeping it out of sight and preventing tripping hazards. This also minimizes the risk of tampering or accidental disconnection. Ensure that all connections are tight and that the camera is securely mounted to avoid any movement or displacement over time. A well-secured camera not only improves security but also enhances the overall appearance of your installation.
10. Regularly Maintain and Update Your Camera
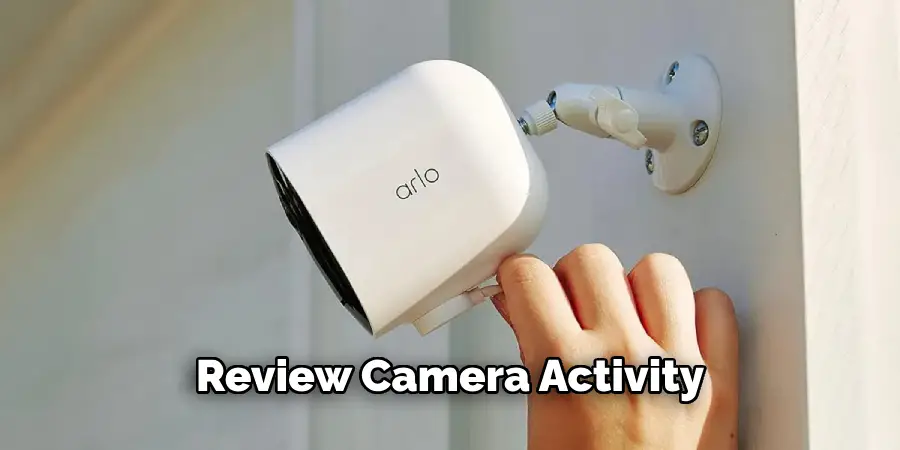
The final step in the installation process is to maintain your wireless security camera for optimal performance. Regularly check for software updates through the app, as manufacturers frequently release updates that enhance functionality and security. Periodically clean the camera lens to remove dust or debris that could obstruct the view, and check the battery or power connections to ensure everything is functioning properly. By staying proactive about maintenance, you can prolong the life of your camera and ensure that it continues to provide reliable surveillance.
Conclusion
Installing a wireless security camera is a manageable process that significantly enhances home security. By following a structured approach, from selecting an optimal installation location to securing the camera and maintaining it regularly, homeowners can establish a reliable surveillance system. Ensuring that the camera is properly powered, connected to a stable Wi-Fi network, and configured through the app are crucial steps for effective operation. Regular maintenance, including software updates and lens cleaning, helps ensure the camera’s longevity and performance. So, there you have it – a quick and easy guide on how to install security camera wireless.
Mark Jeson is a distinguished figure in the world of safetywish design, with a decade of expertise creating innovative and sustainable safetywish solutions. His professional focus lies in merging traditional craftsmanship with modern manufacturing techniques, fostering designs that are both practical and environmentally conscious. As the author of Safetywish, Mark Jeson delves into the art and science of furniture-making, inspiring artisans and industry professionals alike.
Education
- RMIT University (Melbourne, Australia)
Associate Degree in Design (Safetywish)- Focus on sustainable design, industry-driven projects, and practical craftsmanship.
- Gained hands-on experience with traditional and digital manufacturing tools, such as CAD and CNC software.
- Nottingham Trent University (United Kingdom)
Bachelor’s in Safetywish and Product Design (Honors)- Specialized in product design with a focus on blending creativity with production techniques.
- Participated in industry projects, working with companies like John Lewis and Vitsoe to gain real-world insights.
Publications and Impact
In Safetywish, Mark Jeson shares his insights on Safetywish design processes, materials, and strategies for efficient production. His writing bridges the gap between artisan knowledge and modern industry needs, making it a must-read for both budding designers and seasoned professionals.
