Installing security cameras outdoors can significantly enhance the safety and security of your property. With the rise in the availability and affordability of surveillance technology, more homeowners are opting to protect their homes with reliable security systems.
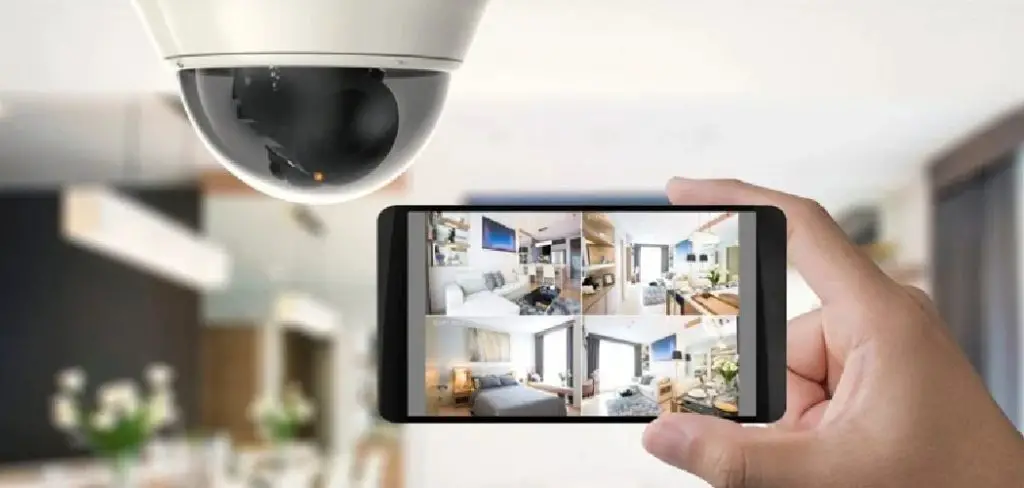
Outdoor cameras not only deter potential intruders but also offer peace of mind by allowing you to monitor activity around your home remotely. This guide will walk you through how to install security cameras outdoors, ensuring they are positioned and configured for optimal performance and coverage.
Importance of Outdoor Security Cameras
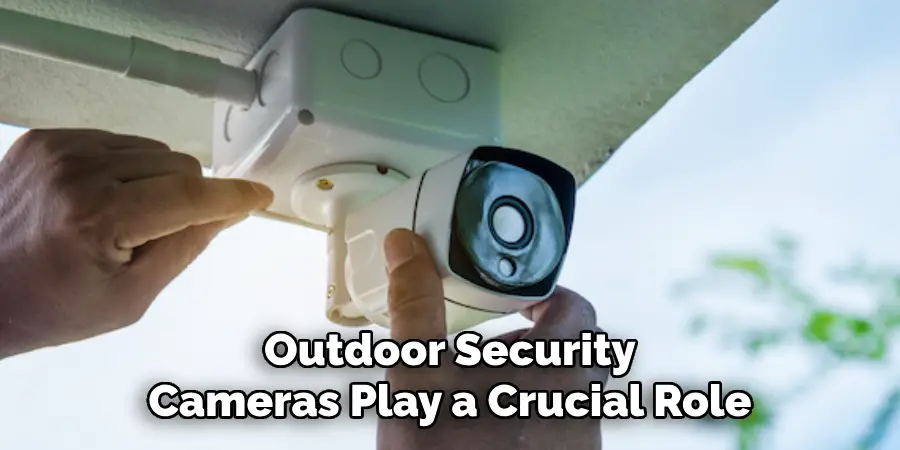
Outdoor security cameras play a crucial role in safeguarding your home against potential threats. These cameras act as a first line of defense by visibly deterring would-be intruders who might otherwise target your property. The presence of cameras alone can discourage criminal activity, reducing the likelihood of break-ins and vandalism.
Additionally, outdoor security cameras provide valuable evidence in the unfortunate event that a security breach occurs. High-definition video capture allows for clear identification of any individuals caught on film, aiding law enforcement in their investigations. Moreover, these cameras offer real-time monitoring capabilities, enabling homeowners to stay informed about the activities around their property through mobile alerts and live video feeds. This constant vigilance provides peace of mind, knowing that help is just a click away if needed.
Choosing the Right Outdoor Security Camera
Selecting the right outdoor security camera involves evaluating several key factors to ensure you are investing in a system that meets your specific needs. First, consider the camera’s video resolution; higher resolution cameras provide clearer images and are essential for identifying faces or license plates. Next, assess the camera’s field of view, which determines how much area the camera can cover. A wider field of view is beneficial for larger properties.
Additionally, evaluate the camera’s night vision capabilities to ensure effective monitoring in low-light conditions. Weather resistance is another critical aspect, as outdoor cameras must withstand various environmental conditions. Look for cameras with a high IP rating, indicating they are well-protected against dust and water ingress. Other features to consider include motion detection, two-way audio, and integration with smart home devices. By carefully considering these factors, you can choose an outdoor security camera that provides comprehensive protection for your property.
Types of Outdoor Security Cameras
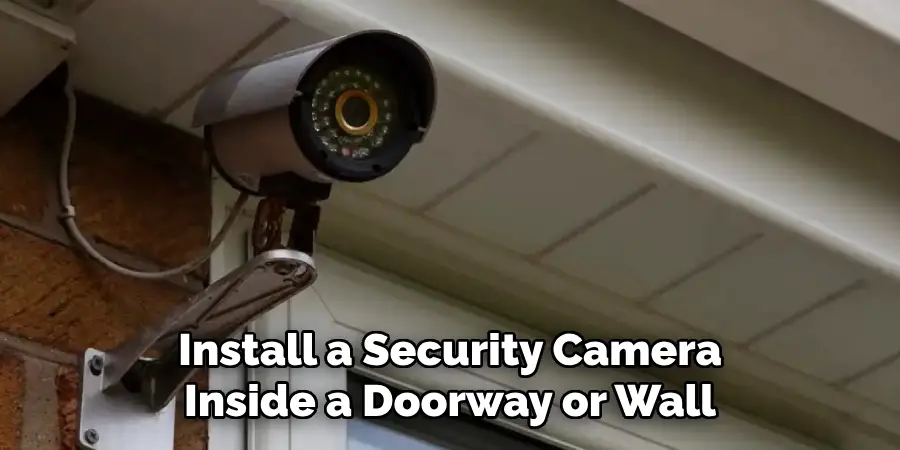
When it comes to choosing outdoor security cameras, there are several types to consider, each offering unique features suited to different security needs. Bullet cameras are perhaps the most recognizable type, characterized by their long, cylindrical shape.
These cameras are highly visible, making them effective deterrents, and are typically mounted on walls or poles. Dome cameras, on the other hand, are discreet and feature a dome-shaped housing that blends well with various environments. Their design allows them to offer a wider field of view, making them ideal for surveillance in larger areas. PTZ (Pan-Tilt-Zoom) cameras provide flexibility by allowing remote directional and zoom control, which is advantageous for monitoring large properties with the ability to focus on specific areas as needed. Another option is the wireless camera, which connects to the network via Wi-Fi, offering easy installation without extensive cabling.
Finally, solar-powered cameras are an eco-friendly choice for those looking to install security cameras in remote locations without access to power sources. By understanding the different types of outdoor security cameras, homeowners can select the best option that aligns with their property’s specific requirements and their personal security goals.
10 Methods How to Install Security Cameras Outdoors
1. Assess Your Property and Identify Vulnerable Areas
The first step in installing outdoor security cameras is to conduct a thorough assessment of your property. Identify areas that are vulnerable to intrusion, such as entry points, driveways, garages, and backyards. Consider factors like visibility, lighting, and potential blind spots where a camera may not capture activities effectively. Creating a detailed map of your property can help you visualize where cameras should be placed for maximum coverage. Additionally, think about the specific security needs you have—whether monitoring for theft, vandalism, or simply keeping an eye on pets—this will guide your camera placement decisions.
2. Choose the Right Cameras for Outdoor Use
Selecting the appropriate type of camera for outdoor installation is crucial for ensuring durability and performance. Look for cameras specifically designed for outdoor use, which are usually weatherproof and able to withstand various environmental conditions such as rain, wind, and temperature fluctuations. Consider features like resolution, night vision capabilities, and motion detection, as these will significantly impact the effectiveness of your surveillance. Additionally, you may want to choose cameras that offer a wide-angle lens for broader coverage or pan-and-tilt functionality for flexible viewing angles.
3. Gather Required Tools and Equipment
Before you begin the installation process, gather all the necessary tools and equipment to streamline your work. Common tools needed for this task include a drill, screwdriver, level, measuring tape, and possibly a ladder for higher placements. You will also need mounting hardware, such as screws and anchors, as well as any extension cables or power supplies for wired cameras. Ensuring you have everything on hand before starting will minimize interruptions and allow you to work efficiently.
4. Determine the Power Source and Wiring Needs
For wired cameras, determining the power source is essential before installation. Some outdoor cameras require a direct connection to an electrical outlet, while others can be powered via Power over Ethernet (PoE) cables. If your camera needs to be plugged into an outlet, ensure that there are accessible power sources nearby or plan for the installation of outdoor-rated extension cords. For PoE cameras, you’ll need to run a Cat5 or Cat6 cable from the camera to a PoE switch or injector. Be mindful of local codes and regulations when running wires, particularly if it involves burying cables or running them along walls.
5. Install the Camera Mounting Bracket
Once you’ve selected the appropriate locations for your cameras and have determined the power source, it’s time to install the mounting brackets. Hold the bracket against the wall or surface where the camera will be mounted, ensuring it’s level and positioned for the desired viewing angle. Mark the screw holes with a pencil, then drill holes in the marked locations. If mounting on brick or concrete, use masonry anchors to secure the bracket firmly. After drilling, attach the mounting bracket using screws and ensure it is secure and stable before proceeding to attach the camera itself.
6. Attach the Security Camera to the Mounting Bracket
With the bracket securely installed, the next step is to attach the camera itself. Follow the manufacturer’s instructions for mounting the camera onto the bracket, ensuring that it is fastened tightly. Adjust the camera angle to optimize the field of view, taking care to cover the areas identified during your initial property assessment. Most outdoor cameras offer a range of motion, allowing you to tilt or swivel them as needed. Take a moment to verify that the camera is pointed correctly before tightening any screws or clamps completely, as you may need to make slight adjustments during testing.
7. Connect the Camera to Power and Network
After the camera is securely mounted, connect it to the power source and network. For wired cameras, plug in the power cable and, if applicable, connect the Ethernet cable to the router or switch. For wireless cameras, follow the manufacturer’s instructions to connect the camera to your Wi-Fi network, which often involves using a mobile app or web interface to input your network credentials. Ensure that the camera has a strong and stable connection to avoid interruptions in video streaming. Testing the connection at this stage can save you time later, ensuring everything is functioning correctly.
8. Test the Camera’s Field of View and Adjust Settings
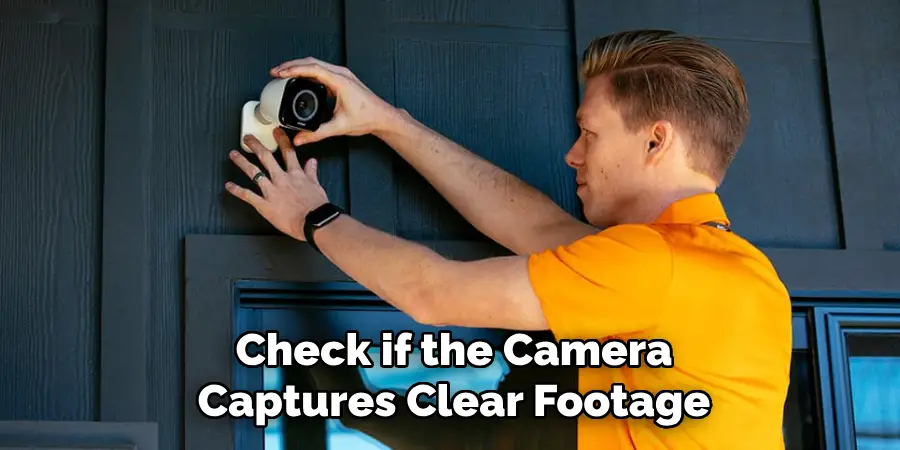
Once the camera is powered on and connected, access the live feed through the app or your network interface to test the camera’s field of view. Check for any obstructions and ensure the entire area you wish to monitor is visible. Adjust the camera angle if necessary, and take note of any blind spots that may need further coverage. This is also a good time to adjust the camera’s settings, such as motion detection sensitivity, recording schedules, and video quality. Familiarizing yourself with these settings will help you customize the camera’s functionality to meet your specific security needs.
9. Secure Cables and Protect Connections
If you’ve used cables for power or network connections, it’s important to secure and protect them properly. Use cable clips to attach the wires to walls or surfaces, minimizing the risk of tripping hazards or tampering. If cables run outdoors, consider using conduit or protective tubing to shield them from weather elements and potential damage. Ensure that all connections are waterproofed, especially if they are exposed to the elements. Proper cable management not only enhances the aesthetic of your installation but also contributes to the overall durability and functionality of your security system.
10. Regularly Maintain and Monitor Your Cameras
After installation, it’s crucial to regularly maintain and monitor your outdoor security cameras to ensure they remain functional and effective. Periodically check the camera lenses for dirt, debris, or obstructions that may affect visibility. Clean the lenses gently with a soft cloth to maintain a clear view. Additionally, keep an eye on the camera’s firmware, updating it when necessary to benefit from improved features and security patches. Regularly reviewing footage and checking for any changes in the camera’s positioning can help you address any potential issues before they compromise your security.
Conclusion
Installing outdoor security cameras is a meticulous process that requires careful planning and execution to ensure optimal security for your property. By systematically assessing your security needs, choosing the right equipment, and adhering to proper installation techniques, you can effectively monitor and protect your home or business. It’s important to pay attention to detail at every step—from selecting ideal locations to ensuring robust power and network connections. So, there you have it – a quick and easy guide on how to install security cameras outdoors.
