In today’s world, security cameras are crucial in safeguarding homes and providing peace of mind through constant surveillance. They deter potential intruders, help monitor suspicious activity, and keep track of entrances and exits. Installing cameras under eaves offers several advantages, such as enhanced coverage areas and protection from harsh weather conditions, ensuring the cameras remain reliable over time.
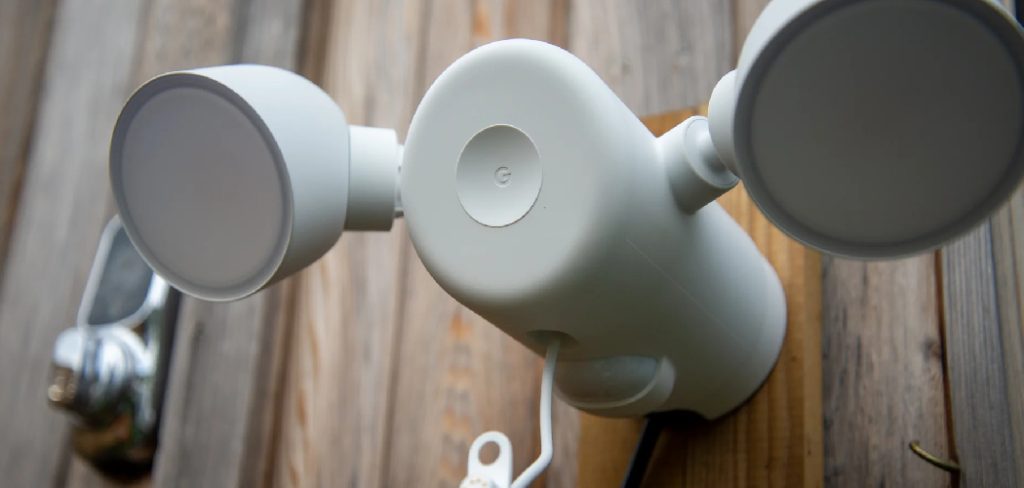
-The inconspicuous placement under eaves also helps maintain a home’s aesthetic by keeping the cameras less visible. This article will guide you through how to install security cameras under eaves, offering step-by-step instructions and essential considerations. From selecting the right camera type and location to mounting and configuring the settings, we cover everything you need to ensure a secure and efficient installation process.
Selecting the Right Security Cameras
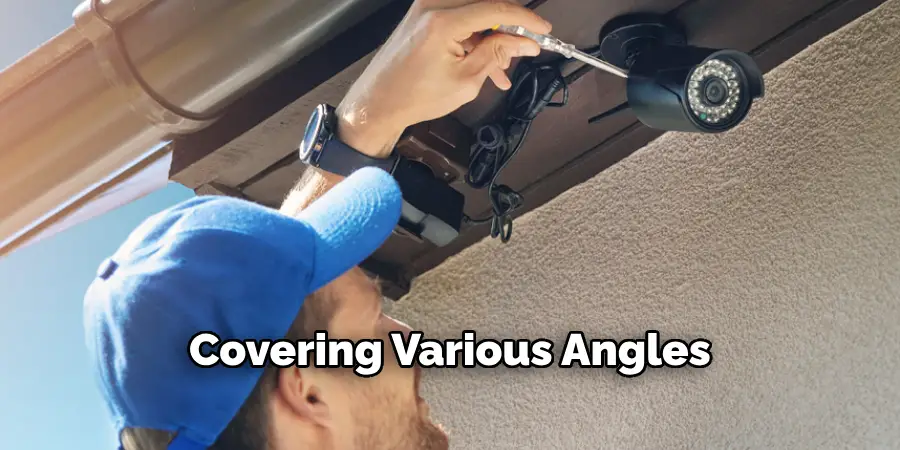
Several types of security cameras are particularly well-suited for different needs when installing them under eaves. Bullet cameras, known for their long shape and design, are ideal for narrow fields of view, providing focused surveillance along perimeters or entryways. Dome cameras, with their rounded housing, offer a discreet look and provide a wide-angle view, making them suitable for covering large areas. PTZ (Pan-Tilt-Zoom) cameras offer the most flexibility, allowing for remote directional control and zooming, thus covering various angles and reducing the need for multiple cameras.
When selecting cameras, key features should be prioritized: weather resistance ensures durability against the elements when mounted outdoors; night vision capabilities allow for effective surveillance even in low-light conditions; high resolution provides clearer images for identification purposes; and motion detection can trigger alerts and recording, adding a layer of proactive security.
Compatibility ensures seamless integration with existing security systems or smart home devices. It’s essential to verify that the selected cameras are compatible with your current setup, whether that includes video storage, monitoring software, or smart features like voice control. Ensure firmware or app support is up-to-date for optimal device performance and functionality.
Preparing for Installation
Choosing Locations
Selecting the optimal locations under eaves for camera installation is crucial for achieving maximum coverage while minimizing obstructions. Ideally, cameras should be positioned to cover entrances, driveways, and other vulnerable points around your property. Ensure there’s a clear line of sight and that eaves, foliage, or structural features don’t block the view. Positioning cameras at corners of the house can often provide broader coverage areas.
Checking Power and Connectivity Needs
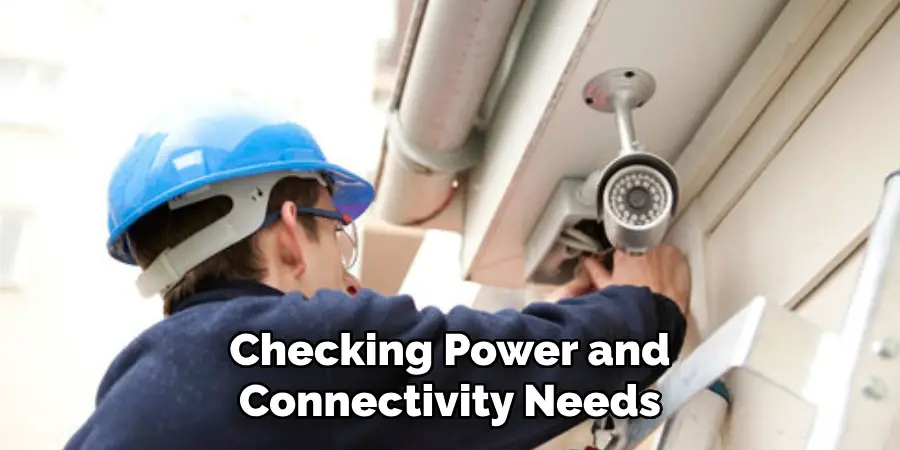
Before installation, assess the power source requirements based on whether you will use wired or wireless cameras. Wired cameras require a reliable power outlet nearby, while wireless options necessitate a strong Wi-Fi signal and possibly battery power. It’s important to ensure that power sources are easily accessible and that connectivity is uninterrupted. If compatible, consider the use of Power over Ethernet (PoE), as it combines data and power through a single cable, simplifying the setup.
Gathering Necessary Tools and Equipment
Having the right tools and materials is essential for a smooth installation process. Commonly needed items include a drill, screwdriver, ladder, and appropriate mounting hardware for your camera type. Additional tools might include a tape measure for precise placement and a level to ensure stability and level mounting. Double-check that all camera components and cables are available before installation.
How to Install Security Cameras Under Eaves: Mounting the Cameras
Step 1: Marking Installation Points
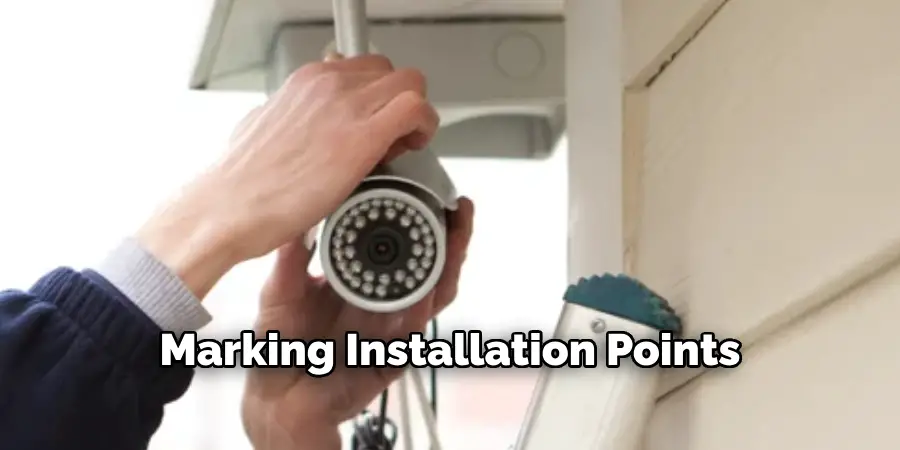
Before you begin drilling and mounting, it’s essential to clearly mark the installation points for each camera under the eaves. Use a ladder to reach the desired height and ensure you have a line of sight to key areas such as doorways, windows, and driveways. Hold the camera bracket in place and use a pencil to mark the spots where the screws will be inserted. These points should be strategically positioned to maximize the camera’s field of view while minimizing potential obstructions or blind spots.
Step 2: Drilling Holes and Installing Anchors
Once you’ve marked the installation points, the next step is to drill holes for the mounting screws. It’s important to choose the right drill bit size that matches the screws and wall anchors (if used). Begin by using a low-speed setting to prevent damage to the eaves material. If your eaves are made of wood, standard screws may suffice, but for materials like stucco or brick, wall anchors will be necessary for additional support. Insert the anchors into the holes until they are flush with the surface, ensuring a secure and stable foundation for the camera brackets.
Step 3: Attaching the Camera Brackets
With the anchors or holes ready, align the camera brackets with the marked points. Use a level to ensure that each bracket is straight before tightening the screws. This step ensures that once the cameras are mounted, they will not tilt, which would otherwise distort the view. Carefully tighten the screws, but avoid over-tightening as it could damage the brackets or eaves.
Step 4: Mounting the Cameras
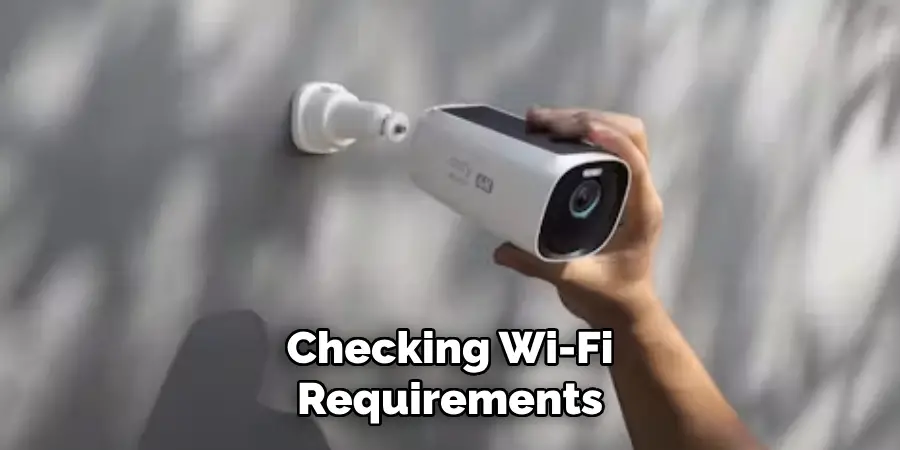
After the brackets are securely in place, it’s time to attach the cameras. Align each camera with its corresponding bracket and follow the manufacturer’s instructions to mount them properly. Most camera designs allow for adjustments to the angle of view, so take the time to position each camera for optimal coverage, ensuring that main entry points and large sections of the property are in view. Verify connections are secure to prevent the camera from being knocked out of alignment by weather or other factors.
Step 5: Securing Cables (if applicable)
For wired cameras, it’s vital to secure all power and video cables along the eaves neatly. Use cable clips or ties to fasten them, reducing slack and preventing exposure to wind or rain. This will not only protect the cables from environmental damage but also maintain the aesthetics of your home. If using Power over Ethernet (PoE), ensure that the ethernet cables are securely connected and routed safely to their respective junctions or networking equipment.
Once all steps are completed, double-check each installation to confirm that everything is secure and functioning correctly. This will set the stage for effective home monitoring.
Connecting Power and Network
Wired Cameras: Step-by-step Guide
- Connecting to Power Source: Locate the nearest power outlet and use a suitable power adapter to connect the camera power cable. Ensure the cable is adequate to reach from the camera to the outlet without pulling or stretching.
- Connecting to Video Recorder: Depending on your camera system, connect the camera to the video recorder or Digital Video Recorder (DVR) using a coaxial or network cable. For Power over Ethernet (PoE) systems, a single Ethernet cable handles both power and data transmission, simplifying connectivity.
Wireless Cameras: Instructions
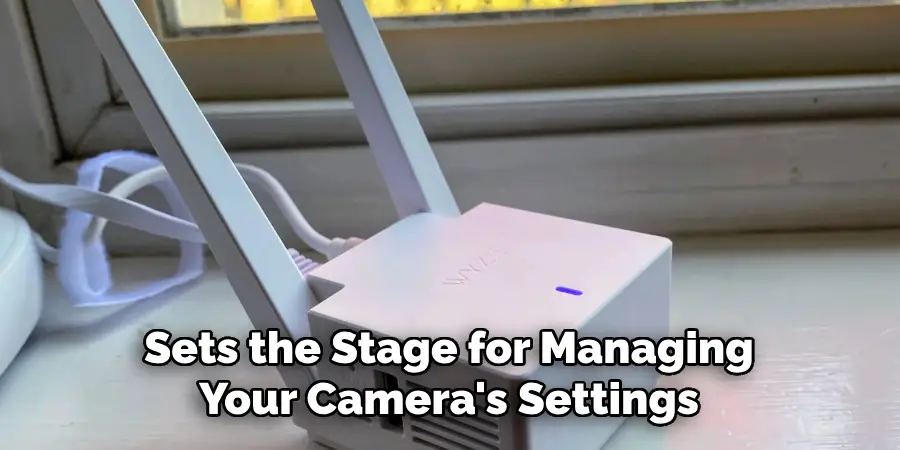
- Connecting to Wi-Fi: Refer to the manufacturer’s instructions for connecting the wireless camera to your home network. Generally, this involves accessing the camera’s settings through a mobile or web app and selecting your Wi-Fi network.
- Ensuring a Stable Signal: Check Wi-Fi signal strength at the camera’s location. If signal strength is low, consider repositioning your Wi-Fi router or using a range extender to improve connectivity. Stable network connectivity is key to continuous video streaming and recording.
Testing Connectivity
- Camera Functionality: Power on the camera and access its live feed through the app or connected device to confirm the camera is active. Check if video is streaming smoothly and without interruptions.
- Final Adjustments: Verify all connections are secure and test camera movement or pan functions if available. Make any necessary angle or position adjustments to ensure optimal coverage before finalizing installation.

Configuring Camera Settings
Accessing Camera Settings
To access your camera settings, launch the camera app on your smartphone or access the web interface through a computer. Log in with your credentials and navigate to the camera settings menu. This section allows you to adjust various preferences and ensure your system operates according to your needs.
Adjusting Video Quality and Recording Settings
You can modify video quality parameters within the settings menu, such as resolution and frame rate. Opt for a higher resolution for clearer images, but remember it may require more storage. A balanced frame rate ensures smooth video playback; typically, 15-30 frames per second suffices. To manage storage efficiently, set up recording schedules that capture key activity times in your area, like during the day or evening, depending on your requirements.
Setting Up Motion Detection and Alerts
Activate motion detection by navigating to the relevant section within your camera settings. Use the provided tools to outline specific zones that require monitoring, reducing false alarms. Once configured, set up alerts to notify you via your smartphone or email for any unusual activity within these zones. Testing these settings ensures you receive timely notifications without persistent false alarms, helping maintain your home’s security effectively.
Conducting a Final Check
Testing Camera Angles and Coverage
To ensure comprehensive surveillance, review each camera’s live feed. Adjust the angles carefully to cover all critical areas without leaving blind spots. Utilize any pan and tilt functionalities to fine-tune the view. Have an assistant walk through the camera’s field of view while you monitor the feed, verifying that every angle captures the desired range efficiently. This process guarantees that high-traffic areas and entry points remain under constant observation.
Verifying Remote Access
Check that remote access capabilities are functioning as intended. Access your camera system via the mobile app or web interface remotely, ensuring you can log in and view the live feed without interruptions. Test features such as zoom, sound, or pan, if available, to confirm they work seamlessly through remote access. This confirmation is crucial as it ensures you can monitor your property from anywhere, providing peace of mind and enhancing security readiness.
Conducting a Quality Check
Review the video quality during different times of the day to assess clarity and resolution. Examine footage captured in daylight, which should be crisp and color-accurate. Perform a similar check at night or in low-light conditions, ensuring that the night vision or infrared functionality provides clear images. This step is vital to ensure the security system maintains high visibility and performance around the clock, safeguarding your property effectively.
Troubleshooting Common Issues
Issue 1: Camera Not Powering On
If your camera fails to power on, examine the power connections. Ensure the power cable is securely connected to both the camera and the power outlet. For Power over Ethernet (PoE) setups, confirm the Ethernet cable is firmly attached and that the PoE switch or injector is operational. Test the power outlet with another device to verify it is functioning correctly. Should these steps not resolve the issue, consider using an alternative power cable or adapter to rule out equipment failure.
Issue 2: Poor Video Quality
When experiencing poor video quality, first check the camera’s resolution and frame rate settings through the control app or web interface. Lower resolution settings can result in grainy images, so adjust these to a higher setting if bandwidth allows. Ensure the camera lens is clean from dirt or obstructions that might impact visibility. If quality issues persist, consider relocating the camera to a position with better lighting or reduced interference, enhancing the clarity of the footage.
Issue 3: Connectivity Problems
Connectivity issues may stem from weak Wi-Fi signals. To address this, reposition your router closer to the camera or deploy a Wi-Fi range extender to boost signal strength. Additionally, assess your network settings in the camera app to ensure the correct Wi-Fi network is selected. Restart your router and camera to refresh connections. If these steps do not resolve the problem, check for firmware updates for both the router and the camera, which may offer enhanced stability and connectivity.
Conclusion
Installing security cameras under eaves can significantly enhance your home’s safety by providing clear, unobstructed views of critical areas. This comprehensive guide on how to install security cameras under eaves outlines essential steps: preparing tools and materials, positioning the cameras for optimal coverage, configuring settings for video quality and motion detection, and performing a final system check. These actions ensure effective surveillance and swift response to any potential intrusions.
The benefits of an eave-mounted system include discreet placement, reduced risk of tampering, and protection from adverse weather conditions, which together bolster your security measures. Consistently maintaining your camera system is crucial for ongoing effectiveness. Regularly testing camera angles, verifying remote access, and conducting quality checks will keep your setup performing optimally. Additionally, stay alert to any firmware or software updates to enhance the functionality and security of your cameras, ensuring the system remains robust against evolving threats.
