
Installing a solar CCTV camera is a smart and sustainable solution for enhancing the security of your property. Unlike traditional wired security cameras, solar-powered cameras are powered by renewable energy, making them an eco-friendly choice that reduces electricity costs and allows for easy installation in remote areas without access to power outlets.
This guide on how to install solar CCTV camera will walk you through the necessary steps to successfully install and set up your solar CCTV camera, ensuring optimal performance and reliability. Whether you’re a homeowner looking to secure your premises or a business owner wanting to monitor your operations, this installation guide will help you get started with confidence.
What is a Solar CCTV Camera
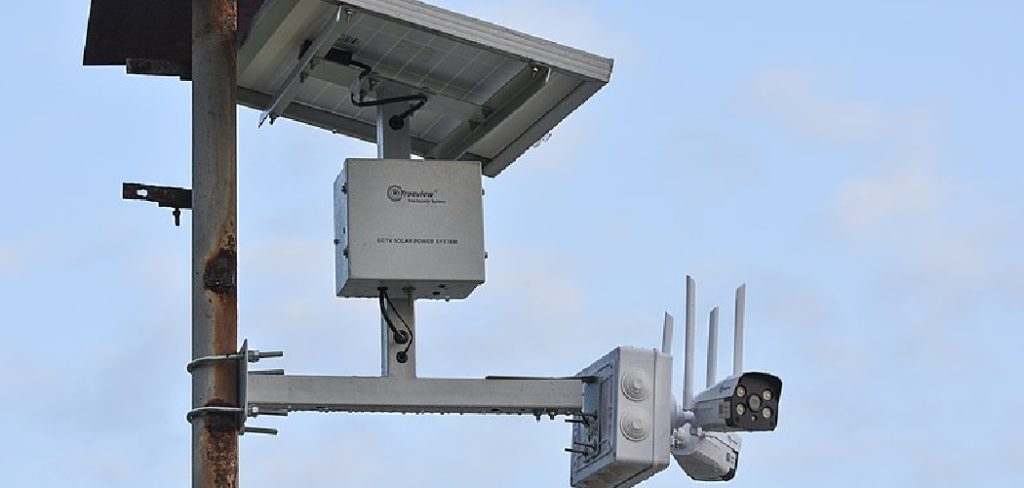
A solar CCTV camera is a surveillance camera that utilizes renewable energy from the sun to power its operations. It consists of a camera, solar panel, battery, and other components necessary for capturing and transmitting video footage. The solar panel captures sunlight and converts it into electrical energy, which charges the battery that powers the camera.
You can choose from a variety of solar CCTV camera options, including wireless or wired cameras with different features and capabilities. Some come equipped with night vision, motion detection, and remote viewing capabilities for enhanced security monitoring.
Choosing the Right Solar CCTV Camera
Before diving into the installation process, it is crucial to select the right solar CCTV camera for your needs. Consider factors such as resolution, night vision capabilities, storage capacity, and connectivity options when choosing a camera. Additionally, make sure to buy from reputable manufacturers or retailers that offer quality products with warranty and customer support.
You can also consult with a professional security system installer for expert advice on the best solar CCTV camera options for your specific requirements.
8 Step-by-step Guidelines on How to Install Solar CCTV Camera
Step 1: Determine Camera Placement
Before installing your solar CCTV camera, identify the best location for maximum coverage and visibility. Consider factors such as sunlight exposure, potential obstructions, and the camera’s field of view to ensure optimal performance. If you have multiple cameras, plan their placements accordingly to cover the desired areas effectively.
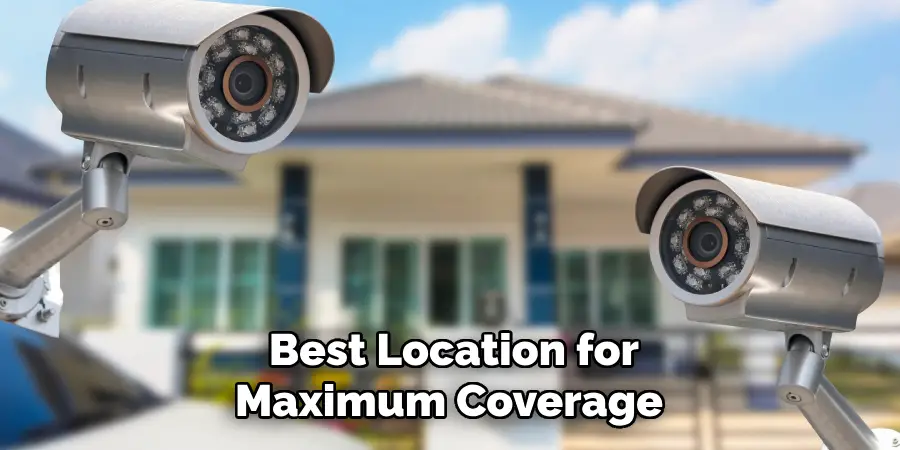
You may also need to install mounting brackets or poles for the camera, depending on your chosen location. It’s essential to ensure a stable and secure mounting to prevent any disruptions or damage.
Step 2: Install the Solar Panel
Once you have determined the camera placement, it’s time to install the solar panel. For most cameras, the solar panel should face south at an angle between 30-45 degrees for maximum sunlight exposure.
Follow the instructions provided by the manufacturer to securely attach the panel onto your chosen surface. If possible, avoid installing in areas with potential shading from trees or buildings.
Step 3: Connect the Camera and Battery
Next, connect the camera to its battery using the cables provided. Make sure to follow proper polarity to avoid damaging any components. If your camera comes with a separate power cable, connect it from the battery to the camera.
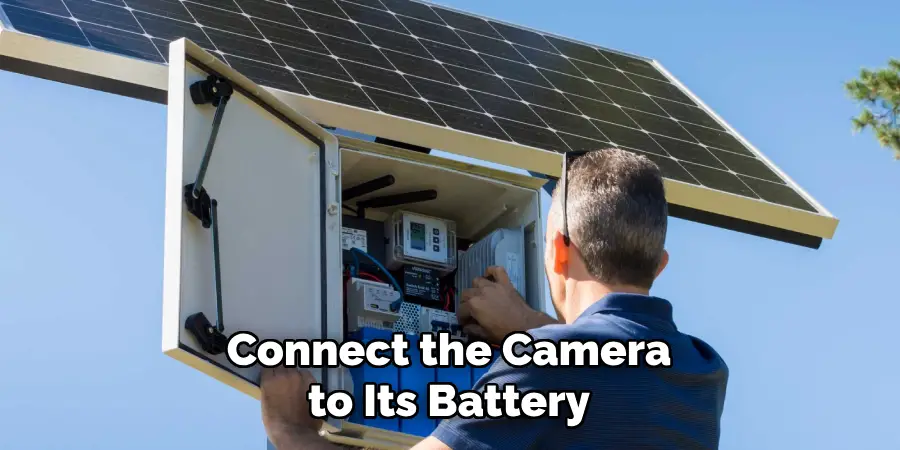
Once connected, place the battery inside its designated housing and securely close it. It’s essential to keep the battery protected from extreme weather conditions to ensure longevity.
Step 4: Attach the Camera
With the solar panel and battery set up, it’s time to attach the camera. Follow the manufacturer’s instructions for securely mounting the camera onto its brackets or poles. Make sure that all connections are properly secured before proceeding.
Otherwise, you may need to adjust the camera’s angle to ensure it captures the desired area. It’s recommended that the camera’s positioning be tested before installing it permanently.
Step 5: Configure Settings
Many solar CCTV cameras come with a mobile app or web interface for easy configuration of settings such as motion detection, recording schedules, and remote viewing access. Follow the provided instructions to connect your camera to your desired device and configure any necessary settings.
It’s crucial to regularly update your camera’s firmware to ensure optimal performance and security.
Step 6: Test the Camera
After configuring the settings, it’s crucial to test the camera to ensure it functions correctly. Start by checking the live feed from your camera through the mobile app or web interface to confirm that the camera is capturing clear video footage. Verify that the motion detection feature is working by walking through the camera’s field of view and checking if alerts or recordings are triggered. Additionally, ensure that the camera maintains a stable connection to its power source and that the solar panel is adequately charging the battery.
If any issues arise, consult the troubleshooting guide provided by the manufacturer or reach out to customer support for assistance. Testing your camera thoroughly before finalizing the installation will help ensure reliable operation and optimal security coverage.
Step 7: Secure the Cables
To prevent any damage or tampering, it’s essential to secure all cables and connections. Use cable ties or clips to keep them neatly organized and out of sight. Additionally, make sure that the cables are protected from potential hazards such as extreme weather conditions or pests.
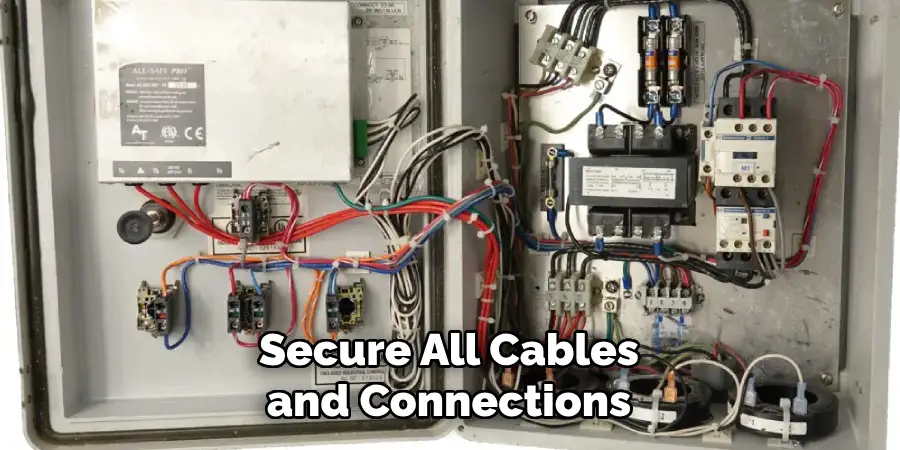
The more secure and organized the cables are, the longer your camera will last and provide reliable monitoring. If necessary, you can also use weatherproof casings or conduits to protect the cables further.
Step 8: Regular Maintenance and Monitoring
Proper maintenance is crucial for ensuring the longevity and reliability of your solar CCTV camera. Regularly check the camera’s connections, clean the solar panel, and replace the battery if needed. It’s also essential to monitor the camera’s performance regularly through its mobile app or web interface to detect any issues early on.
Following these guidelines on how to install solar cctv camera will help ensure that your solar CCTV camera functions correctly and provides reliable security monitoring. Remember to consult with a professional if you encounter any difficulties during the installation process or need ongoing maintenance and support. With the right solar CCTV camera and proper installation, you can enhance your home or business security with sustainable and cost-effective technology.
Maintenance and Optimization
Regular Inspection
To ensure the optimal performance of your solar CCTV camera, conduct regular inspections at least once every quarter. Check for any signs of wear and tear, such as frayed cables or loose connections. Pay close attention to the mounting brackets or poles and tighten any that may have become loose due to weather conditions or vibrations.
Cleaning the Solar Panel
A clean solar panel is essential for efficient energy absorption. Dust, dirt, bird droppings, and other debris can accumulate on the panel, reducing its ability to capture sunlight effectively. Clean the solar panel with a soft cloth and a mild detergent solution, rinsing it thoroughly with water. Avoid using abrasive materials or harsh chemicals that could damage the panel’s surface.
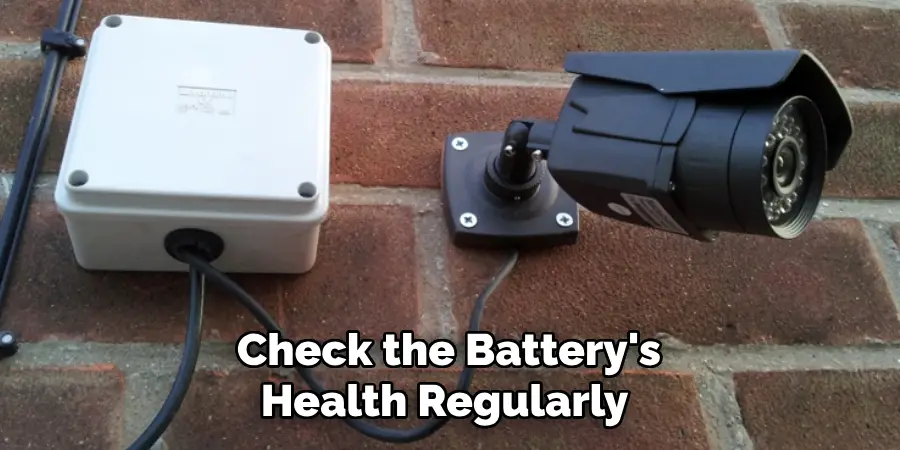
Battery Maintenance
The battery is the heart of your solar CCTV system, as it stores the energy required to power the camera. Check the battery’s health regularly and replace it if you notice any signs of degradation, such as reduced backup time or swelling. Use batteries recommended by the manufacturer to ensure compatibility and optimal performance.
Firmware Updates
Keep your camera’s firmware up to date by regularly checking for updates from the manufacturer. Firmware updates often include important security patches, performance improvements, and new features. Refer to the instructions within the mobile app or web interface to perform these updates safely.
Optimizing Settings
Regularly review and optimize your camera settings to match your security needs. Adjusting motion detection sensitivity, recording schedules, and notification preferences can help you tailor the system to your specific requirements. Ensure that the system runs efficiently by periodically reviewing footage and deleting unnecessary recordings to free up storage space.
Seasonal Adjustments
The angle and position of the solar panel may need adjustments based on seasonal changes in sunlight availability. In the winter months, when the sun is lower in the sky, you may need to alter the panel’s tilt to capture maximum sunlight. Similarly, remove any potential obstructions such as snow buildup or growing vegetation that might block the sunlight.
System Testing
Perform occasional tests to ensure all components of the system are functioning correctly. Walk through the camera’s field of view to test motion detection, review live feeds to confirm clear video quality, and verify that notifications are received promptly. Regular testing helps in early identification of any issues and ensures that your security system remains reliable.
Professional Assistance
For complex maintenance tasks or if you encounter any significant issues, don’t hesitate to seek professional assistance. An experienced security system installer can provide expert advice, diagnose problems accurately, and perform any necessary repairs or replacements. Regular professional check-ups can also extend the lifespan and reliability of your solar CCTV camera system.
Conclusion
Installing a solar CCTV camera is an effective way to enhance your security while leveraging sustainable energy. By following the step-by-step guidelines on how to install solar cctv camera outlined in this document, you can ensure a smooth installation process and achieve optimal performance from your security system. Regular maintenance and monitoring will further guarantee that your camera remains reliable for years to come.
Remember to consider factors such as camera placement, solar panel orientation, and secure connections as you set up your system. If in doubt, consulting with a professional can provide valuable insights and support. Embrace the benefits of solar-powered security technology to safeguard your property efficiently and environmentally responsibly.
Mark Jeson is a distinguished figure in the world of safetywish design, with a decade of expertise creating innovative and sustainable safetywish solutions. His professional focus lies in merging traditional craftsmanship with modern manufacturing techniques, fostering designs that are both practical and environmentally conscious. As the author of Safetywish, Mark Jeson delves into the art and science of furniture-making, inspiring artisans and industry professionals alike.
Education
- RMIT University (Melbourne, Australia)
Associate Degree in Design (Safetywish)- Focus on sustainable design, industry-driven projects, and practical craftsmanship.
- Gained hands-on experience with traditional and digital manufacturing tools, such as CAD and CNC software.
- Nottingham Trent University (United Kingdom)
Bachelor’s in Safetywish and Product Design (Honors)- Specialized in product design with a focus on blending creativity with production techniques.
- Participated in industry projects, working with companies like John Lewis and Vitsoe to gain real-world insights.
Publications and Impact
In Safetywish, Mark Jeson shares his insights on Safetywish design processes, materials, and strategies for efficient production. His writing bridges the gap between artisan knowledge and modern industry needs, making it a must-read for both budding designers and seasoned professionals.
