
Are you looking to install a Tuya Wifi Smart Camera in your home or office? Look no further! This guide will walk you through the installation process on how to install tuya wifi smart camera, ensuring that your camera is up and running in no time.

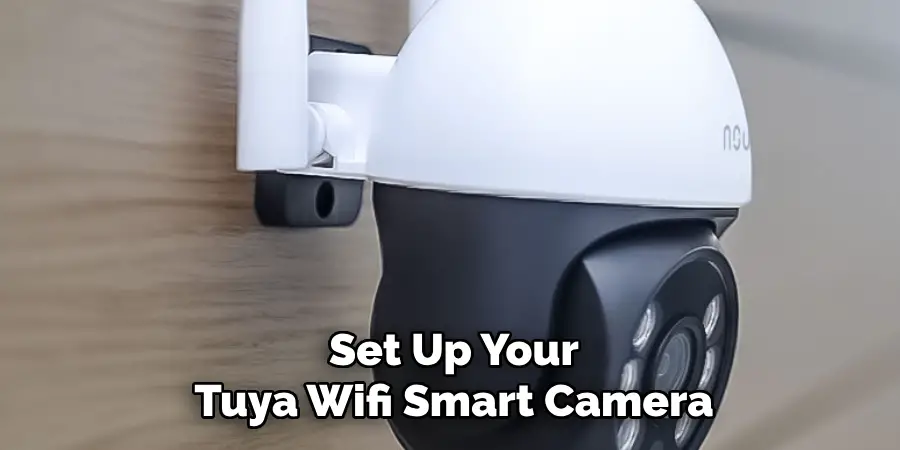
Installing a Tuya Wi-Fi Smart Camera is straightforward and can be accomplished with a few simple steps. This guide will walk you through everything you need to know to quickly set up your camera and ensure it is properly connected to your home network. Whether you’re a tech-savvy individual or a beginner, following these instructions will help you get your smart camera up and running quickly.
This comprehensive introduction will cover all the basics, from unboxing the camera and downloading the necessary app to configuring the settings and mounting the device.
What Will You Need?
Before starting the installation process, make sure you have the following items ready:
- Tuya Wifi Smart Camera
- Power adapter and cable
- Smartphone or tablet with internet connectivity
- Access to a wifi network (2.4GHz)
- Mounting equipment (if planning to mount the camera)
Once you have all the necessary items, you can begin with the installation process.
10 Easy Steps on How to Install Tuya Wifi Smart Camera
Step 1: Unboxing and Plugging in the Camera
The first step is to unbox your Tuya Wifi Smart Camera and ensure all the contents are included. Check for any physical damages or missing parts before proceeding.
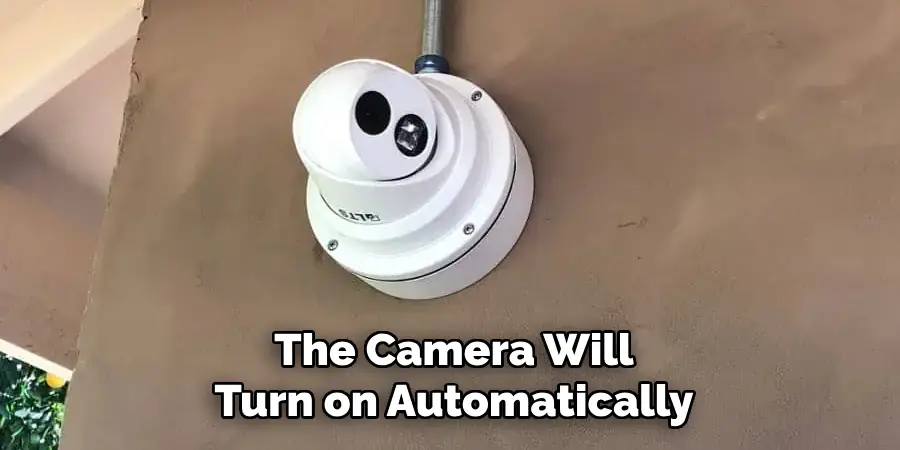
Next, locate the power adapter and cable provided with your camera. Plug one cable end into the camera’s power port and the other into a power outlet. The camera will turn on automatically once it is connected to a power source.
Step 2: Download and Install the Tuya Smart App
You need to download the Tuya Smart App on your smartphone or tablet to connect your camera to your wifi network. The app is available for both iOS and Android devices. Simply go to the App Store or Google Play Store, search for “Tuya Smart” and download the app. Once the download is complete, open the app and create a new account or log in if you already have one.
Step 3: Add Your Camera to the Tuya Smart App
Once you have logged into the Tuya Smart App, tap on the “+” icon at the screen’s top right corner to add a new device. From the list of available devices, select “Smart Camera”. The app will then prompt you to power on the device and ensure it is in pairing mode. If your camera is not in pairing mode, you may need to press and hold the reset button on the camera until the indicator light starts flashing, signaling that it is ready to be paired.
Step 4: Connect to Your Wifi Network
The next step is to connect your camera to your Wi-Fi network. The Tuya Smart App will ask you to enter your Wi-Fi network’s SSID (name) and password. Make sure you are connecting to a 2.4GHz network, as the camera does not support 5GHz networks. Once you have entered the network details, tap on “Next” to proceed. The app will now try to connect the camera to your Wi-Fi network. This process may take a few moments, so be patient.
Step 5: Confirm the Connection
After the camera successfully connects to your Wi-Fi network, the app will show a confirmation screen. You should also see a solid green or blue light on the camera, indicating a successful connection. If the connection fails, double-check that you have entered the correct Wi-Fi credentials and that your network is functioning properly. You may also need to move the camera closer to the Wi-Fi router for a stronger signal.
Step 6: Name Your Camera
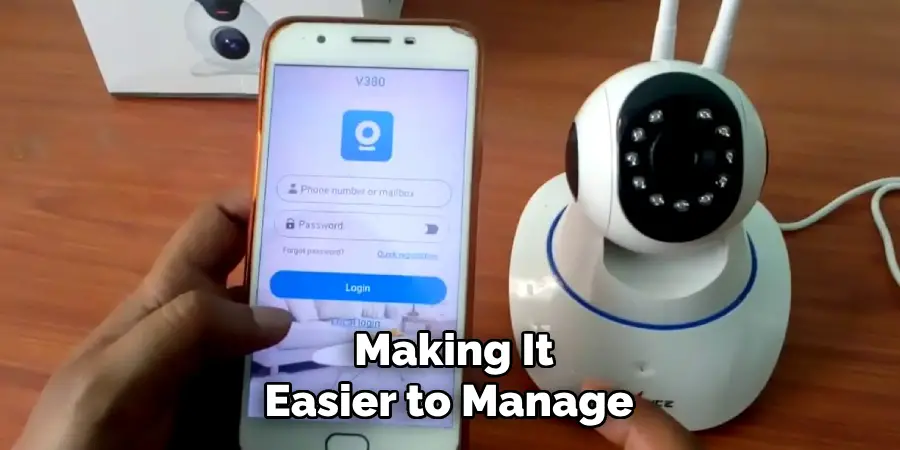
Now that your camera is connected to the Wi-Fi network, you will be prompted to name it. Choose a name that helps you easily identify the camera’s location or purpose, such as “Living Room Camera” or “Office Entrance.” This name will be associated with the camera in the Tuya Smart App, making it easier to manage multiple devices.
Step 7: Adjust Camera Settings
Once the camera is successfully added to your account, you can adjust the camera settings according to your preferences. In the Tuya Smart App, navigate to the camera settings menu where you can configure options such as motion detection, recording schedules, and notification preferences. Take some time to explore these settings to ensure the camera operates according to your needs.
Step 8: Mount the Camera
If you plan to mount the camera, select an appropriate location that provides a clear view of the area you wish to monitor. Use the mounting equipment provided with the camera to securely fasten it to a wall or ceiling. Ensure the camera is positioned within range of your wifi network to maintain a stable connection. Once mounted, adjust the camera angle as needed to capture the desired view.
Step 9: Test the Camera
With the camera mounted and settings configured, it’s time to test it to ensure everything is functioning correctly. Use the live view feature in the Tuya Smart App to check the camera’s video feed. Walk around the monitored area and verify that the camera captures clear footage and triggers motion alerts as expected. Based on the test results, make any necessary adjustments to the camera position or settings.
Step 10: Enjoy Your New Tuya Wifi Smart Camera
Congratulations! Your Tuya Wifi Smart Camera is now fully installed and operational. You can now monitor your home or office from anywhere using the Tuya Smart App. Make sure to regularly check for firmware updates in the app to keep your camera running smoothly. Enjoy the added security and peace of mind with a smart camera monitoring your space.
By following these simple steps, you can easily install and set up your Tuya Wifi Smart Camera in no time.
5 Additional Tips and Tricks
- Optimal Placement: To maintain a stable connection, ensure the camera is within the range of your WiFi signal. Avoid placing it near large metal objects or appliances that could interfere with the signal.
- Firmware Updates: Check your Tuya smart camera’s firmware regularly for updates. Keeping the firmware up to date ensures you have the latest features and security enhancements.
- Power Source: Make sure the camera is properly powered and has a reliable power source. If you’re using batteries, check them periodically to ensure they haven’t run out of charge.
- App Configuration: Utilize the TuyaSmart app for seamless configuration. Ensure your mobile device is on the same WiFi network as your camera during setup for smooth pairing.
- Security Settings: Immediately update the default login credentials to a strong, unique password to protect your camera feed from unauthorized access. Enable any additional security settings available in the app.
With these additional tips, you can maximize the performance and security of your Tuya smart camera.
5 Things You Should Avoid
- Ignoring the User Manual: Skipping the user manual and attempting to install the camera without guidance can lead to improper setup and missed features. Always read the manual thoroughly before starting the installation process.
- Using Weak Passwords: Setting simple or easily guessable passwords makes your smart camera vulnerable to hacking. Avoid using generic passwords such as “123456” or “password” and create a strong, unique password instead.
- Overlooking Firmware Updates: Failing to update the camera’s firmware can expose it to security vulnerabilities and bugs. Always install firmware updates as soon as they are available to keep your device secure and running smoothly.
- Placing the Camera in Poorly Lit Areas: Installing the camera in areas with inadequate lighting can compromise the quality of the footage. Make sure to place the camera in well-lit locations to capture clear and detailed images.
- Neglecting Network Security: Connecting your camera to an insecure WiFi network can expose it to cyber threats. Ensure your WiFi network is protected with a strong password and consider enabling advanced security protocols such as WPA3.
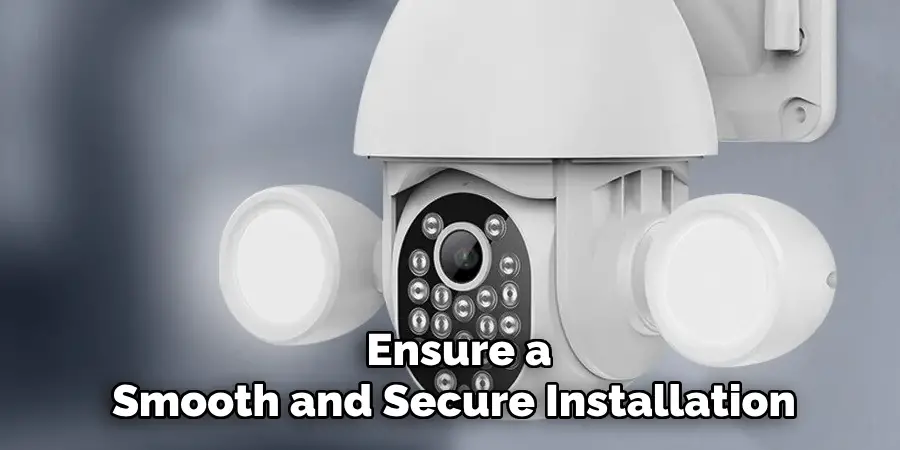
By being mindful of these pitfalls, you can ensure a smooth and secure installation of your Tuya WiFi smart camera.
Conclusion
Installing your Tuya WiFi smart camera can be straightforward and rewarding when following the right steps.
Begin by carefully reading the user manual to familiarize yourself with the installation process and the features of your camera. Be sure to place the camera in an optimal location within the range of your WiFi signal and avoid interference from large metal objects or appliances. Keep the firmware updated and pay attention to the camera’s power source to prevent interruptions.
Utilize the TuyaSmart app for seamless configuration and always secure your setup with strong, unique passwords. Avoid common pitfalls like weak passwords, neglected firmware updates, and poor network security. By adhering to these guidelines, you can enjoy enhanced performance, security, and the convenience provided by your Tuya WiFi smart camera.
Hopefully, the article on how to install tuya wifi smart camera has provided you with valuable insights and tips to make the installation process a breeze. Thank you for reading!
Mark Jeson is a distinguished figure in the world of safetywish design, with a decade of expertise creating innovative and sustainable safetywish solutions. His professional focus lies in merging traditional craftsmanship with modern manufacturing techniques, fostering designs that are both practical and environmentally conscious. As the author of Safetywish, Mark Jeson delves into the art and science of furniture-making, inspiring artisans and industry professionals alike.
Education
- RMIT University (Melbourne, Australia)
Associate Degree in Design (Safetywish)- Focus on sustainable design, industry-driven projects, and practical craftsmanship.
- Gained hands-on experience with traditional and digital manufacturing tools, such as CAD and CNC software.
- Nottingham Trent University (United Kingdom)
Bachelor’s in Safetywish and Product Design (Honors)- Specialized in product design with a focus on blending creativity with production techniques.
- Participated in industry projects, working with companies like John Lewis and Vitsoe to gain real-world insights.
Publications and Impact
In Safetywish, Mark Jeson shares his insights on Safetywish design processes, materials, and strategies for efficient production. His writing bridges the gap between artisan knowledge and modern industry needs, making it a must-read for both budding designers and seasoned professionals.
