Are you considering installing an outdoor camera in your Vivint home security system? If so, you’re making a great choice.
Installing a Vivint Outdoor Camera is a straightforward process that enhances the security of your home by providing robust surveillance capabilities. Whether concerned about monitoring outdoor spaces or ensuring peace of mind, setting up the Vivint Outdoor Camera can be accomplished with some basic tools and a little preparation.
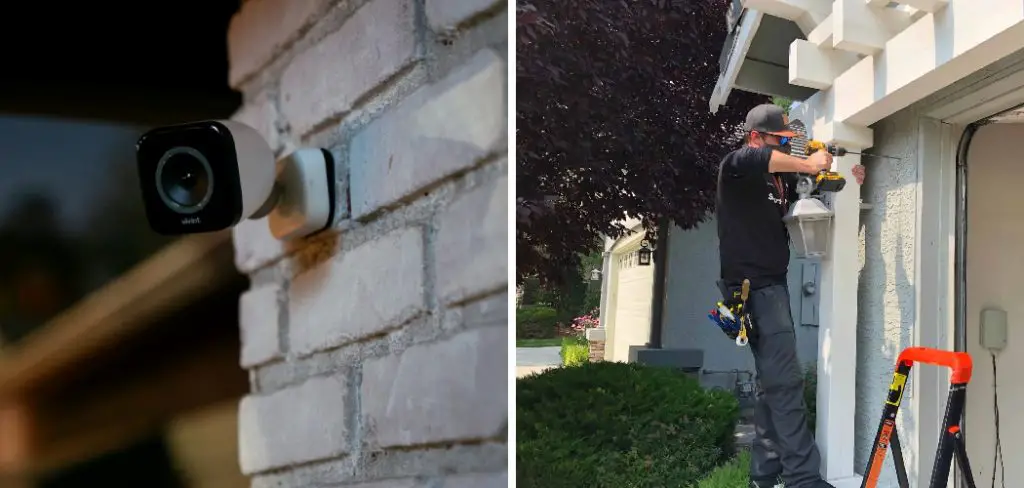
This guide on how to install Vivint Outdoor Camera, will walk you through each step, from gathering necessary equipment to adjusting camera settings, ensuring that your camera is optimally positioned and functioning effectively. With just a bit of time and effort, you’ll have a professional-quality security system operating to keep your home safe.
What Will You Need?
Before you begin the installation process, it’s essential to gather all the necessary equipment and tools. Here’s what you will need:
- A Vivint Outdoor Camera
- A power drill
- Appropriate screws for mounting (included with camera)
- An outdoor outlet
- An internet-connected device (e.g., smartphone or tablet)
Once you have all the necessary items, you can begin the installation process.
10 Easy Steps on How to Install Vivint Outdoor Camera
Step 1: Choose a Location for Your Camera
Choosing the right location for your Vivint Outdoor Camera is crucial for optimal surveillance coverage. Begin by considering the areas around your property that require monitoring. High-traffic areas like front doors, driveway entrances, and backyards are ideal spots for installation.
Ensure the selected location allows a clear, unobstructed view of the area you wish to monitor. It’s also essential to position the camera high enough to avoid tampering but low enough to capture facial recognition details. Additionally, consider the camera’s proximity to an outdoor outlet to ensure power accessibility. Remember the camera’s range of night vision capabilities, and adjust for any potential lighting issues affecting recording quality, like direct sunlight or intense artificial lighting.
Step 2: Mount the Camera
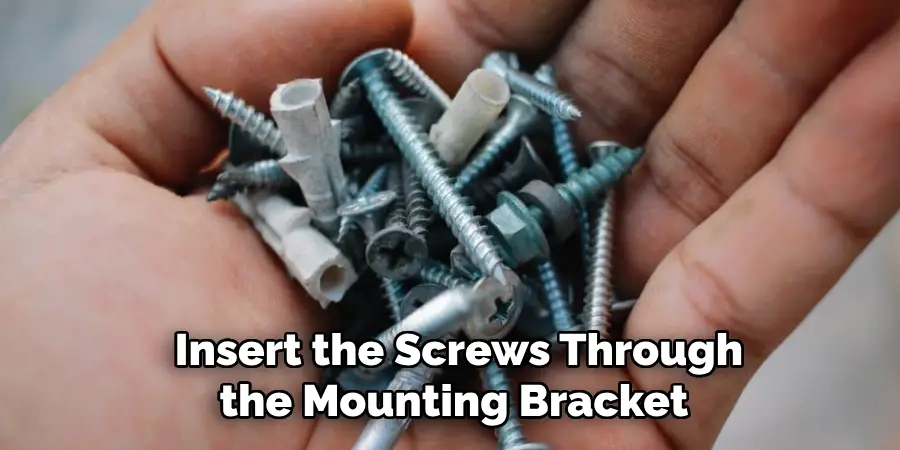
Once you have selected the ideal location for your Vivint Outdoor Camera, the next step is to mount it securely. Begin by using the power drill to make holes for the mounting screws that came with your camera. Ensure that the holes align with the camera mounting bracket. After drilling, insert the screws through the mounting bracket and into the drilled holes to secure the camera. Make sure the camera is firmly attached to prevent it from being dislodged by weather conditions or potential tampering. During this process, it’s crucial to consider the angle and tilt of the camera to ensure it covers the desired monitoring area effectively.
Step 3: Connect to Power Source
After mounting the camera, the next step is to connect it to a power source to ensure uninterrupted functionality. Locate the nearest outdoor outlet and plug in the provided power adapter. Run the power cable from the camera to the outlet, securing it safely to avoid any tripping hazards or exposure to harsh weather elements. Ensure the connection is tight and secure to prevent any loss of power during operation. Use weather-resistant cable clips to keep the power cable in place and protect it from environmental factors. Once connected, the camera will begin powering up, and you can proceed to configure it for network connectivity and optimal performance.
Step 4: Connect the Camera to Your Network
To enable remote access and live streaming, connect your Vivint Outdoor Camera to your home network. Start by ensuring your internet-connected device, such as a smartphone or tablet, is linked to the same Wi-Fi network you intend to use for the camera. Open the Vivint app and follow the prompts to add a new device. Select the Vivint Outdoor Camera from the list of available options.
The app will guide you through connecting the camera to your Wi-Fi network, typically by scanning a QR code on the camera or entering the network credentials. Ensure a strong Wi-Fi signal at the camera’s location to maintain a stable connection. Once connected, the camera will automatically register with your Vivint security system, allowing you to configure additional settings and begin monitoring your designated areas.
Step 5: Adjust Camera Settings
After successfully connecting your Vivint Outdoor Camera to the network, adjusting the camera settings to tailor its functionality to your specific needs is crucial. Access the Vivint app and navigate to the camera settings menu. You can adjust parameters such as motion detection sensitivity, notification preferences, and recording schedules here.
Optimizing motion detection is essential to minimize false alerts from minor movements like tree branches swaying in the wind while ensuring you receive alerts for more significant activities. You can also set privacy zones to block out areas that do not need monitoring, helping focus on critical areas. Make sure to save changes to the settings within the app. With these adjustments, your camera will be better equipped to provide surveillance and alert you to any unusual activity efficiently.
Step 6: Test the Camera’s Functionality
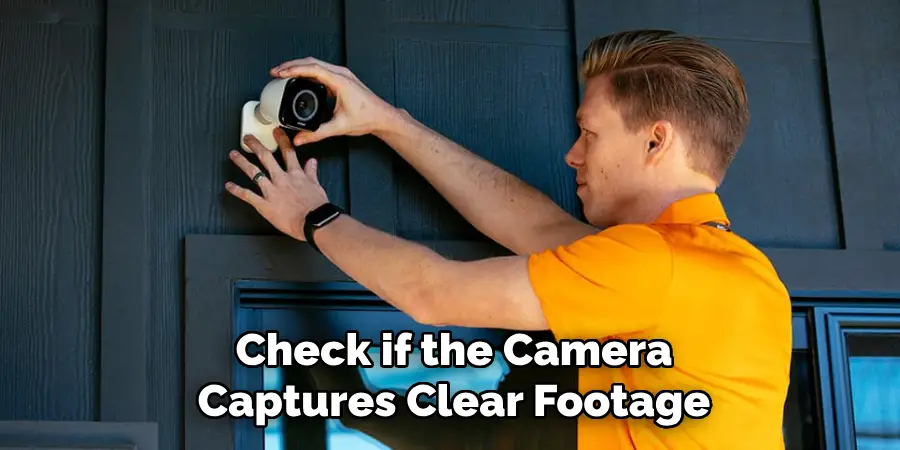
Once you have adjusted the Vivint Outdoor Camera settings, testing its functionality is important to ensure everything is working as expected. Begin by triggering the motion detection feature through various movements within the camera’s field of view, such as walking or waving. Check if the camera captures clear footage and sends notifications promptly to your connected device. Evaluate the quality of both day and night recordings to ensure the clarity and range of the camera meet your surveillance needs. If your camera includes audio features, test the microphone and speaker to verify clear sound recording and two-way communication, if applicable. Address any issues promptly to maximize the safety and efficiency of your security system.
Step 7: Secure Your Camera’s Connections
Securing your Vivint Outdoor Camera’s connections is essential to ensure it functions optimally without interruptions. Start by checking the integrity of all physical connections, such as power and network cables, ensuring they are firmly connected and undamaged. Secure the camera’s location and its attachments to prevent tampering or theft. Additionally, enhance the camera’s digital security by ensuring your Wi-Fi network has a robust and unique password and enabling encryption options available within your router settings. Regularly update the camera’s firmware through the Vivint app to protect against vulnerabilities and take advantage of the latest security enhancements.
Step 8: Monitor and Maintain the Camera
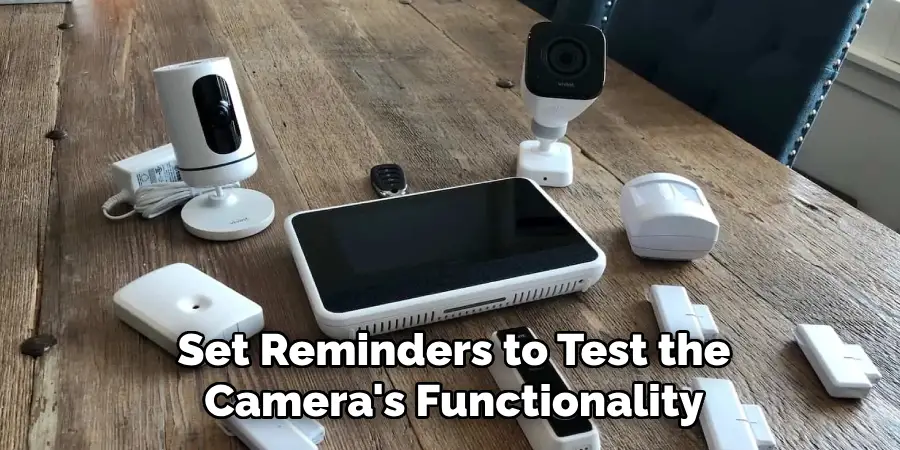
Regular monitoring and maintenance are crucial to ensure your Vivint Outdoor Camera’s long-term reliability and performance. Periodically review the recorded footage and verify that the camera is capturing all intended areas without obstruction. Check for any dirt, debris, or weather-related damage on the camera lens, and clean it with a soft cloth if necessary to maintain optimal image clarity. It’s also essential to keep the camera’s firmware updated, as new releases from Vivint often include enhancements or security improvements. Set reminders to test the camera’s functionality regularly, ensuring features like motion detection, night vision, and notifications continue operating as expected. By diligently monitoring and maintaining the camera, you can ensure consistent security for your property.
Step 9: Review and Optimize Storage Options
To ensure that you have adequate recording capabilities, reviewing and optimizing the storage options for your Vivint Outdoor Camera is essential. Begin by assessing the available storage capacity, whether you use a cloud service, local storage device, or a combination of both. If using cloud storage, verify the subscription plan and ensure it aligns with your footage retention needs.
For local storage, check the available space regularly and clear out old footage as necessary to make room for new recordings. Adjust the camera’s recording settings to balance between video quality and storage efficiency, such as selecting standard definition over high definition if storage is limited or setting minimum retention periods for non-critical footage. By optimizing storage, you ensure continuous surveillance capability without interruptions due to storage constraints.
Step 10: Integrate with Other Smart Home Devices
Integrating your Vivint Outdoor Camera with other smart home devices enhances your security system’s functionality and convenience. Use the Vivint app to link the camera with compatible smart home gadgets like smart lights, locks, and alarms. This integration allows for automated actions, such as turning on lights when motion is detected or triggering alarms upon unauthorized entry. Explore the app’s automation settings to establish scenarios or routines that increase your home’s security and streamline daily tasks. Integration not only enriches your surveillance system but also creates a cohesive smart home experience tailored to your preferences and security needs. Be sure to test each setup and confirm that the devices interact seamlessly to ensure optimal performance.
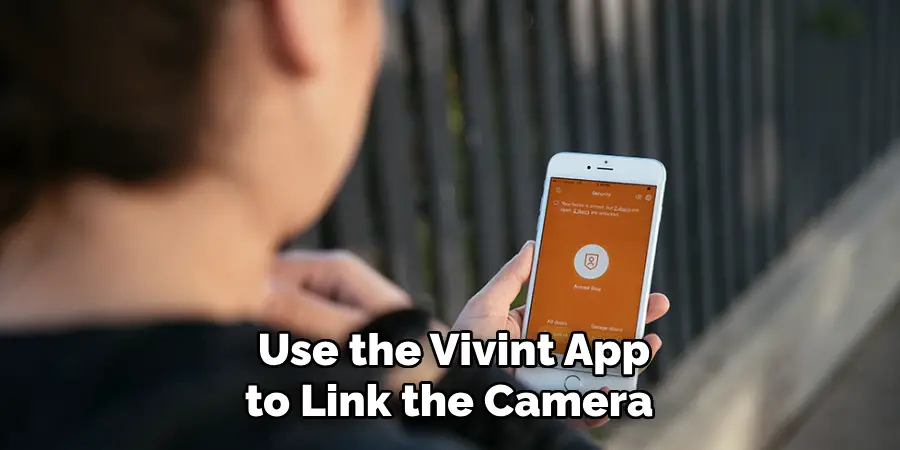
By following these steps, you can set up and optimize your Vivint Outdoor Camera to provide reliable security for your property.
Conclusion
How to install Vivint Outdoor Camera is a comprehensive process that demands careful attention to detail for optimal security results.
By adhering to the detailed steps outlined in this guide, you can ensure that your camera is installed correctly and fully optimized for your specific surveillance needs. From configuring the settings for enhanced detection capabilities to integrating the camera with other smart home devices, each step plays a crucial role in building a robust security system. Regular maintenance and updates are essential to preserve the camera’s performance and safeguard against potential vulnerabilities.
By taking these measures, you can rest assured that your property is well-protected, offering peace of mind and a reliable line of defense against any security threats.
Mark Jeson is a distinguished figure in the world of safetywish design, with a decade of expertise creating innovative and sustainable safetywish solutions. His professional focus lies in merging traditional craftsmanship with modern manufacturing techniques, fostering designs that are both practical and environmentally conscious. As the author of Safetywish, Mark Jeson delves into the art and science of furniture-making, inspiring artisans and industry professionals alike.
Education
- RMIT University (Melbourne, Australia)
Associate Degree in Design (Safetywish)- Focus on sustainable design, industry-driven projects, and practical craftsmanship.
- Gained hands-on experience with traditional and digital manufacturing tools, such as CAD and CNC software.
- Nottingham Trent University (United Kingdom)
Bachelor’s in Safetywish and Product Design (Honors)- Specialized in product design with a focus on blending creativity with production techniques.
- Participated in industry projects, working with companies like John Lewis and Vitsoe to gain real-world insights.
Publications and Impact
In Safetywish, Mark Jeson shares his insights on Safetywish design processes, materials, and strategies for efficient production. His writing bridges the gap between artisan knowledge and modern industry needs, making it a must-read for both budding designers and seasoned professionals.
