
Are you concerned about fire safety in your home? Are you looking for a way to interconnect your smoke alarms for increased protection? Interconnected smoke alarms are a valuable addition to any household, as they provide an early warning system and can save lives in the event of a fire.
Interconnecting smoke alarms is a critical step in ensuring the safety of your home and loved ones. When smoke alarms are interconnected, if one device detects smoke, all alarms in the network will sound simultaneously, providing an early warning system that can save valuable time in an emergency.
This process enhances the reliability of your smoke detection setup, especially in larger homes or buildings with multiple floors.
The following guide will walk you through the necessary steps and considerations for how to interconnect smoke alarms, ensuring optimal performance and compliance with safety standards.
What Are the Benefits of Interconnecting Smoke Alarms?
There are numerous benefits to interconnecting smoke alarms, including:
- Increased Safety and Early Detection: As mentioned earlier, interconnected smoke alarms provide an early warning system that can save lives in the event of a fire. This is especially important when your home has multiple floors or bedrooms.
- Compliance With Building Codes and Standards: Many building codes and safety standards now require interconnected smoke alarms in new constructions or renovations. By interconnecting your smoke alarms, you are ensuring compliance with these regulations.
- Convenience and Ease of Use: Interconnected smoke alarms eliminate the need for multiple manual checks of individual devices. With a networked system, if one alarm goes off, all will sound simultaneously, making it easier to locate the source of smoke.
- Cost-effective Solution: Interconnected smoke alarms are an affordable way to enhance the safety of your home or building. They can be easily installed and do not require additional maintenance costs.
These are just some of the many benefits of interconnecting smoke alarms. Now, let’s discuss how to set up an interconnected system in your home.
What Will You Need?
Before you begin interconnecting your smoke alarms, make sure you have the following items on hand:
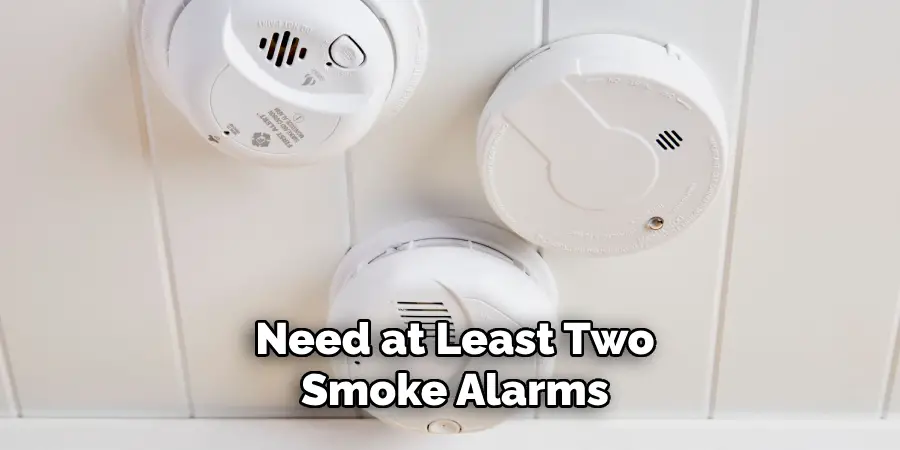
- Smoke Alarms: You will need at least two smoke alarms for an interconnected system. Make sure they are certified by a reputable organization, such as Underwriters Laboratories (UL).
- Wiring and Electrical Tools: Interconnected smoke alarms require wiring to connect them together. Depending on the layout of your home, you may also need electrical tools, such as wire cutters and screwdrivers.
- Power Source: Smoke alarms typically run on batteries or are hardwired into the home’s electrical system. Make sure your smoke alarms have a reliable power source to function correctly.
- Ladders and Safety Equipment: If your home has multiple levels, you may need a ladder to reach the smoke alarms on higher floors. When handling electrical wiring, make sure you have the proper safety equipment, such as gloves and goggles.
Once you have all the necessary materials, you can start interconnecting your smoke alarms.
10 Easy Steps on How to Interconnect Smoke Alarms
Step 1. Choose Compatible Smoke Alarms:
Before beginning the installation process, it’s essential to select smoke alarms that are compatible with interconnection. Not all smoke alarms can be interconnected, so ensure you purchase alarms that are designed for this purpose.
Look for models that explicitly state they can be interconnected via hard-wiring or wirelessly. Brands often provide compatibility charts or recommendations for which models work together within an interconnected system.
Step 2. Plan the Layout of Your Alarms:

Map out where you will place your smoke alarms throughout your home. According to safety standards, smoke alarms should be installed inside each bedroom, outside each sleeping area, and on every level of the home, including the basement.
For optimal performance, it’s also recommended to place smoke alarms at the top of stairways and near kitchens, but not too close to avoid false alarms from cooking.
Step 3. Turn off the Power:
Before starting any electrical work, you must ensure your safety by turning off the power to the areas where you will be working. Locate your home’s circuit breaker or fuse box and turn off the power to the circuits that supply electricity to the smoke alarms.
Using a voltage tester to double-check that the power is indeed off before proceeding is a good idea. Working with live wires is extremely dangerous and can result in serious injury or even death, so take all necessary precautions to confirm that the power is turned off.
Step 4. Install the Mounting Brackets:
Begin by installing the mounting brackets for your smoke alarms. Using a drill or screwdriver, attach the brackets to the ceiling or wall in your previously mapped locations. Make sure the brackets are securely fastened and leveled.
If you’re installing the alarms on the ceiling, avoid placing them too close to the corners, as this can affect their ability to detect smoke. Additionally, make sure the mounting brackets are compatible with your smoke alarms.
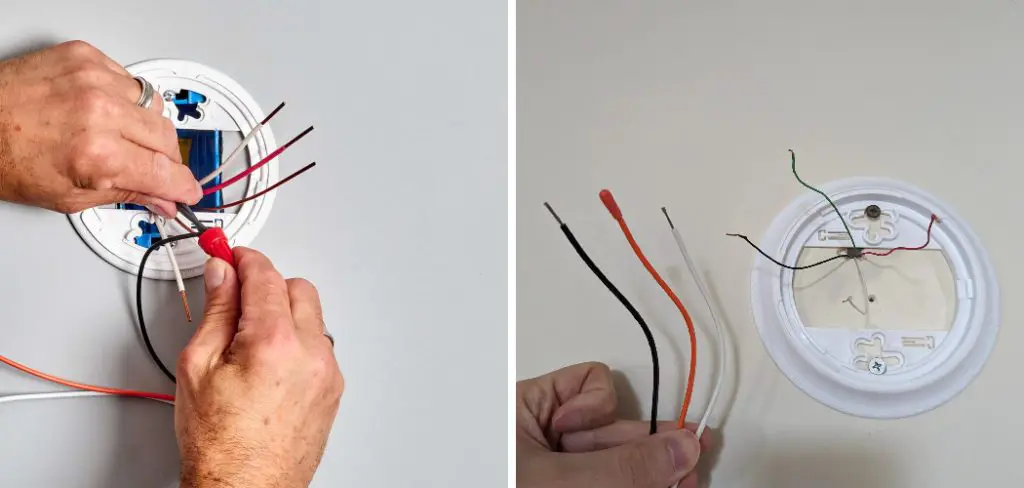
Step 5. Connect the Wiring:
For hardwired smoke alarms, run the electrical wiring from your power source to each alarm location. Use wire nuts to connect the wires according to the manufacturer’s instructions, typically matching wire colors (black to black, white to white, and red or yellow for interconnect).
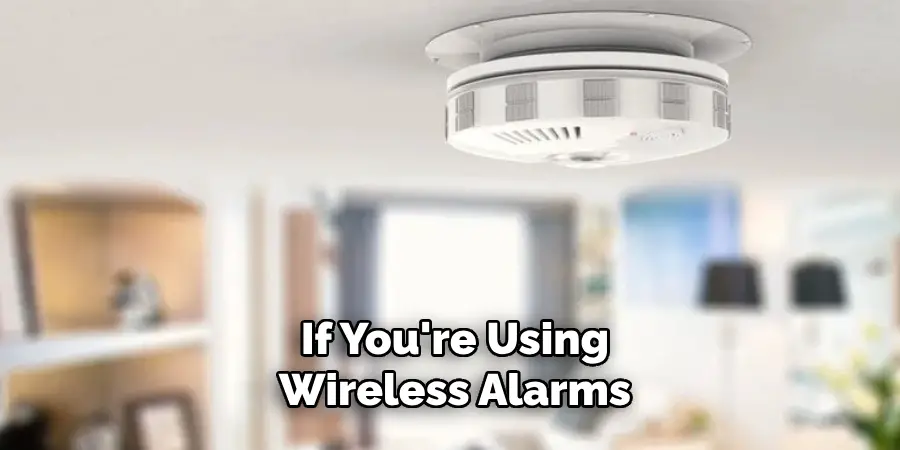
Ensure the connections are secure and that no bare wires are exposed. If you’re using wireless alarms, follow the manufacturer’s guidelines for syncing the devices to ensure they will communicate properly.
Step 6. Attach the Smoke Alarms:
After you’ve securely connected your wiring, the next step is to attach the smoke alarms to the already-mounted brackets. For hardwired smoke alarms, line up the wiring harness with the connectors on the back of the smoke alarm device. Snap the harness into place ensuring a tight and secure connection.
Carefully tuck the wires back into the electrical box, press the smoke alarm base against the mounting bracket, and twist it clockwise until it locks into place. For wireless alarms, align the unit with the mounting bracket and twist it into position as per the manufacturer’s guidelines.
Once attached, ensure that each smoke alarm is firmly mounted and that there is no wobble or movement. A securely attached smoke alarm guarantees consistent contact with the wiring or wireless signal, ensuring reliable operation.
Step 7. Restore Power and Test the Alarms:
Once you have installed and connected all the smoke alarms, it’s time to restore power to the circuits.
Return to your home’s circuit breaker or fuse box and switch the power back on. After restoring the power, go to each smoke alarm location and press the test button on the alarm. This should trigger a loud beep or siren sound, indicating that the alarm is functioning correctly.
When you press the test button on one alarm for interconnected systems, all interconnected alarms should sound simultaneously. This test ensures that the alarms are correctly interconnected and communicate. Double-check the wiring connections or consult the manufacturer’s troubleshooting guide if any alarm fails to sound.
Step 8. Program the Interconnect Feature:
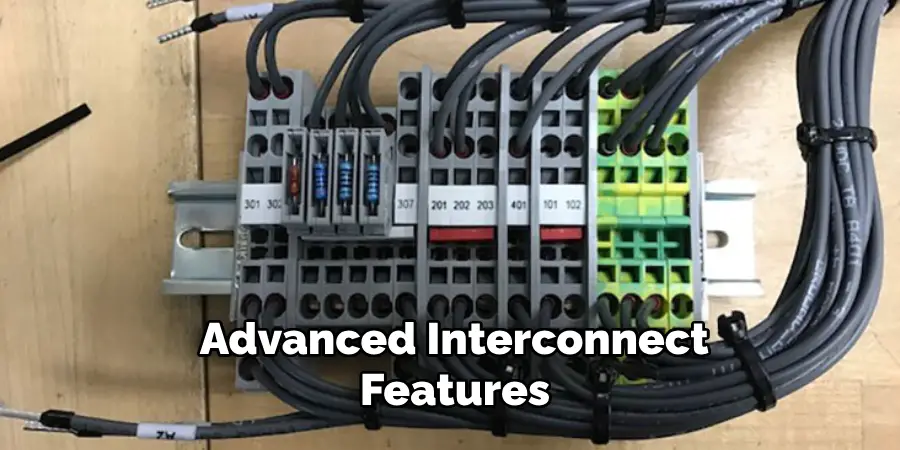
You might need to program the interconnect functionality if you are using wireless smoke alarms or alarms with advanced interconnect features. Refer to the manufacturer’s instructions for detailed steps to ensure all alarms are properly synced within the network.
This may involve pressing a series of buttons in a specific sequence or using a remote control if provided. Correct programming ensures that when one smoke alarm is triggered, the others will respond accordingly, providing comprehensive coverage throughout your home.
Step 9. Educate Your Household:
After installation, it’s crucial to inform all members of your household about the newly interconnected smoke alarms. Explain how the alarms work, what to do when an alarm sounds, and identify the exits and escape routes in case of a fire.
Conduct regular fire drills to practice evacuating the home safely and quickly. Knowing the sounds and proper responses to smoke alarms can be the difference between life and death during an emergency.
As part of ongoing maintenance, make sure to replace batteries and test the alarms regularly. Be proactive in maintaining your smoke alarm system to protect your home and loved ones from fire hazards.
Step 10. Regular Maintenance and Testing:
Maintaining your smoke alarms is vital for ensuring ongoing protection. Test your smoke alarms monthly to confirm they are operating correctly. Replace the batteries at least once a year or immediately when a low-battery alert sounds.
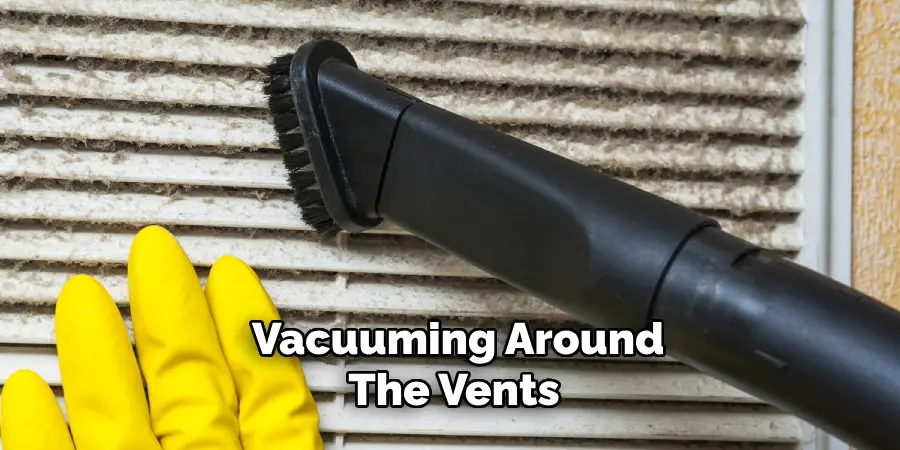
Additionally, clean the alarms regularly by gently vacuuming around the vents to remove dust and debris that can prevent proper operation.
Most smoke alarms should be replaced every 10 years; check the manufacturer’s replacement guidelines and keep track of installation dates to ensure timely replacement.
By following these steps, you can confidently install and maintain an interconnected smoke alarm system, which will enhance your safety and peace of mind.
5 Additional Tips and Tricks
- Select Compatible Models: Ensure all smoke alarms you plan to interconnect are compatible. This information can be found in the product specifications or user manuals. Mixing different brands or models that are not designed to communicate with each other can result in faulty operations.
- Use Appropriate Wiring: For hardwired smoke alarms, use the correct gauge of wire as specified by the manufacturer. The usual standard is a 14-gauge, three-wire cable with a black (hot), white (neutral), and red (interconnect) wire. This ensures reliable communication between all interconnected units.
- Install Smoke Alarms in Key Locations: Proper placement is critical. Install interconnected smoke alarms on every level of your home, including the basement, inside each bedroom, and outside each sleeping area. This maximizes the chances of early detection and prompt alerting in case of a fire.
- Regularly Test the System: Monitor your interconnected smoke alarms monthly to ensure they operate correctly. Press and hold the test button on one alarm; if the system is functioning properly, all interconnected alarms should sound. Replace batteries or units that do not respond.
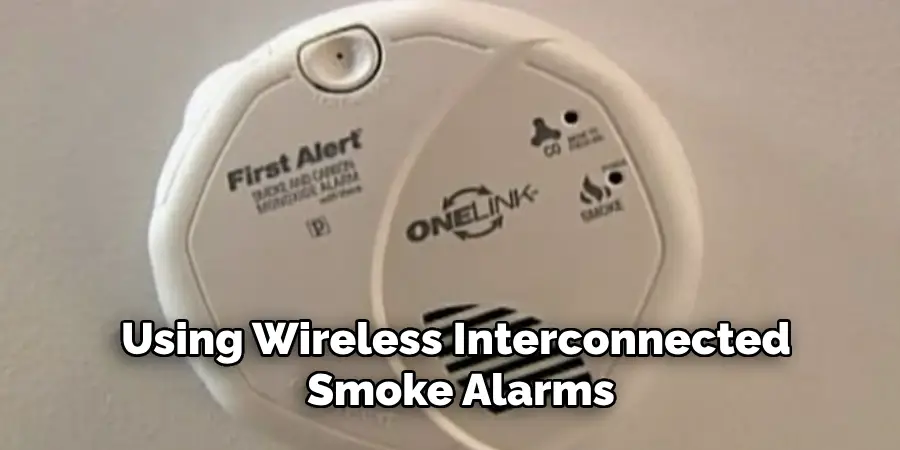
- Consider Wireless Interconnection: If running new wiring is impractical, consider using wireless interconnected smoke alarms. These units communicate using radio frequency signals and can be a convenient and equally effective solution for enhancing your home’s fire detection system.
With these additional tips and tricks, you can ensure that your interconnected smoke alarm system is set up correctly and functioning at its best.
5 Things You Should Avoid
- Skipping Compatibility Checks: Never assume that different brands or models of smoke alarms will work together seamlessly. Always verify compatibility to prevent malfunction or incomplete protection.
- Using Inappropriate Wiring: Avoid deviating from the specified wiring requirements. Using the wrong gauge or type of wire can lead to poor connectivity and potentially dangerous situations if the alarms fail to communicate during an emergency.
- Ignoring Manufacturer Instructions: Failing to follow the manufacturer’s installation guidelines can compromise the performance of your smoke alarms. Each model may have specific installation requirements that must be adhered to for optimal operation.
- Neglecting Regular Maintenance: Do not neglect to regularly test and maintain your interconnected smoke alarm system. Failing to replace batteries or perform monthly tests can result in alarms not functioning when needed most.
- Overlooking Local Codes and Regulations: Ensure you know and comply with local building codes and fire safety regulations. Ignoring these can lead to legal issues and put your home at greater risk in case of a fire.
By avoiding these common mistakes, you can ensure that your interconnected smoke alarm system is set up and maintained correctly for maximum protection.
Why Are Smoke Alarms Interconnected?
Interconnected smoke alarms are essential for providing comprehensive and reliable fire detection in your home. By connecting multiple units throughout the house, they create a network of detectors that work together to quickly detect and alert occupants of potential danger.
One of the primary reasons for interconnected smoke alarms is to increase the chances of early detection. In case of a fire, one alarm may not be enough to alert everyone in the house, especially if they are asleep or in a different part of the home.
With interconnected alarms, all units will sound simultaneously when one detects smoke or fire, increasing the chances of prompt evacuation.
Additionally, interconnected smoke alarms allow for easier maintenance and testing. Instead of having to check multiple individual units, you can test them all at once by pressing the test button on one alarm. This saves time and ensures that all alarms are functioning correctly.
Moreover, interconnected smoke alarms provide a higher level of safety for occupants. Multiple units sounding at once reduces the risk of a person sleeping through a single alarm or not hearing it in a different part of the house.
Where Do Interconnected Smoke Alarms Need to Be Placed?
As mentioned earlier, interconnected smoke alarms should be installed on every level of your home, inside each bedroom and outside each sleeping area. However, there are a few key locations that you should pay special attention to when placing interconnected smoke alarms:
- Kitchen: The kitchen is one of the most common areas in the house where fires can start. Therefore, it is crucial to have a smoke alarm installed in or near the kitchen. However, placing it away from cooking appliances is essential to prevent false alarms.
- Garage: Many people overlook the garage when it comes to installing smoke alarms. However, garages can be a common source of fires due to storing flammable materials and housing vehicles that can leak flammable liquids. Interconnected smoke alarms in the garage can provide early detection and alerting in case of a fire.
- Basement: Basements are often used for storage, making them susceptible to fires caused by flammable materials. An interconnected smoke alarm installed in the basement will quickly detect and alert occupants of potential danger.
- Attic: Like basements, attics are also commonly used for storage and can be a source of fires. Install an interconnected smoke alarm in the attic to provide early warning and increase safety.
- Hallways: Hallways are essential routes for evacuation during a fire. Placing interconnected smoke alarms in hallways ensures that occupants will be alerted no matter where they are in the house.
By strategically placing interconnected smoke alarms in these locations, you can increase the effectiveness of your home’s fire detection system and ensure maximum protection for you and your family.
Conclusion
Installing interconnected smoke alarms in your home is a critical step in enhancing fire safety and ensuring the well-being of your family. By following the guidelines outlined in this document, you can create a comprehensive and reliable fire detection system.
Ensure you choose compatible alarms, adhere to proper wiring standards, and place the devices in key locations such as bedrooms, kitchens, and hallways. Regular maintenance and adherence to local codes will further solidify your system’s efficacy.
These steps significantly increase early detection and evacuation preparedness, providing peace of mind and a safer living environment.
Hopefully, this document has provided valuable information and insights on how to interconnect smoke alarms. Remember, fire safety is a responsibility that we all share, so let’s do our part in protecting ourselves and those around us by ensuring our homes are equipped with functional and interconnected smoke alarms. Stay safe!