Do you want your Alexa to be the more secure and only answer your voice? With the growing popularity of home assistants, it’s no wonder why people are looking for ways to make their personal assistants as safe and secure as possible.

The good news is there are simple steps you can take that will ensure that your device responds to your instructions and enhance its overall security. In this comprehensive blog post, we’ll discuss everything from setting up specific voice recognition features on Alexa-enabled devices to tips on further protecting them from outside threats.
So if you’re ready to head down the rabbit hole of making sure no one else can access your intelligent home assistant except for you – then let’s get started! Therefore, keep reading to know more about how to make Alexa only respond to your voice.
Reasons Why You Need to Make Alexa only Respond to Your Voice
There are several reasons why you might want to make Alexa only respond to your voice, including:
- Privacy concerns: If you have Alexa in a shared space or a place where others can access it, you might be concerned about your personal information being overheard or accessed by someone else. By making Alexa respond only to your voice, you can limit the chances of others overhearing your sensitive information.
- Prevent accidental activation: Sometimes, Alexa can be triggered accidentally by background noise or someone else’s voice. By setting up Alexa to only respond to your voice, you can reduce the chances of this happening, which can save you from potential embarrassment or unwanted interruptions.
- Personalization: By training Alexa to recognize your voice, you can customize your experience with Alexa to better suit your needs. Alexa can tailor its responses and recommendations based on your preferences, making it more efficient and effective in assisting you with tasks.
- Security: If you use Alexa to control smart devices such as security cameras or smart locks, it’s crucial to ensure that only authorized users have access to it. By making Alexa respond only to your voice, you can limit the chances of someone else controlling your smart devices without your knowledge or consent.
- Avoiding conflicts: If you live with other people, having multiple people using Alexa can lead to conflicts or confusion, especially if they have different preferences or settings. By making Alexa respond only to your voice, you can avoid any potential conflicts or misunderstandings.

In summary, making Alexa respond only to your voice can help protect your privacy, prevent accidental activation, personalize your experience, ensure security, and avoid conflicts.
Step by Step Guide on How to Make Alexa only Respond to Your Voice
Step 1: Download Alexa App:
The first step in making Alexa only respond to your voice is downloading the Alexa app on your smartphone or tablet. This will allow you to set up and manage Alexa and access features such as setting up Voice Recognition.
Step 2: Set Up Voice Recognition for Your Account:
Once you have downloaded the app, log into your account and open the settings. You should see an option for ‘’Voice Recognition” – click on this to bring up the Voice Recognition setup screen. Here, you can set up a “voice profile” that Alexa will use to recognize your voice.
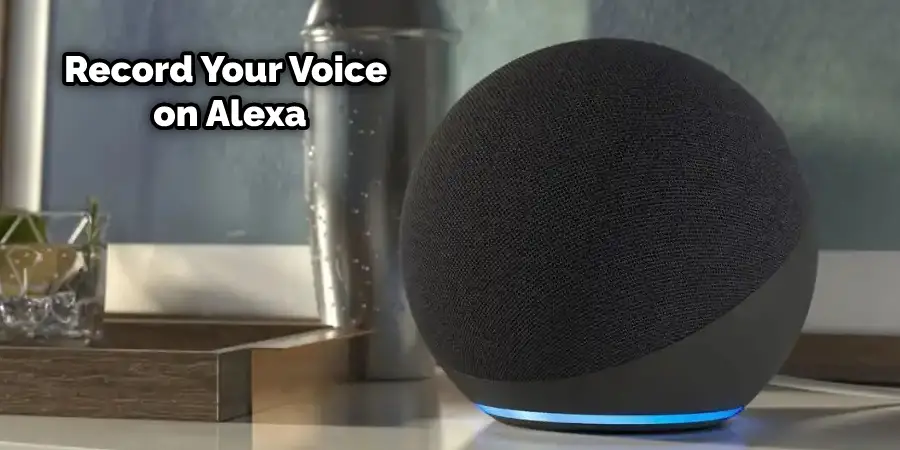
Step 3: Record Your Voice:
The next step is to record your voice. Alexa will prompt you to speak a few phrases, which it will use to learn your voice. Make sure you’re speaking in your normal voice – no need to shout or alter the pitch of your voice.

Step 4: Train Alexa:
Once you’ve recorded your voice, Alexa will ask you to repeat the phrases. This is to train Alexa to recognize your voice and ensure that it can differentiate between your voice and others.
Step 5: Manage Your Voice Profiles:
Once you’ve completed the training session, you can manage your voice profiles in the settings menu of the app. You can add, delete or update voice profiles as needed.
By following these steps, you can make Alexa only respond to your voice, ensuring privacy and security for your information and smart devices. With the right setup and training, Alexa will be able to recognize your voice and provide you with personalized responses! Good luck getting started!
Troubleshooting Tips on How to Make Alexa only Respond to Your Voice
1. Make Sure You Are Speaking in A Normal Voice:
When setting up Voice Recognition, make sure that you are speaking in your normal tone – no need to shout or alter the pitch of your voice. This will help Alexa recognize your voice.
2. Repeat Phrases if Needed:
If Alexa is having trouble recognizing your voice, it may ask you to repeat the phrases. Try repeating them a few times and see if that helps.
3. Check Alexa’s Settings:
If Alexa isn’t responding only to your voice, make sure that you’ve set up the Voice Recognition properly in the settings. You should also check if the Voice Recognition feature is enabled in your Alexa app.
4. Update Your Voice Profile:
If you find that Alexa doesn’t recognize your voice, it may be because your voice profile has become outdated. Try deleting the profile and setting up a new one to see if that helps.
By following these troubleshooting tips, you should be able to make Alexa only respond to your voice.
Other Useful Tips on How to Make Alexa only Respond to Your Voice
1. Minimize Background Noise:
Background noise can interfere with Alexa’s ability to recognize your voice, so try to reduce any external noises when speaking to it. Turn down the television or radio and ask others in the room to keep quiet when you’re talking to Alexa.
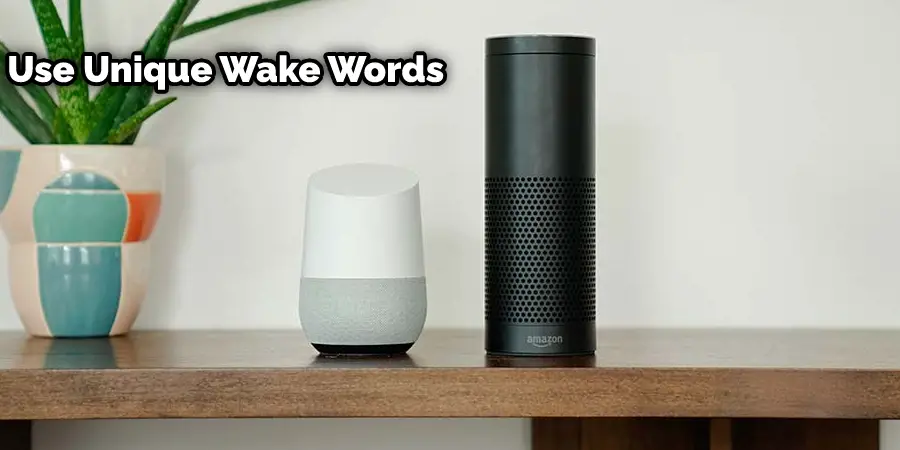
2. Use Unique Wake Words:
You can also customize your wake words so that Alexa will only respond to certain phrases. This is helpful if you have multiple Echo devices in the same household and want to make sure that each one responds only to its designated user.

3. Use Separate Profiles for Family Members:
If you have multiple family members using the same Echo device, each one of them can set up their own voice profile. This will ensure that Alexa only recognizes the correct person’s voice.
By following these tips, you should be able to make Alexa only respond to your voice.
Warning Tips on How to Make Alexa only Respond to Your Voice
1. Don’t Share Your Voice Profile:
Make sure that you don’t share your voice profile with anyone else, as this could make Alexa respond to someone else’s voice. This could be problematic if they have access to sensitive personal information or data stored on the Echo device.
2. Don’t Forget to Update Your Profile Regularly:
Make sure that you keep your voice profile up to date, as your voice may change over time. You should also delete any old voice profiles and set new ones every few months or so.
3. Don’t Disable Voice Recognition:
Be aware that if you disable voice recognition, Alexa won’t be able to recognize your voice and will respond to anyone who speaks to it. This could lead to security issues, so ensure you always keep this feature enabled.
How to Customize Alexa by Your Voice
1. Set Up a New Voice Profile:
You can create a new voice profile for yourself by going to the Alexa app and selecting “Settings” > “Your Voice.” You will then be asked to read five different phrases, which will help Alexa recognize your voice.
2. Customize Your Wake Words:
You can customize your wake words by going to the Alexa app and selecting “Settings” > “Your Voice.” You will then be asked to choose from a list of available wake words, such as “Alexa”, “Echo,” or “Computer.”
3. Create Separate Profiles for Family Members:
If you have multiple family members using the same Echo device, each one of them can set up their voice profile. This will ensure that Alexa only recognizes the correct person’s voice.
Use Security Code for Privacy Concern
Here is a step-by-step guide on how to set up a PIN code for Alexa:
- Open the Alexa app: The Alexa app is available for free download on the App Store or Google Play Store.
- Tap on the three horizontal lines in the upper left corner to open the menu.
- Select “Settings” from the menu.
- Scroll down to “Alexa Account” and select “Voice Purchasing.”
- Turn on “Voice code” and enter a 4-digit PIN code.
- You can also enable “Require confirmation code” to require a second code to be spoken after the initial code to confirm the purchase.
- After enabling the PIN code, Alexa will ask for the code before completing any voice purchases.
In addition to purchases, you can also set up a PIN code to access sensitive information, such as your calendar, contacts, and lists. Here is how to set up a PIN code for these features:
- Open the Alexa app.
- Tap on the three horizontal lines in the upper left corner to open the menu.
- Select “Settings” from the menu.
- Scroll down to “Alexa Account” and select “Voice Responses.”
- Select “Manage voice purchasing and PIN.”
- Turn on “Restrict access to Alexa Voice Purchasing” and enter a 4-digit PIN code.
- You can also enable “Restrict access to Alexa App” and “Restrict access to Amazon.com” to require the PIN code to access these features.
Setting up a PIN code can help prevent unauthorized purchases and access to sensitive information, especially if you have shared access to Alexa. It is beneficial if you have children who may inadvertently purchase or access sensitive information.
Conclusion
Making Alexa respond only to your voice is possible with simple steps. First, you’ll need to set up Voice Profiles in the Alexa app so that it can recognize your and other family members’ voices. You can also set up PIN codes for additional security or use Amazon Guard’s detection system if someone else tries to access your device without permission.
Finally, make sure you keep all software updated on your Echo devices, as new features may be released which allow even more control over who interacts with them. With these measures in place, you can rest assured that Alexa will only react when it hears your voice commands! Thanks for reading this article about how to make Alexa only respond to your voice.
