
Are you tired of using an analog camera that produces blurry, low-quality images? Do you want to upgrade your security system with the latest technology? Then, converting your analog camera to an IP camera might be your solution!
Analog cameras have long been a staple in surveillance and security systems due to their reliability and cost-effectiveness. However, with technological advancements, IP cameras have become the preferred choice for many, offering higher resolution, remote accessibility, and advanced features. Converting an existing analog camera to an IP camera allows you to leverage these modern benefits without replacing your entire system.
In this guide, we will explore the step-by-step process of how to make analog camera to IP camera, ensuring you can maintain your current infrastructure while upgrading to cutting-edge surveillance capabilities.
What Will You Need?
Before we dive into the conversion process, it’s essential to make sure you have all the necessary equipment and tools. Here is a list of things you will need:
- Analog camera
- Network video server or encoder
- Ethernet cable (preferably CAT5e or CAT6)
- Power adapter for the network video server/encoder
- Router or switch with available ports
- Computer/laptop with internet connection
Now that you have everything you need, let’s convert your analog camera to an IP camera.
10 Easy Steps on How to Make Analog Camera to Ip Camera
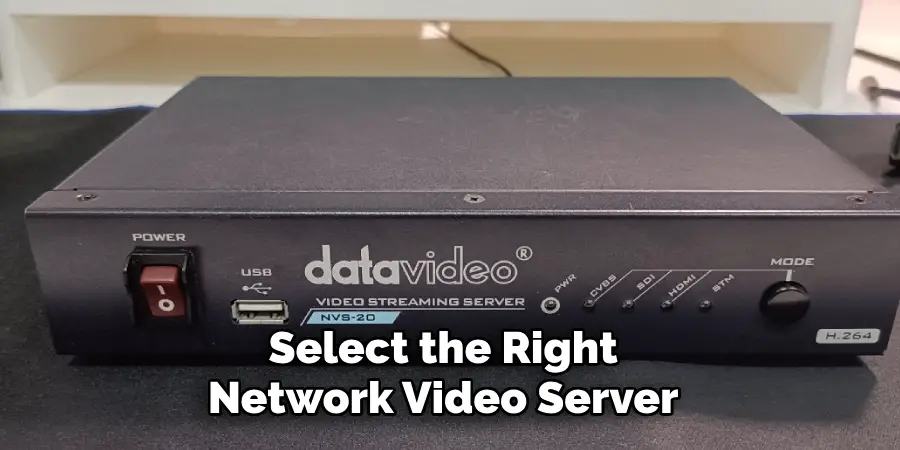
Step 1: Choose the Right Network Video Server
Selecting the right network video server (NVS), also known as an encoder, is crucial for successfully converting your analog camera to an IP camera. The NVS is responsible for converting the analog signal from your camera into digital data that can be transmitted over your network. Here are a few factors to consider when choosing a network video server:
- Compatibility: Ensure that the network video server is compatible with your existing analog camera. Check the input connections and supported video formats to avoid any compatibility issues.
- Number of Channels: Network video servers come in various configurations, offering different numbers of input channels. If you plan to convert multiple analog cameras, consider a multi-channel NVS to manage all your cameras efficiently.
- Resolution Support: Verify that the NVS supports the maximum resolution offered by your analog camera. While most analog cameras operate at lower resolutions than IP cameras, some modern ones can still provide relatively high-definition output that your encoder should support.
- Network Connectivity: Since the NVS will be a new addition to your network, ensuring it has reliable network connectivity options is important. Look for models with built-in Ethernet ports that support CAT5e or CAT6 cables for robust network performance.
- Additional Features: Some network video servers have advanced features such as motion detection, noise reduction, and remote access capabilities, which can significantly enhance your surveillance system’s performance.
After considering these factors and selecting the right network video server for your system, you are ready to proceed to the next step in the conversion process.
Step 2: Connect the Analog Camera to the Network Video Server
Once you have selected the appropriate network video server, the next step is to physically connect your analog camera to it. Follow these steps:
- Ensure both the analog camera and the network video server are powered off to avoid any electrical issues during installation.
- Locate the analog video output cable on your camera, typically a BNC connector.
- Connect the BNC cable from your analog camera to the video input port on the network video server.
- If your network video server also includes audio input options and your camera supports audio recording, connect the audio output cable from your camera to the corresponding audio input on the server.
Step 3: Power Up the Devices
With the physical connections made, it’s time to power up your devices:
- Plug the power adapter into the network video server and connect it to a power outlet.
- Turn on the network video server and wait for it to initialize.
- Power on your analog camera and ensure it is functioning correctly.
Step 4: Connect the Network Video Server to the Network
To integrate your network video server into your surveillance network, follow these steps:
- Use an Ethernet cable (CAT5e or CAT6) to connect the network video server to an available port on your router or network switch.
- Ensure the connection is secure and the indicators on the network video server show a stable network connection.
Step 5: Configure Network Settings
To access your network video server over your network, you need to configure its network settings:
- Use a computer or laptop connected to the same network as your network video server.
- Open a web browser and enter the network video server’s default IP address (refer to the manufacturer’s manual for this address).
- Log in using the default credentials provided by the manufacturer.
- Navigate to the network settings section and configure the IP address, subnet mask, and gateway to match your network’s configuration. You may choose to use a static IP address for easier access.
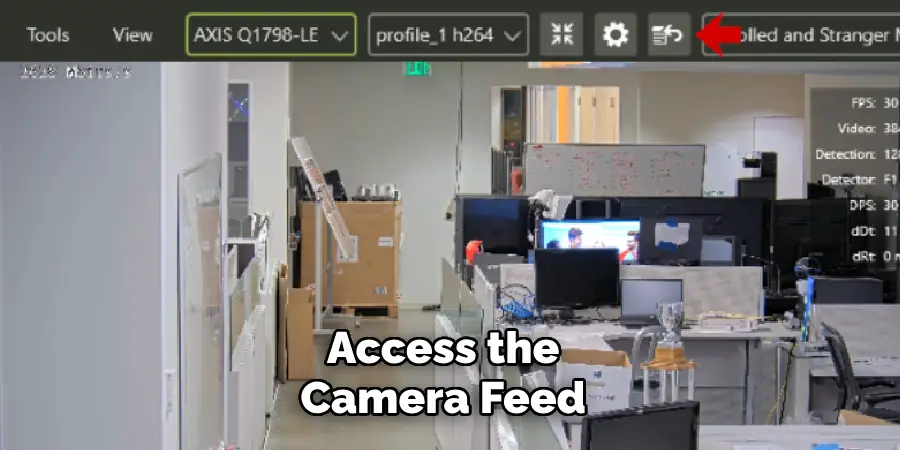
Step 6: Access the Camera Feed via Network Video Server Interface
With network settings configured, you can now access your analog camera feed through the network video server:
- Open a web browser on your computer or laptop and enter the IP address of the network video server.
- Log in using your credentials.
- Navigate to the live view or camera feed section. The video stream from your analog camera should now be displayed on your screen.
Step 7: Install and Configure Surveillance Software
To fully utilize the capabilities of your newly converted IP camera, you’ll need surveillance software:
- Choose a surveillance software that supports IP cameras and network video servers. Popular options include Blue Iris, ZoneMinder, and iSpy.
- Install the software on your computer following the manufacturer’s instructions.
- Add your network video server as a new camera source within the software by entering its IP address and login credentials.
- Configure recording settings, motion detection, and alert notifications as required.
Step 8: Test the Setup
Before declaring the conversion complete, verify that everything is working as it should:
- Check the live feed to ensure the video is streaming smoothly.
- Test any configured features such as motion detection, audio recording, and remote access.
- Ensure the recording functionality is operating and that you can review recorded footage.
Step 9: Fine-Tune the System
After initial testing, you may need to fine-tune your setup:
- Adjust camera angles and focus as needed to ensure optimal coverage and clarity.
- Tweak settings in both the network video server and surveillance software to enhance performance and usability.
- Regularly check for firmware updates for both your network video server and surveillance software to maintain security and functionality.
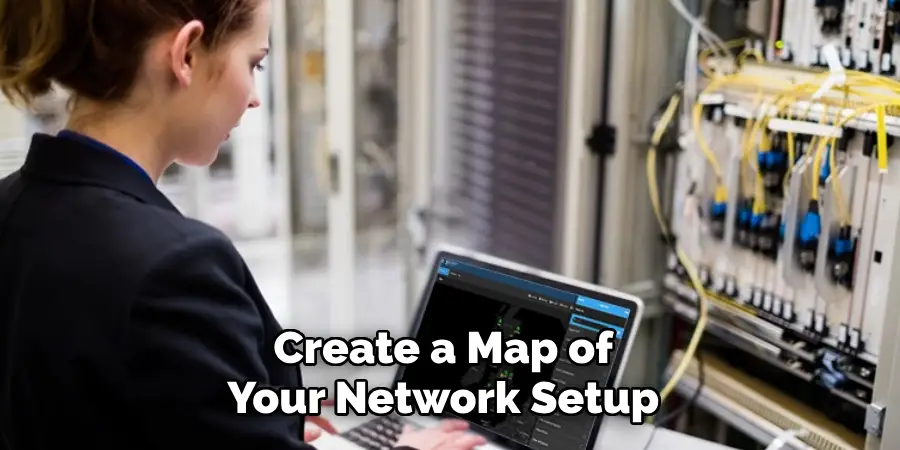
Step 10: Document Your Setup
Lastly, it’s important to document your setup:
- Record the IP address, login credentials, and any configuration settings for future reference.
- Create a map of your network setup, noting where each device is connected.
- Keep a copy of the user manuals and any relevant technical support information.
By following these ten steps, you’ll successfully convert your analog camera to an IP camera, taking full advantage of modern surveillance technology while retaining your existing infrastructure.
5 Things You Should Avoid
- Skipping the Initial Research: Before converting your analog camera, it’s crucial to thoroughly research the various network video servers available, compatibility with your existing equipment, and any additional requirements. Skipping this step could result in purchasing incompatible or subpar hardware.
- Neglecting Power Requirements: Ensure that both your analog camera and network video server have appropriate and reliable power sources. Using incorrect power adapters or insufficient power supplies can cause equipment failure or damage.
- Overlooking Network Security: As you integrate your network video server into your home or business network, it’s vital to prioritize security. Avoid leaving default login credentials, implement strong, unique passwords, and, if possible, enable encryption to protect your surveillance system from unauthorized access.
- Ignoring Firmware Updates: Firmware updates for both network video servers and surveillance software often include critical security patches and performance improvements. Ignoring these updates can leave your system vulnerable to cyber threats and may cause compatibility issues over time.
- Poor Cable Management: Ensure that all cables, including Ethernet and power cables, are properly organized and secured. Poor cable management can lead to accidental disconnections, signal interference, and general untidiness, all of which can negatively impact the reliability and performance of your surveillance system.

By avoiding these common mistakes, you can ensure a smooth and successful conversion from an analog camera to an IP camera.
Conclusion
Converting an analog camera to an IP camera is a valuable endeavor that can significantly enhance your surveillance capabilities. By leveraging modern technology, you can continue to utilize your existing analog cameras while enjoying the benefits of IP-based surveillance systems, such as remote access, high-quality video streaming, and advanced software features. The process outlined in the steps above—from gathering equipment to configuring network settings and fine-tuning your system—ensures a seamless transition.
You can maintain a robust and reliable surveillance system by avoiding key pitfalls like neglecting network security and firmware updates. With careful planning and execution, transforming your analog cameras into IP cameras can provide a cost-effective way to upgrade your security framework without needing a complete overhaul.
Hopefully, the article on how to make analog camera to IP camera was helpful in guiding you through the process. So, be sure to make the most out of this technology upgrade!