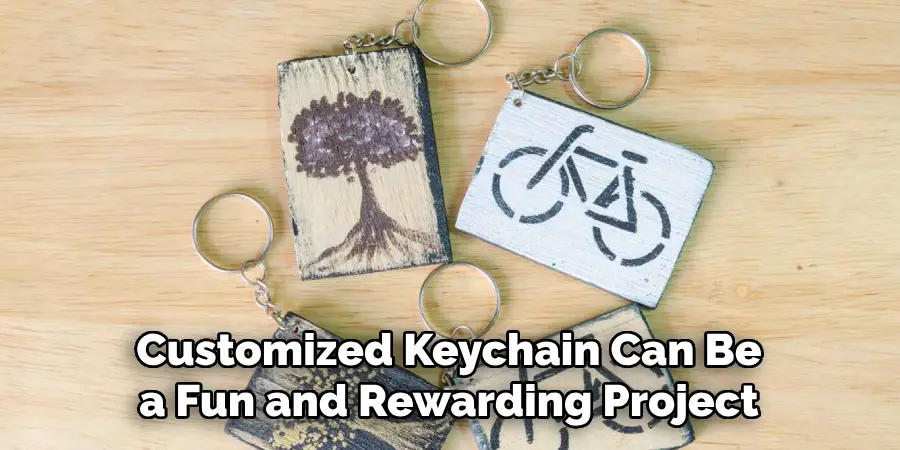
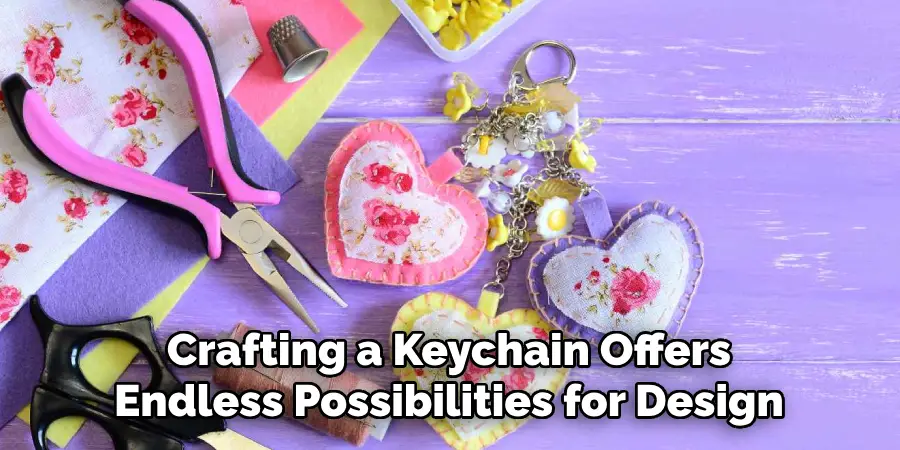
Creating your own customized keychain can be a fun and rewarding project that allows you to express your creativity and personal style. Whether you’re looking to make a special gift for a friend or simply want to add a unique accessory to your own collection, crafting a keychain offers endless possibilities for design and customization. With a few basic materials and some imagination, you can design a keychain that captures your personality or represents something meaningful to you.
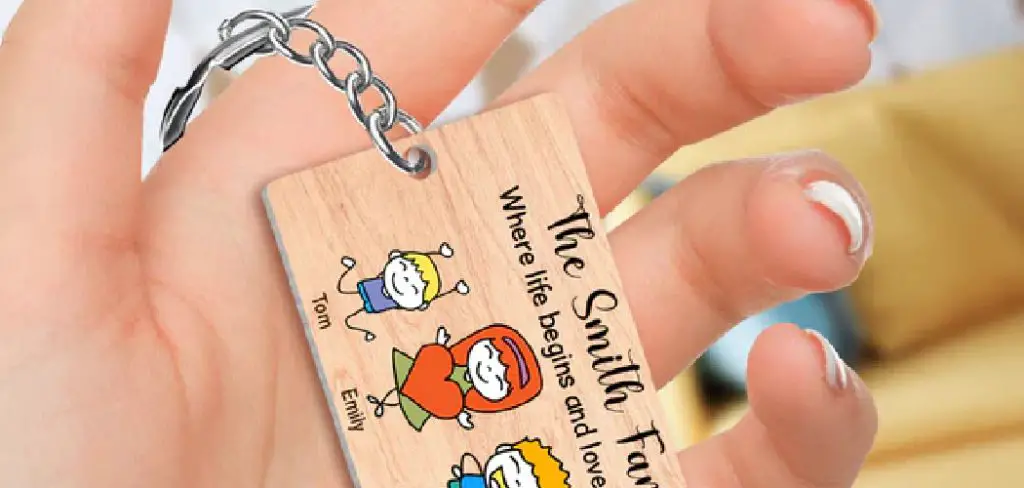
In this guide on how to make customized keychain, we’ll explore the simple steps and materials needed to create a personalized keychain that is both functional and stylish.
Why Make a Customized Keychain?
There are many reasons why you might want to make your own keychain. Here are just a few:
Personalization:
By making your own keychain, you have the opportunity to create something truly unique and special that reflects your personal style and interests. No two keychains will ever be the same, making it a great way to express your individuality.
Cost-effective:
Making your own keychain can also save you money in the long run. Instead of constantly buying new keychains, you can simply create new ones using materials that are easily accessible and affordable.
Thoughtful gift:
A customized keychain makes for a thoughtful and personal gift for friends, family, or even coworkers. You can tailor the design to their interests or add a sentimental touch with personalized messages or symbols.
Materials Needed
To get started on your customized keychain project, you’ll need some basic materials, including:
Keyring:
This will serve as the base for your keychain and can be found at any craft store or online.
Beads, Charms, and Pendants:
These decorative elements will add personality and style to your keychain. You can choose from a wide variety of options, including letter beads, gemstones, metal charms, or even miniature figurines.
Jewelry Making Supplies:
You’ll need some basic jewelry making supplies such as pliers, jump rings, and wire cutters to attach the beads and pendants to the key ring.
Optional Extras:
Depending on your design, you may also want to include additional materials such as ribbon, leather cord, or paint for added customization.
8 Steps on How to Make Customized Keychain
Step 1: Plan Your Design
Before you start assembling your keychain, it is important to plan out your design. Consider the theme or style you want to achieve—do you want something playful and colorful, minimalist and elegant, or perhaps representing a specific interest like a favorite hobby or pet? Sketch your design on paper first to visualize how the beads, charms, and other decorative elements will be arranged.
This is the time to decide which optional extras you might want to incorporate, such as ribbons for added texture or paint for a pop of color. Planning your design ahead of time ensures that the final product is cohesive and resonates with your unique style, making the crafting process smoother and more enjoyable.
Step 2: Prepare Your Work Area
Before you begin assembling your keychain, it’s important to prepare a clean and organized workspace. Choose a flat, stable surface like a table or desk where you can lay out all your materials and tools. Ensure that the area is well-lit to help you see the small details as you work. To keep everything tidy and within reach, consider using small containers or trays to separate beads, charms, and other supplies.

Having an organized workspace not only keeps the crafting process efficient but also helps prevent any frustration from misplacing small items. Additionally, you might want to have a soft cloth or mat underneath your materials to avoid any scratches on your table and to catch beads or pendants that might roll away. Once your work area is set up, you’ll be ready to start creating your unique keychain.
Step 3: Secure the Keyring
Take your keyring and open it using pliers or your fingers. Make sure to leave one side of the ring closed so that you can easily add beads and pendants onto it. Once you have added all your desired elements, you can close the keyring completely using pliers. This will ensure that your keychain is secure and won’t come apart easily.
But before closing the keyring, it’s important to consider the orientation of your design. If you want the elements on your keychain to be facing a certain direction, make sure to arrange them accordingly before securing the keyring completely.
Step 4: String Your Beads and Charms
Now it’s time to add beads and charms to your keyring. Start by threading a bead or charm onto a jump ring. Next, use pliers to open one side of the jump ring and attach it onto the closed part of the keyring. Close the jump ring using pliers, making sure that there is no gap between both ends of the ring. Repeat this process until all your desired elements are added onto the keyring.
But don’t be afraid to experiment with different arrangements and combinations of beads and charms. You can also add smaller jump rings between the beads for added movement and dimension. Remember, this is where your creativity comes in, so have fun with it!
Step 5: Add Personal Touches
Once you’ve added all your desired elements onto the keyring, it’s time to add any additional personal touches. This could include using paint or markers to write a name or message on a bead, tying a ribbon around the keyring, or even attaching a small photo inside a pendant.
These little details can make your customized keychain even more special and meaningful. It’s also a great way to showcase your unique personality and creativity.
Step 6: Finishing Touches
Now that your keychain is almost complete, it’s time to add the finishing touches. Use pliers to close any remaining jump rings securely. You can also use a small amount of adhesive or glue to seal the jump rings for added durability.
If you’re using ribbons or cords, make sure they are tied tightly and trimmed neatly. If you’re using paint or markers, allow enough time for them to dry before handling the keychain. Once all the elements are secured, give your keychain one last inspection to ensure everything is in place and looks just the way you want it.
Step 7: Clean Up
With your keychain beautifully assembled, it’s time to tidy up your workspace. Carefully put away any loose beads, charms, or other materials that you might want to use for future projects. Organize your tools and place them back into their designated spots so they’ll be easy to find the next time you craft.
Dispose of any scraps or waste materials to keep your work area neat and ready for its next use. Taking a few moments to clean up not only helps maintain an organized crafting space but also ensures that your creative environment is inviting for your next project.
Step 8: Enjoy Your Unique Keychain
Congratulations, you have successfully made your very own customized keychain! Admire your creation and show it off to family and friends. You can attach it to your keys, bag, or use it as a decorative accessory.
Remember, the great thing about making keychains is that there are endless possibilities for creativity and personalization. So, don’t be afraid to try new designs, materials, or techniques. Have fun exploring and expressing your style through this simple but rewarding craft!
Following these steps on how to make customized keychain will result in a beautiful and unique keychain that reflects your own personal style and creativity. Don’t be afraid to experiment with different designs and materials, as each keychain can become a work of art.
Frequently Asked Questions
Q: Can I Add More Than One Keyring to My Customized Keychain?
A: Yes, you can add multiple keyrings to create a layered look or to accommodate more keys. Just make sure to secure each keyring using pliers before adding additional elements. The key is to balance the weight and size of your keychain so it is still functional and not too bulky.
Q: What Are Some Ideas for Personalizing My Keychain?
A: You can add a pendant with your initials, birthstone, or zodiac sign. You can also use beads in your favorite colors, charms that represent a hobby or interest, or even small trinkets that hold sentimental value. Get creative and make it unique to you!
Q: Can I Make Keychains as Gifts?
A: Absolutely! Customized keychains make great gifts for friends and family. Consider personalizing them with elements that have special meaning to the recipient, such as their favorite color or hobby. You can also make a batch of keychains in different designs and give them as party favors or small tokens of appreciation.
Q: Can I Use Other Materials Besides Beads and Charms?
A: Yes, you can use any small and lightweight materials that can be attached to a keyring. Some ideas include small figurines, buttons, scrabble tiles, shells, or even paper cutouts. Just make sure they are securely attached and won’t easily fall off.
Conclusion
Creating a customized keychain not only allows for a unique expression of creativity but also results in a functional and personalized accessory. By following the outlined steps on how to make customized keychain, from choosing the right materials to adding personal touches, crafting a keychain becomes an enjoyable and rewarding process. The flexibility in design ensures that each keychain reflects individual style, making it a perfect project for personal use or as a special gift.
Whether it’s using beads, charms, or unconventional materials, the possibilities for creativity are endless. So gather your tools, let your imagination guide you, and embark on the joyous journey of keychain crafting.
