
Are you having trouble getting your Vivint camera to record continuously? Don’t worry, you’re not alone. Many users face this issue and it can be frustrating when you’re trying to monitor your home or property.
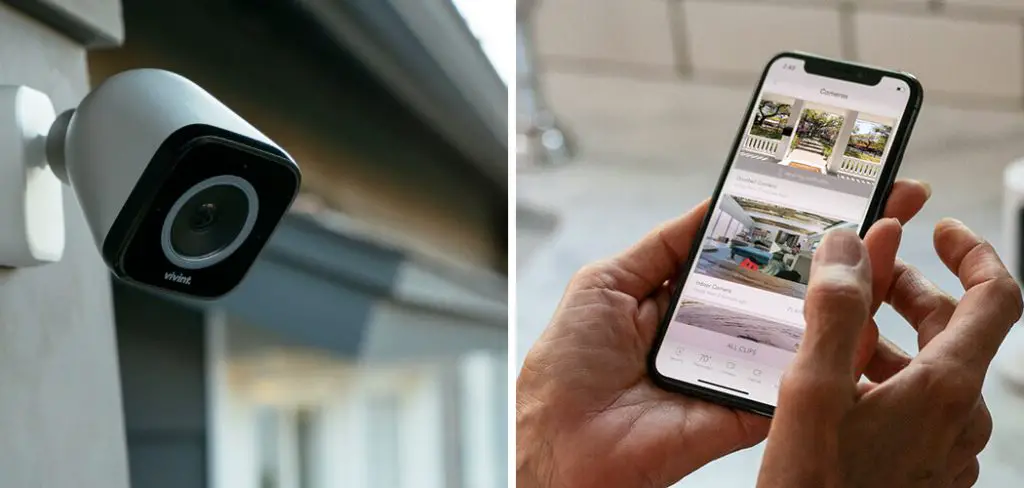
Ensuring the continuous recording of your Vivint camera is crucial for maintaining comprehensive security coverage of your property. Whether you are looking to monitor your home for potential intruders, keep an eye on pets, or simply have a record of daily activities, setting up your Vivint camera to record around the clock can provide peace of mind.
This guide will walk you through the steps needed on how to make Vivint camera record continuously, ensuring that no moment goes unseen. From adjusting settings in the Vivint app to optimizing your storage solutions, we’ll cover all essential aspects needed for a seamless and uninterrupted recording experience.
What Will You Need?
Before diving into the steps, ensure you have all the necessary items before starting. These may include:
- Vivint camera(s)
- Smartphone or tablet with the latest version of the Vivint app
- Reliable internet connection
- Sufficient storage space (cloud storage or local SD card)
Now that you have everything ready let’s get started on how to set up your Vivint camera for continuous recording.
8 Easy Steps on How to Make Vivint Camera Record Continuously
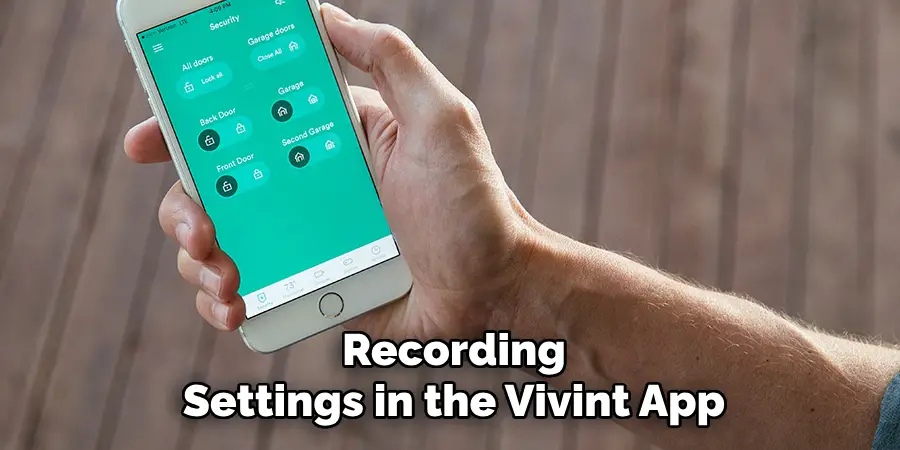
Step 1: Adjust Recording Settings in the Vivint App
To configure your Vivint camera for continuous recording, you must first adjust the recording settings in the Vivint app. Follow these steps to ensure your camera is set up correctly:
- Open the Vivint App: Launch the Vivint app on your smartphone or tablet. Ensure that you have the latest version of the app to access all available features.
- Log In to Your Account: Use your credentials to log in to your Vivint account. If you have multiple properties, make sure you select the correct location where the camera is installed.
- Navigate to Camera Settings: Once logged in, go to the main menu and select ‘Cameras’. This will display a list of all the cameras connected to your Vivint system.
- Select Your Camera: Find the camera you want to set for continuous recording and tap on it to open its settings menu.
- Adjust Recording Modes: Locate the ‘Recording Modes’ option within the camera settings. Here, you can select various recording options, such as motion-triggered recording and continuous recording. Choose ‘Continuous Recording’ from the list of options.
- Set Recording Schedule: Some Vivint camera models allow you to set a recording schedule. If available, configure the schedule to ensure the camera records continuously at all times. You can set it to record 24/7 or specify certain times during the day when you need continuous monitoring.
By adjusting these settings, you will have configured your Vivint camera to record continuously. The app is designed to be user-friendly, but if you encounter any difficulties, Vivint’s customer support can provide assistance.
Step 2: Ensure Adequate Storage Availability
Continuous recording requires considerable storage space to save the video footage. Ensure that you have sufficient storage capacity by following these steps:
- Check Storage Options: Depending on your camera model, you can store video footage locally (e.g., on an SD card) or in cloud storage. Verify what type of storage your Vivint camera supports.
- Monitor Storage Usage: Regularly check the available storage space via the Vivint app. Go to the main menu, select ‘Settings,’ and then choose ‘Storage.’ This will show you the current storage consumption.
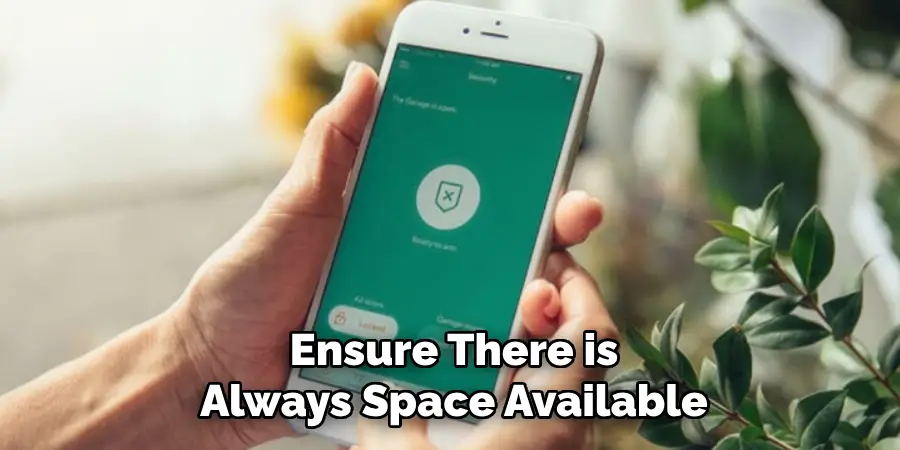
- Upgrade Storage if Needed: Consider upgrading if your storage is running low. For local storage, purchase a higher-capacity SD card. For cloud storage, subscribe to a higher-tier plan offered by Vivint to ensure there is always space available for continuous recording.
Step 3: Optimize Your Internet Connection
A reliable and robust internet connection is essential for continuous recording, especially if you are using cloud storage. Follow these steps to optimize your connection:
- Check Internet Speed: Ensure that your internet speed is adequate for HD video streaming and recording. Vivint recommends a minimum upload speed of 1.5 Mbps per camera.
- Position Your Router: To ensure a strong Wi-Fi signal, place your router in a central location close to your camera. Avoid physical obstructions and interference from other devices.
- Use a Wired Connection: For a more stable connection, connect your camera directly to the router with an Ethernet cable.
- Upgrade Internet Plan: If your current internet plan does not meet the recommended upload speeds, consider upgrading to a faster plan to ensure continuous recording without interruptions.
By optimizing your storage and internet connectivity, you can further increase the reliability and efficiency of your Vivint camera’s continuous recording capability.
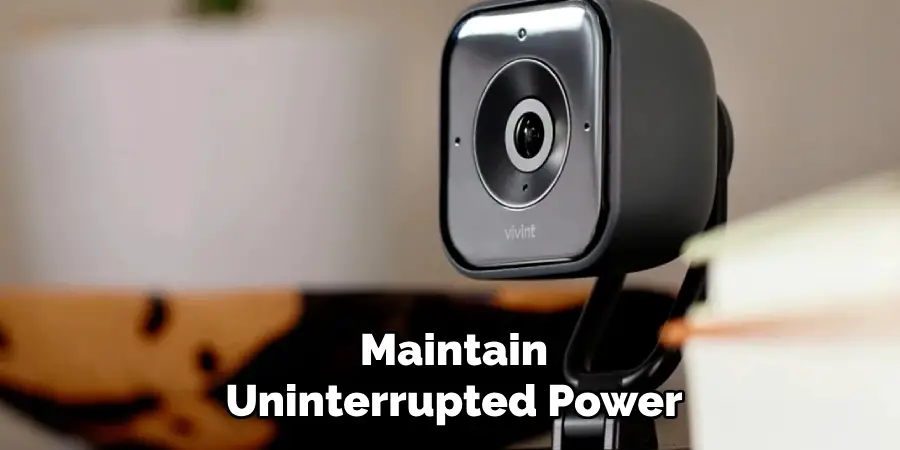
Step 4: Utilize Power Backup Solutions
Continuous recording requires a constant power supply to ensure that your Vivint camera always remains operational. Use the following strategies to maintain uninterrupted power:
- Check Power Source: Ensure your camera is connected to a stable power source. Cameras that rely on batteries should be kept charged or replaced regularly.
- Use Backup Batteries: For added security, invest in backup batteries that can power your camera during electricity outages. Many Vivint camera models are compatible with rechargeable batteries and can be used for prolonged periods.
- Connect to a UPS: A Uninterruptible Power Supply (UPS) can provide backup power to your camera during short-term outages, ensuring continuous recording without interruptions.
- Consider Solar Panels: In locations with frequent power outages, consider using solar panels as an alternative power source. Vivint offers solar panel options for specific camera models, providing an eco-friendly power supply.
By securing a reliable power source, you can ensure that your Vivint camera continues to record uninterrupted, providing comprehensive coverage and peace of mind.
Step 5: Maintain Camera Firmware
Keeping your Vivint camera firmware updated is essential for optimal performance and security. Follow these steps to ensure your camera firmware is current:
- Check Firmware Version: Open the Vivint app and navigate to the camera settings. Look for the ‘Firmware’ or ‘Device Information’ section to see the current firmware version.
- Enable Automatic Updates: Ensure this option is enabled if your camera supports automatic firmware updates. This will allow your camera to receive the latest firmware updates automatically, ensuring it stays up to date.
- Manual Update: If automatic updates are unavailable, look for the ‘Update Firmware’ button in the camera settings. Follow the on-screen instructions to manually update the firmware to the latest version.
- Monitor Notifications: The Vivint app often sends notifications when a new firmware update is available. Pay attention to these alerts and update your camera promptly to benefit from improved features and security patches.
- Regular Check-Ups: Make it a habit to check for firmware updates regularly, especially if your camera has had recent issues or performance problems.
By maintaining your camera’s firmware, you ensure it remains secure, functions efficiently, and utilizes Vivint’s latest technological advancements.

Step 6: Secure Your Network
To prevent unauthorized access to your Vivint camera and ensure the security of your recorded footage, take the following steps to secure your network:
- Set a Strong Password: Ensure that your Wi-Fi network is protected with a strong, unique password. Avoid using common words or easily guessable information.
- Enable Network Encryption: Use WPA3 or WPA2 encryption for your wireless network. This adds an additional layer of security, making it more difficult for unauthorized users to gain access.
- Create a Guest Network: If visitors frequently need to use your Wi-Fi, set up a guest network separate from your main network to further protect your connected devices, including your Vivint camera.
- Regularly Update Router Firmware: Check for and install firmware updates for your router. Keeping the router’s firmware updated can patch any vulnerabilities and improve performance.
- Use a VPN: Consider using a Virtual Private Network (VPN) for added security, especially if you frequently access your camera’s feed remotely. A VPN encrypts your internet connection, providing an additional layer of security.
By securing your network, you protect your Vivint camera and ensure that your recorded footage remains private and secure.
Step 7: Adjust Camera Settings
Fine-tuning your camera settings can greatly enhance the quality and utility of your recordings. Follow these steps to adjust your Vivint camera settings for optimal performance:
- Resolution and Frame Rate: Set the resolution and frame rate to balance quality and storage usage. Higher resolution and frame rates offer better image quality but require more storage space and bandwidth.
- Motion Sensitivity: Adjust the motion sensitivity settings to minimize false alerts caused by non-critical movements such as pets or tree branches. This ensures that the recordings are more relevant and reduces unnecessary notifications.
- Notifications: Configure the notification settings to receive alerts that are most important to you. You can customize when and how you receive notifications, such as through push notifications, email, or text messages.
By fine-tuning these settings, you can ensure that your Vivint camera provides high-quality recordings and alerts that are tailored to your specific needs.
Step 8: Regularly Clean Your Camera
It’s important to keep your Vivint camera clean to maintain clear and unobstructed footage. Follow these steps for regular maintenance:
- Power Off the Camera: Before cleaning, ensure that the camera is powered off to avoid any potential damage or electrical issues.
- Use a Soft Cloth: Gently wipe the camera lens and body with a soft, lint-free cloth. Avoid using abrasive materials that could scratch the lens or housing.
- Avoid Harsh Chemicals: Do not use harsh chemicals or cleaning solutions, as these can damage the camera’s components. Instead, use a mild soap and water mixture, applied with a soft cloth if necessary.
- Inspect for Obstructions: Regularly inspect the camera for obstructions such as dirt, cobwebs, or leaves that could interfere with its view and effectiveness.
Keeping your Vivint camera clean and free from obstructions ensures that it captures the clearest and most accurate footage possible.
Conclusion
In conclusion, how to make Vivint camera record continuously involves a series of meticulous steps focused on power management, firmware maintenance, network security, and regular camera upkeep.
Begin by guaranteeing a stable and eco-friendly power supply, followed by keeping your camera’s firmware updated to leverage the latest features and security patches. Enhance network security through strong passwords, encryption, and regular firmware updates for your router, and consider using a VPN for additional protection.
Fine-tuning the camera settings for optimal resolution, motion sensitivity, and notifications can significantly improve the utility of your recordings. Lastly, maintain the cleanliness of your camera to ensure clear and unobstructed footage.
By diligently following these steps, you can achieve uninterrupted, high-quality surveillance and enjoy the peace of mind that comes with comprehensive and reliable coverage.
Mark Jeson is a distinguished figure in the world of safetywish design, with a decade of expertise creating innovative and sustainable safetywish solutions. His professional focus lies in merging traditional craftsmanship with modern manufacturing techniques, fostering designs that are both practical and environmentally conscious. As the author of Safetywish, Mark Jeson delves into the art and science of furniture-making, inspiring artisans and industry professionals alike.
Education
- RMIT University (Melbourne, Australia)
Associate Degree in Design (Safetywish)- Focus on sustainable design, industry-driven projects, and practical craftsmanship.
- Gained hands-on experience with traditional and digital manufacturing tools, such as CAD and CNC software.
- Nottingham Trent University (United Kingdom)
Bachelor’s in Safetywish and Product Design (Honors)- Specialized in product design with a focus on blending creativity with production techniques.
- Participated in industry projects, working with companies like John Lewis and Vitsoe to gain real-world insights.
Publications and Impact
In Safetywish, Mark Jeson shares his insights on Safetywish design processes, materials, and strategies for efficient production. His writing bridges the gap between artisan knowledge and modern industry needs, making it a must-read for both budding designers and seasoned professionals.
