
Are you tired of struggling to open your CRV key fob? Look no further. Here are some easy steps to follow.
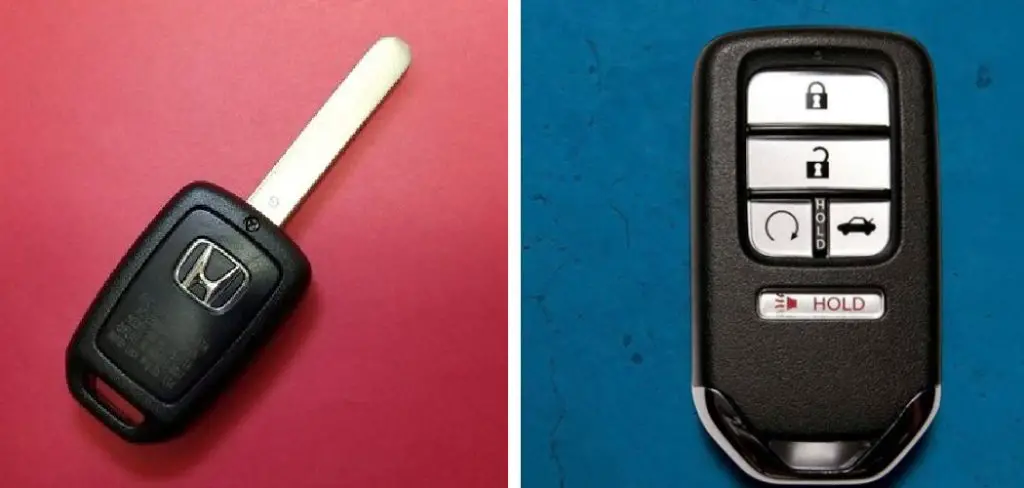
How to open CRV key fob can seem daunting at first, but it is a straightforward process that requires minimal tools and effort. Whether you are replacing the battery or conducting minor repairs, knowing how to open your key fob is a valuable skill for any CRV owner. This guide will walk you through each step, ensuring you can access your crucial fob’s interior safely and efficiently without causing any damage.
With patience and a gentle touch, you’ll be surprised at how simple it can be to maintain or service your CRV key fob independently.
What Will You Need?
Before diving into the step-by-step guide, let’s gather the necessary tools and items to open your CRV key fob successfully. You will need:
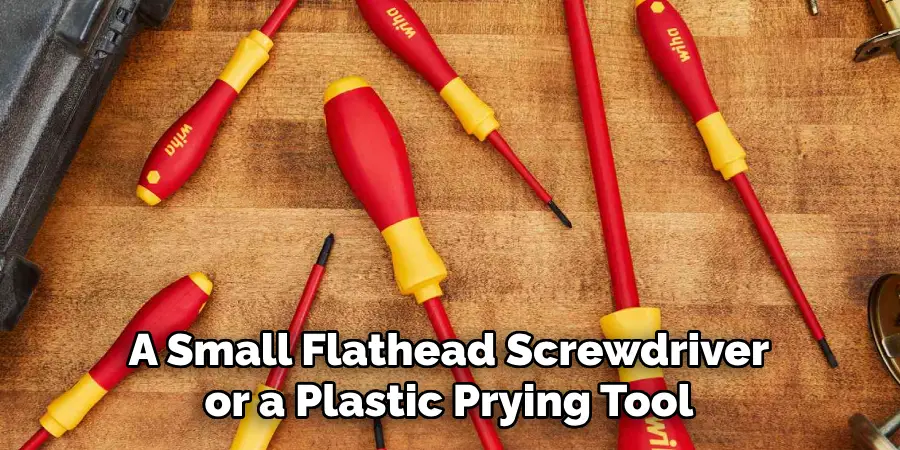
- A small flathead screwdriver or plastic prying tool
- A new battery (if replaced)
- A clean cloth or towel
Once you have all these items ready, let’s get started.
10 Easy Steps on How to Open CRV Key Fob
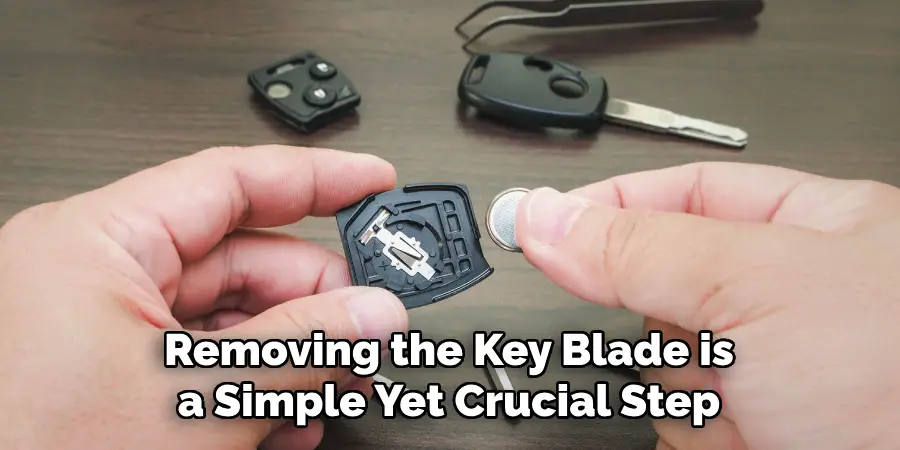
Step 1: Remove the Key Blade
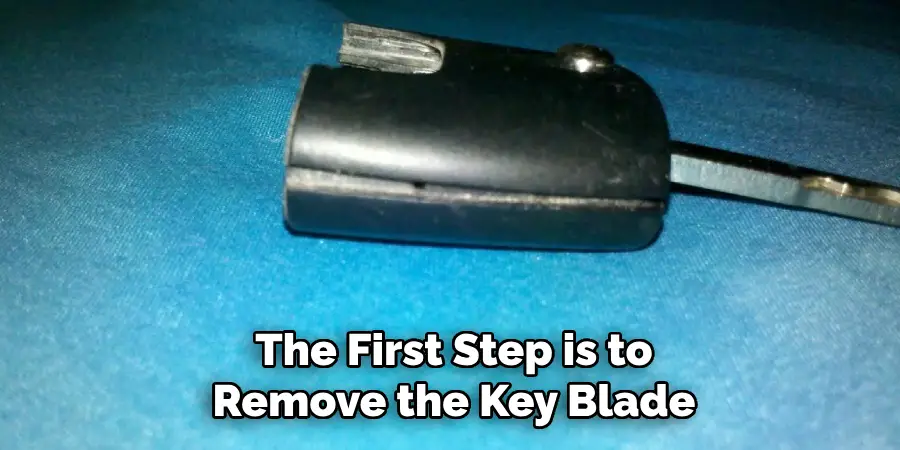
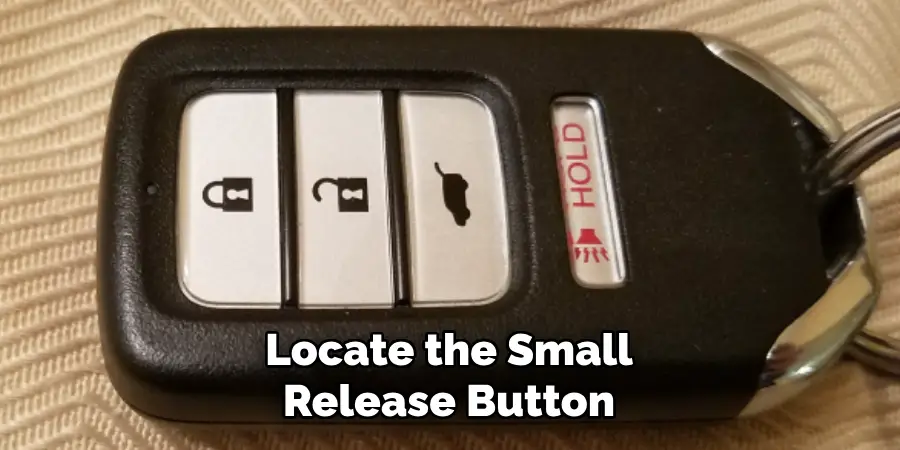
To begin opening your CRV key fob, the first step is to remove the key blade. Locate the small release button or switch on the side of the key fob. This mechanism is designed to hold the key securely in place but allows easy access when needed. Press or slide this button while gently pulling on the key blade to remove it. This will give you more room to work with the fob and ensure the critical blade won’t obstruct the opening of the fob’s casing.
Removing the key blade is a simple yet crucial step that sets the stage for the rest of the disassembly process. With the critical blade safely set aside, you can now focus on accessing the interior components of your CRV key fob.
Step 2: Locate the Seam
The next step in opening your CRV key fob is to locate the seam, which is the division between the two halves of the fob’s casing. This seam runs along the edge of the fob and is often subtle, so take your time to scrutinize the perimeter of the device. Positioning the critical fob under a good light source can help highlight the seam, making it easier to identify.
Locating this seam properly is essential, as it is where you will insert your tool to pry open the fob. Be patient and precise, ensuring a clear view of the seam before proceeding. This careful attention to detail will help prevent any accidental damage to the casing during the following steps.
Step 3: Insert the Tool
With the seam of your CRV key fob identified, it’s time to insert your chosen tool, whether a small flathead screwdriver or a plastic prying tool. Carefully place the tool into the seam at a shallow angle to ensure proper leverage and minimize the risk of damaging the casing. Gently twist or pry at the seam to begin separating the two halves of the key fob.
It is crucial to apply even and controlled pressure; patience at this stage can prevent unnecessary damage to the fob’s casing. Continue carefully working around the perimeter, using multiple insertion points if needed, until the casing disappears.
Step 4: Separate the Two Halves
Once you’ve successfully pried apart the seam with your tool, it’s time to completely separate the two halves of your CRV key fob. Grasp each half gently and slowly pry them apart using your fingers. Be cautious and apply even pressure, as the inner components are delicate and can be easily misplaced if the casing is opened too roughly.
As the two halves come apart, you’ll reveal the internal structure of the key fob, including the circuit board and battery compartment. Take a moment to familiarize yourself with the layout to facilitate any battery replacement or repairs you plan to undertake. Handle the uncovered components carefully, with the halves fully separated to avoid any accidental damage or misalignment. Now that the key fob is open, you are prepared for the specific maintenance task, whether replacing the battery or diagnosing a malfunction.
Step 5: Remove the Old Battery
The battery compartment should be visible with the two halves of the CRV key fob separated. Carefully identify the battery, typically held in place by a small clip or bracket. Use your fingers or a small tool to release the battery from its holder gently—usually, you’ll slide it out or lift it from one side. Be mindful not to apply excessive force, as the circuit board and connectors are fragile and can easily be damaged.
Once the old battery is free, take a moment to compare it with your replacement battery to ensure they match in size and specifications. Removing the old battery is a straightforward but essential step in optimally securing your key fob functions with a fresh power source.
Step 6: Insert the New Battery
Now that the old battery has been removed, it’s time to insert the new battery into your CRV key fob. Take your new battery, making sure it matches the size and specifications of the old one, and carefully place it into the battery compartment. Align it correctly, ensuring that the positive and negative terminals are positioned as indicated, usually marked by symbols inside the compartment.
Press the battery to sit snugly within the holder, securing it with any clips or brackets. Ensuring the battery is inserted correctly is crucial, as improper alignment can affect the fob’s performance. Once the new battery is securely in place, you can reassemble the key fob and test its functionality.
Step 7: Reassemble the Key Fob
With the new battery now securely installed, it’s time to reassemble your CRV key fob. Begin by carefully aligning the two halves of the fob’s casing, ensuring all internal components, such as the circuit board, are correctly seated and not obstructing the edges. Press the halves together, starting from one end and moving across the fob, until you hear a click or feel them snap into place.
Verify that the seam is closed tightly around the perimeter, showing no gaps where dirt or moisture could enter. Use your tool to apply slight pressure around the edges to ensure a secure fit. Once the fob is fully reassembled, reinsert the critical blade by sliding it into its original position until it clicks securely. Your key fob should look as good as new and is ready for testing to confirm successful battery replacement.
Step 8: Test the Key Fob
Now that you’ve reassembled your CRV key fob, it’s time to test its functionality to ensure the battery replacement was successful. Stand near your vehicle and press the lock and unlock buttons on the fob to confirm that they are responsive and effectively communicate with the car’s system. You should notice immediate feedback if the remote signals are correctly received.
Additionally, try using other fob functions, such as the panic button or trunk release, to verify that all features are operational. If the key fob does not work correctly, revisit the battery alignment or check for any loose connections within the casing. Successfully testing the fob ensures peace of mind with your maintenance efforts, knowing that your CRV key fob is ready for continued use.
Step 9: Final Inspection
After confirming the successful operation of your CRV key fob, perform a final inspection to ensure everything is securely in place. Take a moment to examine the fob from all angles, checking for any gaps or loose areas that may not have clicked together correctly. Ensure the key blade is securely attached and operates smoothly without any obstructions. Lastly, clean any fingerprints or smudges left on the fob’s surface during the process, leaving it in pristine condition.
Step 10: Maintenance Tips
Consider a few maintenance tips to ensure your CRV key fob remains in optimal condition. Keep the fob away from extreme temperatures and moisture, which can affect the internal components and battery lifespan. Regularly check the key fob for signs of wear and tear, and clean it with a dry, soft cloth to remove any dirt or debris that may accumulate over time.
If your key fob shows signs of reduced range or response delay, it may be time for another battery replacement. The critical fob should also be handled carefully, avoiding accidental drops or heavy impacts that could damage the delicate internal circuitry.
By following these steps and tips, you can successfully replace the battery in your CRV key fob and ensure its functionality for years.
Conclusion
How to open CRV key fob may initially seem daunting, but by following a systematic, step-by-step approach, anyone can successfully undertake this task.
The process involves separating the fob’s casing, replacing the battery, and ensuring all components are securely realigned during reassembly. With these guidelines, you can maintain your crucial fob and extend its lifespan effectively. By combining careful handling with regular maintenance, your CRV key fob will remain a reliable tool for accessing and securing your vehicle.
Knowing how to open and service your crucial fob can save time and money, allowing you to handle minor issues without professional assistance, whether for practical purposes or just for peace of mind.