
Are you interested in setting up a CCTV camera at your home or office but don’t know where to start? Look no further! In this guide, we will provide you with all the information you need on how to operate CCTV camera like a pro.
Operating a CCTV camera effectively requires a basic understanding of its components, functions, and controls. The role of CCTV cameras in enhancing security and monitoring environments makes it crucial to know how to use them properly. This guide will cover essential aspects such as camera setup, adjusting viewing angles, recording footage, and troubleshooting common issues.
Whether you’re a security professional or a homeowner looking to ensure the safety of your property, this manual will provide you with the knowledge needed to operate a CCTV camera with confidence and precision.
What Will You Need?
Before we dive into the steps of operating a CCTV camera, let’s first look at the equipment and tools you will need to set up one. Some essential items include:
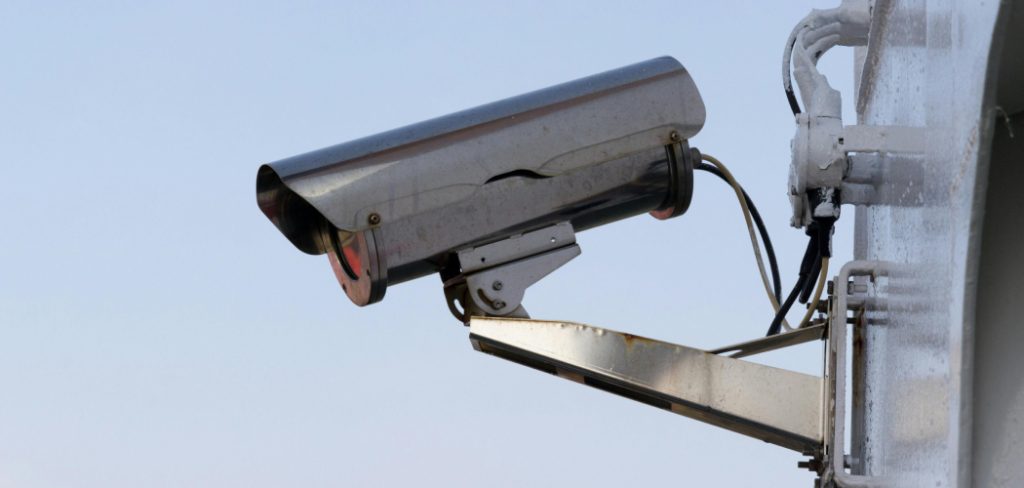
- A CCTV camera, preferably high-definition for better image quality
- A DVR (digital video recorder) or NVR (network video recorder) for recording and storing footage
- Coaxial cables or Ethernet cables to connect the cameras to the recorder
- Power supply units for each camera and the recorder
- A monitor or TV screen for live viewing and playback of recorded footage
- Mouse, keyboard, and remote control for accessing settings and controls
- Mounting hardware and tools for installing the cameras in desired locations
It’s also essential to clearly understand the layout and areas you want to monitor, as well as any potential blind spots that may require additional cameras.
10 Easy Steps on How to Operate CCTV Camera
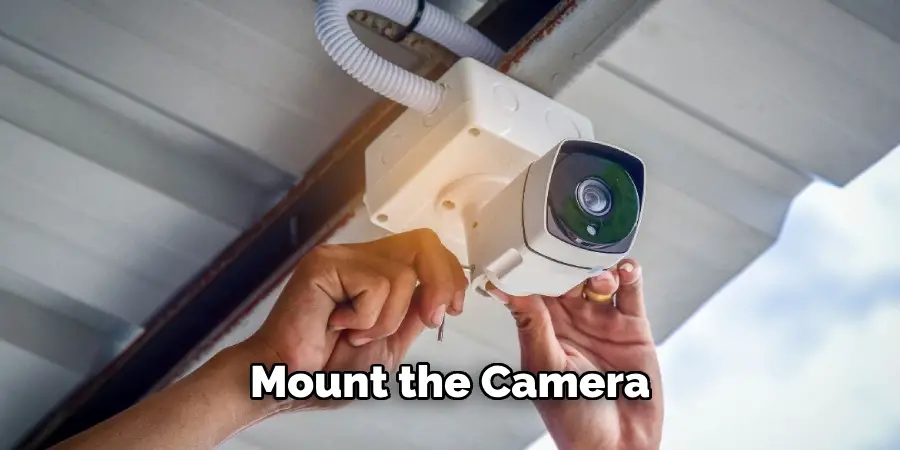
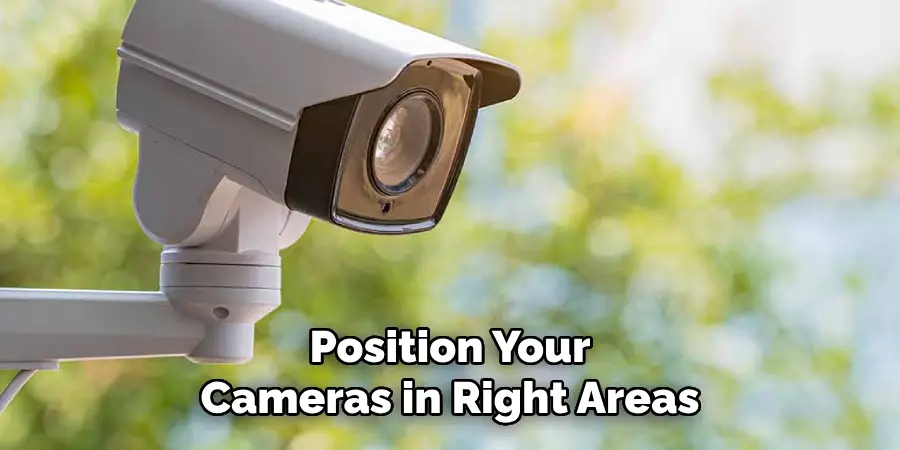
Step 1. Mount the Cameras:
Choose strategic locations for your cameras to ensure maximum coverage and effectiveness. For example, cameras can be mounted at entry points, like doors and windows, to capture anyone entering or exiting the premises. Additionally, consider installing cameras in high-traffic areas, such as hallways and common rooms.
Before drilling holes and mounting the cameras, hold each camera up in your intended location and check the live feed on your monitor to ensure the angle and view are as desired. This step can save you time and effort by allowing you to make adjustments before the installation is permanent.
When you’re satisfied with the positioning, use the mounting hardware and tools to secure the cameras in place. Ensure they are stable and properly fastened to avoid movement or misalignment. Once mounted, connect each camera to its power supply and its respective recording device, such as a DVR or NVR.
Step 2. Connect the DVR or NVR:
Next, connect your recorder to a power source and your monitor using the appropriate cables (HDMI, VGA, etc.). Then, the cameras are connected to the recorder using coaxial or Ethernet cables. Most recorders have designated ports for each camera connection, making it easy to set up. Once all connections are made, turn on the recorder and monitor to ensure that you can see live footage from each camera.
Step 3. Set Up Recording:
Configuring the recording settings is an essential step in ensuring that your CCTV setup captures and stores vital footage. Begin by accessing the recorder’s main menu, which you can usually navigate using a mouse, keyboard, or remote control. Within the menu, locate the recording settings or configuration tab.
Here, you will find options to customize each camera’s recording schedule. You can choose between continuous recording, recording at specific times, or motion-activated recording. Continuous recording ensures that no activity is missed, making it ideal for high-security areas. On the other hand, motion-activated recording saves storage space by only recording when movement is detected within the camera’s field of view. This option is particularly useful in less busy areas.
Additionally, the resolution and frame rate settings should be adjusted to balance image quality and storage capacity. Higher resolution and frame rates provide clearer and smoother footage but require more storage space. Finding a suitable compromise based on your storage capacity and security needs is crucial.
Step 4. Adjust Camera Settings:
Once your cameras are mounted and connected, it’s time to adjust their settings for optimal performance. Access the camera settings through your DVR or NVR menu. Here, you can fine-tune various parameters such as brightness, contrast, saturation, and sharpness to ensure clear and accurate footage. Also, configure night vision settings if your cameras are equipped with infrared LEDs. Proper adjustments here are crucial for capturing usable footage in low-light conditions. Make sure to test each camera individually and make changes as necessary to achieve the best possible image quality.
Step 5. Configure Motion Detection:
If you’re using motion-activated recording to conserve storage space, you must configure the motion detection settings. Look for the motion detection or event settings tab in the recorder’s menu. Within this menu, you can define the areas of the camera’s view where motion detection is active and adjust the sensitivity level. High sensitivity captures even minor movements, while lower sensitivity only triggers recording with significant motion, reducing false alarms. Some systems also allow you to set up alerts or notifications that can be sent to your email or mobile device when motion is detected.
Step 6. Secure the DVR/NVR:
Ensuring the physical security of your DVR or NVR is as important as securing the cameras themselves. Place the recorder in a locked and secure location to prevent tampering or theft. It’s advisable to use a secure cabinet or similar enclosure. Additionally, consider enabling password protection on the system’s software to restrict unauthorized access to the recordings and system settings. Regularly update passwords and employ good password management practices for enhanced security.
Step 7. Set Up Remote Viewing:
One of the significant advantages of modern CCTV systems is the ability to view live footage remotely.
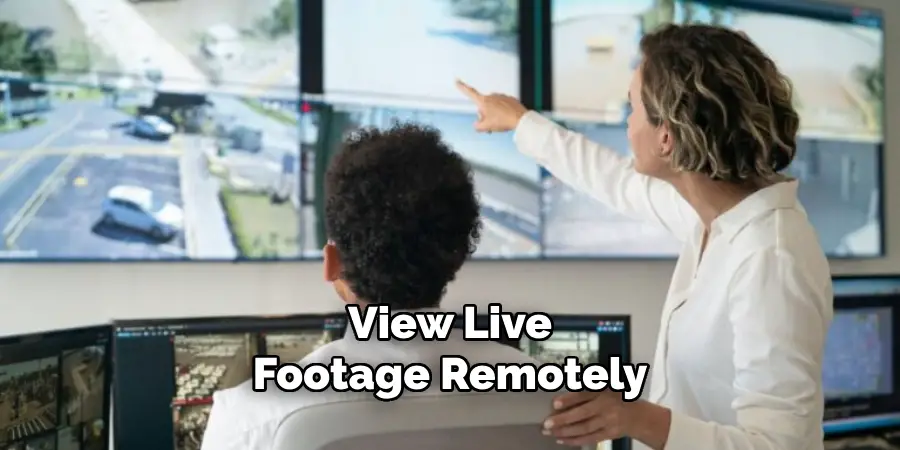
Connect your DVR or NVR to your router using an Ethernet cable to set this up. Then, follow the manufacturer’s instructions for configuring the remote viewing feature. This often involves downloading a mobile app or software provided by the CCTV camera manufacturer, creating an account, and linking your system to this account. Once set up, you can access live and recorded footage from your cameras via your smartphone, tablet, or computer from anywhere with an internet connection.
Step 8. Test the System:
Before considering your setup complete, it’s essential to thoroughly test the entire system. Check the live feed from each camera to confirm they’re all working correctly and the video quality is satisfactory. Verify that recordings are being saved based on your configured settings and that you can playback footage without any issues. Test the motion detection functionality by walking through the monitored areas to ensure the cameras record as expected. Remote viewing should also be tested to confirm you can access your system offsite.
Step 9. Regular Maintenance:
Maintaining your CCTV system is key to its longevity and reliability. Regularly clean the camera lenses to prevent dust and dirt from obscuring the footage. Check cables and connections periodically to ensure they are secure and undamaged. Update the system’s firmware and software as the manufacturer recommends to benefit from the latest features and security improvements. Routinely review the recorded footage for any anomalies or signs of tampering.
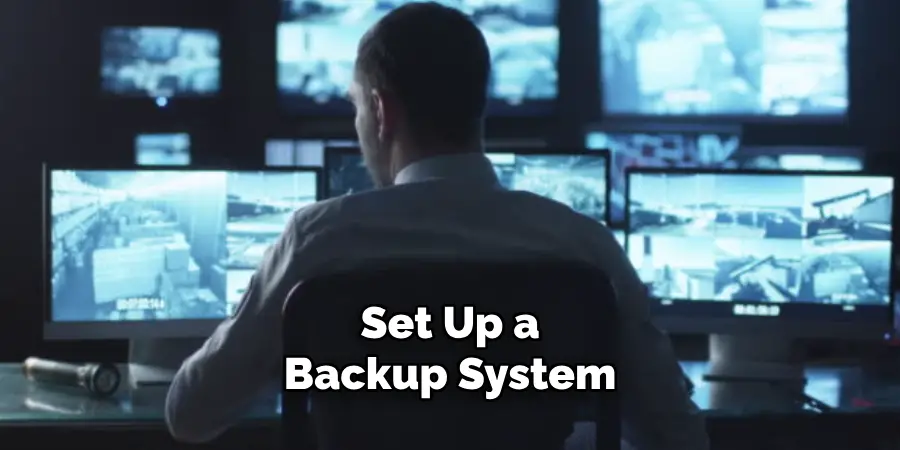
Step 10. Backup Footage:
In addition to configuring your recordings, setting up a backup system is crucial for ensuring data security. Regularly back up important footage to another storage device, such as an external hard drive, or opt for cloud storage solutions if your system supports it. This safeguards against data loss, whether due to system failure, theft, or physical damage. Establishing a routine backup schedule will help ensure that crucial footage is always protected and retrievable when needed.
By following these ten steps, you can effectively set up a CCTV system for your home or business. Remember to consult the manufacturer’s instructions and seek professional help if needed.
5 Things You Should Avoid
- Ignoring Regular Maintenance: Neglecting routine maintenance can lead to system malfunctions and decreased longevity. It’s essential to clean camera lenses, check connections, and update software regularly to ensure optimal performance.
- Overlooking the Importance of Secured Access: Failing to implement strong passwords and encrypted connections can make your CCTV system vulnerable to unauthorized access. Always use complex passwords and change them periodically to maintain security.
- Incorrect Camera Placement: Placing cameras in the wrong or less strategic locations can result in blind spots and ineffective monitoring. Ensure to position your cameras in areas that cover entrances, exits, and crucial locations within your premises.
- Insufficient Storage Solutions: Not having adequate storage can lead to losing important footage. Ensure you set up proper storage devices and configurations to retain critical recordings for the required duration.
- Improper Configuration of Motion Detection: Incorrectly setting up motion detection can result in numerous false alarms or missed incidents. Calibrate the sensitivity settings appropriately and define specific zones accurately to enhance the system’s reliability.
Conclusion
How to operate CCTV camera efficiently requires careful planning, correct installation, and regular maintenance.
By following the steps provided, you can ensure that your system is set up to effectively meet your security needs. From configuring the hardware and software to setting up motion detection and remote viewing to securing your entire system and performing regular maintenance, each step plays a critical role in the overall functionality of your CCTV cameras. Additionally, avoid common pitfalls such as neglecting maintenance and improper camera placement to maximize your system’s reliability and coverage.
With these guidelines, you’ll be well-equipped to operate your CCTV camera system with confidence and peace of mind.