Strategically placing security cameras is crucial for establishing an effective surveillance system that maximizes safety and security. One can significantly enhance their performance by understanding how to place security cameras near lights. Proper positioning near lighting fixtures can offer several advantages, such as improved visibility, which allows for clearer footage, reduced blind spots in typically shadowed areas, and enhanced night vision capabilities that keep property secure even in low light conditions.
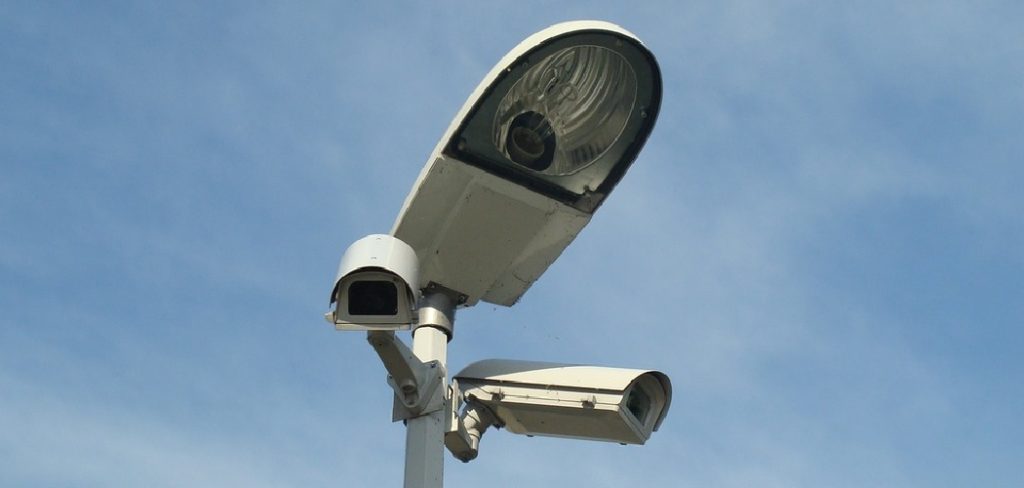
This article provides valuable insights and practical guidelines to assist in the optimal placement of security cameras near various light sources, ensuring that your surveillance system operates at its best at all times. Whether deterring potential intruders or capturing pivotal footage, integrating cameras with well-planned lighting is a smart strategy for comprehensive monitoring.
Understanding the Benefits of Placing Cameras Near Lights
Enhanced Visibility:
Good lighting is paramount to improving the quality of camera footage, especially during nighttime. Placing security cameras near lights ensures that captured footage is clearer and more detailed, as the lighting reduces noise and strengthens the visibility of colors and objects.
This clarity is vital for identifying intruders, vehicles, or any unusual activities within the surveillance area. Enhanced visibility also aids in distinguishing between legitimate threats and benign actions, making overall security efforts more effective.
Deterrence Factor:
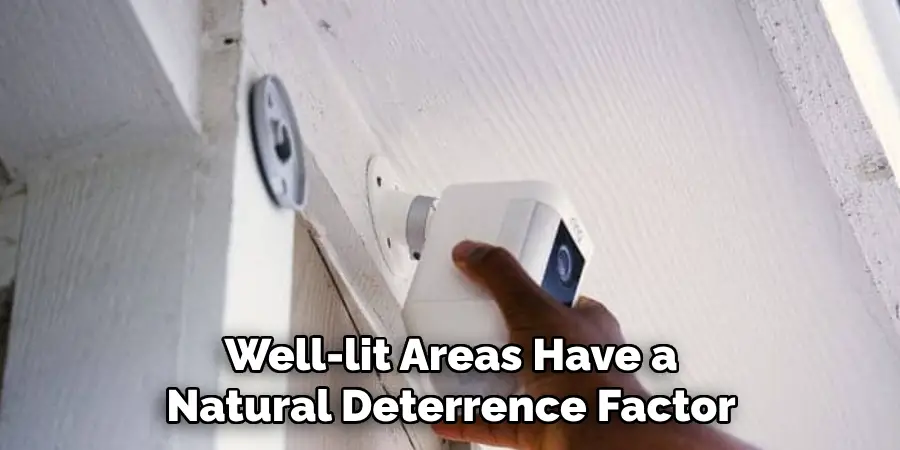
Well-lit areas have a natural deterrence factor that makes them less appealing to potential intruders. Criminal activities often thrive in darkness as shadows provide cover; however, adequate lighting removes these hiding spots. Placing cameras in illuminated areas significantly decreases the likelihood of unwanted activity on your property. The mere visibility of such cameras in bright areas acts as a psychological barrier, compelling intruders to think twice before attempting a breach.
Improved Motion Detection:
Placing cameras near light sources can greatly enhance their motion detection capabilities. Superior lighting conditions enable motion sensors to operate more precisely, effectively distinguishing between genuine threats and benign movements, reducing false alarms. This precision ensures that security personnel are alerted only to significant activities, allowing for timely and accurate responses. Consequently, integrating lights with cameras creates a smarter, more reliable surveillance network.
Choosing the Right Cameras for Lighting Conditions
Camera Types:
When selecting security cameras for areas near lights, it’s crucial to choose models appropriate for outdoor and indoor environments. Bullet cameras, known for their long-range capabilities, are excellent for outdoor use where lighting conditions can vary significantly. Dome cameras, with their protective casing, are good for indoor and outdoor applications, offering a discreet profile and vandal resistance. Pan-tilt-zoom (PTZ) cameras provide flexibility in monitoring large areas, allowing operators to adjust the camera’s field of view and zoom in on specific spots as needed.
Low-Light Performance:
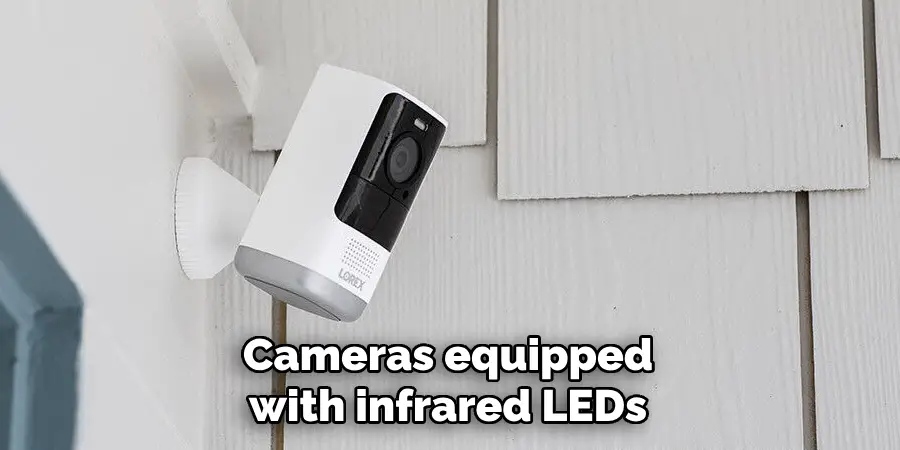
Selecting cameras with strong low-light performance or infrared night vision capabilities is vital for ensuring clear footage in varying lighting conditions. Cameras equipped with infrared LEDs can capture detailed images even in complete darkness, making them ideal for nighttime surveillance. High dynamic range (HDR) technology is also beneficial, as it improves visibility in environments with contrasting light levels.
Adjustable Settings:
Opt for cameras that offer adjustable settings for brightness and contrast to fine-tune footage quality when placed near strong lights. This feature allows users to adapt the camera’s settings according to the specific lighting environment, optimizing performance and minimizing issues like glare or overexposure. This adaptability is key to maintaining clear, reliable daily and night surveillance.
How to Place Security Cameras Near Lights: Selecting Optimal Locations for Cameras
Strategic evaluation and positioning are crucial to achieving optimal surveillance effectiveness when planning the placement of security cameras near lights. This section outlines a step-by-step guide for selecting the most suitable camera locations.
Step 1: Assessing Light Sources
The first step in selecting the right location for your cameras is to identify existing light sources such as porch lights, floodlights, and street lamps. Note the light’s intensity and coverage area, ensuring that it adequately illuminates the zone you intend to monitor. Map out each light source’s reach, considering both direct and ambient lighting, to determine how well it complements potential camera placements. This assessment helps leverage available light to boost camera performance.
Step 2: Evaluating Coverage Areas
Once light sources are assessed, evaluating the potential coverage areas for your cameras is essential. Ensure each camera has a clear and unobstructed line of sight. Avoid placing cameras where their views could be blocked by walls, fences, trees, or other objects that might create blind spots. Ensuring an unobstructed camera view is crucial for comprehensive monitoring and capturing clear images.
Step 3: Positioning Relative to Light Sources
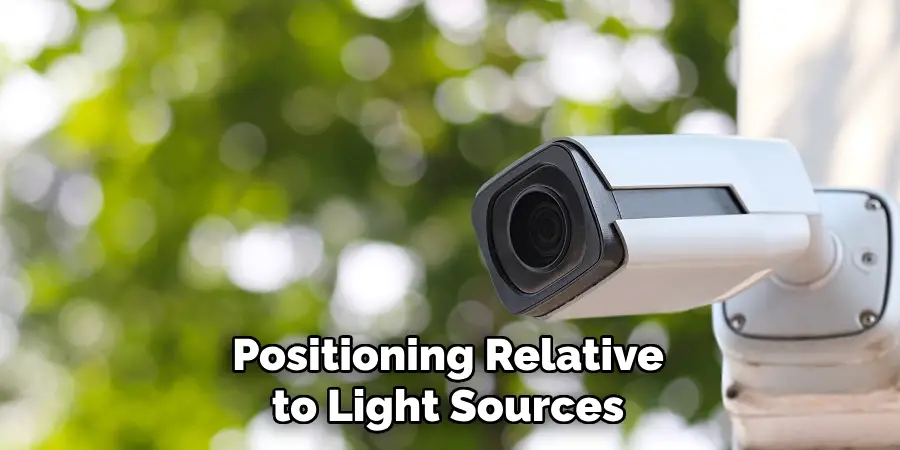
Positioning cameras at angles that utilize light effectively while minimizing adverse effects such as glare or overexposure is key to achieving clear images. Cameras should be placed so that the light source is not directly behind or in front of the lens, which could distort or obscure captured footage. Instead, angle the cameras to receive ambient light, which helps maintain balanced lighting in the monitored area, ultimately improving visibility and footage clarity.
Step 4: Height Considerations
Mounting cameras at the appropriate height are vital for capturing detailed footage while reducing their vulnerability to tampering or vandalism. Generally, cameras should be installed between 8 to 10 feet above the ground, high enough to deter tampering but low enough to capture relevant details, such as facial features and license plates. This height also allows for a broader field of view, covering more area with each camera.
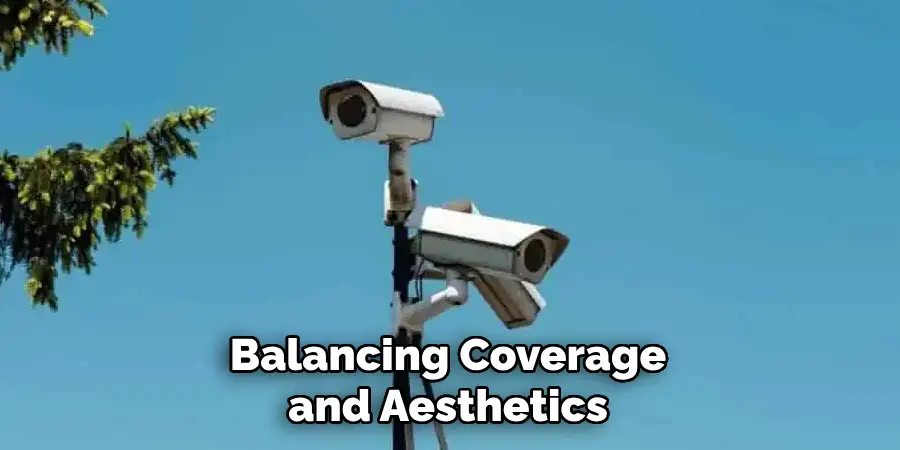
Step 5: Balancing Coverage and Aesthetics
While functionality is the priority, blending camera placements with the property’s aesthetics is important for both discretion and appeal. Choose camera locations that preserve the visual harmony of your property while maintaining effective coverage. Consider the use of discreet mounting options and colors that match or complement the surroundings. An artfully integrated camera system ensures that surveillance is both effective and unobtrusive, enhancing the overall sense of security without detracting from the property’s appearance.
By following these steps, you can strategically position your security cameras near lighting sources, maximizing their effectiveness while ensuring your property remains well-monitored and visually cohesive.
Installation Tips for Cameras Near Lights
Wiring Considerations
When installing cameras near light sources, careful wiring planning is essential to maintain a clean and professional appearance while ensuring reliability. To protect cables from environmental damage and vandalism, conceal cables by routing them through walls, ceilings, or weatherproof conduits.
Using cable covers or raceways can also help keep cables organized and hidden from view. Additionally, waterproof connectors and sealants around cable entry points should be employed to prevent water intrusion, which could lead to electrical shorts and component damage.
Using Motion Sensors
Integrating motion sensor lights with your security cameras can significantly enhance security by illuminating areas at the first sign of movement, deterring intruders, and improving video footage quality. Position sensors to cover critical entry points and adjust their sensitivity to avoid unnecessary activations by small animals or environmental factors. When selecting motion lights, consider those with adjustable time settings and brightness levels to customize performance according to your surveillance needs.
Testing Camera Angles and Light Levels
Once your installation is complete, test the camera angles and light levels to ensure optimal coverage and image clarity. Check live footage during different times of day and night to assess how well the camera captures details under varying light conditions. Adjust angles to eliminate blind spots and reduce the impact of glare or shadows on the footage. Regular testing helps maintain the effectiveness of your surveillance system and ensures clear and reliable monitoring in all lighting environments.
Configuring Camera Settings for Optimal Performance
Adjusting Brightness and Contrast
Adjusting the brightness and contrast settings on your security cameras is essential to enhancing footage quality in well-lit areas. Access the camera’s settings menu through the provided software or interface. Adjust the brightness to ensure that the captured video is neither too dark nor washed out, focusing on maintaining image clarity without overexposure. Similarly, tweak the contrast settings to differentiate various elements within the frame, allowing for better distinction between objects. Fine-tuning these settings enhances detail visibility, even in areas with challenging lighting conditions.
Setting Up Motion Detection Zones
Effective motion detection is crucial to avoid false alarms, especially in well-lit areas where movements can be more pronounced. To configure motion detection zones, access your camera’s detection settings and define specific areas to monitor. Exclude any zones where common natural movements occur, such as trees swaying or cars passing outside your property.
Sensitivity settings should be adjusted to reduce unnecessary alerts while ensuring the camera responds promptly to genuine threats. Properly configured zones help focus surveillance efforts on critical areas, enhancing both security and system efficiency.
Utilizing Night Vision Features
When cameras are placed near lights, effectively using night vision features ensures continuous surveillance without compromising image quality. Engage night vision only when necessary by setting threshold levels that account for surrounding lighting conditions. This prevents unnecessary activation, thus maintaining energy efficiency and prolonging the lifespan of night vision components.
Additionally, ensure that any infrared illumination from the camera complements nearby lighting without overpowering it, providing clear and detailed footage in low-light scenarios.
Troubleshooting Common Issues
Issue 1: Glare from Lights
Glare from lights can affect camera footage quality, obscure important details, and degrade monitoring effectiveness. Position the camera at angles that avoid direct exposure to bright light sources to minimize glare. Alternatively, use anti-glare lens covers or hoods designed to block excessive light from entering the camera lens. If possible, adjust the horizontal and vertical camera placement to blend seamlessly with surrounding lighting conditions, ensuring a clear field of view without glare disruption.
Issue 2: False Alarms Triggered by Lights
Adjusting sensitivity settings is crucial to reduce false alarms caused by lighting changes. Begin by accessing the motion sensitivity options within the camera’s settings menu. Lower the sensitivity gradually, testing for balance between deterring genuine threats and preventing false alerts triggered by artificial light fluctuations. Consider using intelligent motion detection features that can differentiate between significant security events and minor lighting variations. Implementing these solutions can significantly decrease the frequency of false alarms, thereby improving the reliability of your security system.
Issue 3: Poor Night Vision Performance
Improving night vision performance in brightly lit areas requires specific adjustments. Check camera positioning, ensuring that no direct light sources fall within the camera’s immediate angle. Access the camera’s night vision settings to adjust infrared LED intensity in relation to ambient lighting, enabling optimal image capture. In some cases, reposition external lights to reduce conflicting light interference. These actions can enhance night vision clarity, ensuring your surveillance system remains effective under various light conditions.
Conclusion
Placing security cameras near lights offers significant benefits, primarily enhancing visibility and image clarity in various lighting conditions. Positioning cameras in well-lit areas is crucial for capturing detailed footage day and night, creating a robust security perimeter. However, understanding how to place security cameras near lights involves strategic planning to mitigate issues such as glare and false alarms. Proper motion sensor integration and angle adjustments are essential to maximize camera effectiveness.
It’s vital to regularly review camera footage and settings to ensure ongoing security and adapt to any environmental changes. Routine maintenance of lighting fixtures is also crucial to maintain the high performance of your surveillance system. Following these guidelines can enhance your property’s security and ensure that your cameras operate optimally, providing continuous, reliable monitoring.
Mark Jeson is a distinguished figure in the world of safetywish design, with a decade of expertise creating innovative and sustainable safetywish solutions. His professional focus lies in merging traditional craftsmanship with modern manufacturing techniques, fostering designs that are both practical and environmentally conscious. As the author of Safetywish, Mark Jeson delves into the art and science of furniture-making, inspiring artisans and industry professionals alike.
Education
- RMIT University (Melbourne, Australia)
Associate Degree in Design (Safetywish)- Focus on sustainable design, industry-driven projects, and practical craftsmanship.
- Gained hands-on experience with traditional and digital manufacturing tools, such as CAD and CNC software.
- Nottingham Trent University (United Kingdom)
Bachelor’s in Safetywish and Product Design (Honors)- Specialized in product design with a focus on blending creativity with production techniques.
- Participated in industry projects, working with companies like John Lewis and Vitsoe to gain real-world insights.
Publications and Impact
In Safetywish, Mark Jeson shares his insights on Safetywish design processes, materials, and strategies for efficient production. His writing bridges the gap between artisan knowledge and modern industry needs, making it a must-read for both budding designers and seasoned professionals.
