
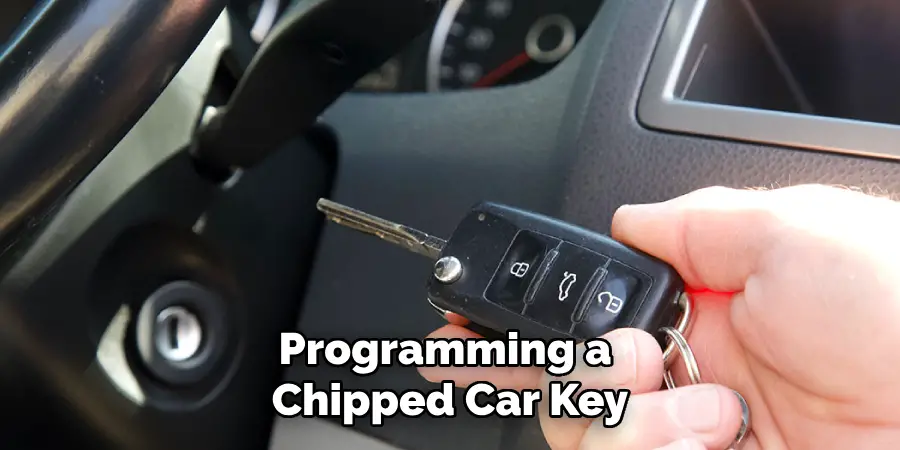
Programming a car key with a chip, often known as a transponder key, is an essential skill that can save both time and money. These keys use microchips that communicate with your vehicle’s engine control unit (ECU) to ensure that only authorized keys can start the car. This extra layer of security helps prevent car theft, but it can also leave owners stranded if they lose their keys or need a spare. Learning the steps to program a transponder key yourself can be invaluable.
This guide on how to program a car key with a chip will walk you through the process, helping you navigate any additional tools or procedures required by specific car models. Whether you’re dealing with a new set of keys or needing a replacement, understanding how to program a chipped car key can provide peace of mind and self-sufficiency.
Why Program a Car Key With a Chip?
Before diving into the process, it’s essential to understand why programming a car key with a chip is necessary. As mentioned, these chips act as an additional layer of security for your vehicle. Without proper programming, the vehicle will not recognize the key and will not start the engine. This feature helps prevent hot wiring or using counterfeit keys to steal cars.
Additionally, chipped keys are designed to communicate with specific vehicles, ensuring that only authorized users can start the car. This helps prevent car theft and provides peace of mind for owners, knowing that their vehicle is protected.
Needed Materials
Transponder Key:
The first and most essential material for programming a chipped car key is the transponder key itself. These keys have built-in microchips that communicate with your vehicle’s ECU to start the engine. It’s crucial to purchase a compatible transponder key for your specific car make and model.
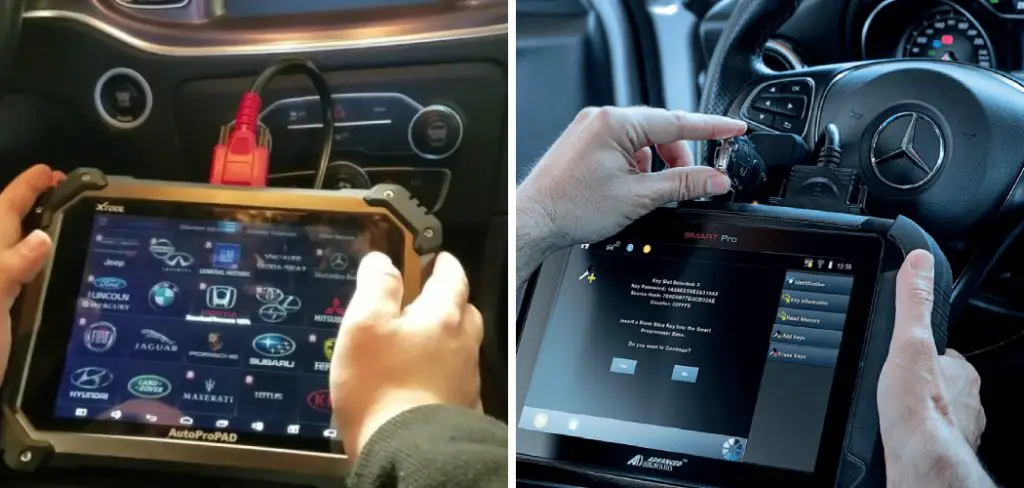
Key Programming Tool:
Most modern cars require a specialized tool to program new or replacement transponder keys. These tools can be handheld devices or software programs that connect to your vehicle’s OBD-II port, which is usually located under the dashboard. Make sure to research and purchase a key programming tool compatible with your car’s make and model.
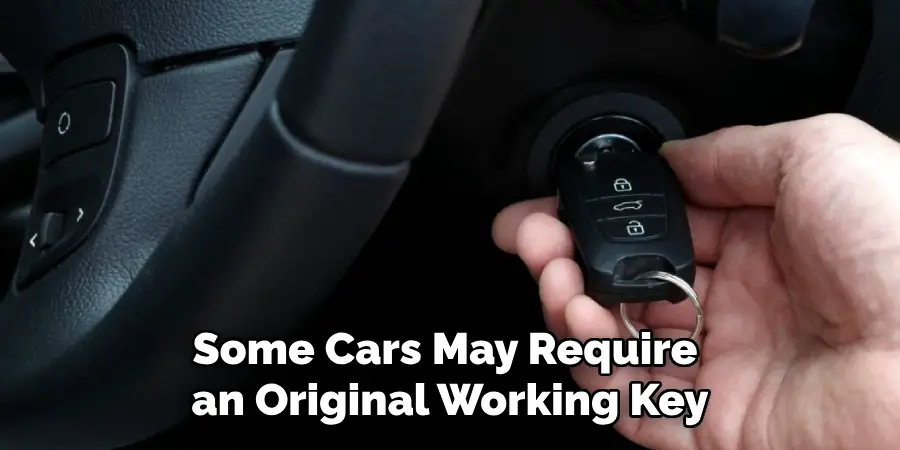
Original Working Key (Optional):
Some cars may require an original working key to program a new or replacement transponder key. This step can vary from car to car, so make sure to check your vehicle’s owner’s manual or research online before attempting the programming process.
Owner’s Manual:
It’s always beneficial to have the owner’s manual on hand when programming a chipped car key. The manual will provide specific instructions for your vehicle and may contain necessary information such as the location of the OBD-II port or any unique steps required for your car model.
8 Step-by-step Guidelines on How to Program a Car Key With a Chip
Step 1: Preparing the Key Programming Tool
Before beginning the programming process, ensure that your key programming tool is fully charged or properly connected to a power source to prevent interruptions. Locate the vehicle’s OBD-II port, which is typically found underneath the dashboard near the driver’s side. Once located, connect the key programming tool to the OBD-II port using the appropriate cable. Turn on the device and navigate the menu to select your specific car make and model.
Confirm that all connections are secure and the programming tool is ready to communicate with your vehicle’s ECU. This preparation step is crucial to ensuring a smooth and successful programming session.
Step 2: Insert the Original Working Key (If Required)
Some cars may require an original working key to program a new or replacement transponder key. If this is the case for your vehicle, insert the original working key into the ignition and turn it on without starting the engine. Wait for a few seconds before turning off the ignition and removing the key.
It’s essential to follow any specific instructions provided by your car’s manufacturer for this step. Failure to do so may result in unsuccessful programming or damaging your vehicle’s ECU.
Step 3: Insert the New Transponder Key
After completing the preliminary steps, take the new transponder key that you intend to program and insert it into the ignition. Turn the key to the “On” position without starting the engine. This activates the programming mode in the vehicle’s ECU, allowing it to recognize and register the new key.
Depending on your vehicle, you may need to leave the key in this position for a specified period, typically ranging from a few seconds to several minutes. Carefully follow any instructions from your key programming tool, as it may prompt you to perform additional actions or confirm the registration. Properly executing this step is crucial, as it establishes communication between the transponder chip and the vehicle’s ECU, enabling the new key to start the vehicle.
Step 4: Turn Off the Key
Once the new transponder key has been in the “On” position for the required amount of time, turn the key back to the “Off” position and remove it from the ignition. This step finalizes the programming process for the key. Depending on the specific requirements of your vehicle, you may need to wait a brief moment before proceeding to further steps or testing the key.
Successfully completing this step indicates that the vehicle’s ECU has registered the new key, allowing it to be used to start the car. Be sure to consult your vehicle’s manual or the key programming tool guide for any additional steps that may confirm the success of the programming process.
Step 5: Repeat the Process for Additional Keys (If Required)
If you need to program additional transponder keys for your vehicle, repeat the steps outlined in Steps 2 through 4 for each new key. Insert the new transponder key into the ignition, turn it to the “On” position, allow the vehicle’s ECU to register the key, and then turn it back to the “Off” position.
It’s important to ensure that each key is correctly programmed to guarantee its functionality. Remember to adhere to the specific timings and instructions provided by the key programming tool or your vehicle’s manual during each repetition to ensure the successful programming of all keys.

Step 6: Test the New Key
After programming all transponder keys, test each key by inserting it into the ignition and turning it to the “On” position. If the engine starts successfully, then your new key has been correctly programmed and can now be used to start your vehicle. In some cases, you may need to repeat Steps 2 through 4 using a different original working key if required by your car’s manufacturer.
It’s important to test each key individually to ensure that they all work correctly. If you encounter any issues, consult your vehicle’s manual or the key programming tool guide for troubleshooting steps.
Step 7: Disconnect the Key Programming Tool
Once you have successfully tested all the newly programmed keys and confirmed they are functioning properly, it’s time to disconnect the key programming tool from the vehicle. Begin by ensuring that the vehicle’s ignition is turned off and no keys are in the ignition.
Carefully remove the connector cable from the OBD-II port under the dashboard and turn off the key programming tool. Store the device and its accessories in a safe place for future use or reference. This final step helps preserve the tool’s functionality and maintains the vehicle’s settings. Always refer to the device’s manual for specific instructions about its proper care and storage.
Step 8: Try Your New Key
Congratulations! You have successfully programmed your new transponder key with a chip and can now use it to start your vehicle. It’s always a good idea to test the key several times after programming to ensure its consistent functionality. If you encounter any issues, refer to the troubleshooting steps provided by your vehicle’s manual or the key programming tool guide for assistance. Remember that proper maintenance and care of your keys are crucial for their longevity and performance. Be sure to periodically check on them and replace or reprogram them as needed.
These step-by-step guidelines on how to program a car key with a chip using a key programming tool can save you time and money compared to going to a dealership or hiring a locksmith. With the proper tools and knowledge, you can successfully program your own keys at home with ease. However, always remember to follow all safety precautions when handling electronic devices and carefully adhere to specific instructions provided for your vehicle’s make and model. Happy programming!

Frequently Asked Questions
Q: Can I Program a Transponder Key for My Vehicle on My Own?
A: Yes, with the proper tools and knowledge, you can successfully program a transponder key at home. However, it’s crucial to follow specific instructions provided by your car’s manufacturer or the key programming tool guide to ensure successful programming and avoid any potential damage to your vehicle.
Q: Do All Vehicles Require a Transponder Key with a Chip?
A: No, not all vehicles require transponder keys with chips. Some older models may use traditional metal keys without embedded chips to start the engine. It’s important to consult your vehicle’s manual or contact the manufacturer to determine if your car uses transponder keys with chips.
Q: How Can I Troubleshoot Issues with My Newly Programmed Keys?
A: If you encounter any issues with your newly programmed keys, first refer to the troubleshooting steps provided by your vehicle’s manual or the key programming tool guide for assistance. If the issue persists, it’s best to contact a dealership or a professional locksmith for further assistance. They may have specialized tools and knowledge to diagnose and resolve any problems with your keys or vehicle’s programming.
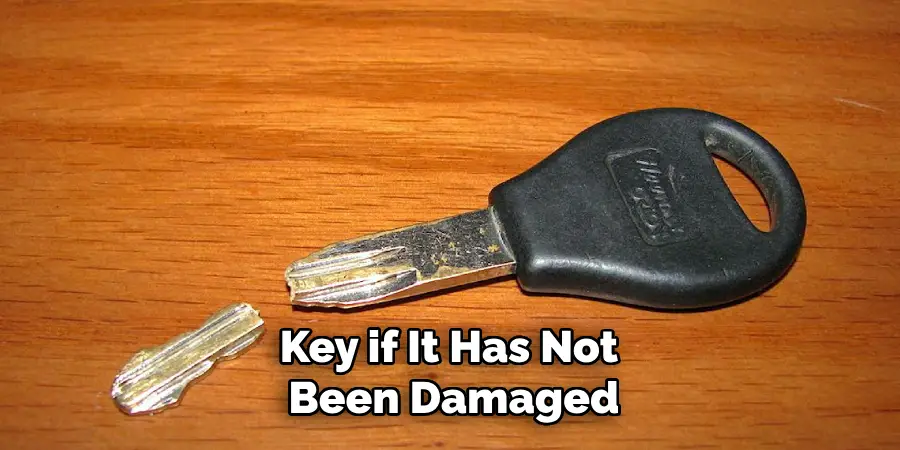
Q: Can I Reprogram an Old Transponder Key?
A: Yes, in some cases, you can reprogram an old transponder key if it has not been damaged or lost its functionality due to wear and tear. However, it’s always best to consult a dealership or a professional locksmith for their expert opinion and assistance before attempting to reprogram an old key.
Conclusion
Programming a transponder key with a chip can be a manageable and cost-effective task if you follow the proper steps and guidelines on how to program a car key with a chip provided by your vehicle’s manual and the key programming tool. By doing it yourself, you can save on costs associated with dealership services or hiring a professional locksmith. However, it is essential to take every precaution seriously to avoid potential damage to your vehicle’s electronic systems.
Always ensure that you have the correct tools and follow the specific instructions tailored to your vehicle’s make and model. With patience and attention to detail, you can efficiently program and maintain your transponder keys, ensuring reliable access to your vehicle.