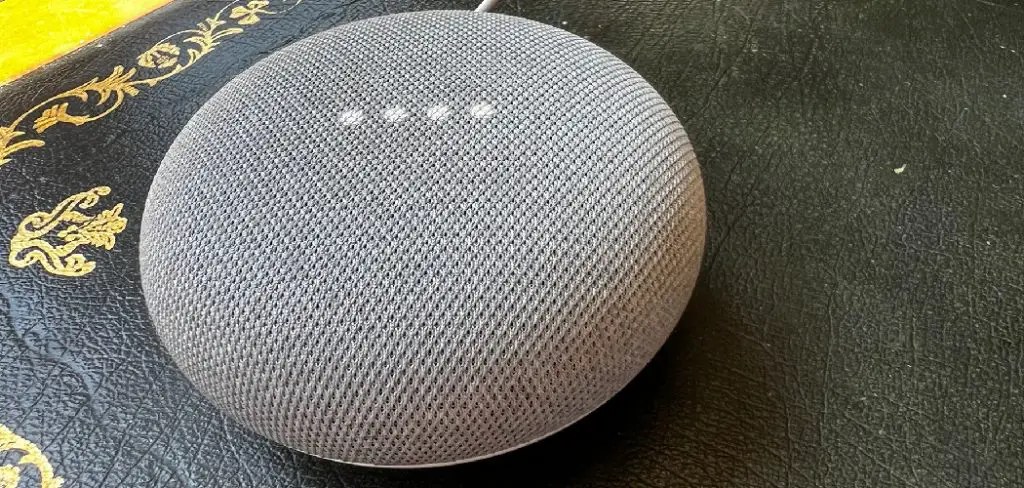
Do you need help with your Nest Cam? Does the camera seem unresponsive or have connectivity issues? In such situations, a simple reboot might be all you need to get your Nest Cam back up and running. Here are some easy steps on how to reboot Nest Cam.
Rebooting your Nest Cam can often resolve minor technical issues and improve its performance. Whether you’re experiencing connectivity disruptions, lag in video streaming, or any other operational hiccups, restarting the device is a simple troubleshooting step that can address these concerns. The process is straightforward and doesn’t require any advanced technical skills.

In this guide, we’ll walk you through the essential steps to reboot your Nest Cam effectively, ensuring it returns to optimal functioning and provides seamless security monitoring.
What Will You Need?
You will need a few things to successfully reboot your Nest Cam beforehand. These include:
- Your Nest account login details
- A stable internet connection
- Access to the power outlet where your Nest Cam is plugged in
Once you have these items, you’re ready to begin the rebooting process.
10 Easy Steps on How to Reboot Nest Cam
Step 1. Locate the Nest Cam:
First, identify where your Nest Cam is installed. It might be positioned indoors or outdoors, mounted on a wall, or sitting on a flat surface. Ensure that you can freely and safely access the camera to proceed with the reboot process. If it’s mounted in a high or hard-to-reach place, use a ladder or stool to ensure safety during the operation. Take note of its position; you’ll need to reconnect it once the reboot is complete.
Assess the lighting and ensure there is enough illumination to see the device clearly while working on it. Also, check for any potential obstructions or objects hindering your access to the power source or the camera itself. Before moving on to the following steps, ensure that the area is secure and that you can comfortably manage the device without any risk of harm.
Step 2. Power Off the Camera:
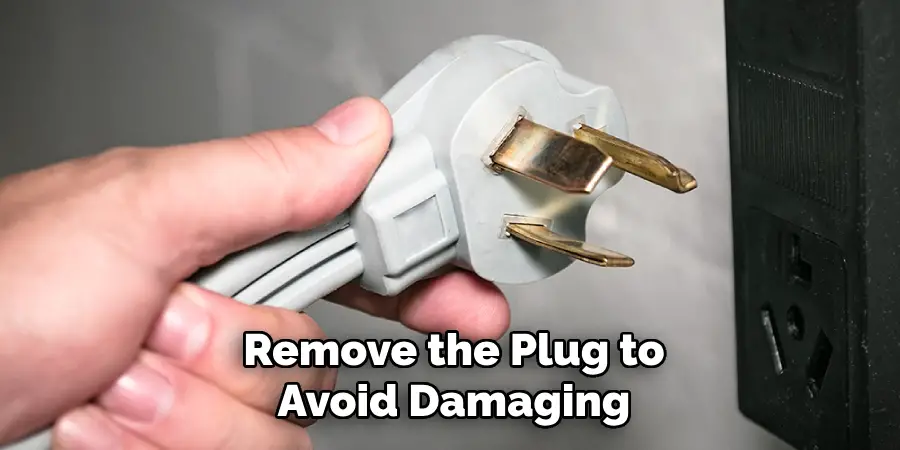
Once you’ve safely accessed your Nest Cam, the next step is to power off the camera. This can be done by unplugging the power cable from the outlet. Ensure you gently remove the plug to avoid damaging the cable or outlet. Allow the camera to remain unplugged for about 10 seconds; this brief pause ensures that the internal system resets fully. During this time, check the power cable for any potential wear or damage that could cause connectivity issues in the future. After the 10-second interval, you’re ready to proceed to the next step in the reboot process.

Step 3. Power On the Camera:
After ensuring the camera has been unplugged for at least 10 seconds, the next step is to power it back on. Plug the power cable back into the outlet gently and securely. Once connected, you should see the camera’s indicator light turning on, which signals that the device is receiving power. Wait momentarily as the camera reboots and re-establishes a connection with your internet network. This can take a few minutes, depending on your network speed. During this time, monitor the indicator light for any unusual patterns that may indicate connectivity issues. After successfully powering on, your Nest Cam should resume normal functioning, allowing you to access its live feed via your Nest account or app.
Step 4. Verify Camera Connectivity:
Once the camera has powered back on, verifying that it has successfully reconnected to your network is essential. Open the Nest app on your smartphone or tablet, and log into your account if prompted. Navigate to the camera’s live feed and check for a stable video stream. If the feed shows without interruptions, your Nest Cam is appropriately connected. When the camera fails to appear online, or the feed is disrupted, consider troubleshooting your internet connection or repeating the reboot steps to ensure a consistent setup. Ensuring a stable connection is crucial for reliable security monitoring.
Step 5. Adjust Camera Settings:
Once your Nest Cam is back online and streaming correctly, it’s an excellent time to review its settings to ensure optimal performance. Access the Nest app and navigate to the settings menu for your specific camera. Here, you can adjust features such as video quality, alerts, activity zones, etc. Adjusting these settings according to your surveillance needs can enhance the camera’s functionality, improve notifications, and tailor the device’s operations to suit your environment. Make sure that any changes made are saved and applied. This proactive step helps maintain your Nest Cam’s effectiveness, ensuring it provides robust security coverage moving forward.
Step 6. Monitor Camera Performance:
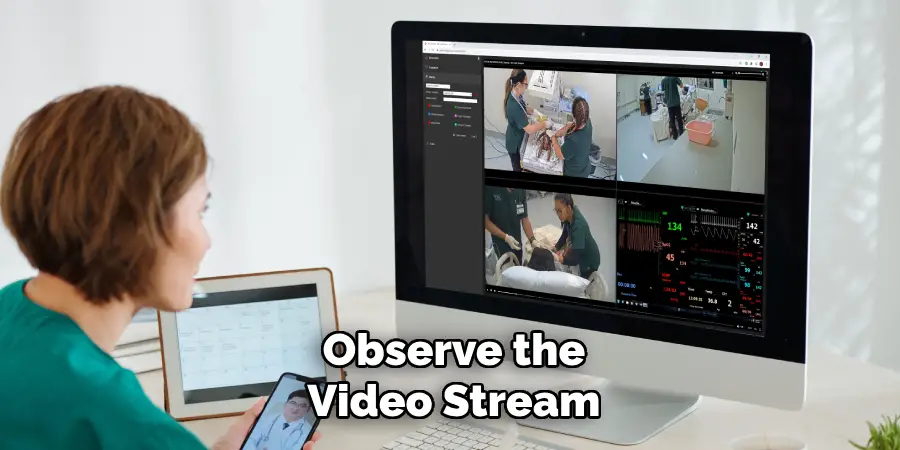
After adjusting the camera settings to your preference, it’s crucial to monitor the Nest Cam’s performance for a period of time to ensure all adjustments and the reboot are successful. Observe the video stream, alert notifications, and any recordings to confirm they are functioning as expected. Pay attention to any lag in video feed, delays in alert delivery, or errors in saved footage.

Keeping a watchful eye during this phase allows you to promptly address any discrepancies or issues that may still be present. Regular monitoring helps identify problems early and maintains the integrity and reliability of your Nest Cam over time. If any issues persist, referring to the troubleshooting section in the Nest Cam user’s guide or contacting customer support might be necessary.
Step 7. Secure Physical Placement:
With the camera functioning optimally and settings adjusted, ensure its physical placement is secure and aligned correctly. Check that the camera mount is tightly fastened, whether it’s on a wall, ceiling, or any other surface. Ensure the camera’s field of view captures the desired area without obstruction. Adjust the angle or reposition the device to obtain the best coverage if necessary. Regularly inspecting and securing the physical placement of your Nest Cam is essential to maintain consistent security monitoring and to prevent accidental damage or misalignment caused by environmental factors or tampering.
Step 8. Backup and Review Footage:
Once your Nest Cam is securely placed and all settings optimized, it’s wise to back up any important footage. Use the Nest app to access past recordings and identify clips that need archiving. Storing these clips in a cloud service or an external drive ensures you have a secure copy and can refer to them when needed. Periodically reviewing archived footage helps in assessing security incidents, evaluating camera angles, and confirming that the system is capturing all necessary details. Maintaining organized backups not only safeguards essential data but also enhances your overall surveillance strategy.

Step 9. Schedule Regular Maintenance:
Finally, it’s important to schedule regular maintenance checks to ensure your Nest Cam continues to operate efficiently. Set a routine for updating the camera’s firmware via the Nest app to benefit from the latest features and security enhancements. Regularly clean the camera’s lens and body to prevent dust or debris from obstructing the view. Check for any software updates to the app and other devices used in conjunction with the Nest Cam. By integrating these maintenance tasks into your routine, you help prolong your camera’s lifespan and guarantee it remains a reliable component of your home security system.
Step 10. Evaluate Security Measures:
With the Nest Cam now fully operational and maintained, consider evaluating your environment’s overall security measures. Perform a thorough inspection of your property’s entry points and high-risk areas to ensure the camera system provides comprehensive coverage. Verify that lighting conditions support optimal video capture, especially during nighttime or low-light situations. Review your security protocols and consider if supplementary devices, like motion sensors or alarm systems, could further enhance your home’s security. By periodically assessing your security setup, you can make informed decisions to improve your surveillance framework and ensure the safety of your property and loved ones.

With these steps, you can confidently and effectively reboot and maintain your Nest Cam to ensure it remains a crucial component of your home security strategy.
5 Things You Should Avoid
- Avoid Unplugging the Device Unexpectedly: Abruptly disconnecting the power source might lead to data corruption or hardware issues. Always reboot the Nest Cam using the app or recommended software methods.
- Don’t Reset the Camera Instead of Restarting: A reset will erase all your settings and preferences, requiring a complete setup again. Make sure you are selecting the reboot option, not the reset option.
- Avoid Rebooting During Critical Updates: Interrupting firmware updates can cause the camera to malfunction. Ensure that no updates are being processed before proceeding with the reboot.
- Do Not Ignore Software Instructions: Follow Nest’s official guidelines. Skipping steps or ignoring warnings may lead to improper rebooting and potential functionality issues.
- Refrain from Rebooting Frequently: Consistent, unnecessary reboots can wear down the system over time. Only reboot the Nest Cam when truly needed, such as to troubleshoot or resolve connectivity issues.
Conclusion
Rebooting your Nest Cam is straightforward and, when performed correctly, ensures the device operates smoothly without encountering data loss or hardware issues.
Always use the app or approved software to reboot the camera to prevent any untoward consequences. Following the official guidelines and being mindful of the timing, especially avoiding reboots during firmware updates, are crucial steps. By adhering to these best practices, you maintain the integrity and longevity of your Nest Cam, ensuring it remains a reliable part of your home security system.
Hopefully, the article on how to reboot nest cam has provided you with the necessary information and helpful tips to reboot your device and keep it running smoothly successfully.
