Do you need help reconnecting your Wyze Cam? Worry not—we have you covered. In this guide, we will walk you through the steps to reconnect your Wyze Cam and get it back up and running quickly.
How to reconnect Wyze Cam can seem daunting, but it is a straightforward process that ensures your security system remains active and reliable. Whether you’ve changed your Wi-Fi network, experienced a temporary loss of power, or simply need to reset the device, understanding the steps to reconnect is essential. This guide will walk you through the process, offering clear instructions and troubleshooting tips to get your camera back online quickly and efficiently.
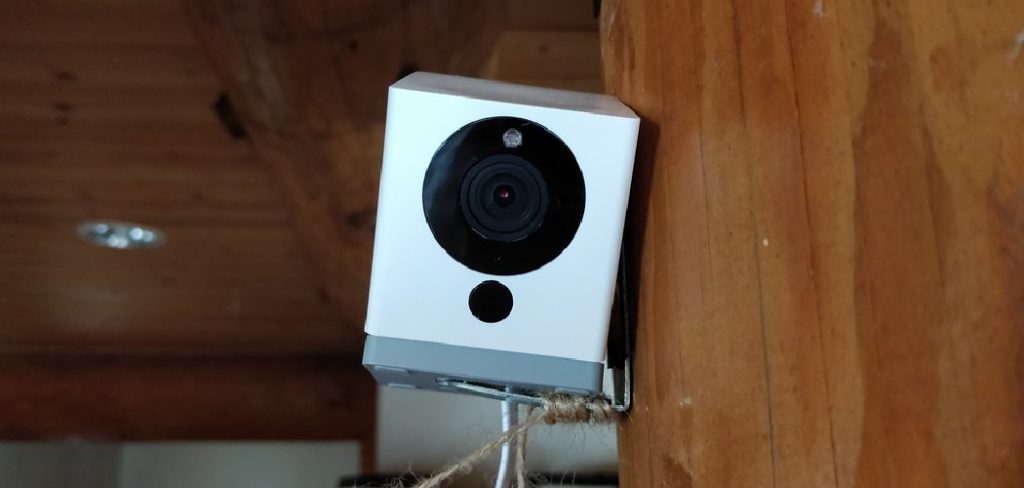
By following these steps, you can ensure continuous monitoring of your home or office, maintaining peace of mind.
What Will You Need?
Before we dive into the steps, make sure you have the following items on hand:
- Your Wyze Cam device
- A stable and reliable Wi-Fi connection
- The Wyze app installed on your smartphone or tablet
Once you have everything ready, let’s begin the reconnection process.
10 Easy Steps on How to Reconnect Wyze Cam
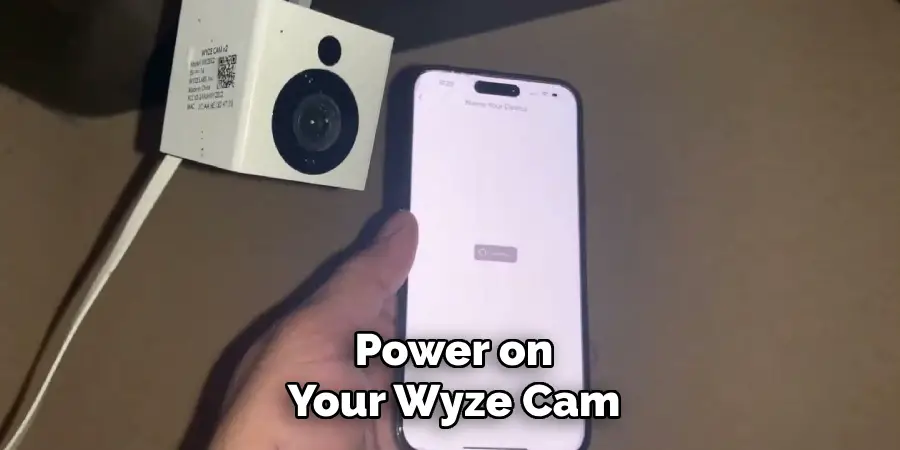
Step 1. Power On Your Wyze Cam:
Make sure your Wyze Cam is adequately connected to a power source. Check that the power cable is securely attached to the camera and a functioning electrical outlet. Once connected, observe the LED status light on the device. The light should initially flash yellow, indicating that the camera is starting up. Wait a few seconds until the light turns flashing blue, signaling that the camera is ready to be set up or reconnected to the Wi-Fi network.
Step 2. Open the Wyze App:
Unlock your smartphone or tablet, and locate the Wyze app icon on your home screen or app drawer. Tap to open the application. If you’re not logged in, enter your Wyze account credentials to access the app’s interface. Once logged in, you will be directed to the main dashboard, which displays any previously connected Wyze devices. If this is your first time using the app, you may need to follow the initial setup instructions before proceeding. Ensuring you’re logged into the correct Wyze account is crucial, enabling seamless connection and control over your Wyze Cam.
Step 3. Navigate to the Device List:
Within the Wyze app, navigate to the device list by tapping the ‘Home’ tab at the bottom of the screen. Here, you will see a list of all devices associated with your Wyze account. To initiate the reconnection process for your Wyze Cam, tap on the “+” icon in the upper right corner of the screen to add a new device. This will prompt you to select the type of device you wish to connect. Choose ‘Cameras’ from the list and select your specific Wyze Cam model.
Step 4. Put Your Wyze Cam into Setup Mode:
To reconnect your Wyze Cam, you must set the device up. Locate the setup button, typically found on the bottom or back of your camera, depending on the model. Press and hold the setup button for about 3-5 seconds until you hear a voice prompt indicating the camera is ready to connect. This voice prompt will also be accompanied by the LED status light flashing a combination of blue and yellow.
This signals that your Wyze Cam is set up and prepared to connect to your Wi-Fi network. If you do not hear the voice prompt, double-check that the camera is powered on and try pressing the setup button again. Putting the camera into setup mode is essential to establish a fresh connection between the device and your Wi-Fi network.
Step 5. Connect to the Camera’s Wi-Fi Network:
Once your Wyze Cam is in setup mode, your smartphone or tablet must connect directly to the camera’s temporary Wi-Fi network. Open your device’s Wi-Fi settings and look for a network that begins with “Wyze_” followed by a series of characters unique to your specific camera. Select this network to connect. You may be prompted that the network has no internet access; this is normal and temporary. Once connected, return to the Wyze app. If you do not see the network, try refreshing the Wi-Fi options or moving closer to the camera.
Step 6. Enter Your Wi-Fi Credentials:
Back in the Wyze app, you should now see a prompt to enter your Wi-Fi credentials. This involves selecting your desired Wi-Fi network from a list and typing in the network’s password. Make sure you enter the correct credentials to avoid any connection issues.
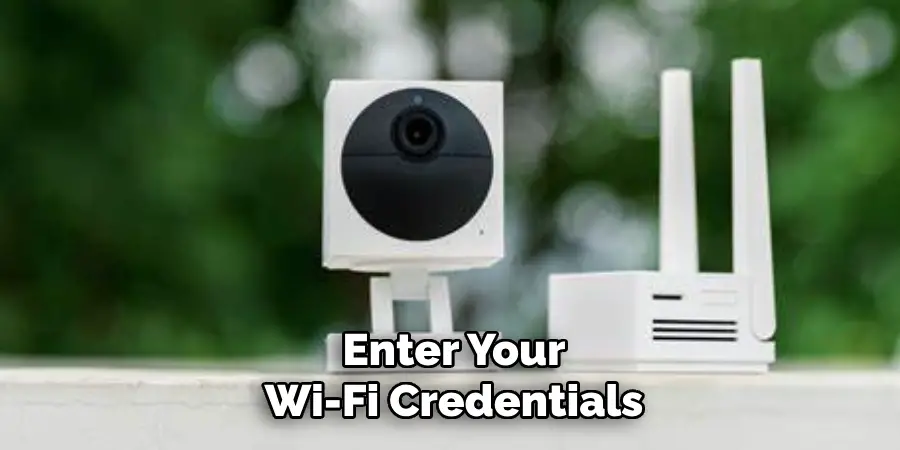
The Wyze Cam only supports the 2.4GHz Wi-Fi band, so ensure that your network matches this requirement. Once the correct information is entered, tap ‘Next’ or ‘Connect’ to proceed. This action instructs your Wyze Cam to use the provided credentials to join your home Wi-Fi network, enabling it to establish a stable and reliable connection necessary for streaming and control through the app.
Step 7. Confirm Connection:
After entering your Wi-Fi credentials, the app will attempt to connect your Wyze Cam to your home network. This process may take a few moments. Keep an eye on the LED status light on your camera; it should change from flashing blue and yellow to solid blue, indicating a successful connection. Once connected, the app will display a confirmation message and may prompt you to name your device for easy identification. It is advisable to choose a distinct name, especially if you have multiple Wyze devices, as this helps in managing them within the app.
If the connection fails, double-check your Wi-Fi credentials and ensure that your camera is within range of your router. A stable connection is necessary for your camera to function correctly and for you to access all its features through the Wyze app.
Step 8. Finalize and Test Your Setup:
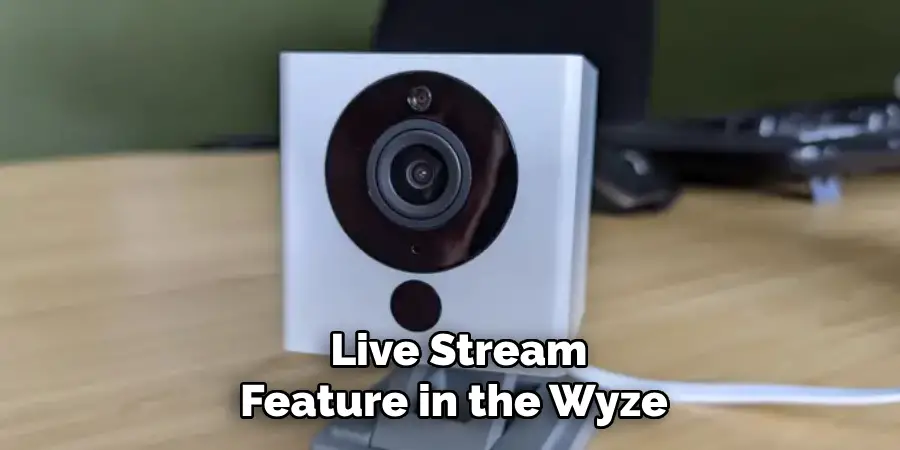
Once your Wyze Cam is successfully connected to your Wi-Fi network, it’s time to finalize the setup process and ensure everything functions as expected. Test the camera’s live stream feature in the Wyze app to confirm that video is being transmitted smoothly. You can do this by accessing the camera through the device list and selecting the ‘Live Stream’ option. This function allows you to view real-time footage from your Wyze Cam.
Additionally, check other essential features such as motion detection, sound detection, and any other alerts you may have configured. Ensure notifications are working by triggering the camera with movement or sound. Adjust any camera settings within the app to optimize performance based on your preferences and installation location.
Step 9. Regular Maintenance and Troubleshooting:
To keep your Wyze Cam operating smoothly, it’s essential to perform regular maintenance and familiarize yourself with crucial troubleshooting tips. Start by periodically cleaning the camera lens with a soft, dry cloth to remove dust and debris that may affect image quality. Check for any app updates that provide improvements or new features and firmware updates for your camera, which can be found in the Wyze app’s settings. If you encounter connectivity issues, try restarting the camera and router.
Ensure that your camera is positioned within range of your Wi-Fi signal, and avoid placing it in areas with too many obstructions. For troubleshooting specific issues, consult the Wyze community forums or contact customer support for further assistance. Consistent maintenance and prompt troubleshooting can extend the lifespan of your Wyze Cam and ensure that it continues to deliver reliable security and monitoring for your needs.
Step 10. Monitor and Use Additional Features:
Now that your Wyze Cam is fully set up and functioning, take advantage of its additional features to enhance your security setup. Explore options such as creating specific recording schedules to capture video at certain times, enabling time-lapse photography for exciting scenes, or setting up automation rules that integrate with other smart home devices. In the Wyze app, navigate through the ‘Settings’ menu to find and customize these features according to your needs. Familiarize yourself with the app’s interface to quickly access live feeds and recorded footage, ensuring you can respond swiftly in case of an alert. Leveraging these features can maximize the utility of your Wyze Cam and provide comprehensive monitoring for your home or office environment.
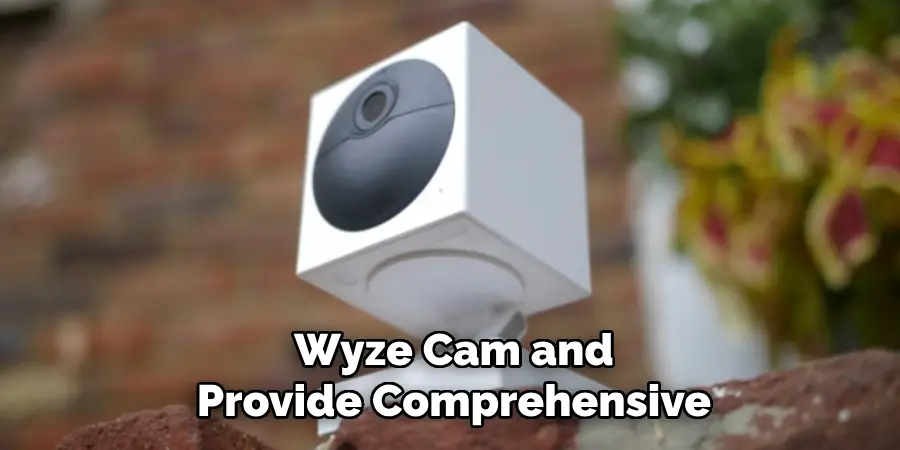
You can successfully set up your Wyze Cam for optimal performance by following these steps and implementing the tips mentioned. Remember to regularly check for updates and perform maintenance tasks to ensure continued functionality.
Conclusion
How to reconnect Wyze Cam to your network involves a straightforward process that ensures uninterrupted monitoring and security for your home.
Start by following the initial setup steps, which require connecting your device to the Wyze app and entering the correct Wi-Fi credentials. Ensure your camera is within range of your network and avoid interference from physical obstructions. Regularly perform maintenance tasks such as cleaning the camera lens and updating the firmware to prevent connection and performance issues. In case of connectivity problems, restart the camera and your router, and consult the Wyze support resources for additional troubleshooting guidance.
By adhering to these steps and maintaining your camera, you can ensure reliable operation and regain connectivity swiftly.
