Removing a cam lock screw might seem daunting at first, especially if you’re unfamiliar with the assembly processes used in furniture construction. Commonly found in flat-pack furniture, cam lock screws are designed for quick assembly and disassembly, providing a strong and secure connection between panels. To successfully remove a cam lock screw without causing damage, it’s important to understand the mechanism of how they work.
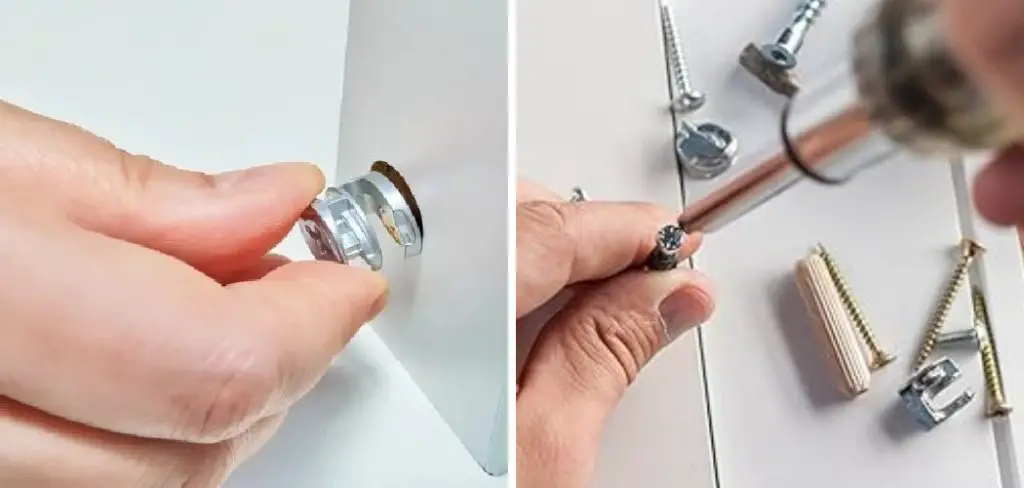
This guide on how to remove a cam lock screw will take you through the necessary steps and tools required to efficiently and safely remove a cam lock screw.
Why Remove a Cam Lock Screw?
Before diving into the steps of removing a cam lock screw, it’s important to understand why you might need to do so. Some common reasons for removing a cam lock screw include:
Disassembling Furniture for Moving or Storage Purposes:
Most flat-pack furniture comes with cam lock screws to allow for easy assembly and disassembly. If you’re moving or storing your furniture, you’ll need to remove the cam lock screws to break down the panels and pack them away.
Replacing Damaged Panels:
If a panel in your furniture is damaged or needs to be replaced, removing the cam lock screws will allow you to easily detach the damaged panel from the rest of the structure.
Refurbishing or Upgrading Furniture:
You may want to change up your furniture by refurbishing it or upgrading certain parts. Removing cam lock screws will enable you to take apart the structure and make any necessary changes.
Tools Required
To remove a cam lock screw, you’ll need the following tools:
Flathead Screwdriver:
A flathead screwdriver is essential in removing a cam lock screw. Its flat, narrow shape is ideal for fitting into the cam lock slot and turning to release the screw.
Pliers or Adjustable Wrench:
If the cam lock screw is tight or stuck, pliers or an adjustable wrench can provide additional grip and leverage for loosening it.
Hammer or Mallet:
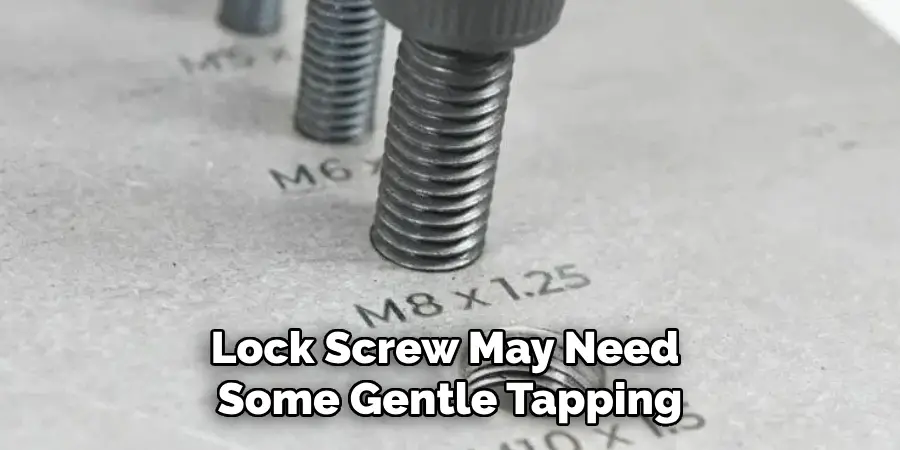
In some cases, a stubborn cam lock screw may need some gentle tapping with a hammer or mallet to loosen it before removal.
8 Steps on How to Remove a Cam Lock Screw
Step 1: Locate the Cam Lock Screw
Begin by identifying the location of the cam lock screw within your furniture piece. These screws are typically found connecting panels, often hidden within pre-drilled holes in the furniture structure, making them slightly less visible than other types of screws.
Carefully inspect the furniture assembly points to spot the screw heads and cam connectors, which are often marked by small circular discs on the surface. Make sure that there is ample lighting to help you see the screws clearly, and ensure the furniture is positioned in a way that provides easy access to the cam lock screw you need to remove.
Step 2: Remove the Cover Disc
Once you’ve located the cam lock screw, your next task is to remove the cover disc that often conceals it. This small, circular piece of plastic or metal is designed to cover the cam lock head, providing a finished look and protecting the mechanism from dust and damage. To remove the cover disc, gently insert the tip of a flathead screwdriver into the small gap between the cover disc and the furniture surface. Carefully pry the cover disc away by applying slight pressure.
Be cautious not to damage the surrounding area or the cover disc itself if you plan to reuse it. Once the disc is removed, you’ll have clear access to the cam lock screw, allowing you to proceed with the disassembly process.
Step 3: Loosen the Cam Lock Screw
With the cover disc removed, it’s time to loosen the cam lock screw itself. Using a flathead screwdriver, insert the tip into the slot on the cam lock screw head. Apply gentle yet steady pressure, and slowly turn the screwdriver counterclockwise. The cam lock mechanism is designed to hold the panels securely in place with minimal force, so it should not require excessive effort to start loosening the screw.
If the screw feels stuck, avoid using additional force, which might risk damaging the furniture or the cam mechanism. Instead, use pliers or an adjustable wrench to enhance grip and maneuverability. In some cases, gently tapping the panel near the screw with a hammer or mallet can further aid in loosening it. Continue turning the screwdriver until the screw is loosened enough to remove it by hand, ensuring you keep track of any accompanying pieces like washers or indistinct cam connectors.
Step 4: Remove the Screw and Connector
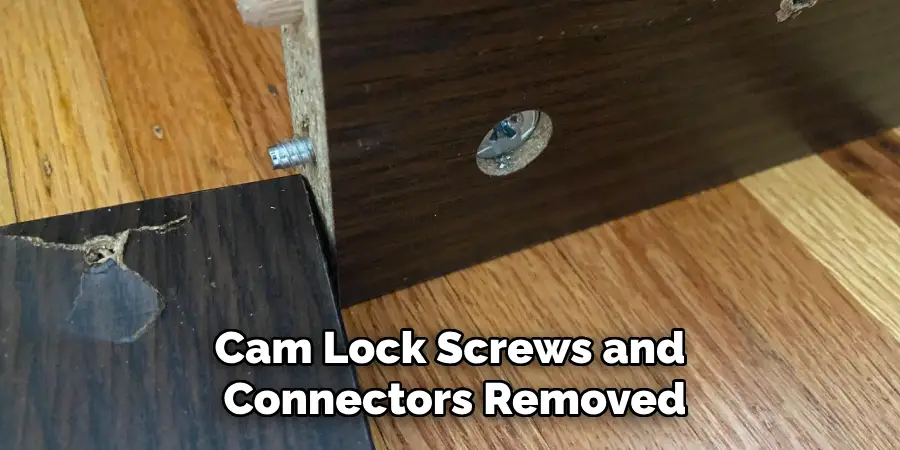
Once the cam lock screw is loose, remove it from its hole, along with any accompanying pieces. If you encounter resistance during this step, stop and assess the situation. In some cases, there may be an additional piece of furniture or a panel that needs to be shifted or removed to allow for easy access to the screw and connector.
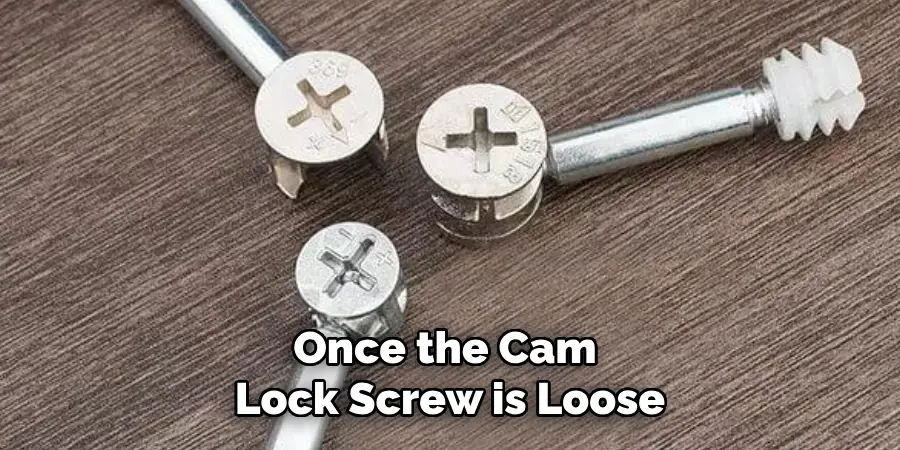
The cam connector is a small, round piece with multiple notches or teeth on its inner edge. This part works in tandem with the screw to lock and tighten panels together. Be sure to keep track of this component as you’ll need it for reassembly.
Step 5: Repeat for Other Screws
After successfully removing the first cam lock screw and its connector, proceed to repeat the process for any additional screws in the furniture piece. Each panel may be connected by multiple cam lock mechanisms, especially if it’s a larger or more complex assembly. Begin by identifying any remaining cam lock screws and follow the same steps: locate the screw, remove the cover disc, loosen the screw with a flathead screwdriver, and then remove the screw and connector.
Ensure you are organizing and keeping track of all screws and connectors as they will be crucial for reassembly later. Taking a systematic approach and removing screws in a sequential manner will help maintain the integrity of the furniture structure and make the process more manageable.
Step 6: Disassemble the Panels
With all cam lock screws and connectors removed, you can now proceed to disassemble the furniture panels. Depending on the type of furniture and its assembly style, this may involve sliding or lifting panels away from each other.
If you are having trouble separating panels completely, double-check that no additional screws or connectors are still holding them together. Be gentle yet firm when pulling or shifting panels apart to avoid damaging them or any accompanying pieces.
Step 7: Store Screws and Connectors Safely
As you disassemble your furniture, keep all screws and connectors organized and in one place. You don’t want to lose these small but essential components, as finding replacements can be challenging. You can store them in a small container or bag and label each set according to which panel it belongs to.
The cover discs can also be stored for future use if they are still intact and in good condition.
Step 8: Reassemble the Furniture
After completing your furniture project, you’ll need to reassemble the panels using the same cam lock screws and connectors that were removed earlier. Begin by aligning the panels correctly, ensuring they fit together snugly.
Next, insert the cam lock screws into their respective holes and carefully tighten them with a flathead screwdriver or pliers. The notched edges of the cam connector should be facing towards the panel surface, allowing it to grip onto both panels securely. Once all screws and connectors are in place, do a final check to make sure everything is assembled correctly and tightly.
Additional Tips for Disassembling Furniture with Cam Locks
- If you have trouble locating cam lock screws or cover discs, refer to the furniture’s instruction manual or contact the manufacturer for guidance.
- If possible, disassemble furniture on a soft surface such as a carpet or a rug, to prevent scratching or damage to the panels.
- Take photos or make notes as you remove screws and connectors. This can help with reassembling in the correct order later on.
- Use caution when handling small pieces like cam connectors, as they can easily get lost in cluttered work areas.
- If a screw is stripped or damaged, try using slightly larger-sized tools like a thicker flathead screwdriver or pliers for better grip and leverage. Alternatively, use an adhesive remover like WD-40 to loosen the screw and make it easier to remove.
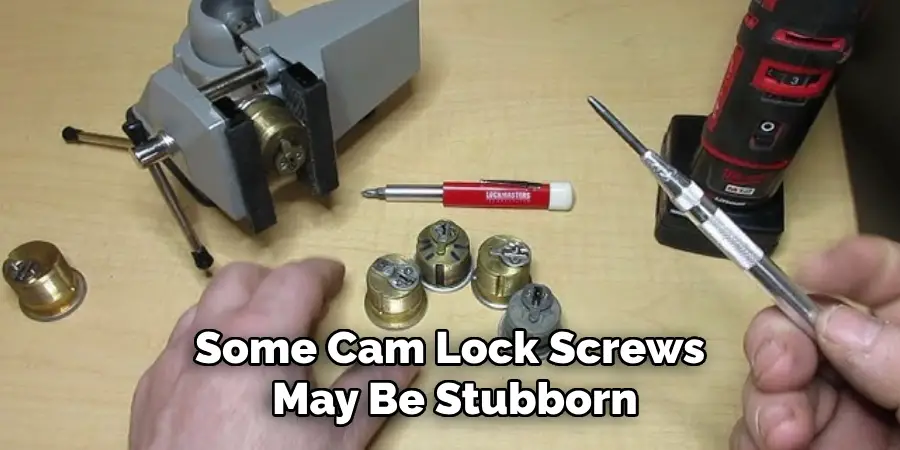
By following these steps on how to remove a cam lock screw, you can safely and effectively disassemble your furniture without causing damage. Remember to take your time and be patient as some cam lock screws may be stubborn or require a bit of extra effort to loosen. With proper care and organization, you can easily reassemble your furniture pieces for future use or transportation.
Conclusion
Understanding how to properly remove and reassemble furniture with cam locks can greatly enhance your ability to maintain and adapt your living space. By meticulously following the outlined steps on how to remove a cam lock screw, you ensure the longevity and functionality of your furniture without compromising its structural integrity. Remember, patience and precision are key, as rushing through the process may lead to unnecessary damage or difficulty during reassembly.
With the right tools and approach, you can confidently disassemble or transport your furniture as needed, making renovations or relocations much more efficient. In mastering these skills, you empower yourself to handle furniture assembly with ease and flexibility.
