
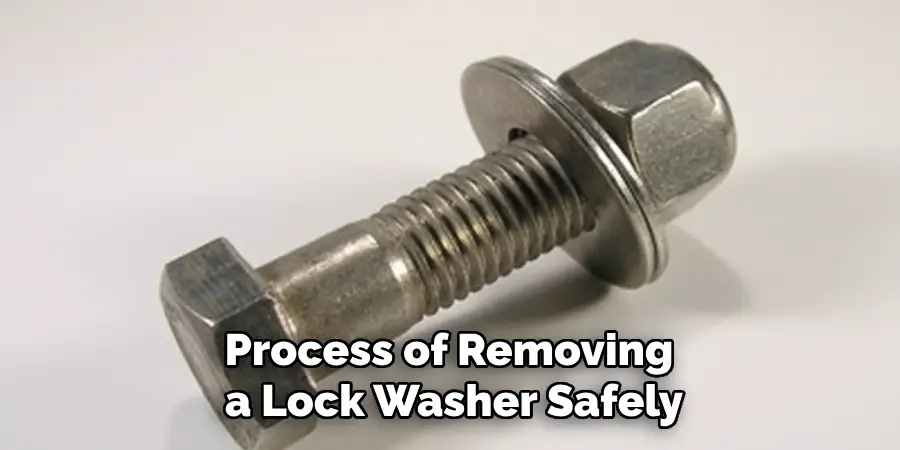
Removing a lock washer may seem like a straightforward task, but it requires attention to detail and the right tools to ensure it is done properly without damaging the surrounding components. Lock washers are designed to prevent nuts and bolts from loosening due to vibration, providing additional security in various mechanical and structural applications.
Before starting the removal process, it’s essential to understand the type of lock washer you are working with and prepare the necessary tools.
This guide on how to remove a lock washer will take you through the basic steps needed to safely and efficiently remove a lock washer, ensuring your equipment or project remains in optimal condition.
Why Remove a Lock Washer?
Before we dive into the steps involved in removing a lock washer, let’s first understand why you may need to remove one. Some reasons for removing a lock washer include:
- Replacing worn or damaged components
- Accessing and replacing other components within the assembly
- Repositioning parts for maintenance or repair work
- Upgrading to a different type of lock washer
- Disassembling equipment for transportation or storage purposes
Knowing the reason for removing a lock washer can help you determine the best approach and tools needed for the task at hand.
Tools Needed
To successfully remove a lock washer, you will need the following tools:
Socket Wrench or Adjustable Wrench:
A socket wrench or adjustable wrench will be your primary tool for removing the nut holding the lock washer in place. Ensure you have the right wrench size to fit the nut securely without slipping.
Pliers:
Pliers can come in handy when trying to loosen or remove a stubborn lock washer. They provide additional grip and leverage, making it easier to turn and remove the nut.
Flathead Screwdriver:
In some cases, a flathead screwdriver may be needed to pry open or bend back any tabs on the lock washer that are preventing it from being removed.
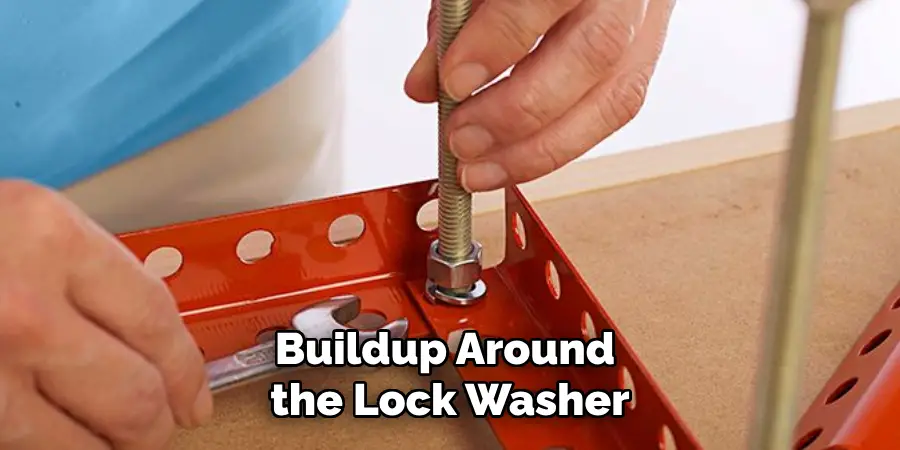
Hammer:
A hammer may also be necessary if there is heavy corrosion or buildup around the lock washer. Lightly tapping the washer may help loosen it and make it easier to remove.
Penetrating Oil:
If the lock washer is stubborn and won’t budge, penetrating oil can be applied to help loosen any rust or debris that may be causing resistance. This can make removal much easier.
8 Steps on How to Remove a Lock Washer
Step 1: Safety First
Before initiating the removal process, it’s crucial to prioritize safety. Begin by ensuring that the equipment or structure you are working on is properly secured and that it remains stable throughout the procedure. Wear appropriate personal protective equipment, such as safety goggles and gloves, to protect yourself from any metal shavings or debris that may be generated during the removal process.
If the lock washer is part of an electrical or mechanical assembly, confirm that all power sources are disconnected to prevent accidental activation or injury. Taking these precautions will help create a safe working environment and prevent potential accidents.
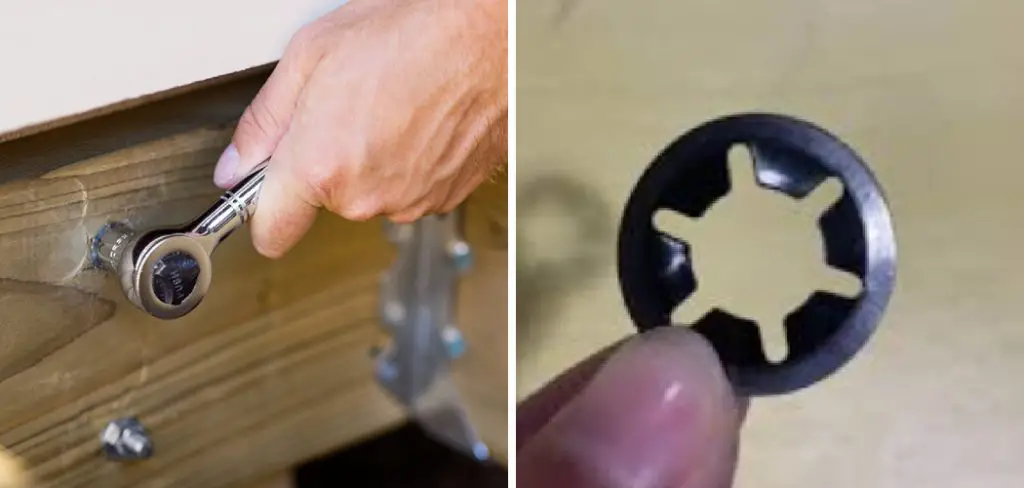
Step 2: Locate the Lock Washer
The next step in the removal process is to identify the exact location of the lock washer within the assembly. Carefully examine the area where the nut is fastened. Lock washers are typically found between the nut and the adjoining surface or component to prevent loosening.
If the lock washer is not immediately visible, check for any obstructions or protective covers that may need to be removed first. Ensuring a clear view of the lock washer will help streamline the removal process and minimize the chance of damaging surrounding parts. Once located, you can begin preparing to remove the washer using the appropriate tools.

Step 3: Secure the Nut
Once you have located the lock washer, the next step is to secure the nut holding the washer in place. This is critical to ensure the nut does not slip or rotate unintentionally during the removal process. Use a socket wrench or adjustable wrench that fits snugly around the nut. Adjust the wrench if necessary to achieve a firm grip, making sure it doesn’t slip off easily.
Holding the wrench steady, apply even pressure to secure the nut in its current position. A stable nut will facilitate the efficient removal of the lock washer and reduce the risk of damaging other components. Be cautious not to overtighten, as this may cause additional complications or damage.
Step 4: Loosen the Nut
To remove a lock washer, you first need to loosen the nut holding it in place. Using the secure wrench, turn the nut counterclockwise until it becomes loose enough to be removed by hand. If the washer is stuck or resistant, apply light pressure with pliers to help loosen it. Be mindful not to bend or damage any surrounding components while doing so.
But, if the nut is still difficult to remove, do not force it. Apply some penetrating oil around the area and wait a few minutes for it to seep in and loosen any debris or rust that may be causing resistance. This can make removal much easier and prevent accidental damage to the washer or other components.
Step 5: Remove the Nut
After loosening the nut sufficiently, you can now proceed with removing it. Carefully unscrew the nut by hand, turning it counterclockwise until it is completely detached from its bolt or stud. Make sure to hold the adjoining surface or component steady to avoid any displacement or accidental movement during this process. If the nut proves difficult to remove by hand due to lingering resistance, you may continue using the wrench for additional leverage.
Once the nut is off, set it aside in a safe place to prevent losing it or mixing it up with other hardware. With the nut removed, you’ll have better access to the lock washer, allowing for its subsequent removal.

Step 6: Remove the Lock Washer
With the nut removed, you can begin removing the lock washer. Most lock washers have two tabs or prongs that are bent toward each other to create a wedge-shaped profile. These tabs prevent the washer from spinning when installed and keep it snuggly in place. Using your flathead screwdriver, carefully bend these tabs back to their original shape to release tension on the washer.
Once the tabs are straightened, you can remove the washer by hand without much resistance. If there is heavy rust or buildup on the washer, use a hammer to gently tap around its edges while pulling it out. This will help loosen any debris and make removal easier.
Step 7: Inspect and Clean the Area
After successfully removing the lock washer, it’s essential to inspect the area for any signs of damage or wear. Check for any dents, scratches, or stripped threads on the nut or bolt. If you notice any issues, address them before proceeding with reinstallation to prevent future complications.
Once inspected and deemed suitable for reuse, clean the surrounding area thoroughly using a wire brush or rag to remove any debris or residue. This will help create a clean surface for the new lock washer to be installed and prevent any interference or damage.
Step 8: Reinstall the Lock Washer
Now that the old lock washer has been removed, you can proceed with reinstalling a new one if necessary. Place the new lock washer in its designated position, making sure it aligns correctly with the adjoining surface or component. Bend back the tabs on each side of the washer using your flathead screwdriver until they sit flush against the surface.
With the lock washer securely in place, you can now reinstall the nut by hand and tighten it using your wrench. Apply even pressure until it is snugly fastened, but avoid overtightening to prevent any potential damage. Once the nut is firmly in place, your assembly is now ready for use.
Following these steps will help guide on how to remove a lock washer you through the process of removing a lock washer safely and efficiently. By taking the necessary precautions, securing the nut, and using proper tools, you can avoid accidents and damage to surrounding components. Remember to always inspect and clean the area before reinstallation for optimal performance.
Conclusion
Removing a lock washer may seem like a daunting task, but by following these simple steps on how to remove a lock washer and taking necessary precautions, it can be done safely and efficiently. Always remember to wear appropriate safety gear, properly locate the washer, secure and loosen the nut carefully before removal, inspect for any damage or wear, and clean the area before reinstalling a new lock washer.
With these tips in mind, you’ll be able to successfully remove and replace any lock washers in your assemblies with ease.
So next time you encounter a stubborn lock washer on one of your projects, don’t panic – just follow these steps and get the job done like a pro! Keep exploring and learning about different types of hardware and their uses to become a DIY expert. Happy fixing!